Cherchies Blog

Shop Cherchies.com   Free Shipping on continental US orders over $100

Cherchies Blog

garlic seasoning

Easy Pickled Jalapenos Recipe

side dishes, cooking tipsSheri SpalloneComment

Easy Pickled Jalapeño Recipe

Prep Time: 10 minutes

Cook Time: 5 minutes

Difficulty: Easy

Makes one jar

Hello friends. If you want to kick up your culinary repertoire and love spicy foods, tangy pickled jalapeños will elevate your cooking to a new level.  Even if you are not a spicy food lover, pickling jalapeños makes the peppers sweeter and milder than fresh jalapeños. They are easy to make and add incredible flavor to Mexican dishes, cheese balls, dips, sandwiches, soups, and much more.  More on that later.  And you'll wonder why you never made them sooner because you will always want them in your refrigerator.  

Have I convinced you yet?

Here's my testimony. I have belonged to a CSA farm share for two summers, and jalapeños are part of the "pick-your-own crop." I avoided them two Summers ago because even though I love foods with a kick, I'm a wimp when it comes to fresh jalapeños or spicy peppers.  

That all changed last summer.  I put on my big girl pants, expanded my palate, and tried pickled jalapeños at a restaurant.  The rest is history, as I was hooked!  I LOVED THEM so much that I needed to make them at home so they would always be available.  

Luckily, last summer's CSA share included a plethora of jalapeños, so I had plenty on hand to experiment with and different recipes to use them in. At the end of the growing season, I sliced and froze the extras so my family and I could enjoy them all winter. This recipe includes only a few ingredients and features Cherchies® Garlic Seasoning.

Consider pickling these little gems if you're looking for a new go-to condiment to up your cooking game and add incredible flavor to your dishes.  You won't be disappointed.  

Thanks for stopping by. :) Comment below if you have made these zippy, pickled jalapeños. Revisit us for more family-tested recipesentertaining ideas, and cooking tips using all our favorite Cherchies® gourmet products.

Follow us on social media: FacebookInstagram, and Pinterest.

Ingredients

  • 6-8 jalapeños, thinly sliced

  • 1 clove of garlic, skins removed

  • 1 cup white vinegar

  • 1 cup water

  • 3 Tablespoons (Tbsp.) sugar

  • 1/2 teaspoon (tsp.) Cherchies® Garlic Seasoning

Preparation

I highly recommend using food-safe gloves to slice the jalapeños. The oil residue from these peppers stays on your hands, so be careful not to touch your eyes. Learn from my experience; it is not pleasant.

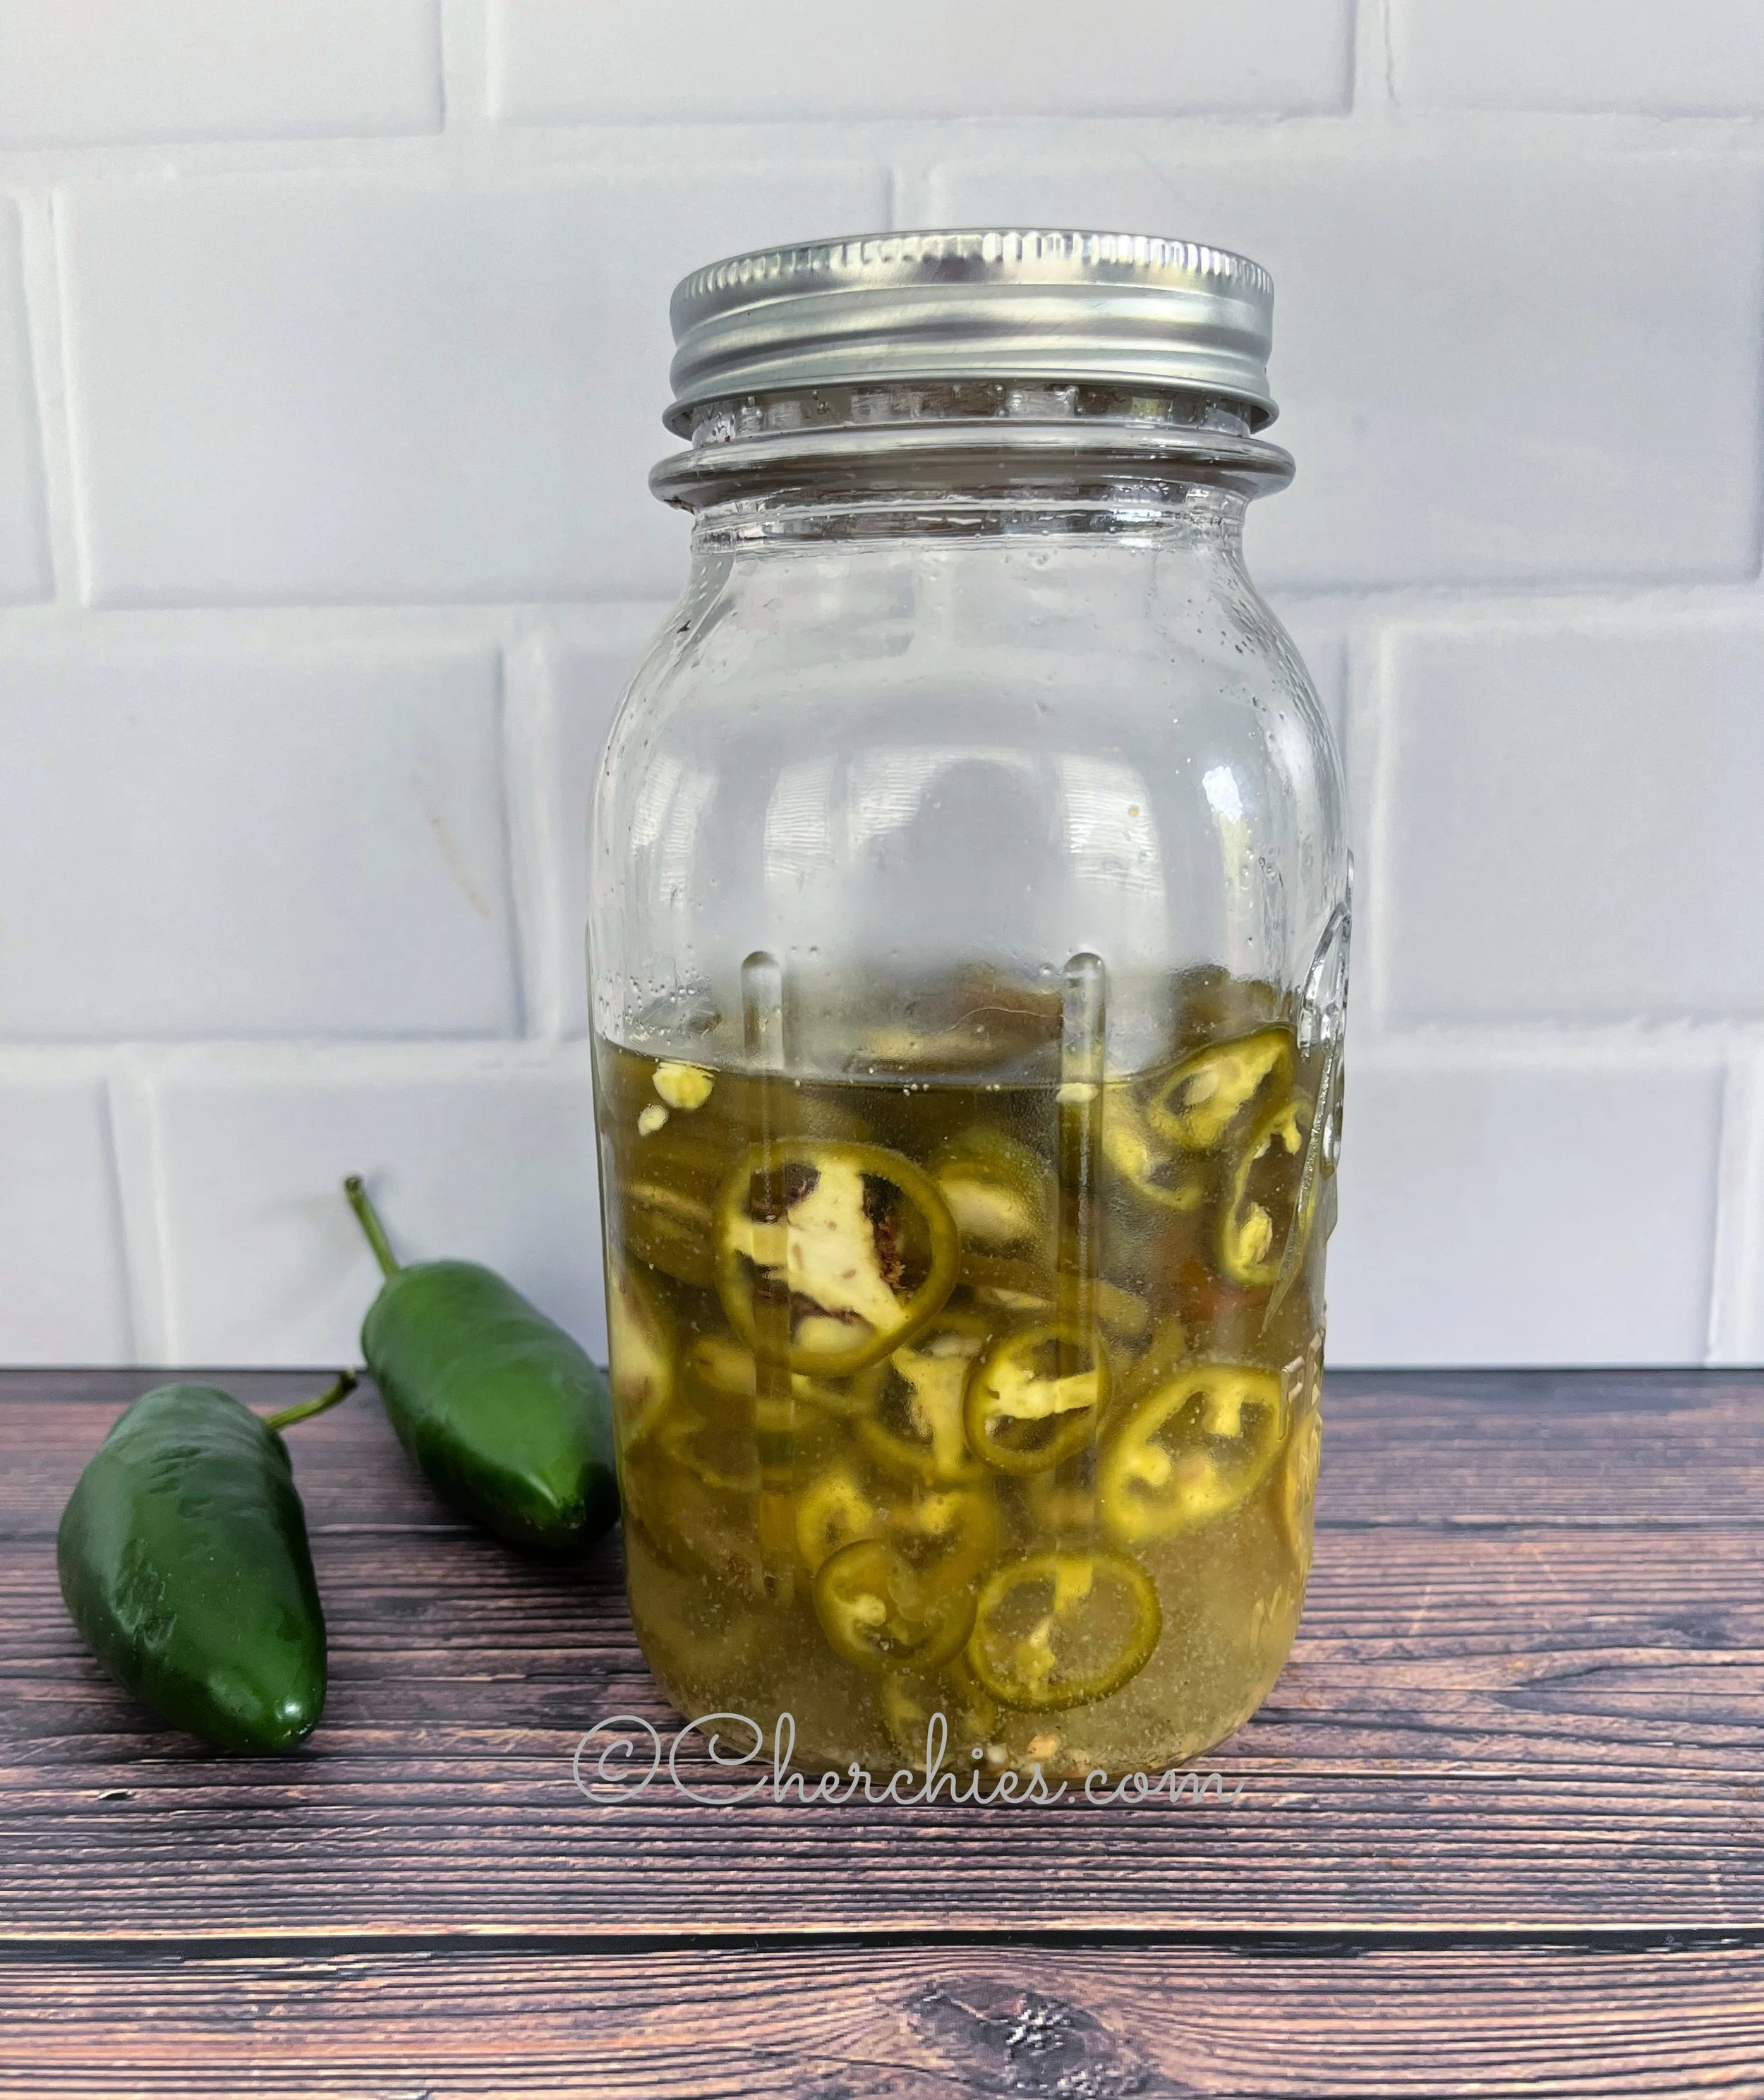
Wash and dry the jalapeños. Thinly slice the peppers and place them in a clean, sterilized jar with a lid, such as a Mason jar. (I have attached a link to the proper jar sterilizing techniques.) Add the garlic clove to the jar.

Now for the brine (salt water solution). In a small saucepan, simmer the vinegar, water, sugar, and Cherchies® Garlic Seasoning over low heat, stirring occasionally, until the sugar is dissolved, about 5 minutes. Pour the brine over the jalapeños. Let them cool to room temperature, then cover and chill them in the refrigerator for at least 30 minutes. They will keep in the fridge for two weeks.

That’s it. Super simple pickled jalapeños for whenever the craving hits.

*Note: The peppers will turn a lighter green once they connect with the brine.

How To Use Pickled Jalapeños:

  • Tacos, enchiladas, and pretty much any Mexican or Tex-Mex dish

  • Jalapeno popper dip or cheeseball

  • Sandwiches

  • Nacho cheese dip

  • Pimento Cheese

  • Combine with fruits for a delicious relish

  • Homemade Salsa, when combined with tomatoes, onions, cilantro

  • Egg dishes (omelets, avocado toast, casseroles (egg and chili casserole), deviled eggs

  • Beverages- lemonade, margaritas

  • Cream of jalapeno soup

  • Add to your favorite cornbread recipe for a little kick

  • So much more!

Enjoy!

Yum

Jalapeño Popper Pumpkin Cheeseball Recipe

appetizers, snacks, gluten freeSheri SpalloneComment

Jalapeño Popper Pumpkin Recipe

Prep Time:  20 Minutes  (Plus extra time to chill the cheeseball)
Difficulty:  Easy
Serves: 8-10

Happy Fall, everyone!

An easy appetizer that never gets old is the cheeseball, and this pumpkin cheeseball is perfect for entertaining for Fall, Halloween, or Thanksgiving. Not only does the mighty cheeseball, although underrated, lean itself to festive shapes; footballs during game day season, pumpkins for Fall, snowmen, reindeer and trees for winter, and so much more, this recipe is so easy and tasty that you will want to keep it in your back pocket for any occasion.

We’ve spiced things up with this delicious jalapeño popper pumpkin cheeseball featuring cream cheese, fresh and pickled jalapeños, cheddar and Monterey Jack cheeses, and Cherchies® Garlic Seasoning Blend. It is the perfect blend of sweet and spicy, and the flavors intensify beautifully if you make it ahead.

This jalapeño popper cheeseball is such a hit we’re constantly asked to bring it to gatherings, and you will be amiss not to try it! And, because it can be made ahead, it allows you more time with your family and friends.

If you’re looking for a new appetizer to add to your Fall culinary cache, consider this jalapeño popper pumpkin cheeseball. You will not be disappointed.

Thanks for stopping by. :) Comment below if you have tried this recipe. Visit us again for more family-tested recipes, entertaining ideas, and cooking tips using all our favorite Cherchies® gourmet products.

Follow us on social media: Facebook, Instagram, and Pinterest.

Ingredients

  • 3 slices of bacon, cooked and chopped

  • 1 8oz. block of cream cheese, room temperature

  • 1/2 cup cheddar cheese (Hand-shredded is better than store-bought shredded cheese)* See Note

  • 1/2 cup Monterey Jack Cheese (could use pepper jack if you like it spicier. (Hand-shredded is better than store-bought shredded cheese)* See Note

  • 1/3 cup seeded and finely diced fresh jalapeños (2 medium or 1 large…more if you like it spicier), reserving one stem to finish the pumpkin at the end

  • 1/3 cup finely diced pickled jalapeños (recipe to come soon for homemade pickled jalapeños)

  • 1/2- 1 teaspoon (tsp.) Cherchies® Garlic Seasoning Blend (Could substitute Cherchies® Garlic ‘N Herbs NO-SALT) Seasoning.

  • 1/4 cup chopped chives or green onions- white and green parts (Optional. I have used them before, but not for this photograph).

  • 1 snack-size bag of Cheese Itz crackers, crushed (Could use cheese puffs, spicy Doritos, or even extra cheddar* See Notes).

  • 3 rubber bands

Preparation

Preheat oven to 350 degrees. When the oven is ready, with a parchment paper-lined baking sheet, place bacon on the baking sheet and cook until crispy. (Every oven is different, so you must watch the bacon for about 15 minutes, give or take a few).

While bacon is cooking, chop up jalapeños and grate the cheese. Be sure to save one stem as decoration for the finished product.

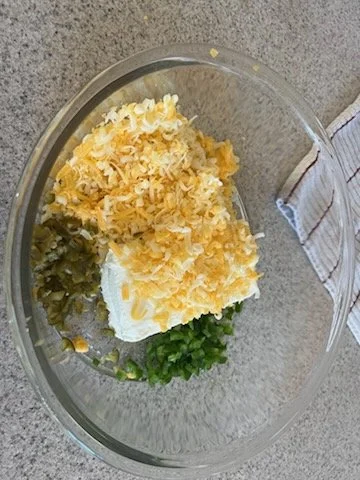
Add the cream cheese, shredded cheese, Cherchies® Garlic Seasoning, and jalapeños to a medium-sized bowl. (Make sure to use kitchen gloves while chopping up jalapeños…trust me from experience; you need the gloves).

When cooked and cooled, chop up the bacon and add to the bowl. Mix all the ingredients with a hand-held mixer until combined.

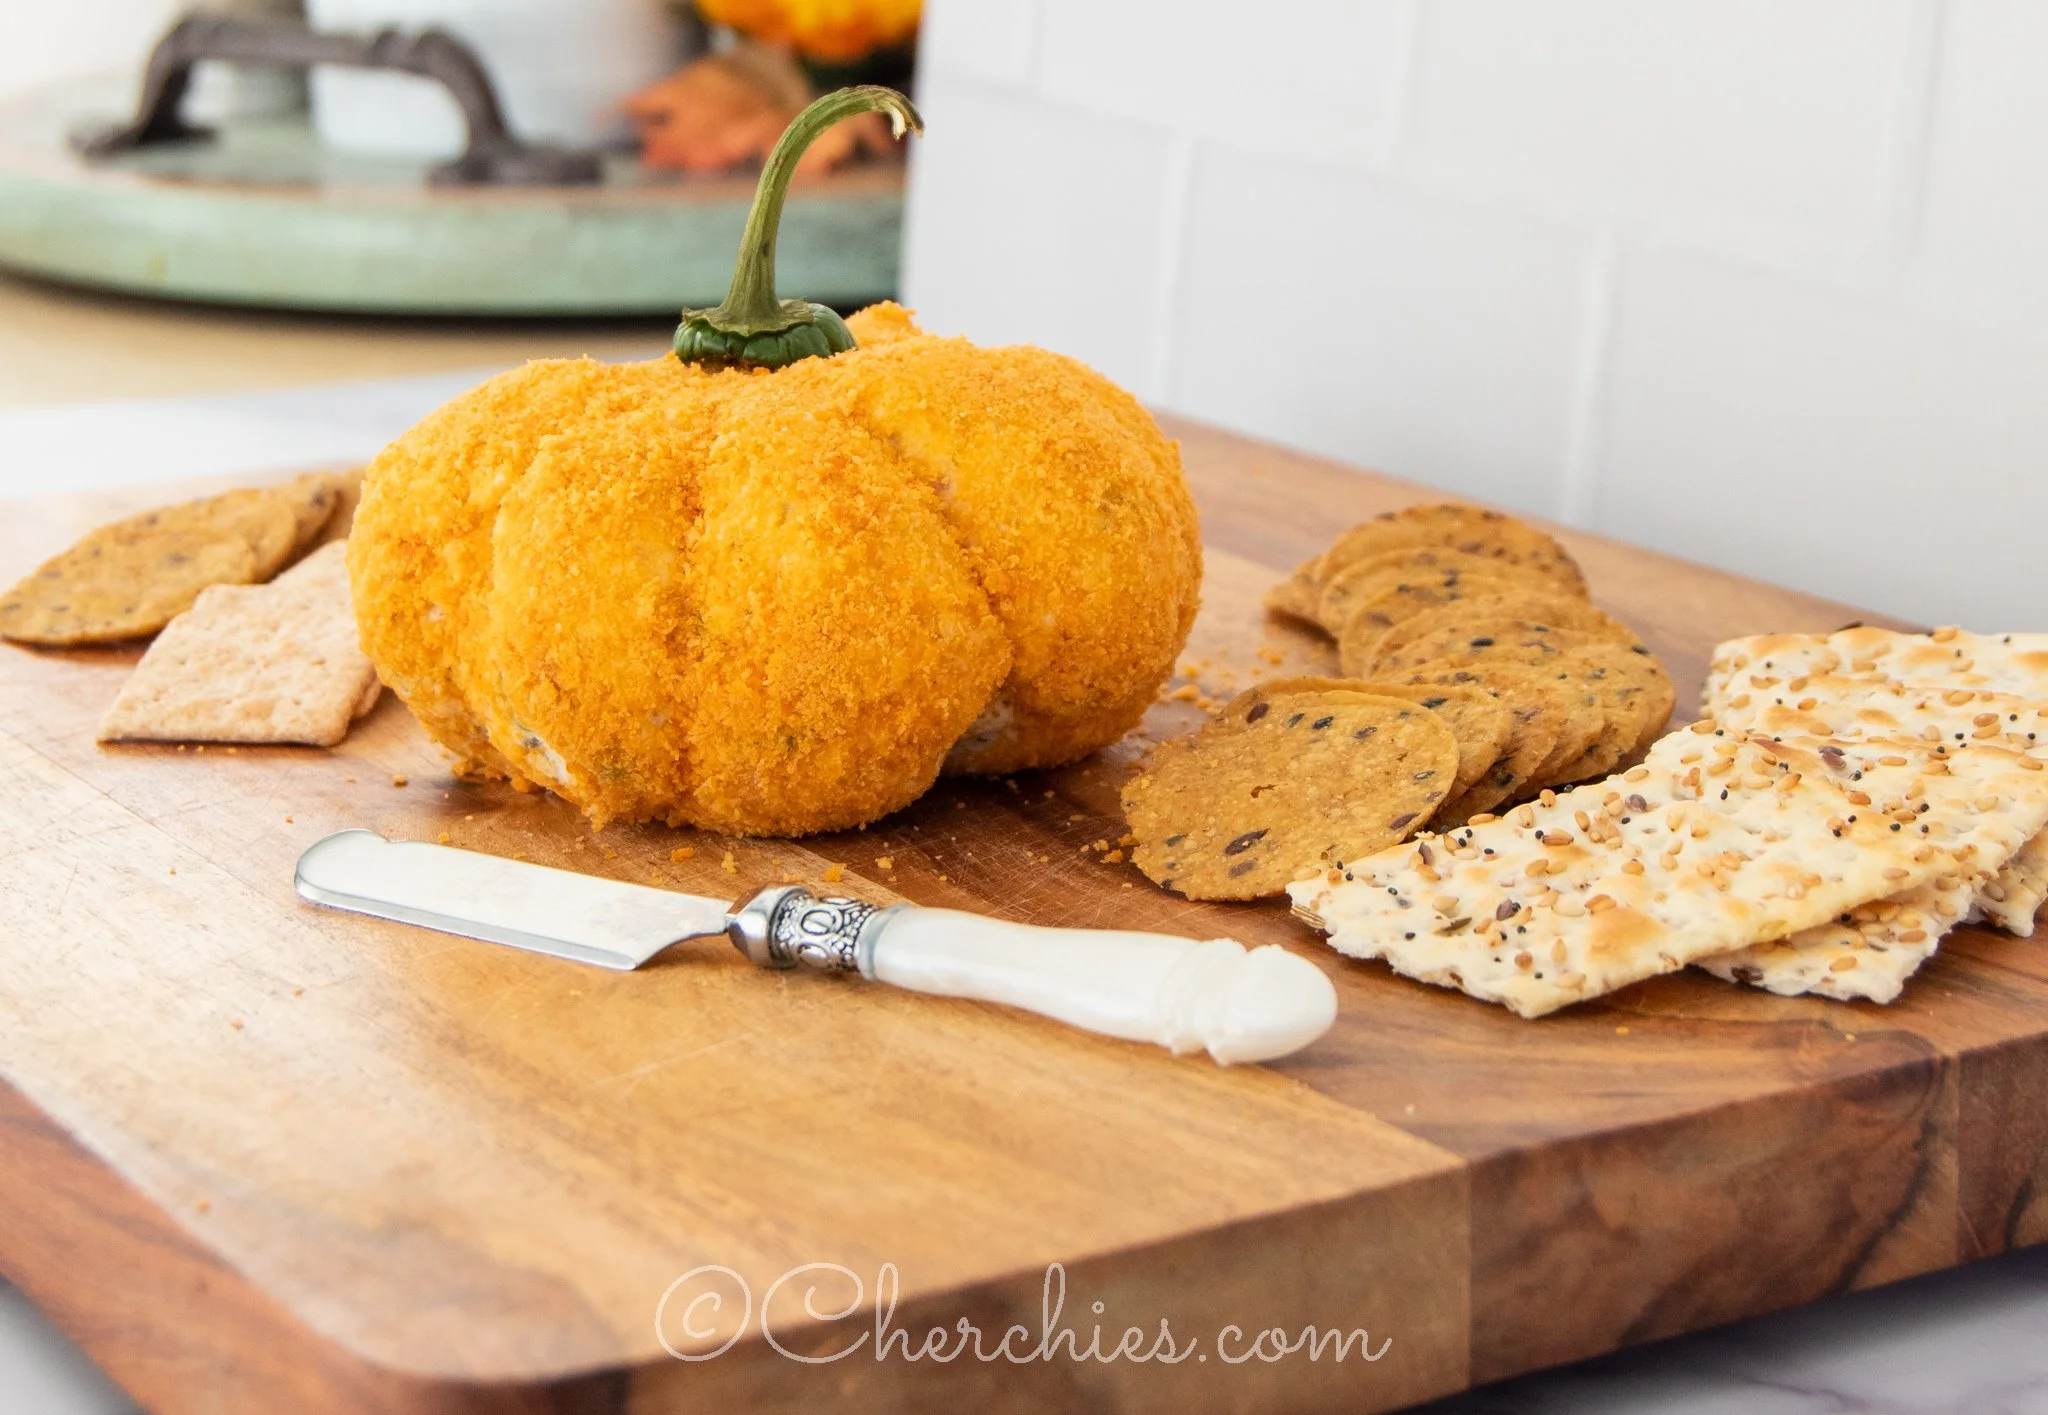
Use a rubber spatula to shape the mixture into a ball. Place the cheeseball on a piece of plastic wrap and cover the cheeseball. Use rubber bands to create the typical grooves found on pumpkins. Refrigerate for at least 2 hours.

Place the cheese crackers in a plastic resealable bag and crush them with a rolling pin, rolling over the bag until fine crumbs are formed. Set aside. If you have a food processor, place the crackers in the processor and pulse until finely ground.

Once your cheeseball has chilled in the refrigerator*, add the crushed crackers to a medium bowl, remove the rubber bands, and roll the cheese pumpkin in the crushed crackers. Decorate with the saved jalapeño stem and serve with crackers, pretzels, and/or carrots, celery, and cucumbers for a healthier dipping option.

Enjoy!
For a football shape, add extra cooked bacon on the outside, followed by Provolone or Monterey Jack cheese.

Notes:

  • Substituting the Cheese Itz- Feel free to substitute them with cheese puffs, spicy Doritos (regular Doritos are not as orange, or extra grated yellow cheddar cheese.

  • Grating Cheese- It’s always better to hand-grate a block of cheese. Pre-shredded cheese works in a pinch. If baking this mixture for a hot dip, hand-grated cheese is best because the pre-shredded cheese does not melt as well because of the coating added to the cheese.

  • Would you prefer a hot dip? Evenly spread the dip ingredients into a pie plate (step five, “Use a rubber spatula to shape the mixture into a ball”), sprinkle with the cracker crumbs, and bake in the oven at 350 degrees for 15 minutes or until bubbly.

Yum

Fresh Zucchini Pie Recipe

entrees, breakfast, lunchSheri SpalloneComment

Fresh Zucchini Pie Recipe

Prep Time: 15 minutes

Cook Time:  65 minutes

Difficulty:  Easy

Serves 8

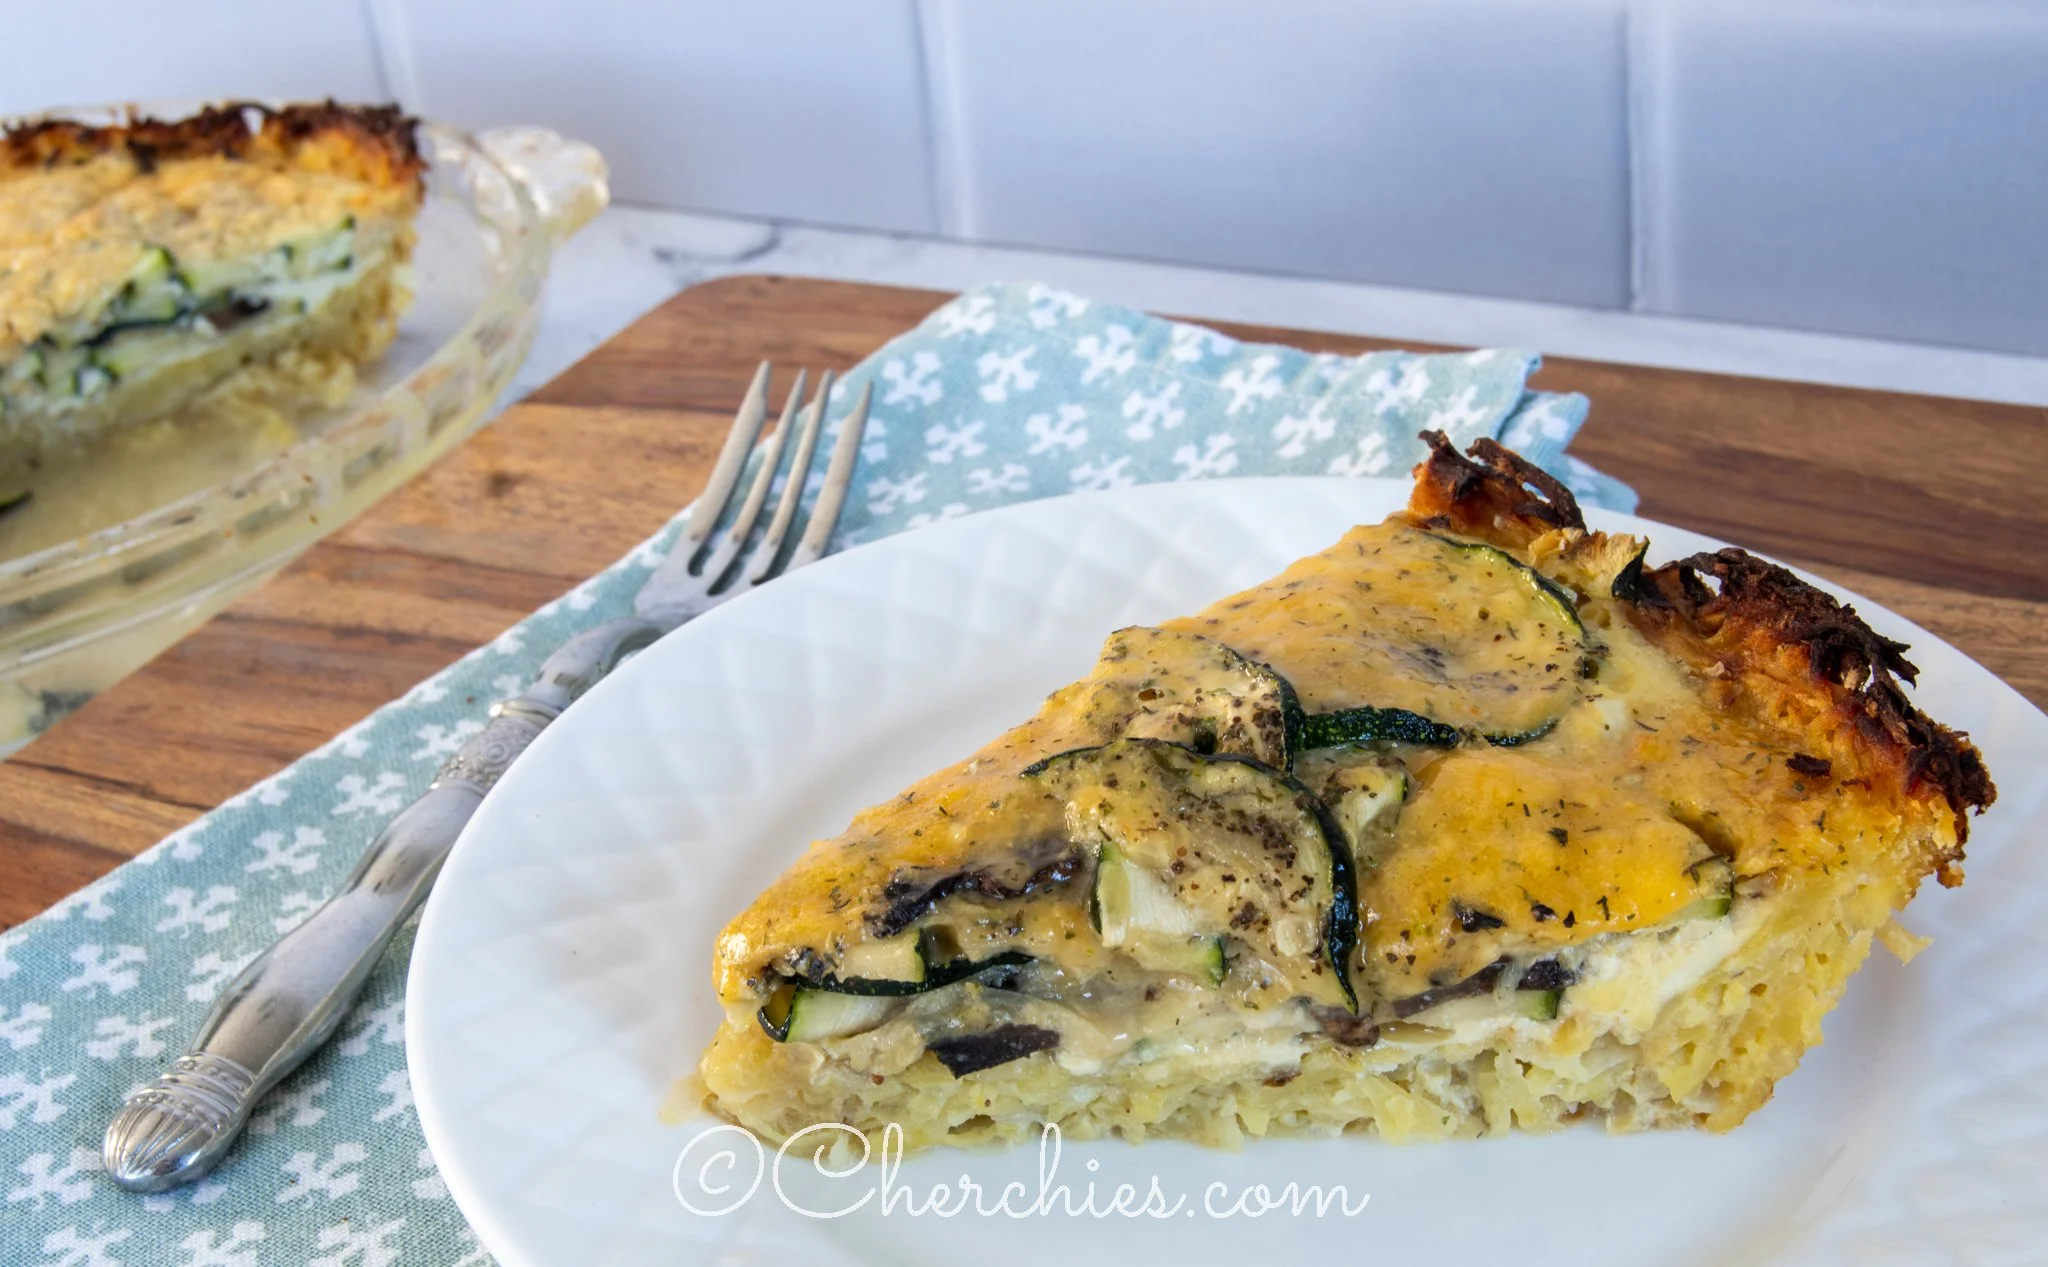
Is zucchini growing out of your ears this Summer? Our garden has abundantly provided us with a plethora of zucchini this summer. As mentioned in my recent post, aside from stir-fries, sauteeing, fritters, zucchini bread (more on that in another post), or even giving to neighbors, I needed another recipe to share with you to use up our bounty. Introducing our Fresh Zucchini Pie Recipe!

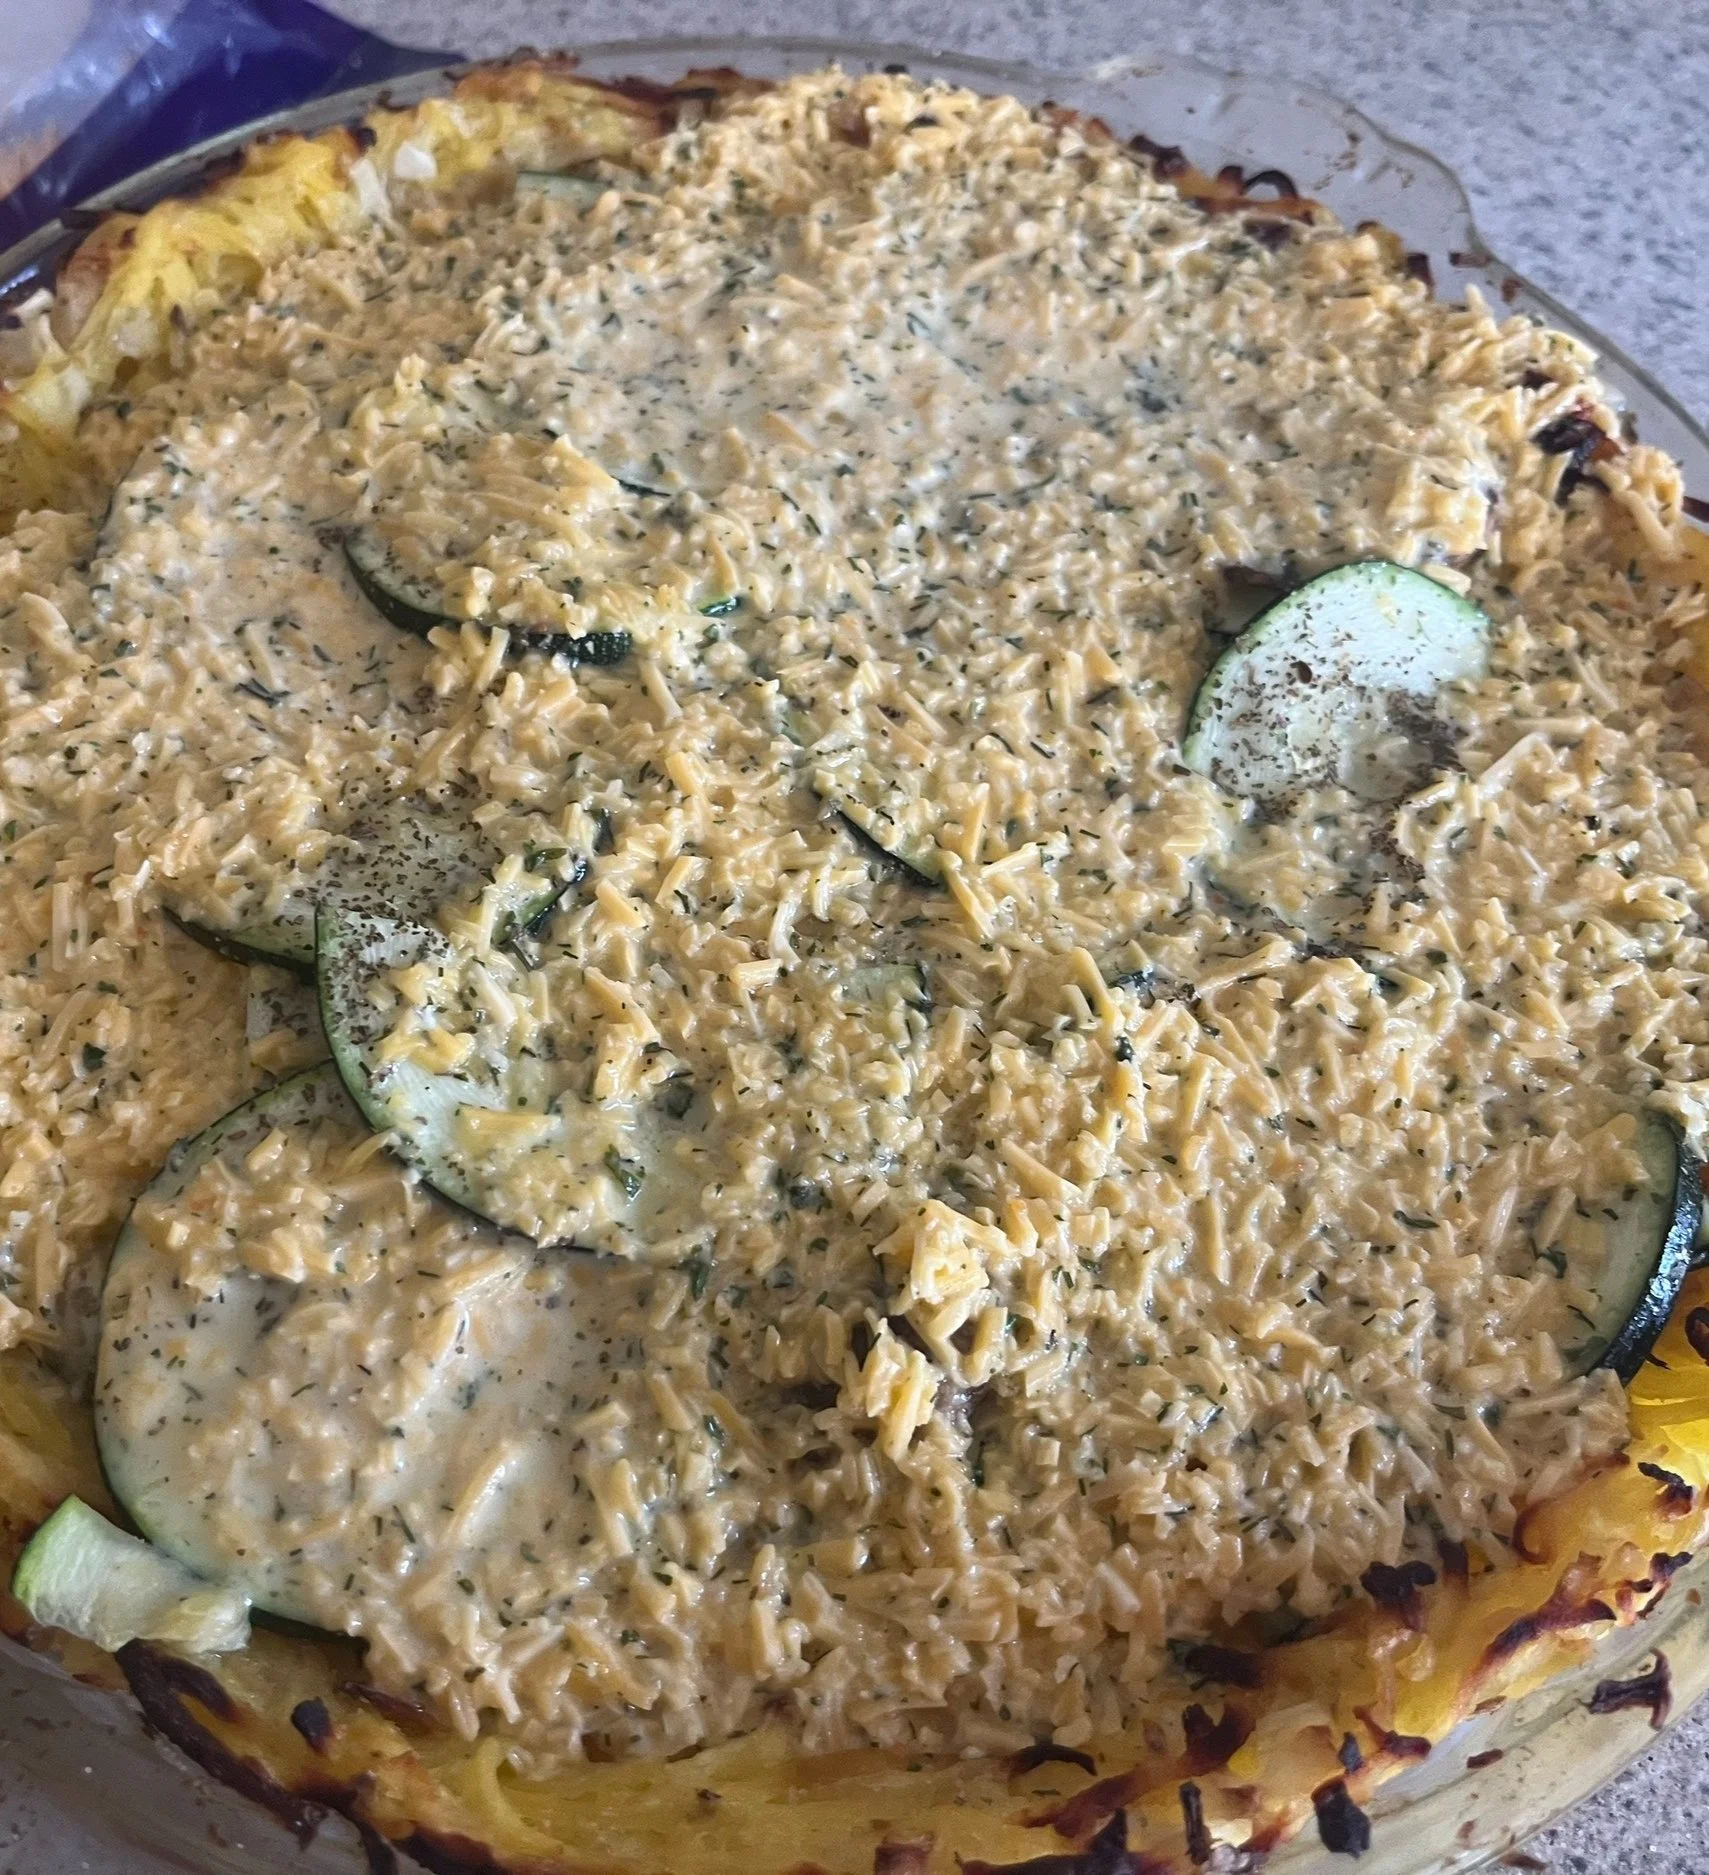
This garden-fresh recipe features, you guessed it, ZUCCHINI, mushrooms, eggs, cheese, Cherchies® Lem ‘N Dill and Cherchies® Garlic Seasonings, and an unusual hash brown pie crust. We have tried other recipes without using Cherchies® Seasonings, and the result is not the same.

This easy recipe would be perfect for brunch, “Meatless Monday,” dinner, or any time you have a hankering for fresh veggies, cheese, and potatoes. Serve this zucchini pie with our Cranberry Spinach Salad for a complete meal.

Thank you for stopping by! Comment below if you have tried this tasty recipe. Come back again for more family-tested recipes, entertaining ideas, and cooking tips using all our favorite Cherchies® gourmet products. Family and picky husband approved;)

Follow us on social media: Facebook, Instagram, and Pinterest.

Enjoy!
Ingredients

  • 3 cups frozen loose-pack hash brown potatoes, thawed (*You can also make your own hash browns. See Note below).

  • 1 beaten egg

  • 1/4 cup finely chopped onion

  • 1/4 cup grated Parmesan cheese

  • 1 Tablespoon (Tbsp.) Cherchies® Lem’n Dill Seasoning

  • 2 cups thinly sliced zucchini

  • 1/2 cup thinly sliced mushrooms

  • 1 TBSP. margarine or butter

  • 3 beaten eggs

  • 3/4 cup shredded Swiss or cheddar cheese

  • 1⁄2 cup milk

  • 1/2 teaspoon (tsp.) Cherchies® Garlic Seasoning

  • 2 teaspoons (tsp.) snipped fresh oregano

  • 1/4 teaspoon (tsp.) salt

  • 1/4 teaspoon (tsp.) pepper

  • cooking spray

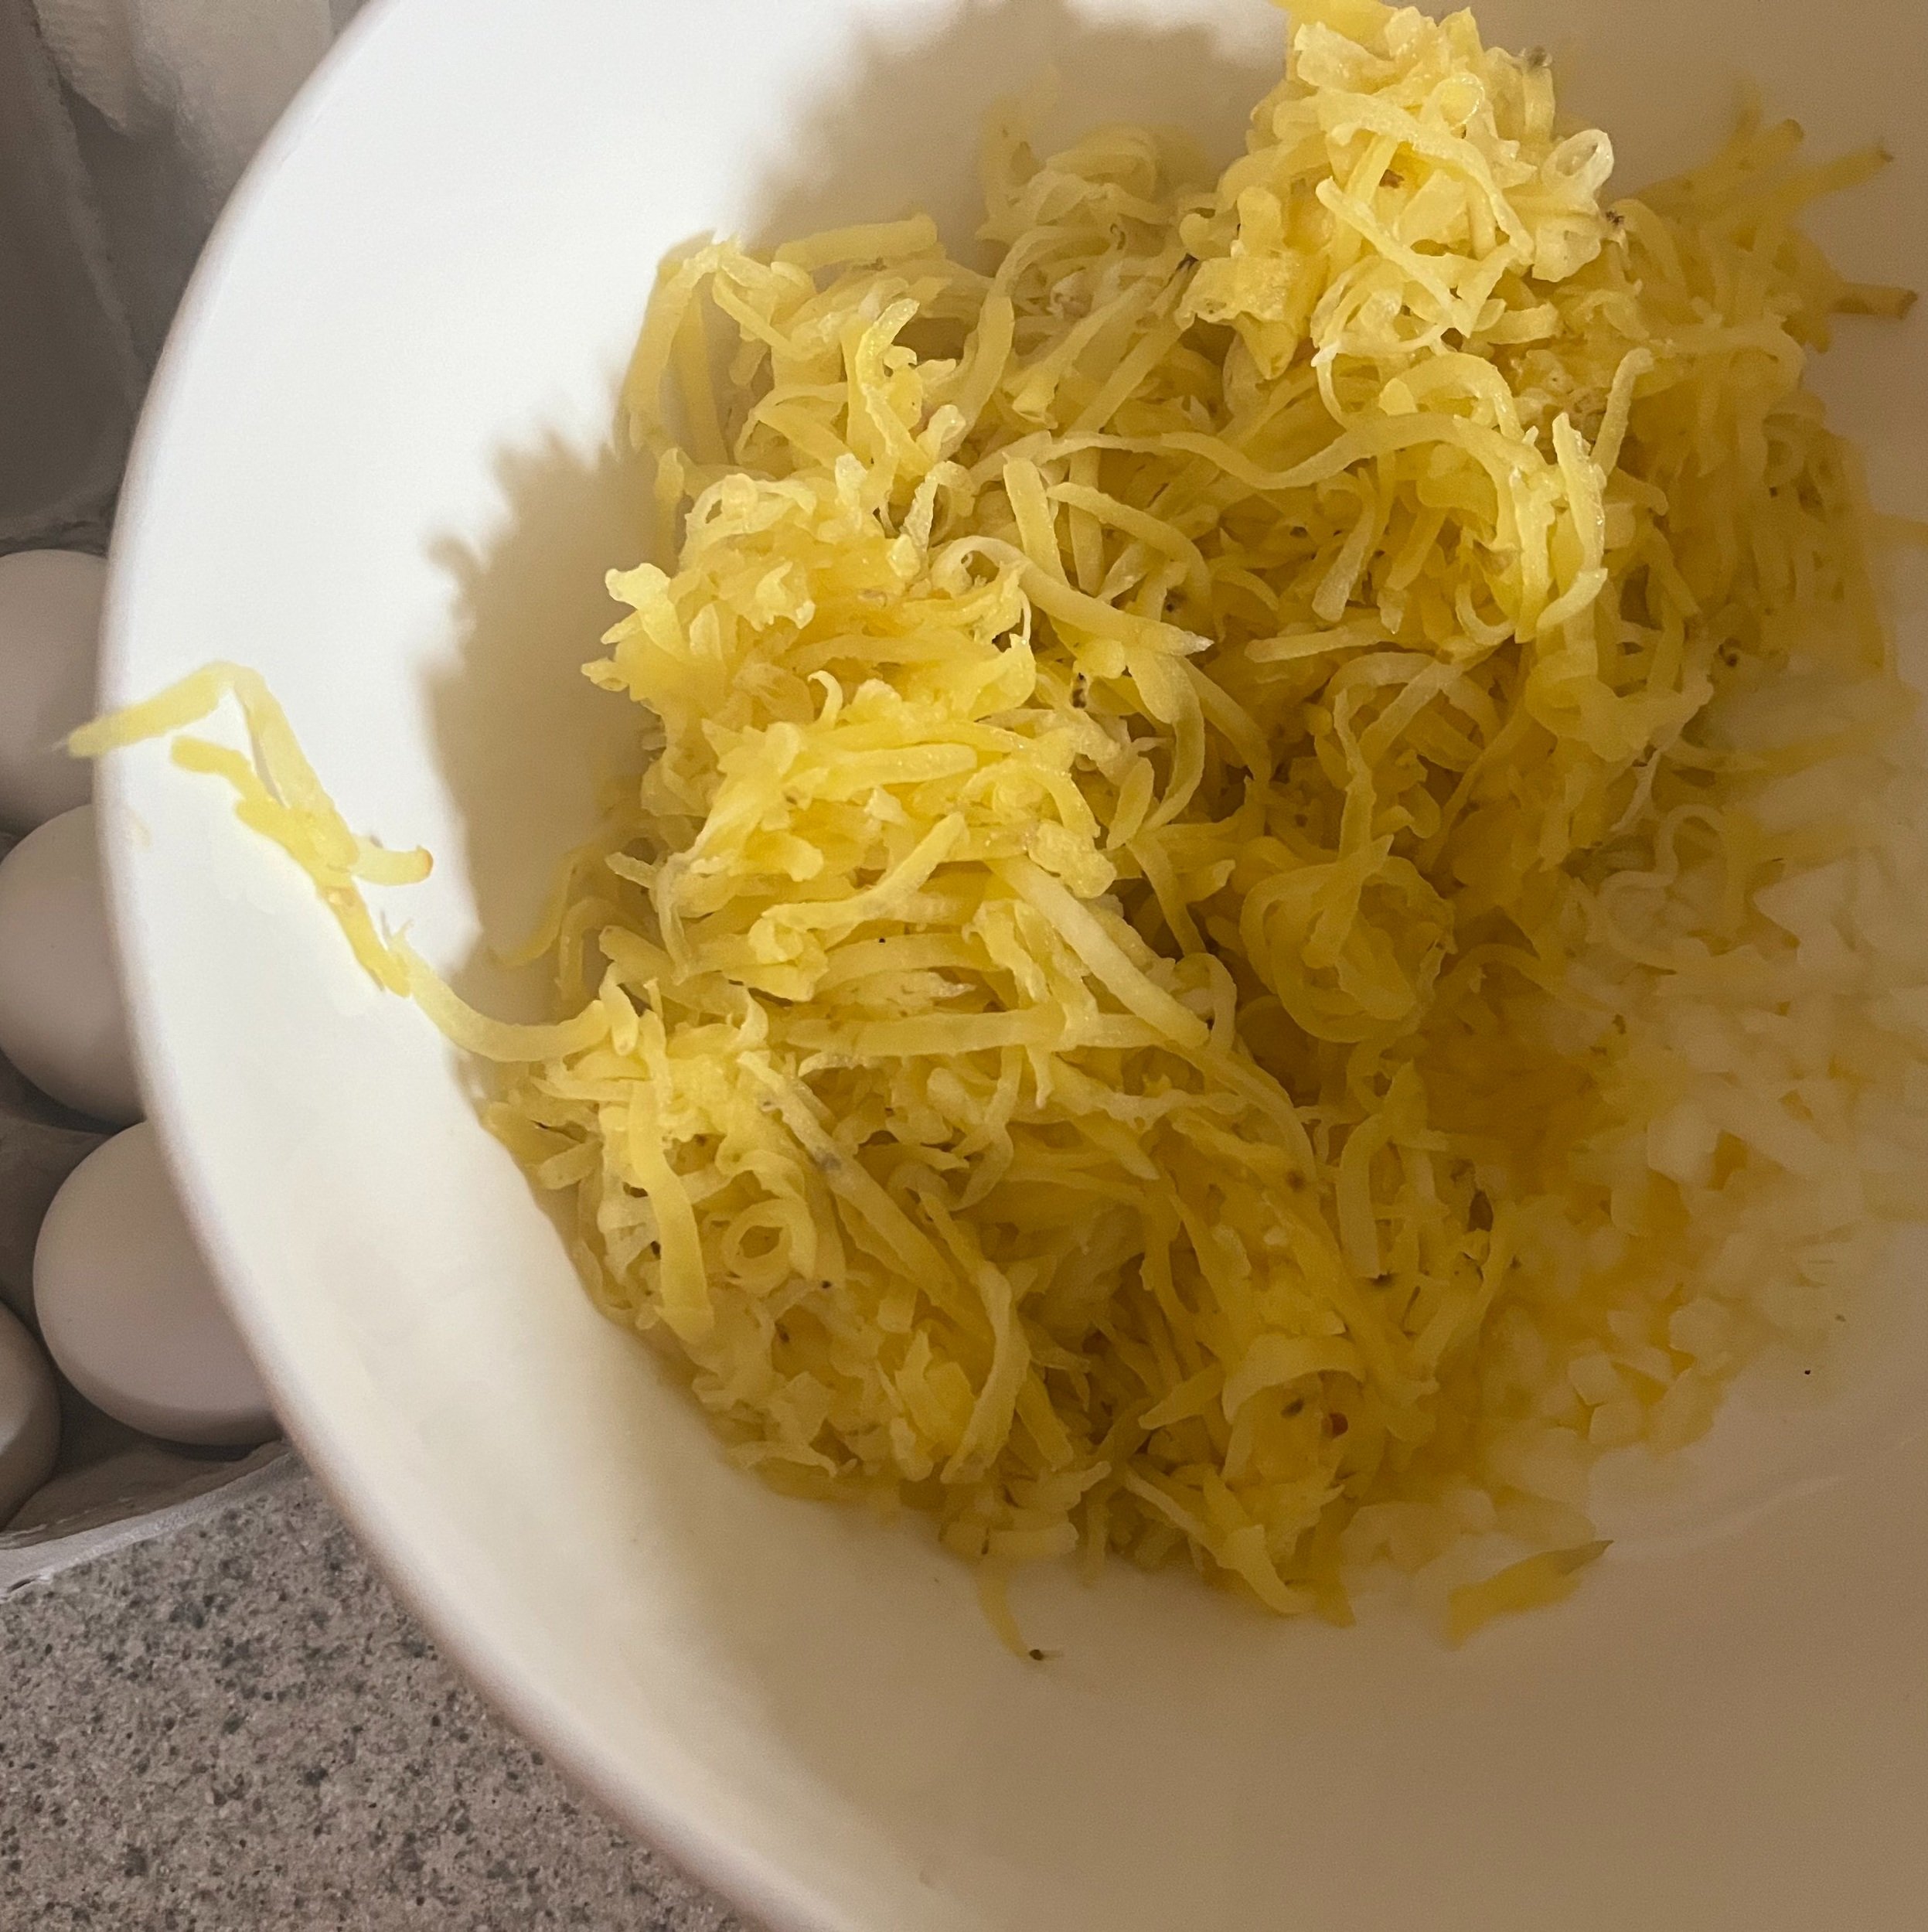
*Note: This time, we made our own hash browns with gold potatoes that we had on hand and our food processor’s shredding attachment for this picture. Before we assembled this pie, we soaked the potatoes in cold water to avoid turning brown and then drained them on a clean dish towel.

Preparation

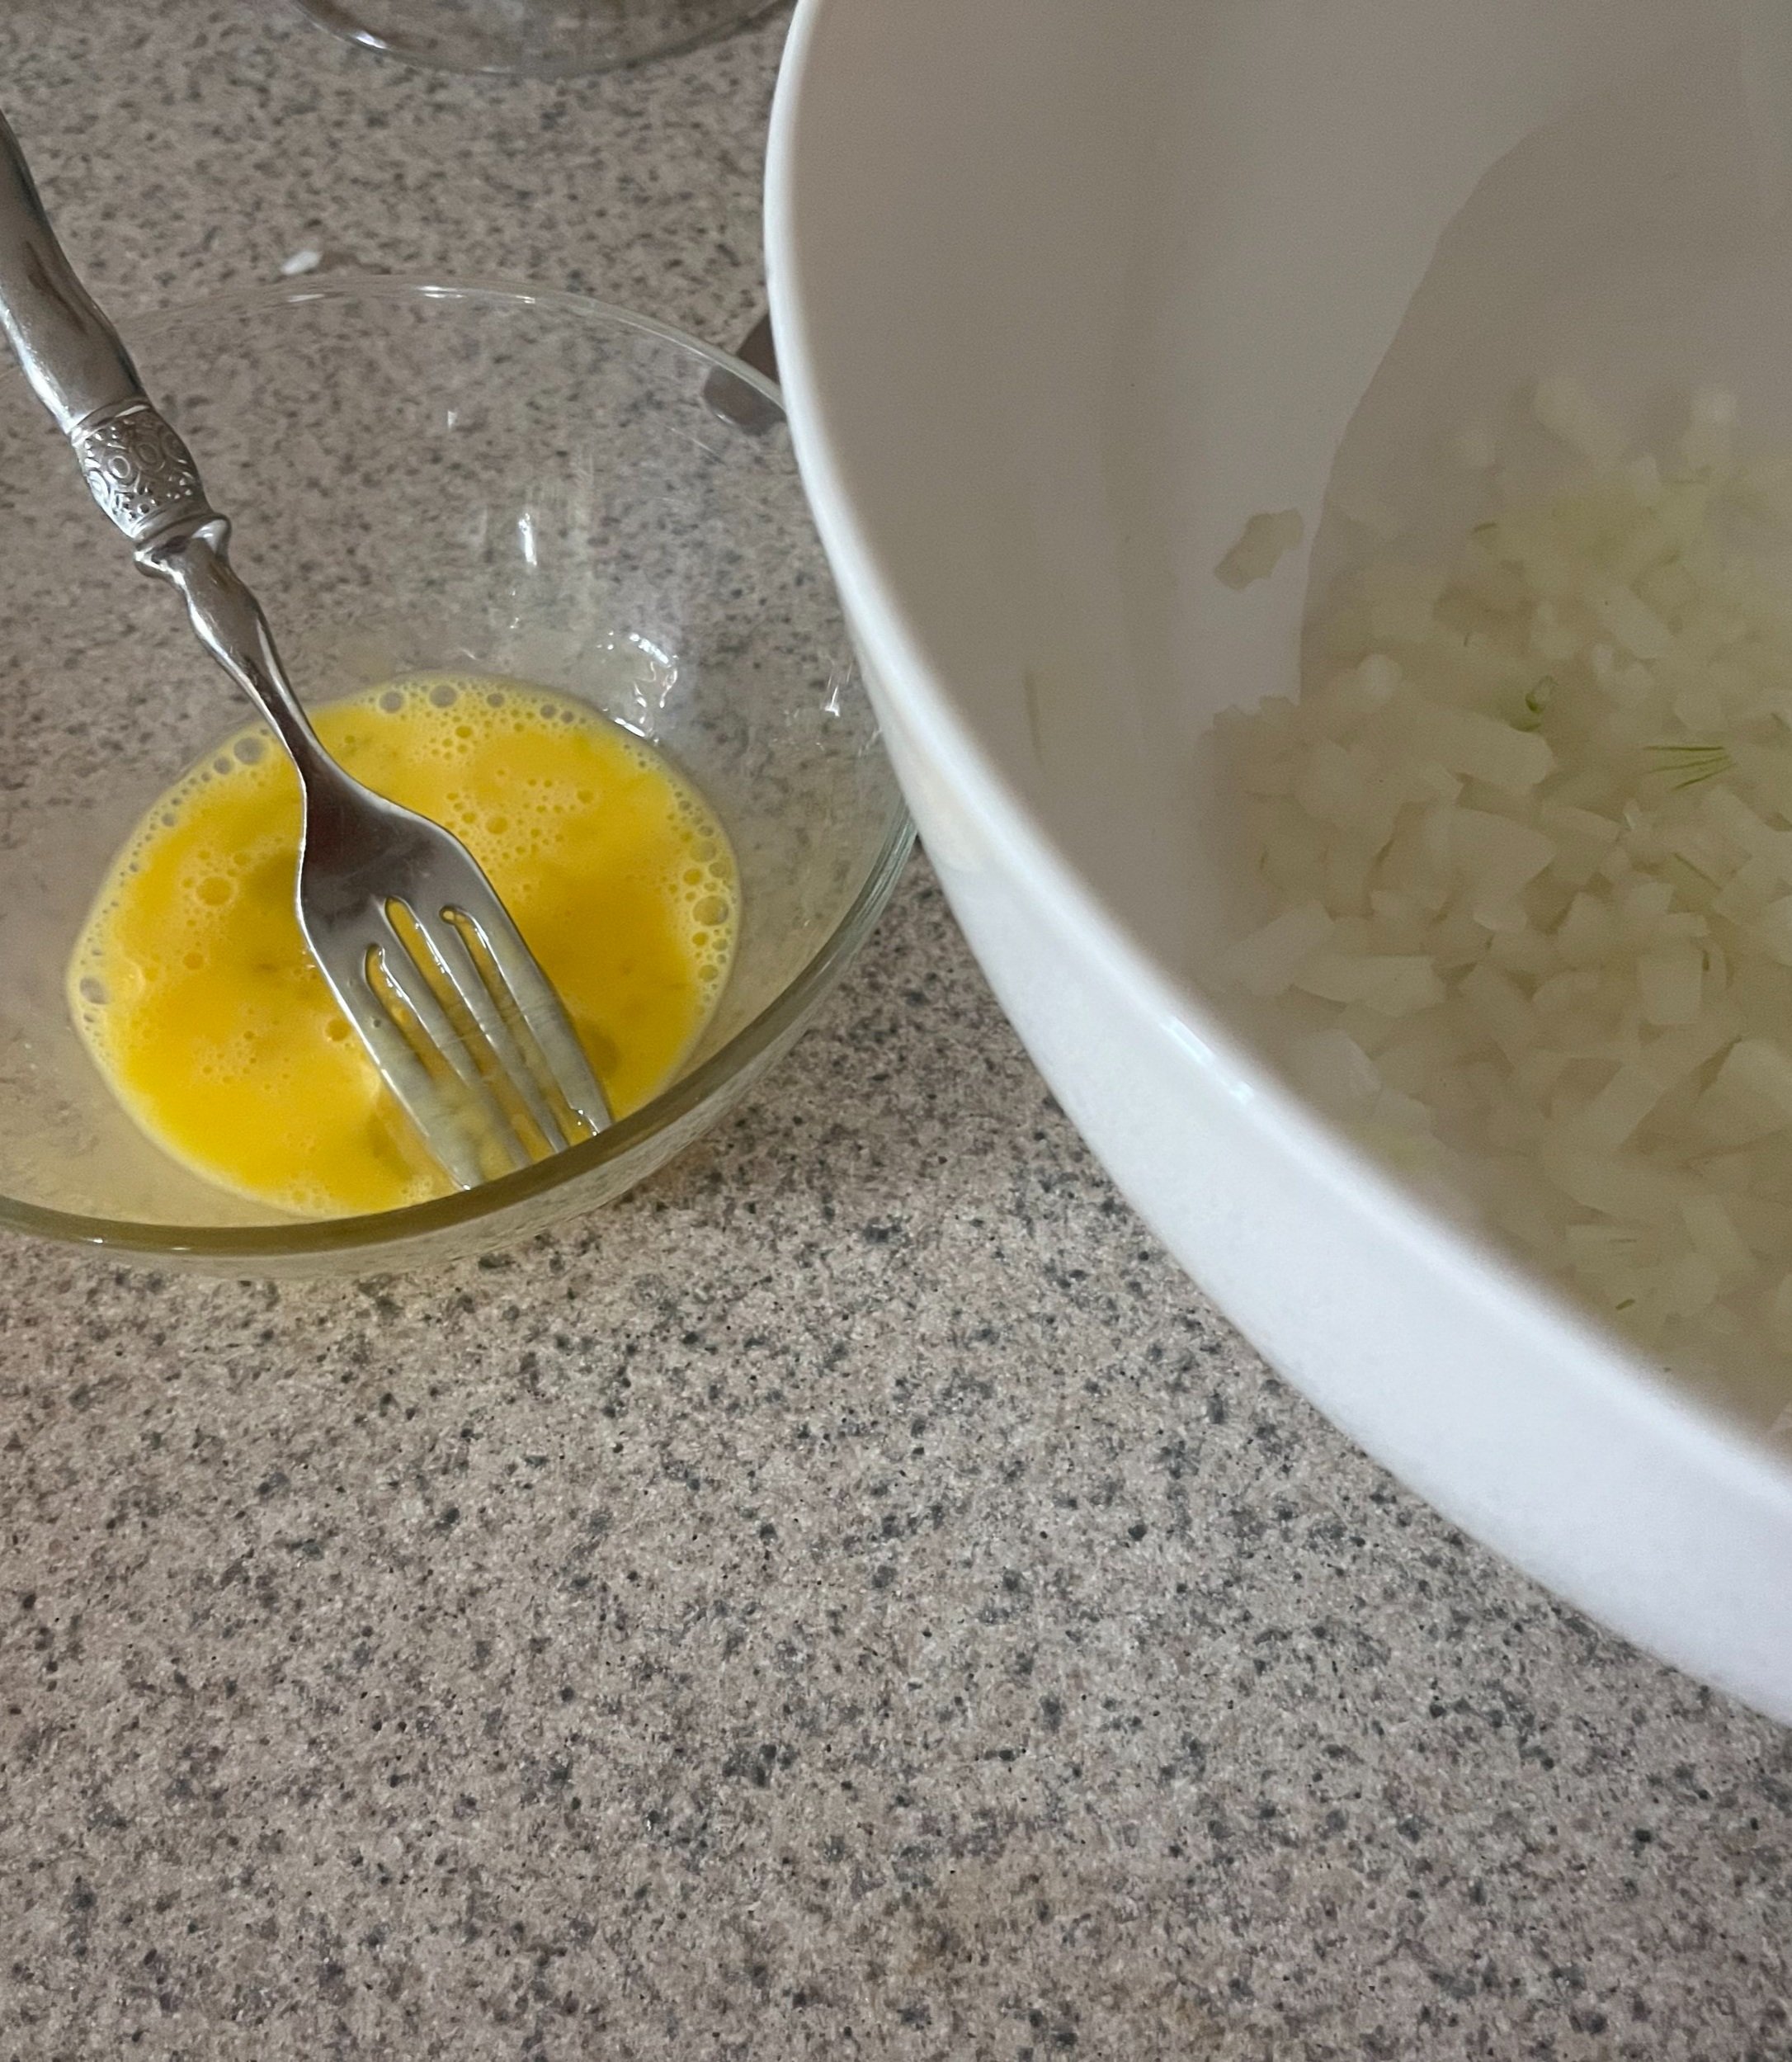
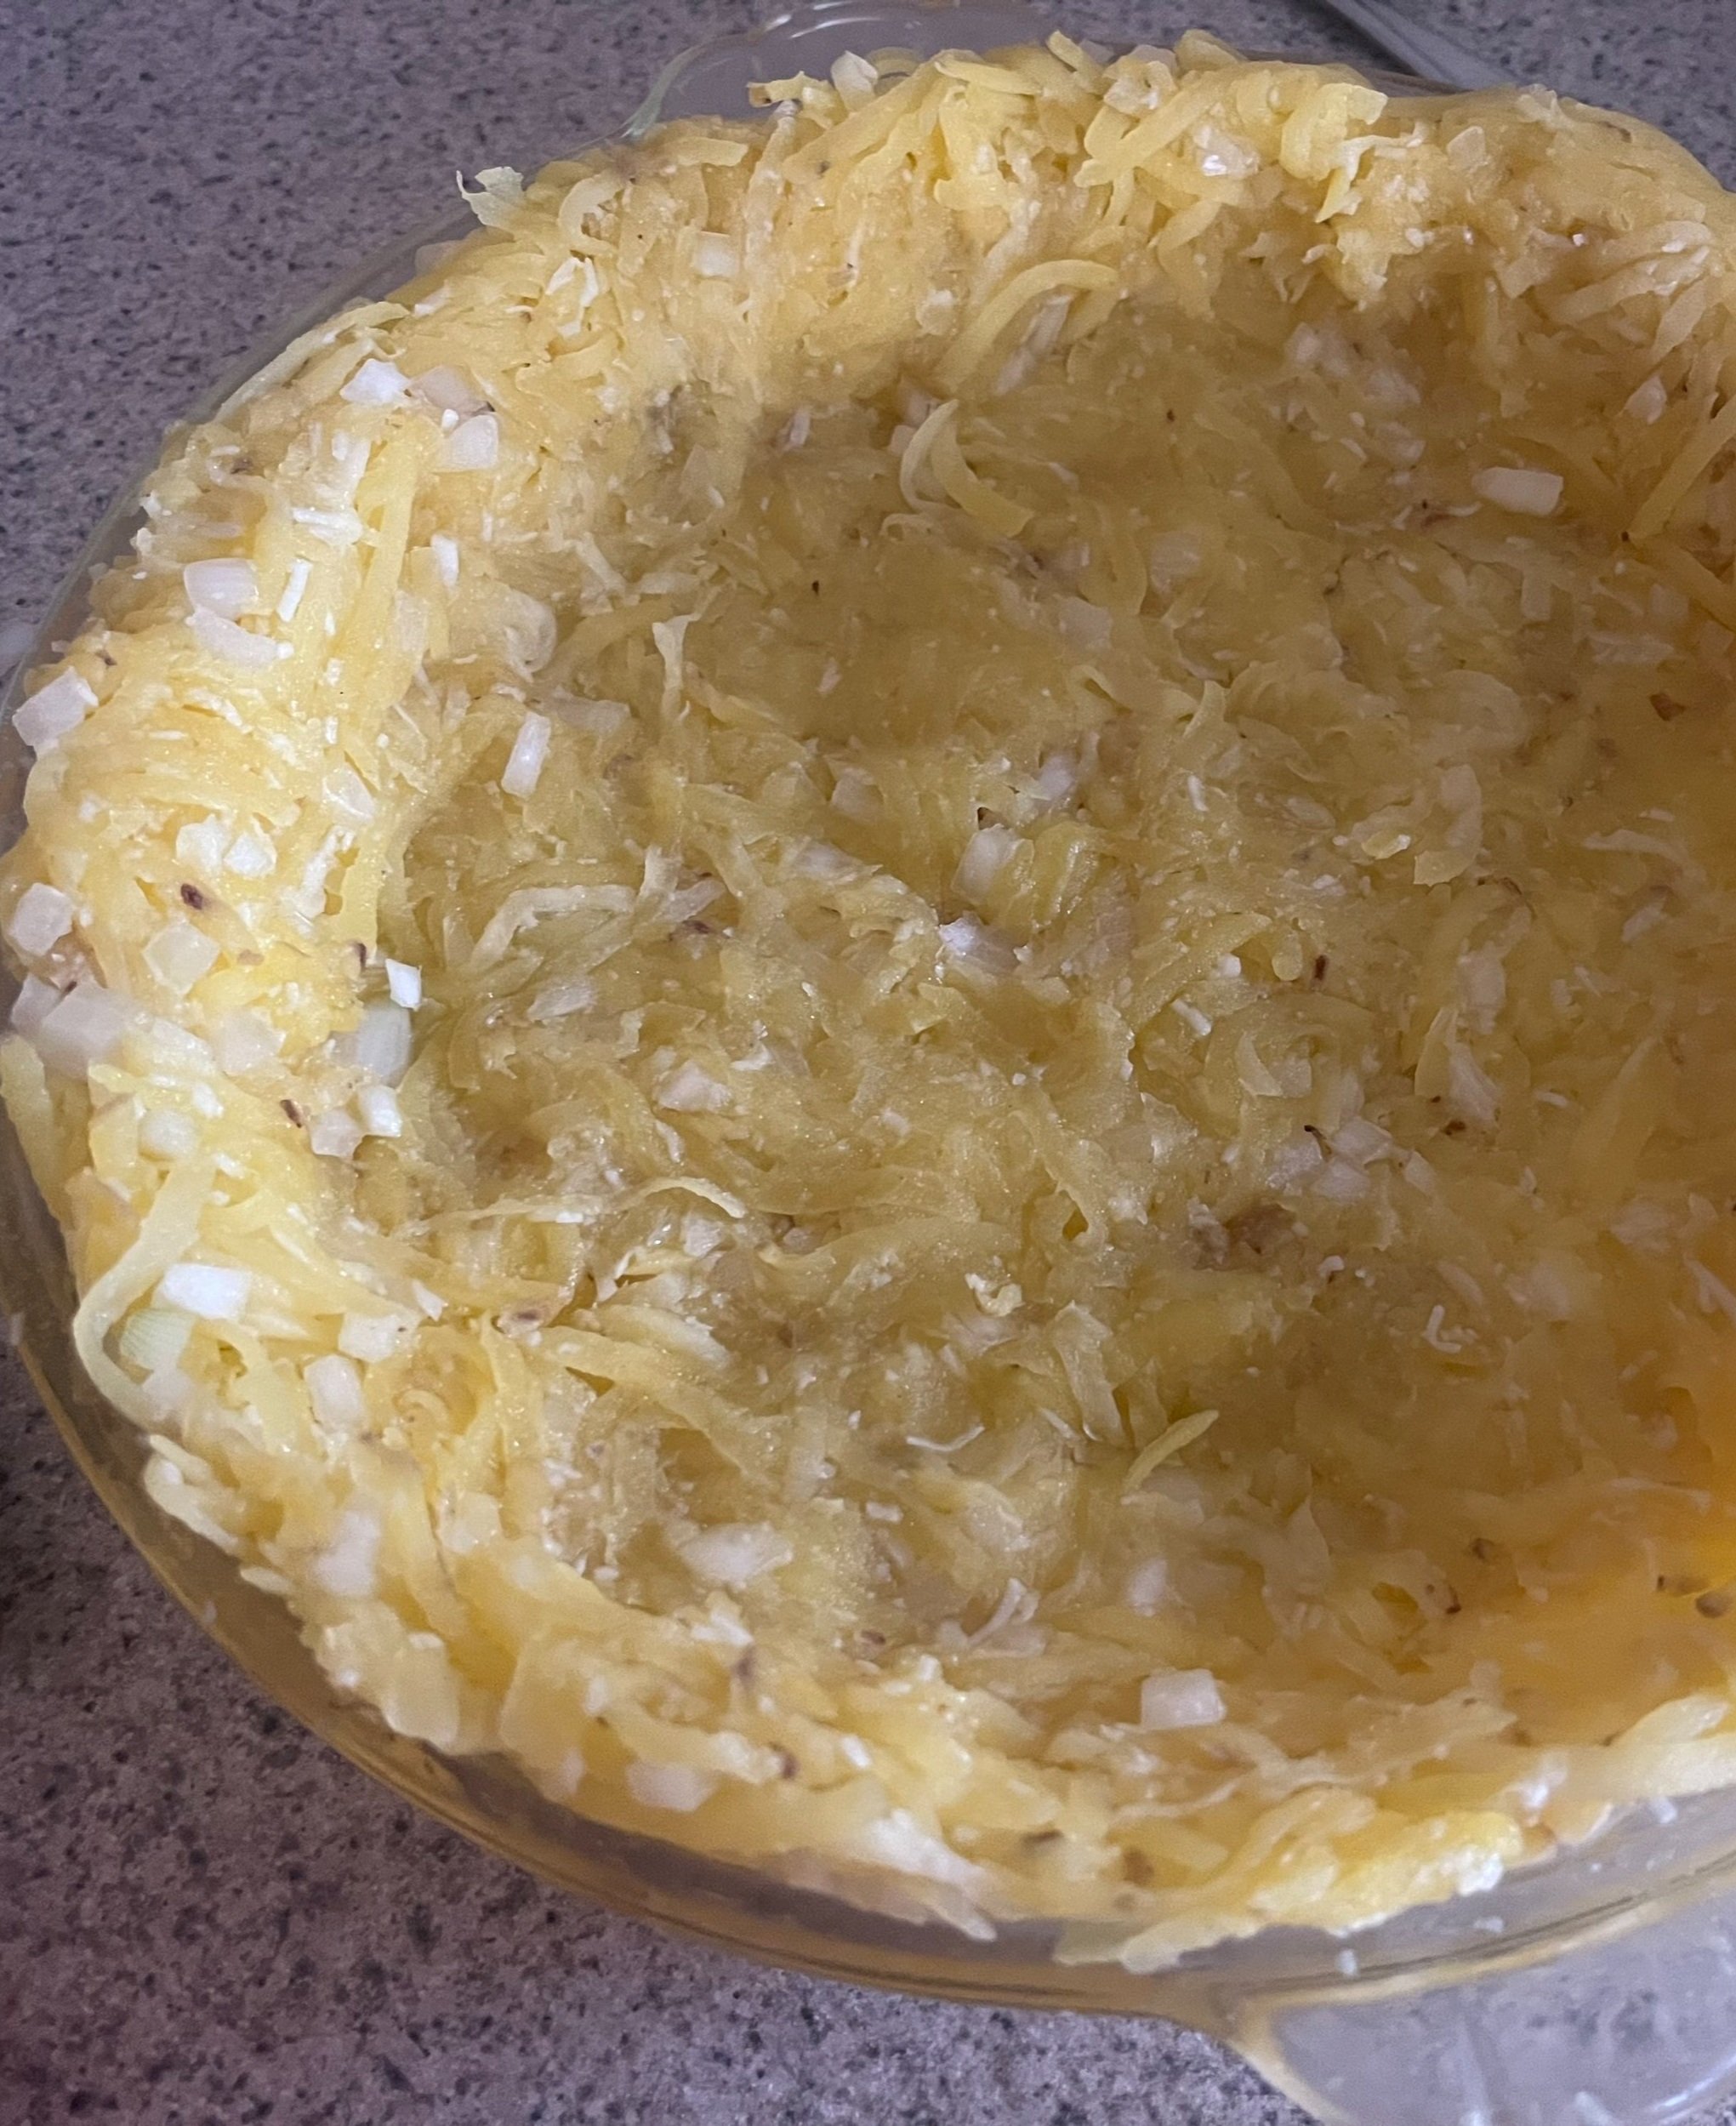
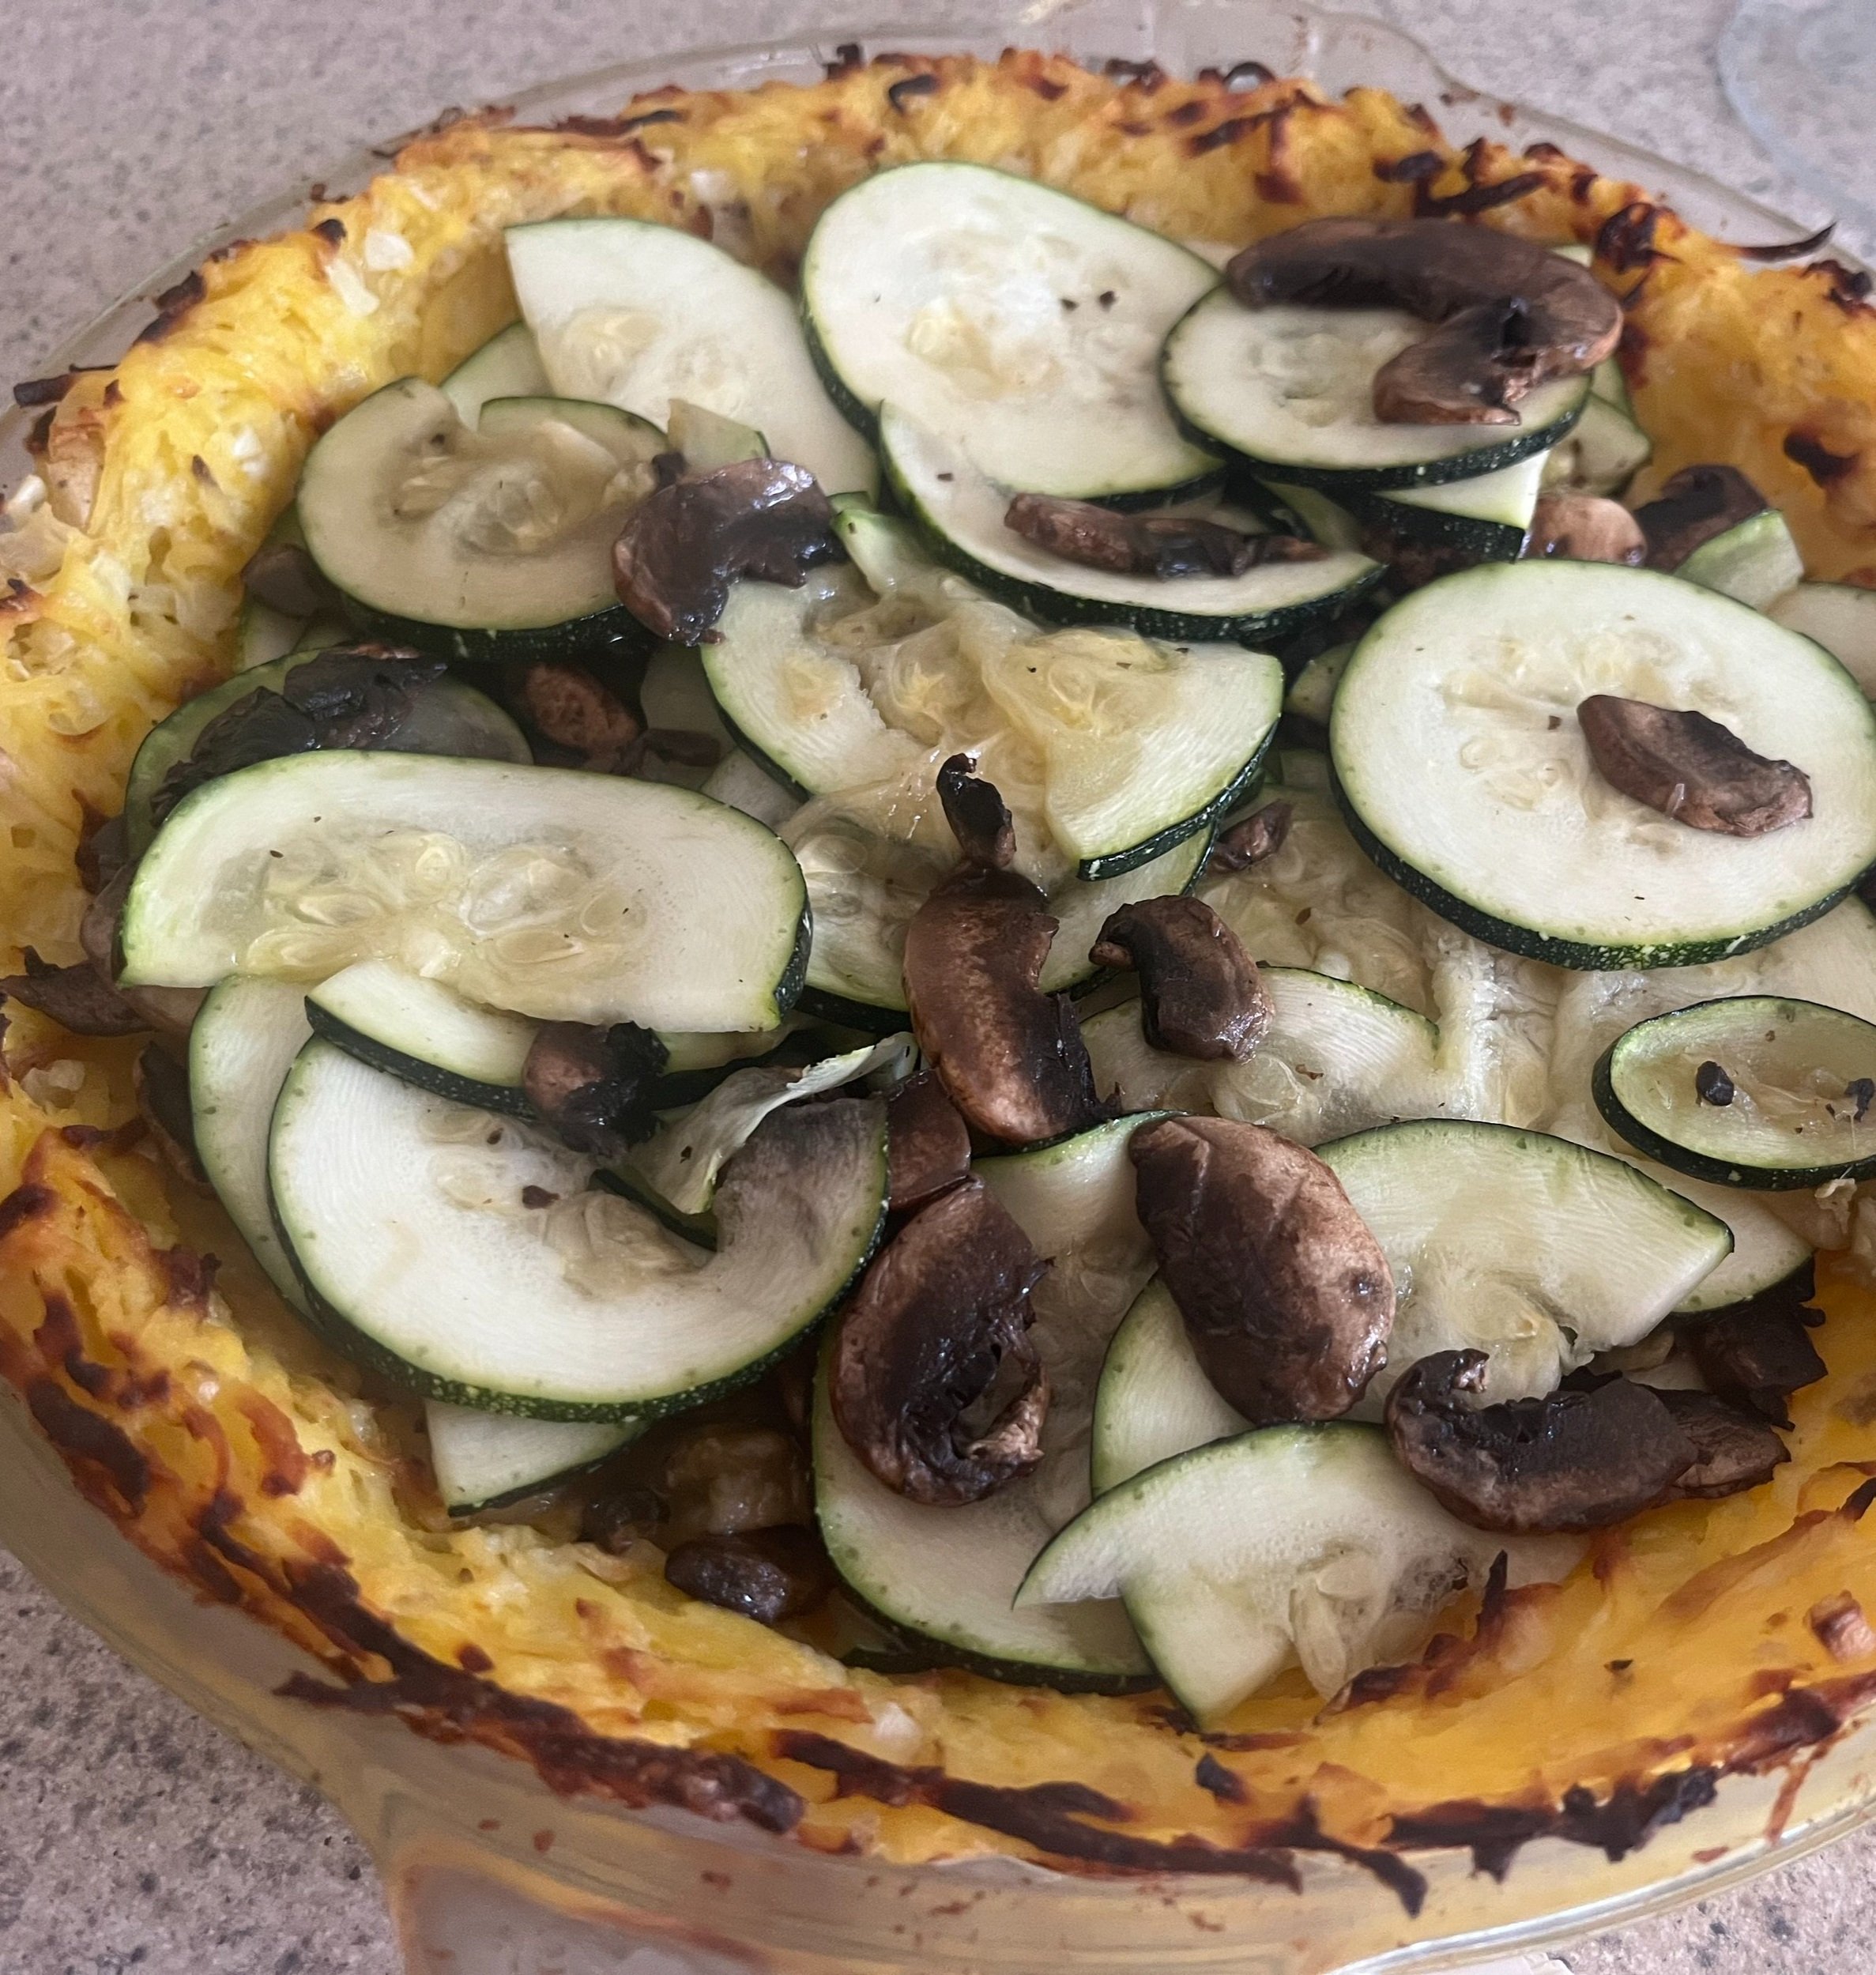
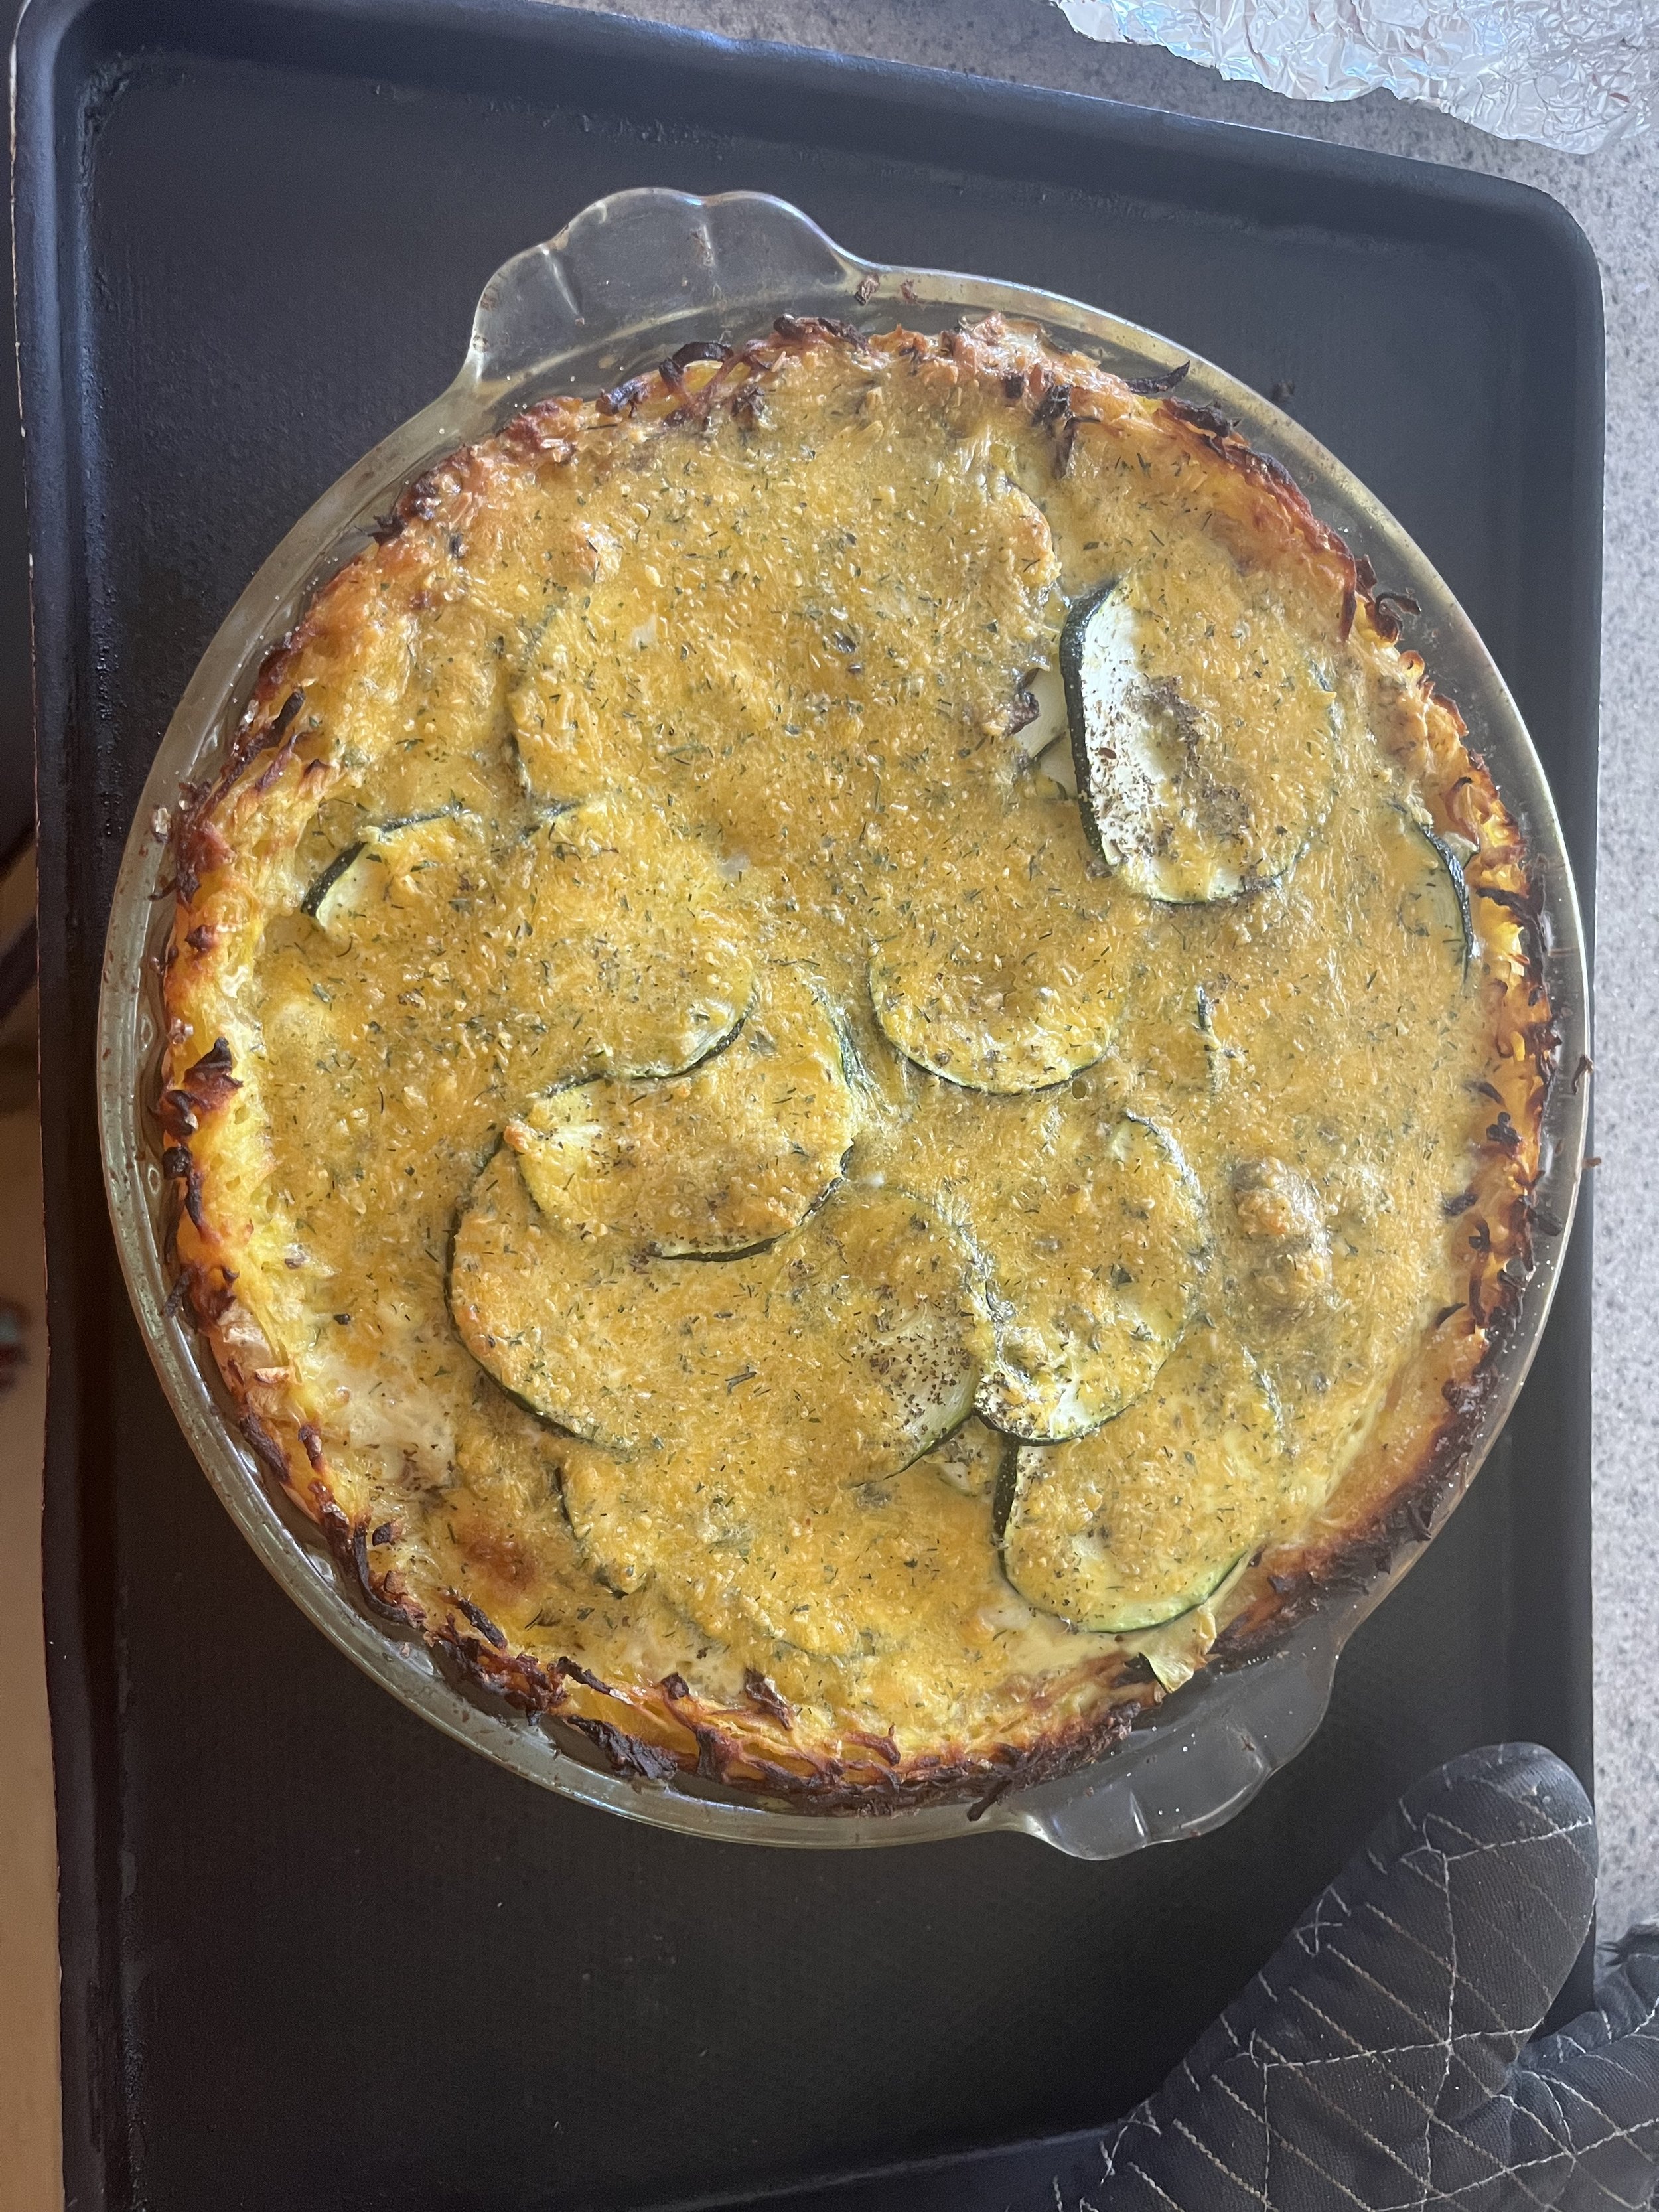
Combine one egg, onion, and Parmesan cheese in a large mixing bowl. Stir in potatoes. Transfer the potato mixture to a 9-inch pie plate or a 10-inch quiche dish. Pat the mixture in the bottom and up the sides of the dish. Bake uncovered in a 400° oven for 35 to 40 minutes or until golden. (I accidentally cooked my crust too long for the photo).

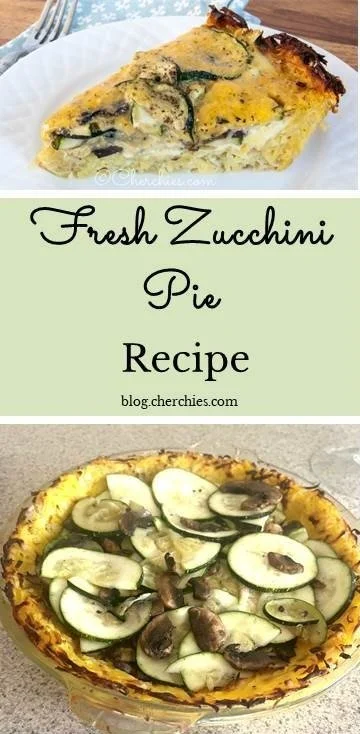
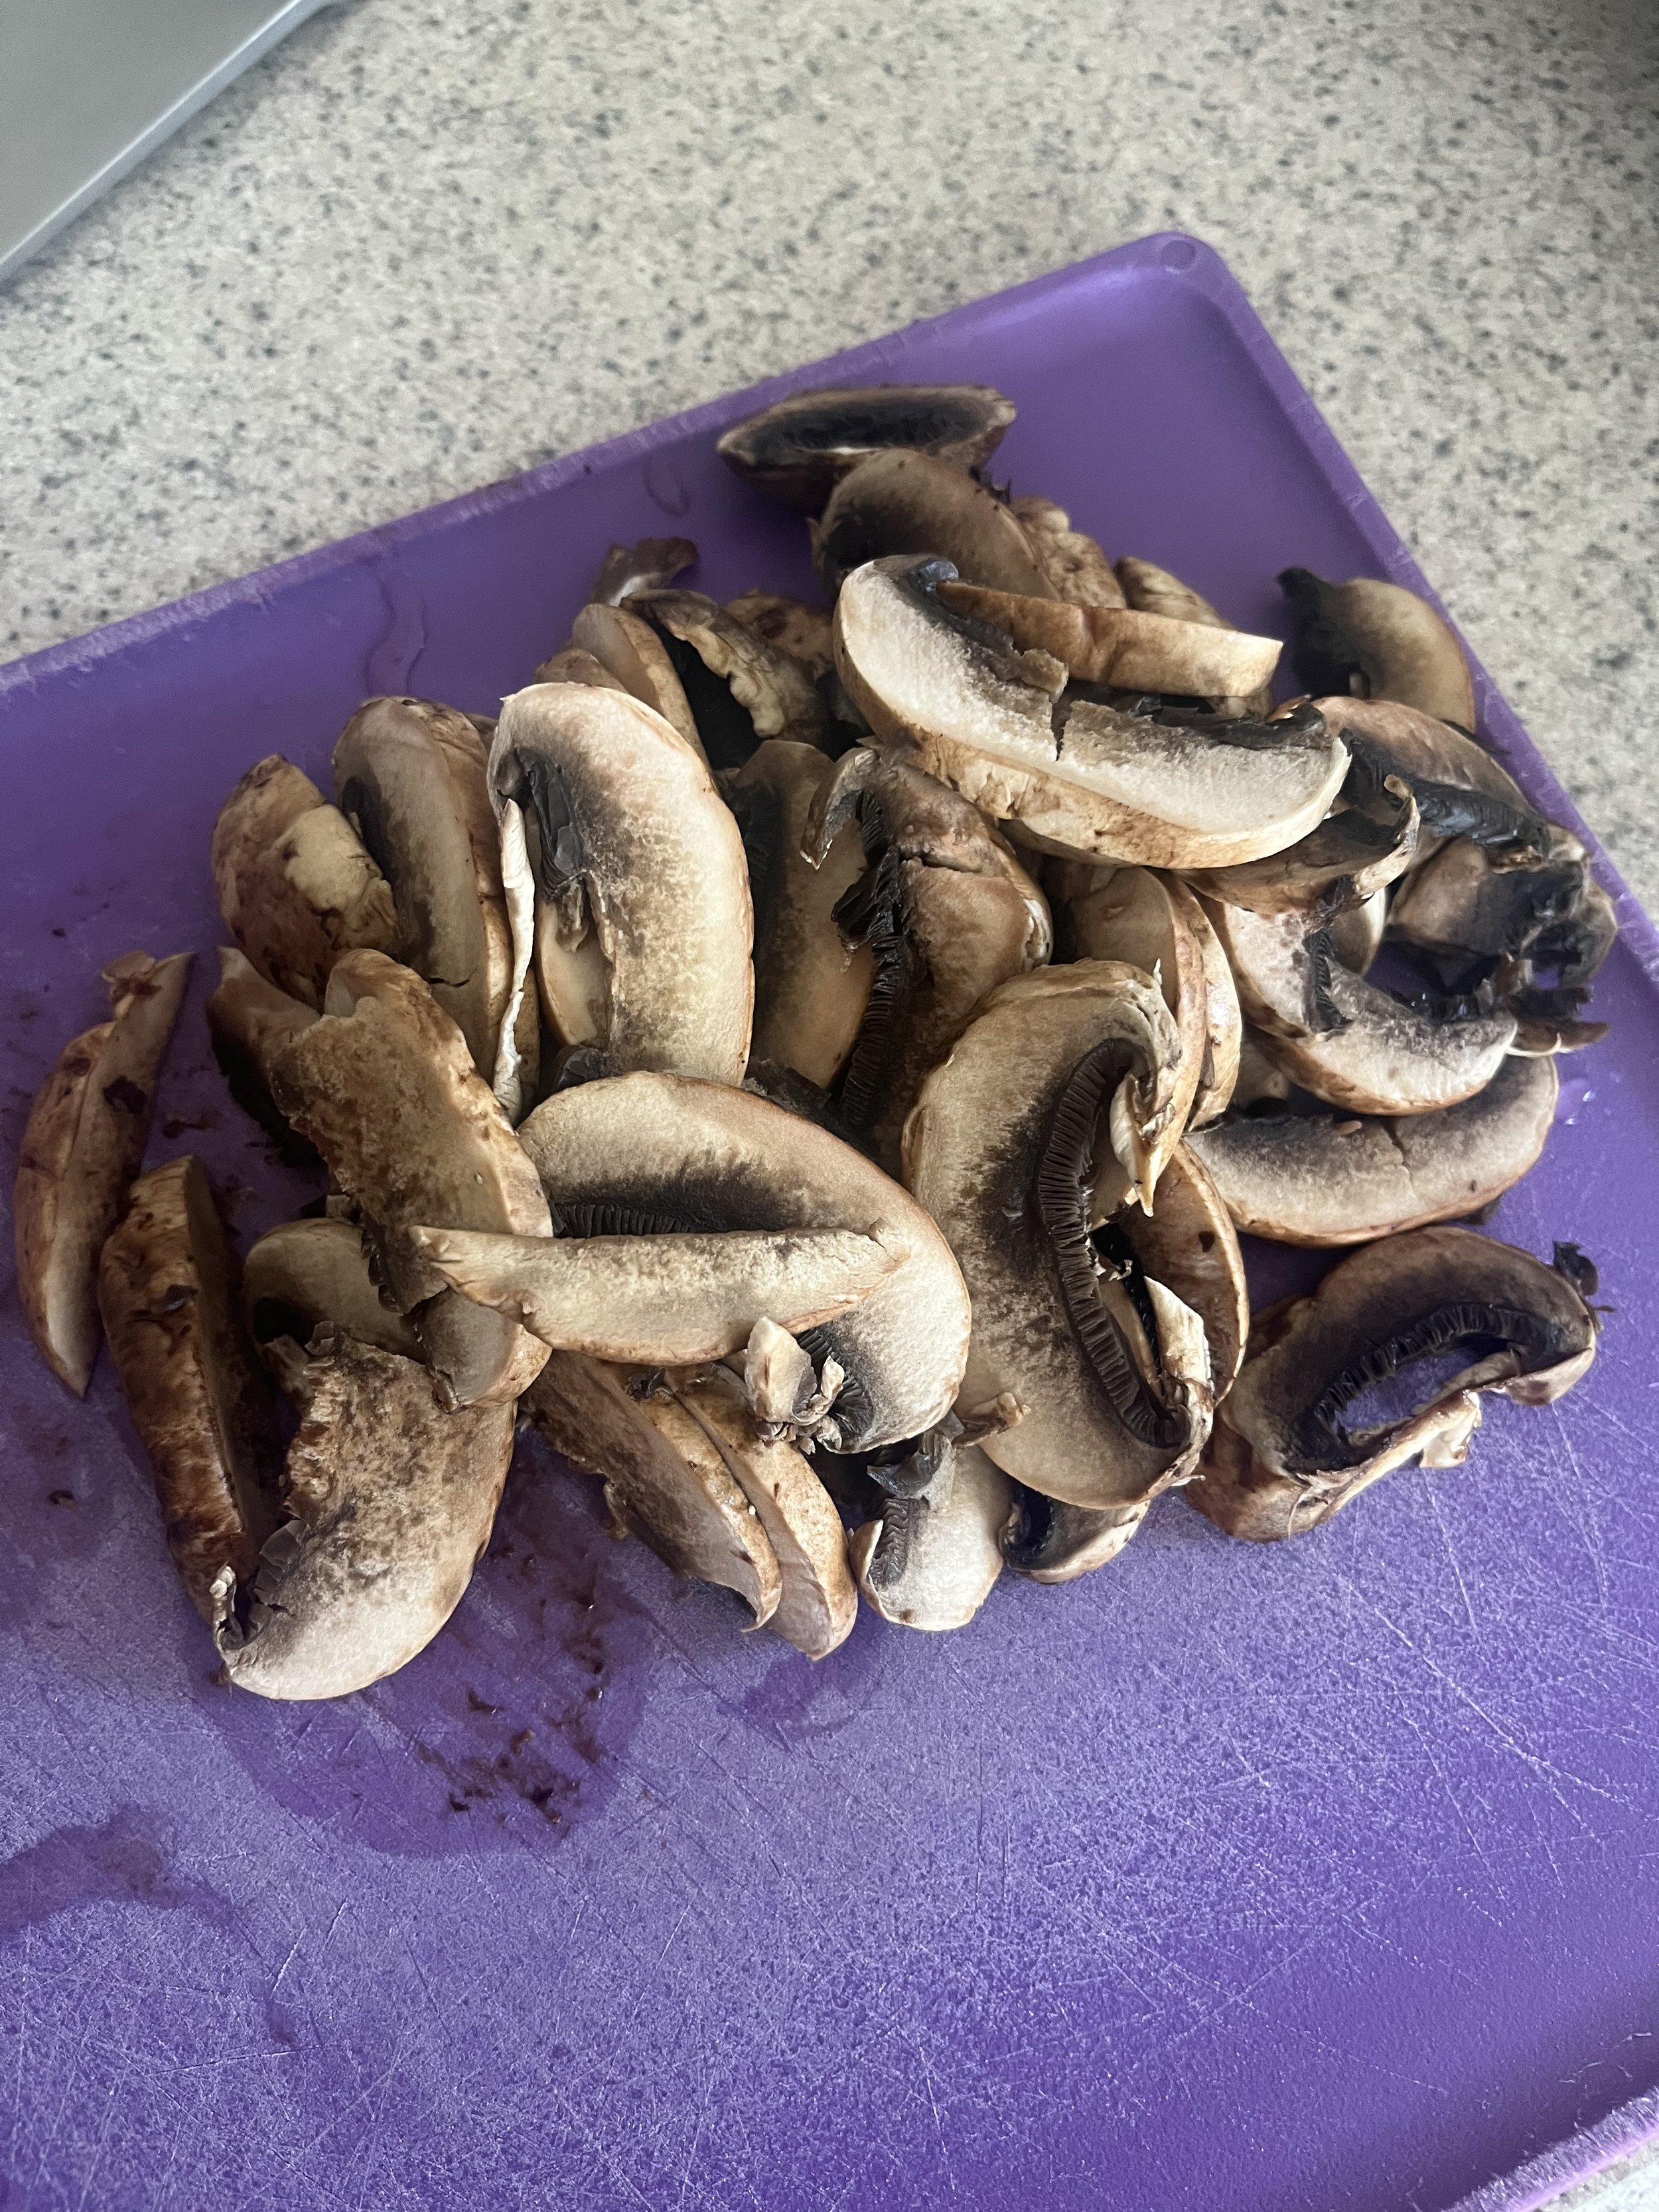
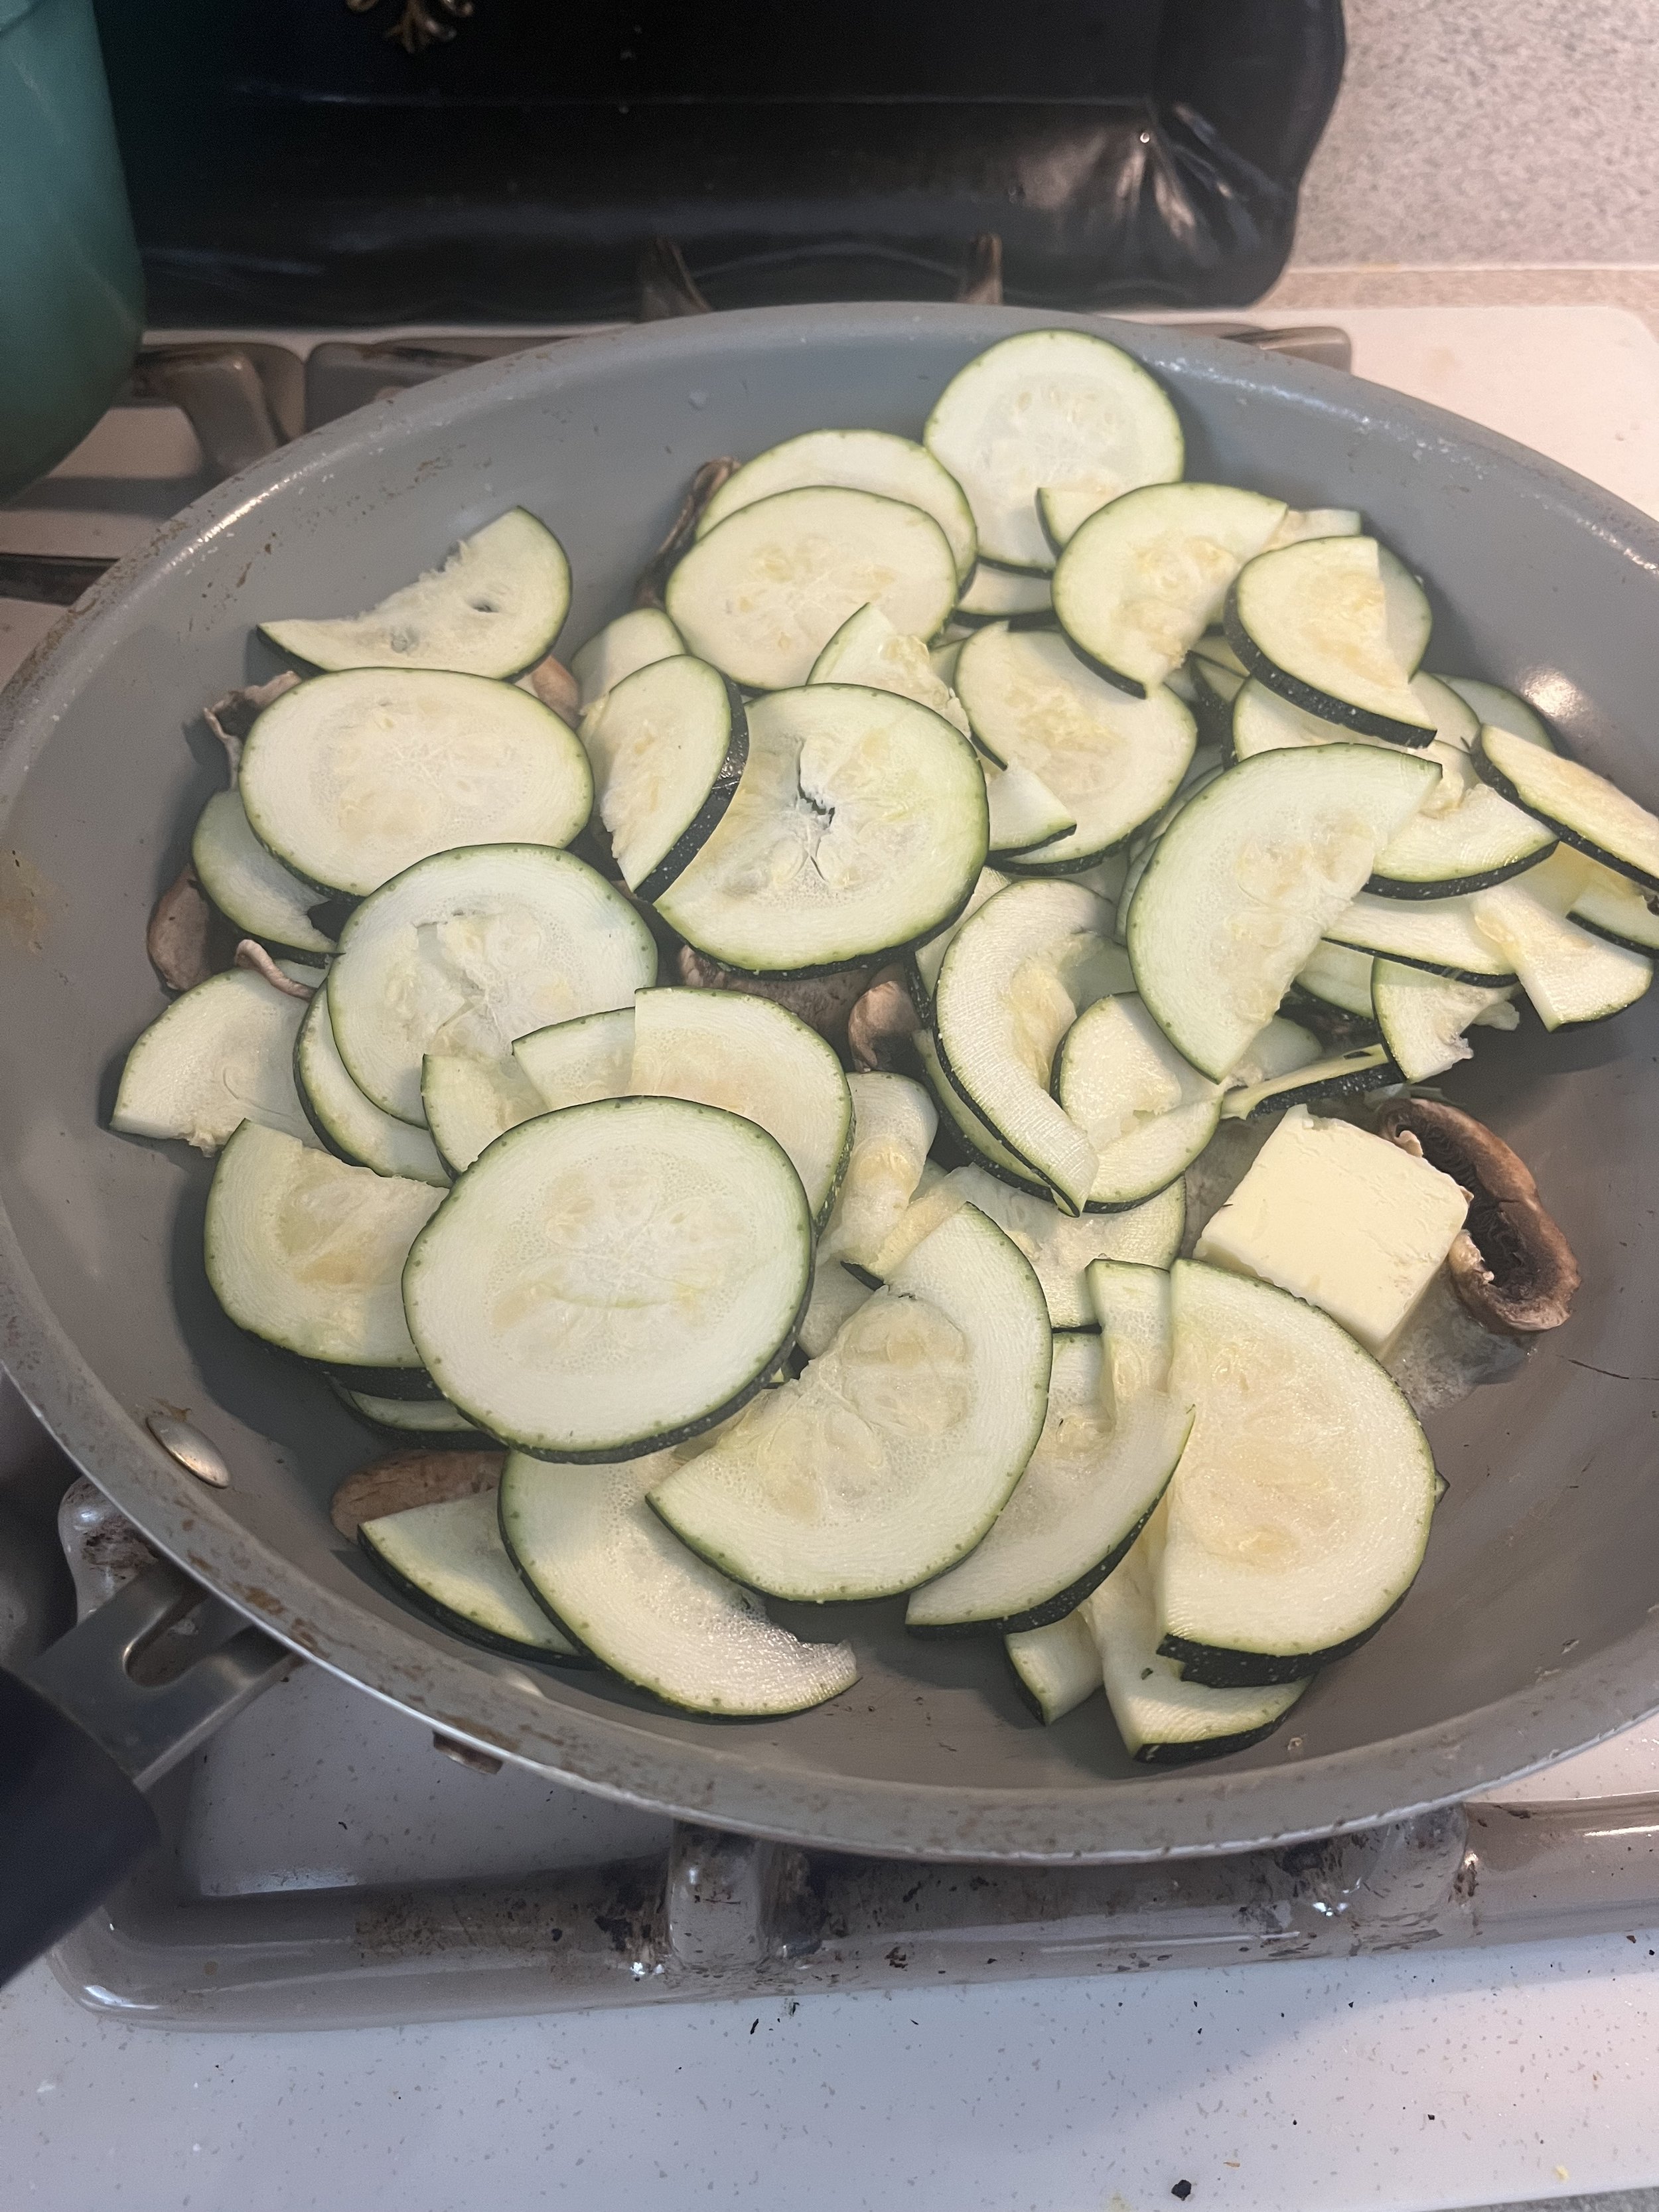
Cool slightly on a wire rack. Reduce oven temperature to 350°. In a large skillet, sauté zucchini and mushrooms in butter until crisp-tender. Cool slightly. Arrange the zucchini mixture atop the crust.

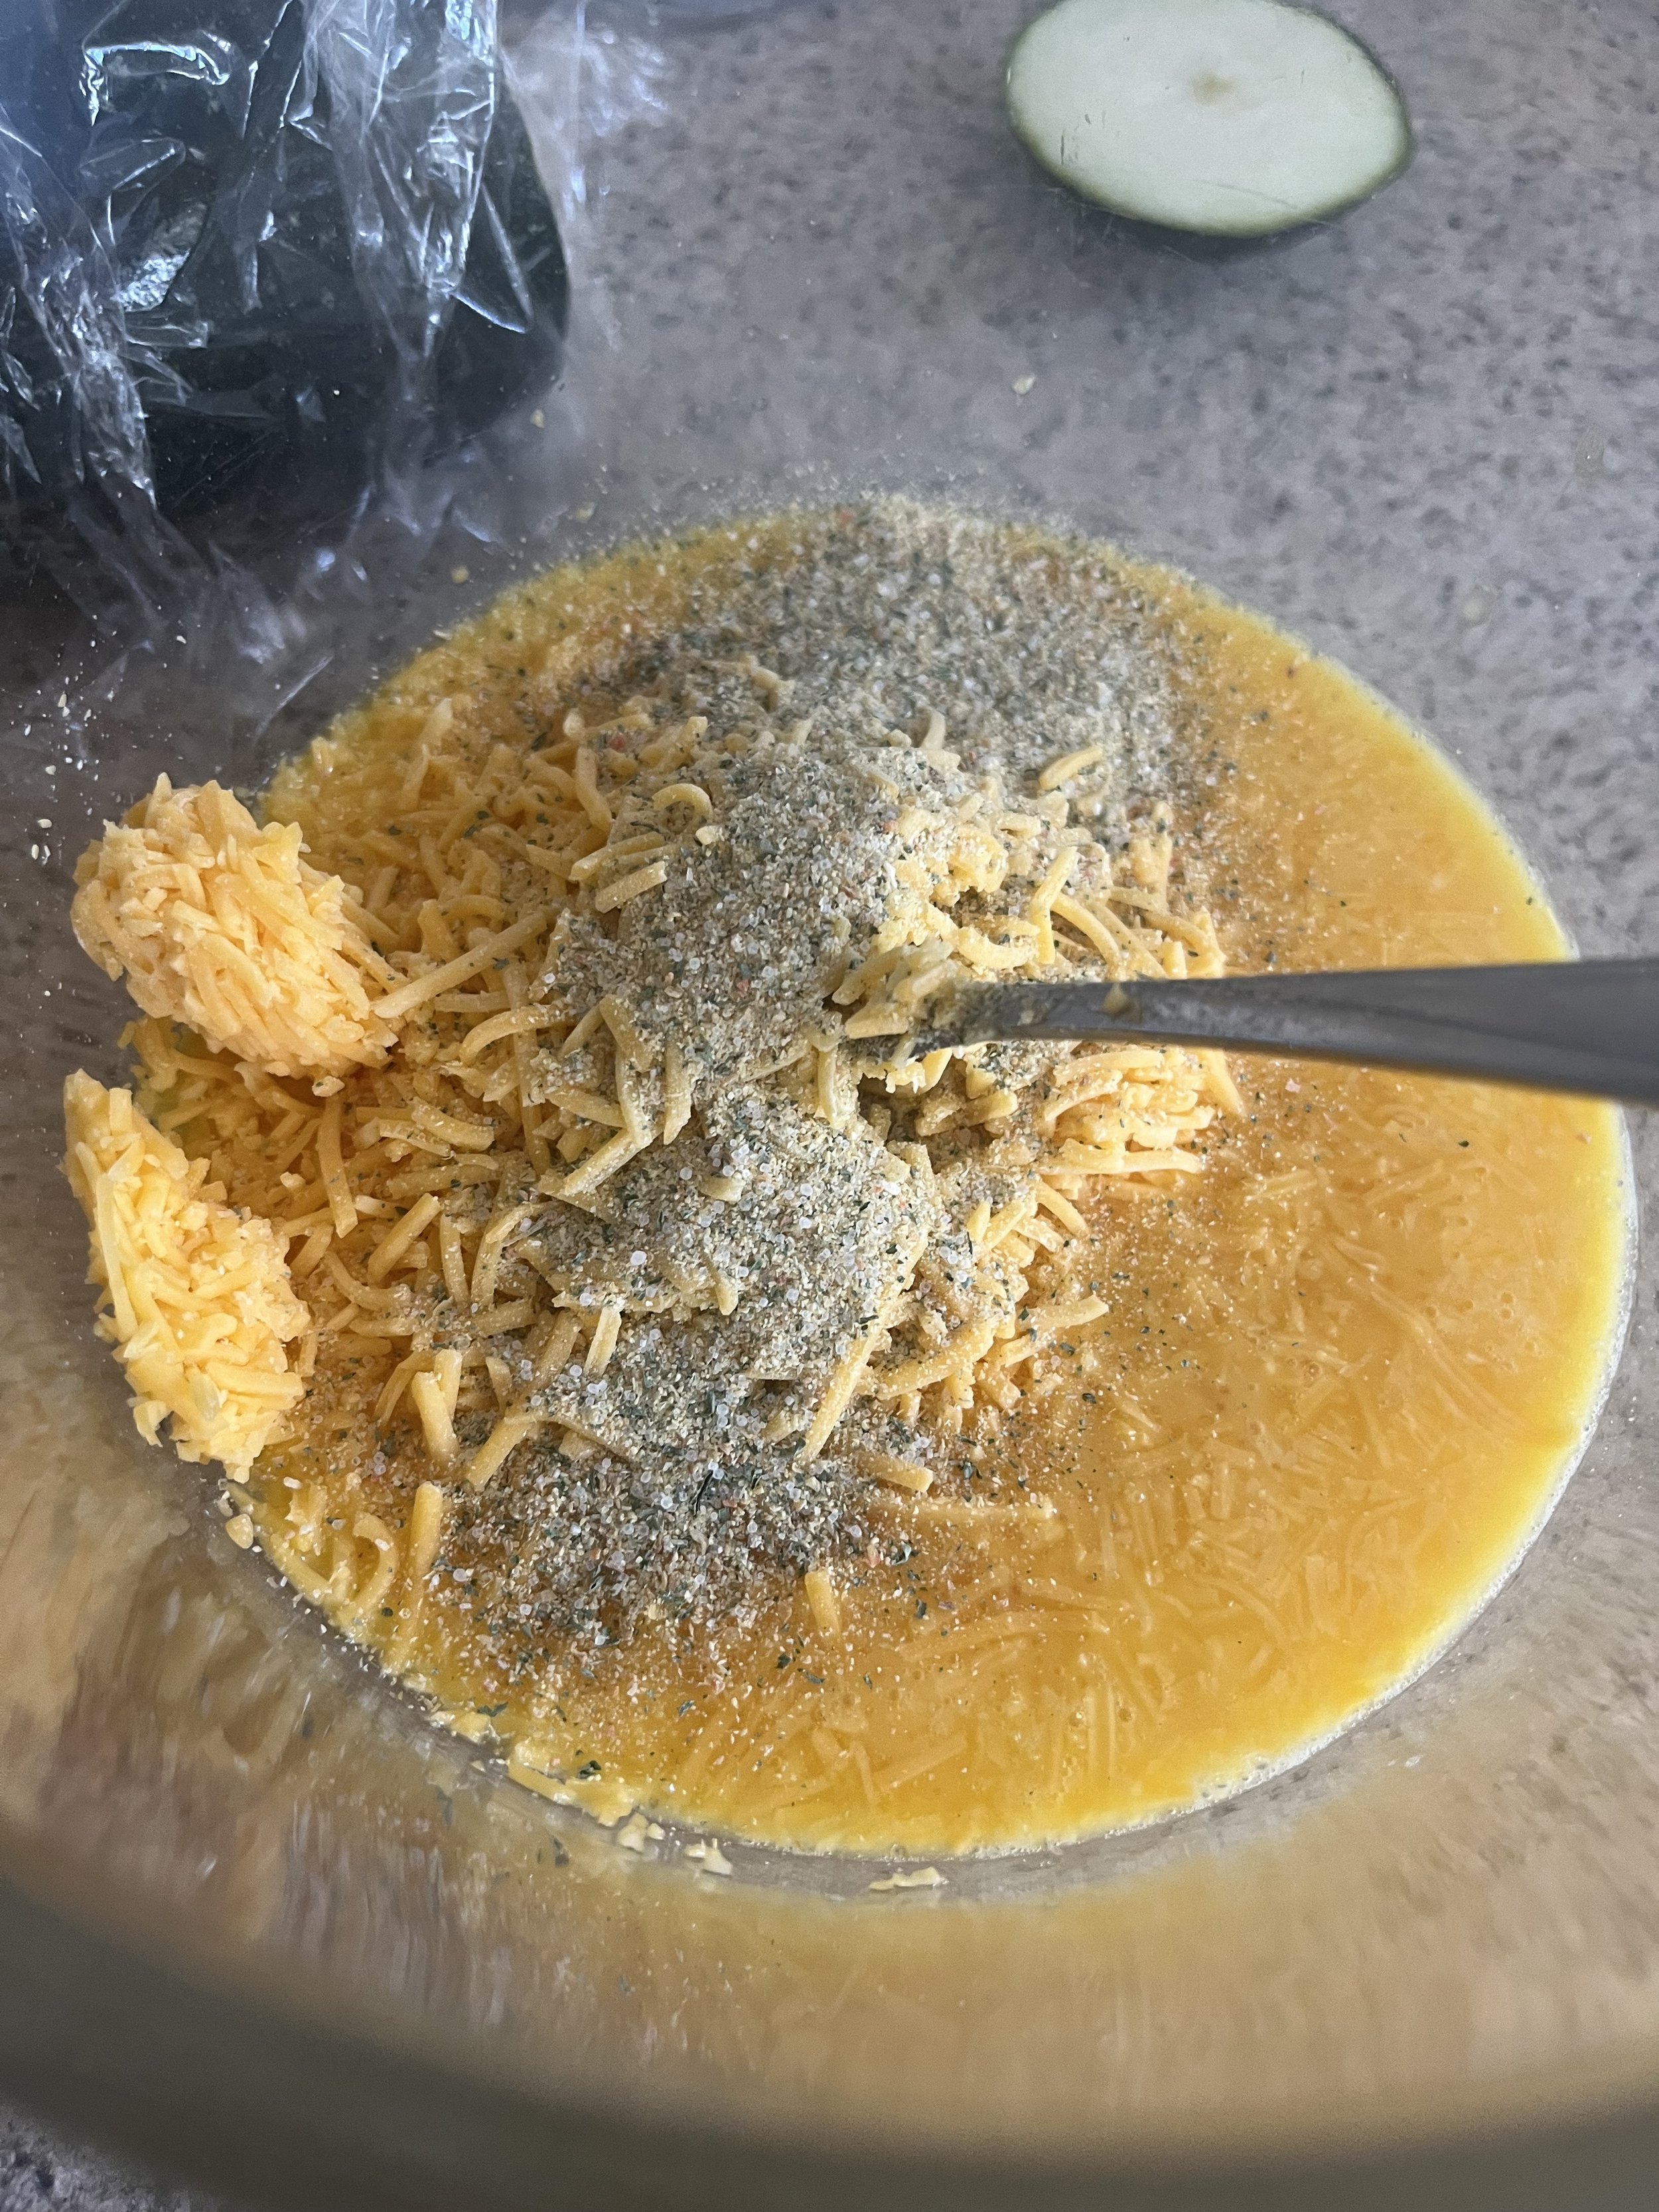
In a small mixing bowl, combine the remaining three eggs, cheese, milk, Cherchies® Lem’N Dill and Garlic Seasonings, oregano, salt, and pepper. Pour the zucchini mixture into the hash brown crust. Bake in the oven at 350° for 25 to 30 minutes until the filling is set. Let stand 10 minutes before serving.

Fresh Zucchini Pie. Enjoy!
Yum

Lemon Pepper Chicken Recipe

lunch, gluten free, entrees, grillingSheri SpalloneComment

Lemon Pepper Chicken Legs Recipe

Originally posted 2015. Updated with new content and photos.

Summer means grilling! My family and I grill year-round, and during the winter, my brave hubby battles the elements and grills in his winter coat and snow boots. I'm not that brave. I'm a wimp in the cold and opt to grill inside with my stove's attachment.

This easy recipe requires only a few ingredients and is perfect for those impromptu get-togethers. You could easily use this recipe on chicken breasts, wings, etc., but legs were the choice this time, and I chose to use Cherchies® Lem 'n Pepper Spicy Blend

Try our other flavorful spices too! (I usually make a batch of chicken legs with an assortment of our seasoning blends and have our guests choose their favorites). This recipe would be a lot of fun for a game night meal.

Thanks for stopping by:) Comment below if you have made these chicken legs and your favorite Cherchies® Seasoning Blend. Come back again for more family-tested recipes, entertaining ideas, and cooking tips using all our favorite Cherchies® gourmet products.

Follow us on social media: Facebook, Instagram, and Pinterest.

Ingredients

**(Could substitute Cherchies®Select Grilling Rub & Seasoning, Cherchies®Chardonnay Lime & Cilantro Seasoning, Cherchies®Garlic Seasoning, Cherchies®Pepper Pizzazz Seasoning, Cherchies® Salsa Seasoning, or Cherchies®Pepper 'n Lime Seasoning for a completely different taste...or mix them up!)

Preparation

Light the grill and turn it on high.  After five minutes, turn the grill down to low.

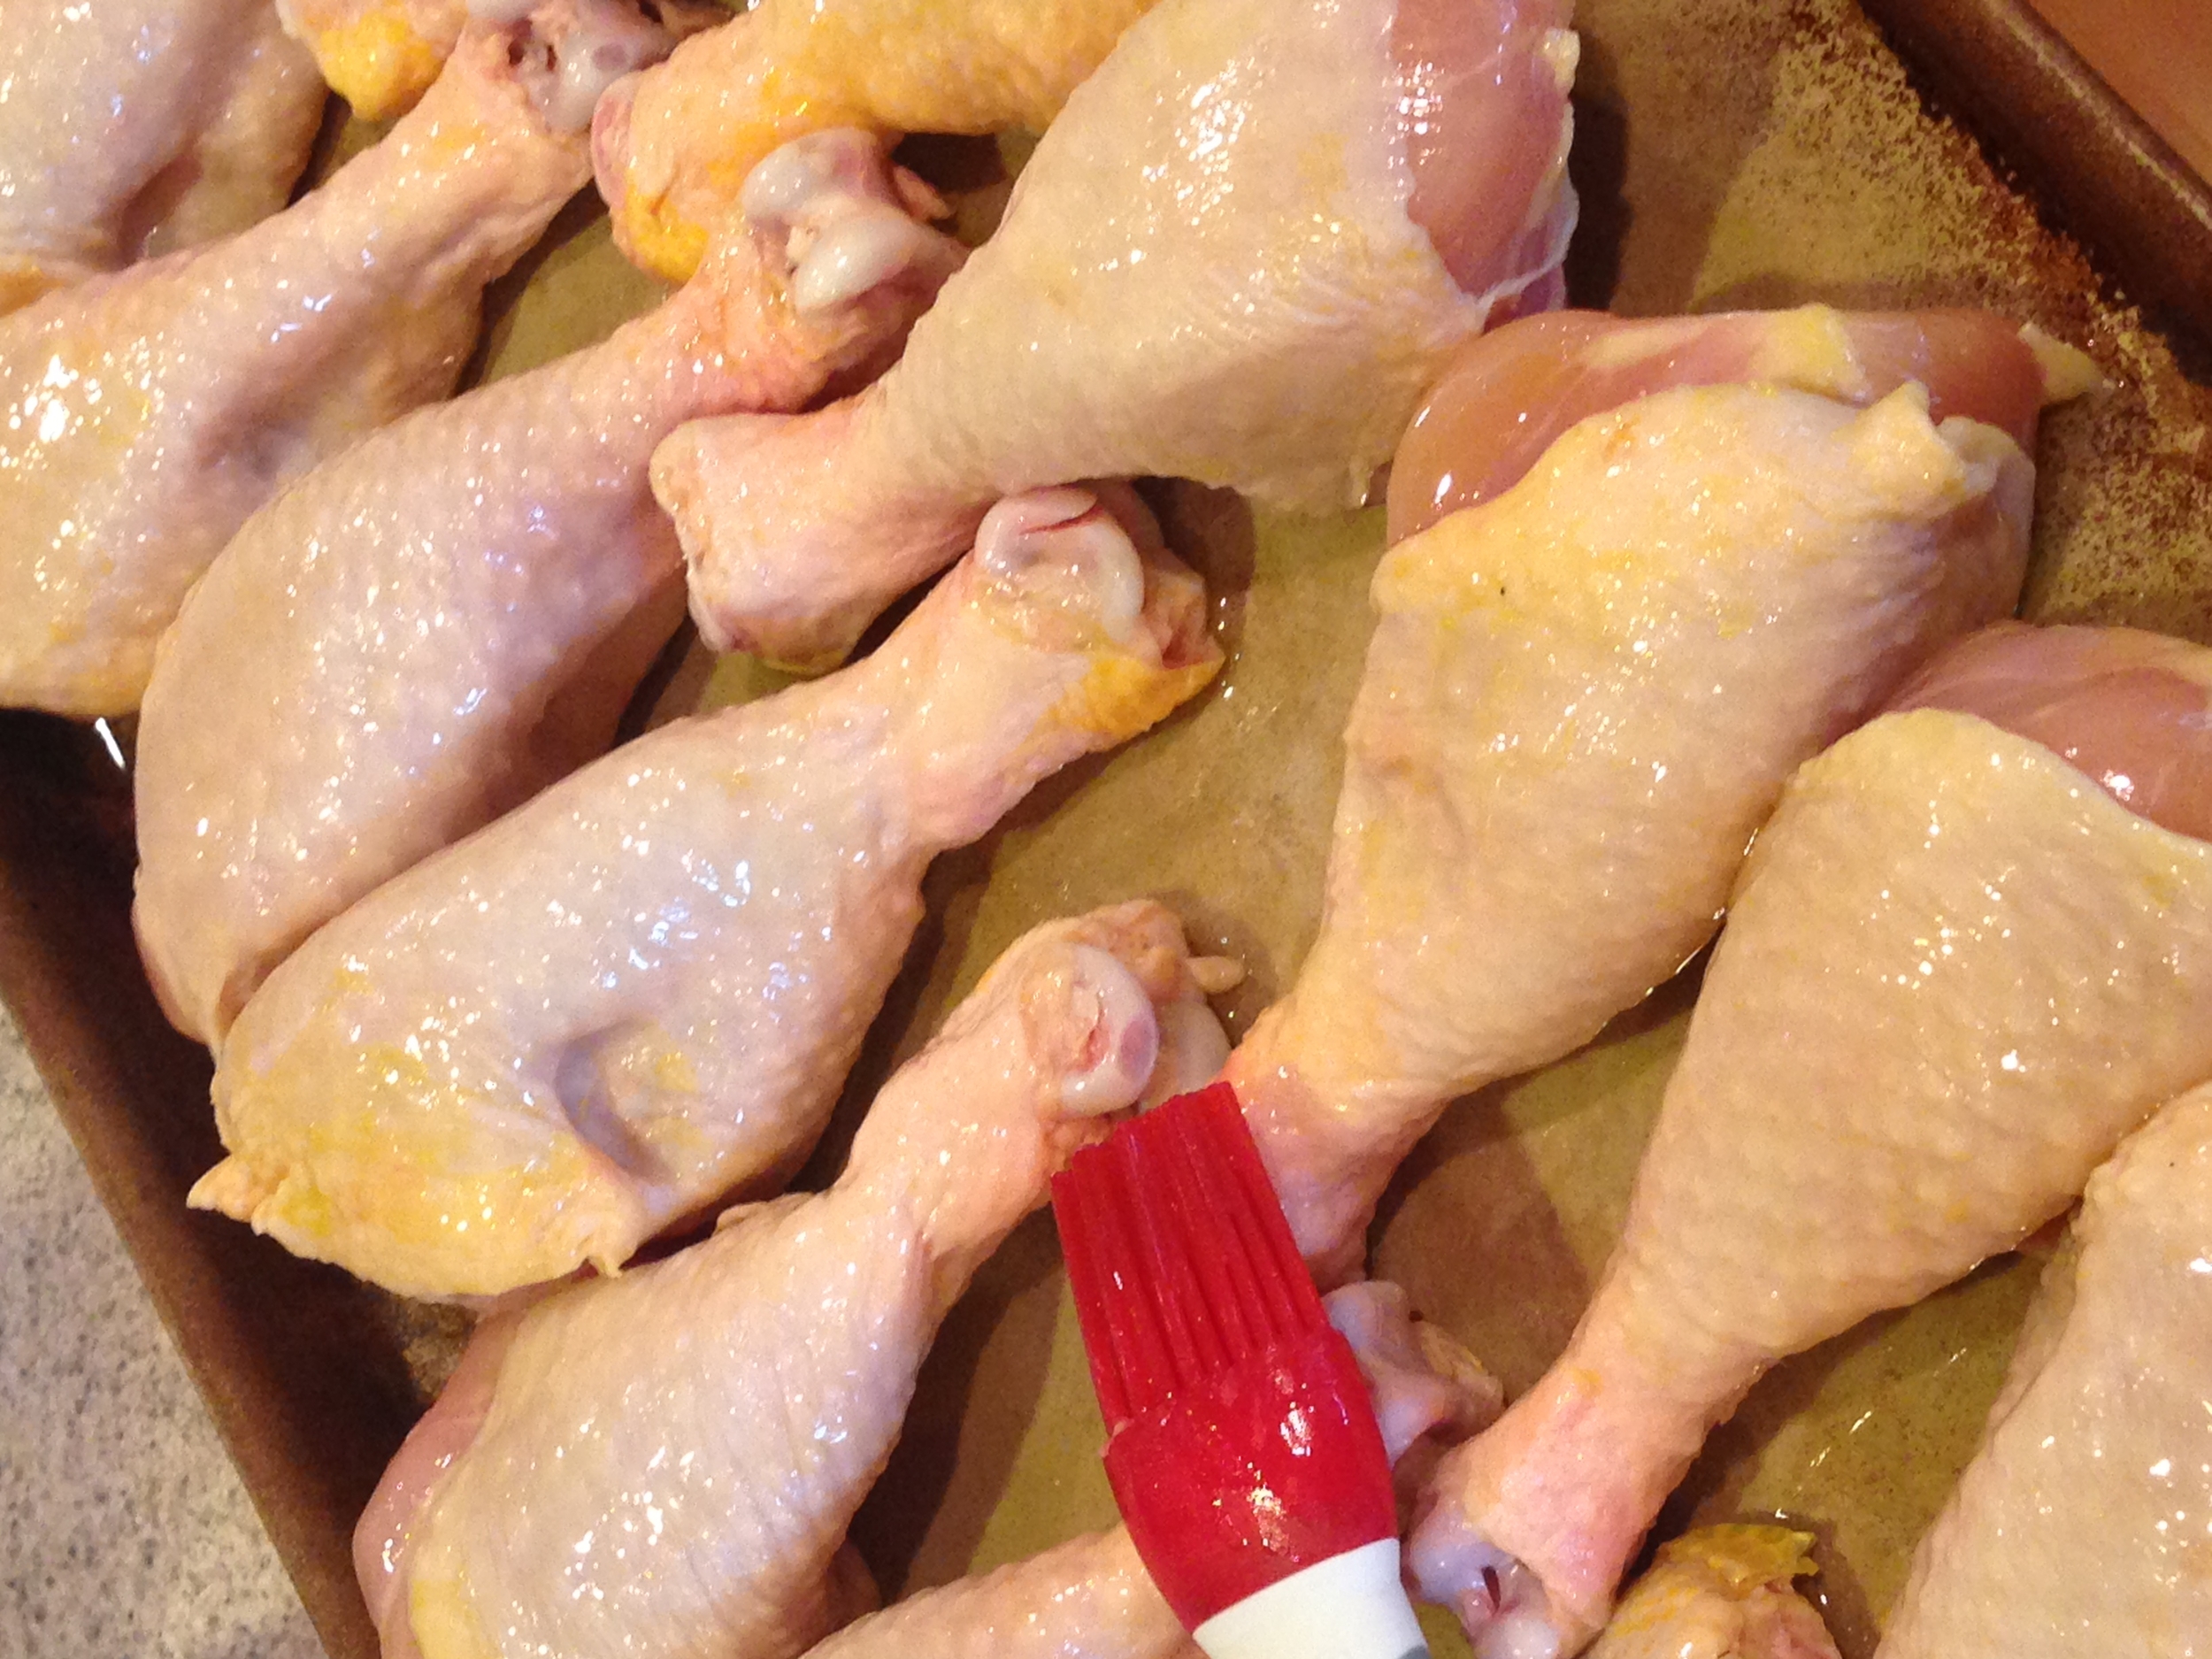
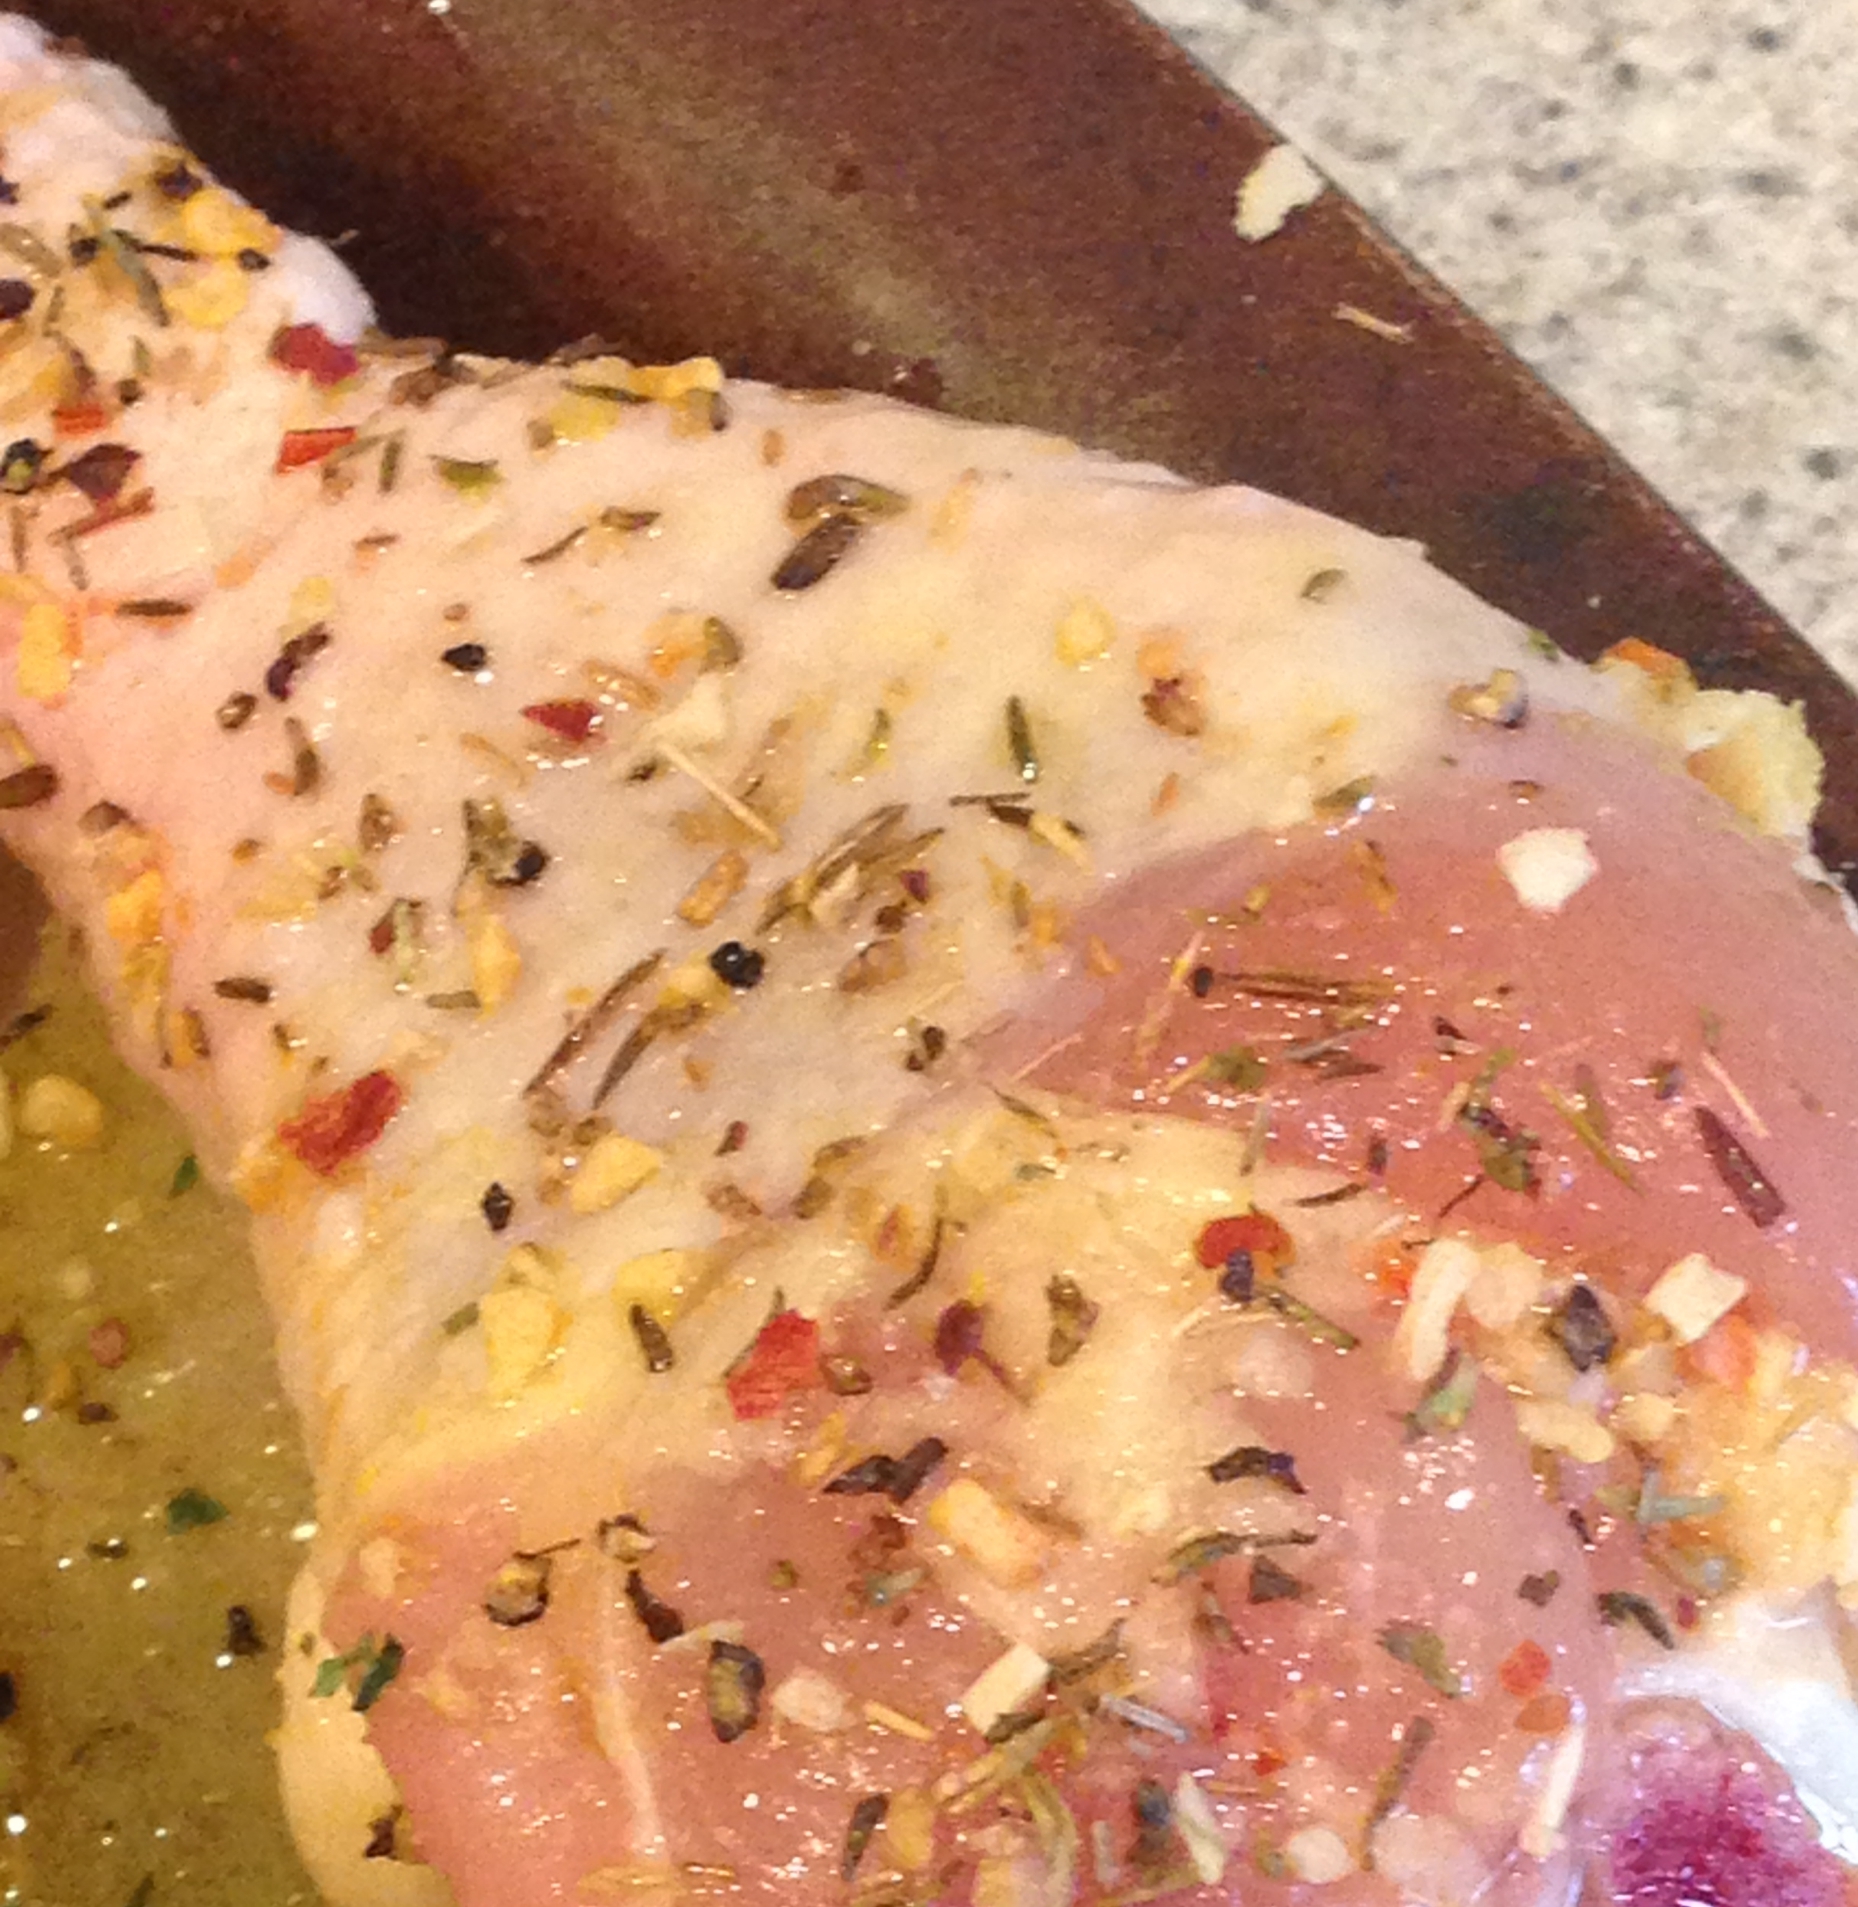
Brush Olive oil on Chicken legs.  Generously coat all sides of chicken with Cherchies® Lem 'n Pepper Spicy Blend (or any of our seasoning blends).

Place chicken legs on the grill and cook, turning every five minutes until juices run clear.  The result, lovely, juicy grilled chicken legs.  Enjoy!
Lem'n Pepper Chicken Recipe

Lem'n Pepper Chicken Recipe

Yum