Football season is here, and tailgating is in full swing! And for all the baseball fans, the excitement continues with playoff season—if your team is in contention, it’s the perfect time to cheer them on.
To make your game day entertaining a breeze, we’ve gathered 30 of our favorite recipes—quick, easy, and guaranteed crowd-pleasers!
Thanks for stopping by! 😊 Have you tried any of these recipes yet? Please drop a comment below and let us know your favorites.
Come back often for more family-tested recipes, entertaining ideas, and cooking tips using all our favorite Cherchies® gourmet products.
Follow us on social media: Facebook, Instagram, and Pinterest.
"Munchdown" on these:
Cheesy Corn Dog Bites Recipe- A new twist on "Pigs in a Blanket", featuring Cherchies® Champagne or Hot Banana Pepper Mustard.
Pretty Pepper Roll-Up Recipe- featuring Pretty Hot Peppers.
Sweet & Savory Ham & Cheese Pinwheel Recipe- Delicious bite-sized morsels featuring Cherchies® Mustards.


Sausage Bites With Cranberry Mustard Recipe- featuring Cherchies® Cranberry Mustard.
Buttery Soft Philly Pretzel Recipe- Philly pretzels are a must! -featuring Cherchies® mustards.
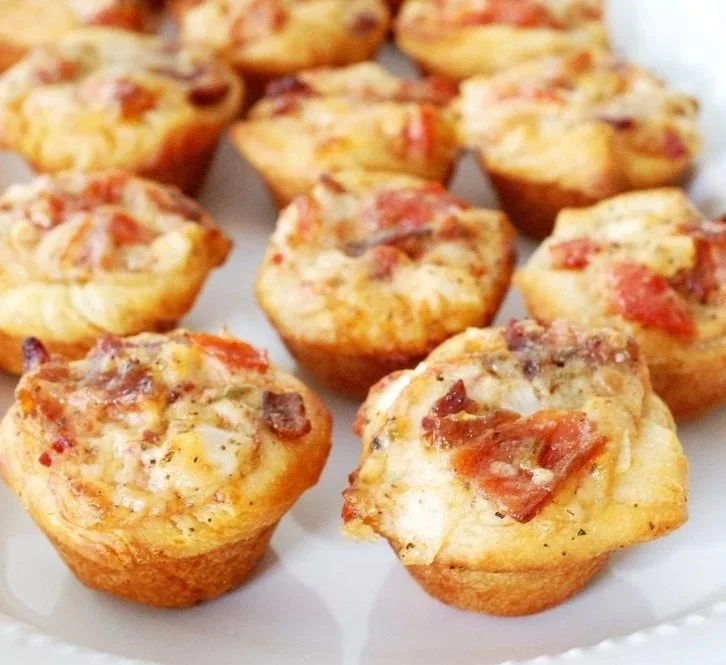
Tomato Basil Cups Recipe- Delightful savory bites featuring Cherchies Basil Pizzazz.


Dip away with these tasty dips!
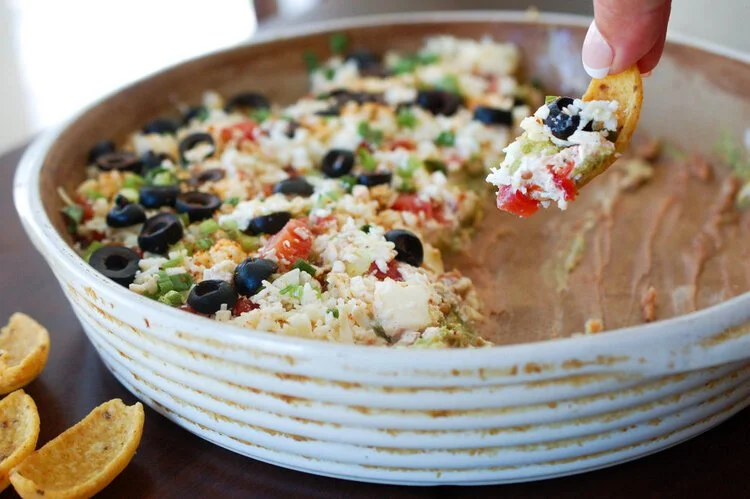
The Best Layered Taco Dip Recipe- As the name implies, truly the best featuring Cherchies® Select Grilling Rub & Seasoning Blend and Cherchies® Chardonnay Lime & Cilantro Seasoning.
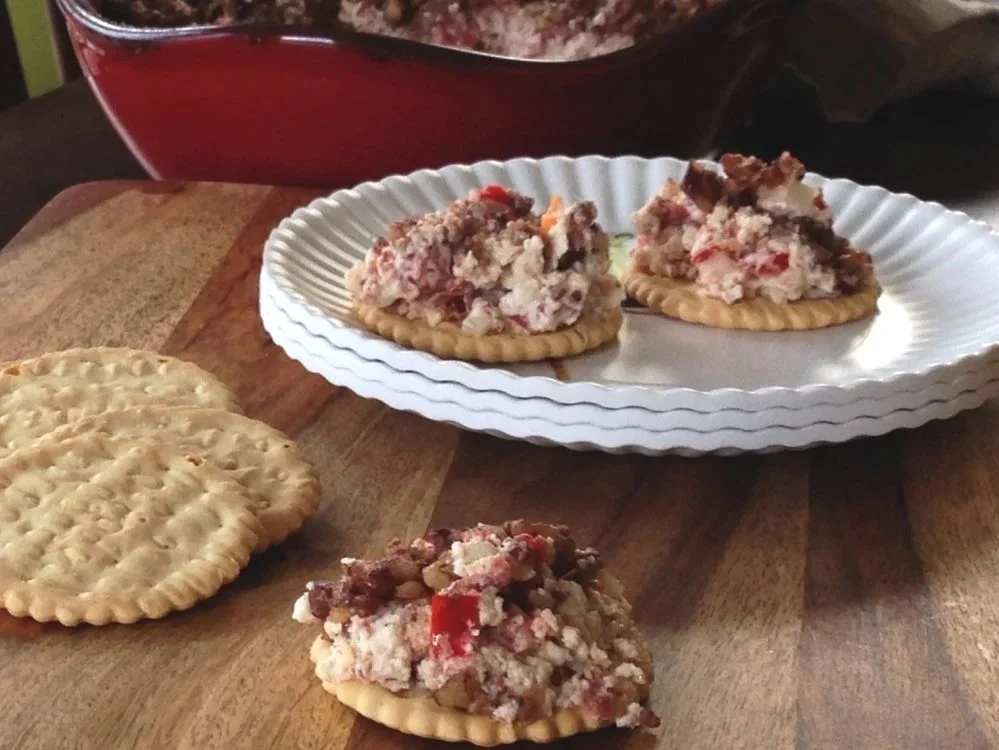
Hot Pecan Spread Recipe- featuring Cherchies® Pretty Peppers and Cherchies® Garlic Seasoning.
Pretty Pepper Hummus Recipe- featuring Cherchies® Pretty Peppers.

More dips!
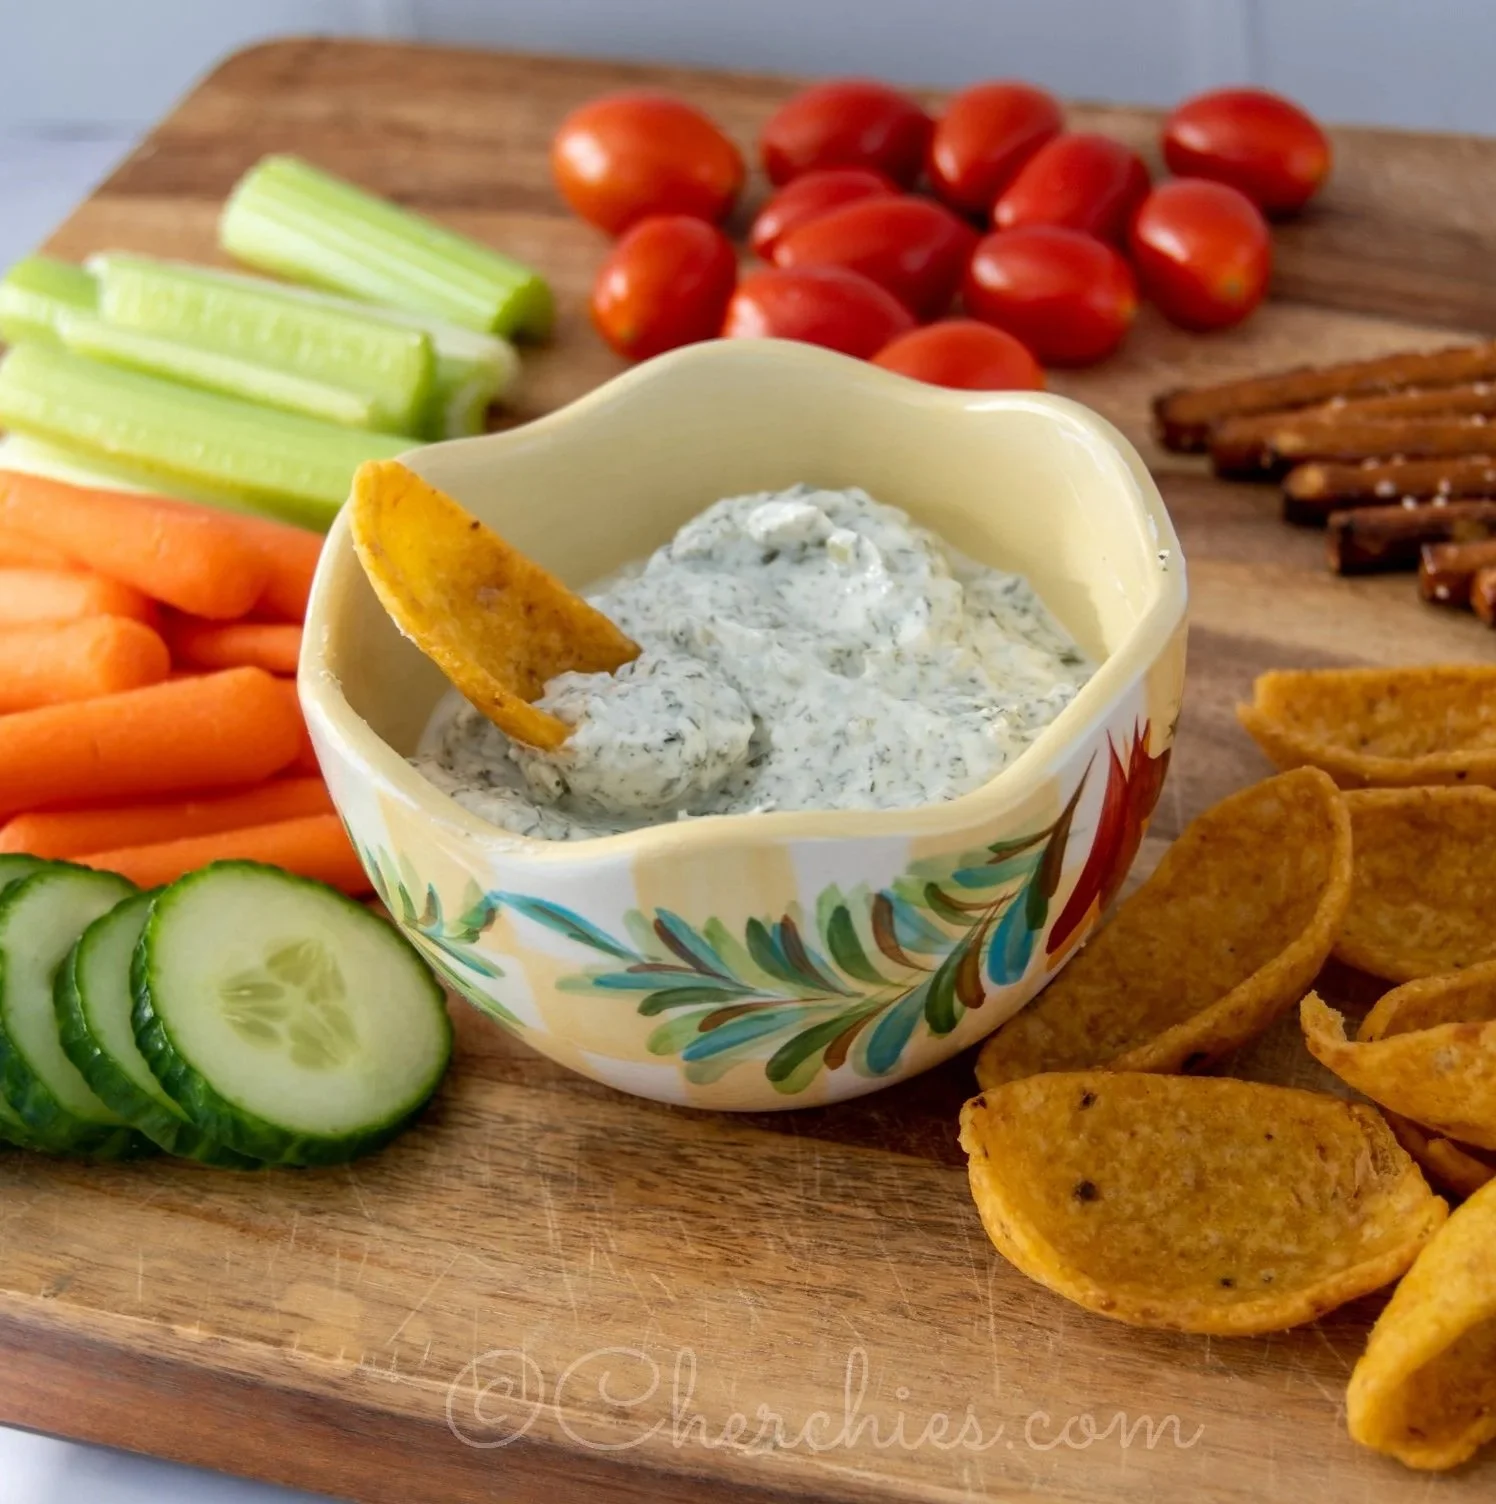
Lemon Dill Dip Recipe- Use any of our seasoning blends to create a delicious game day dip.
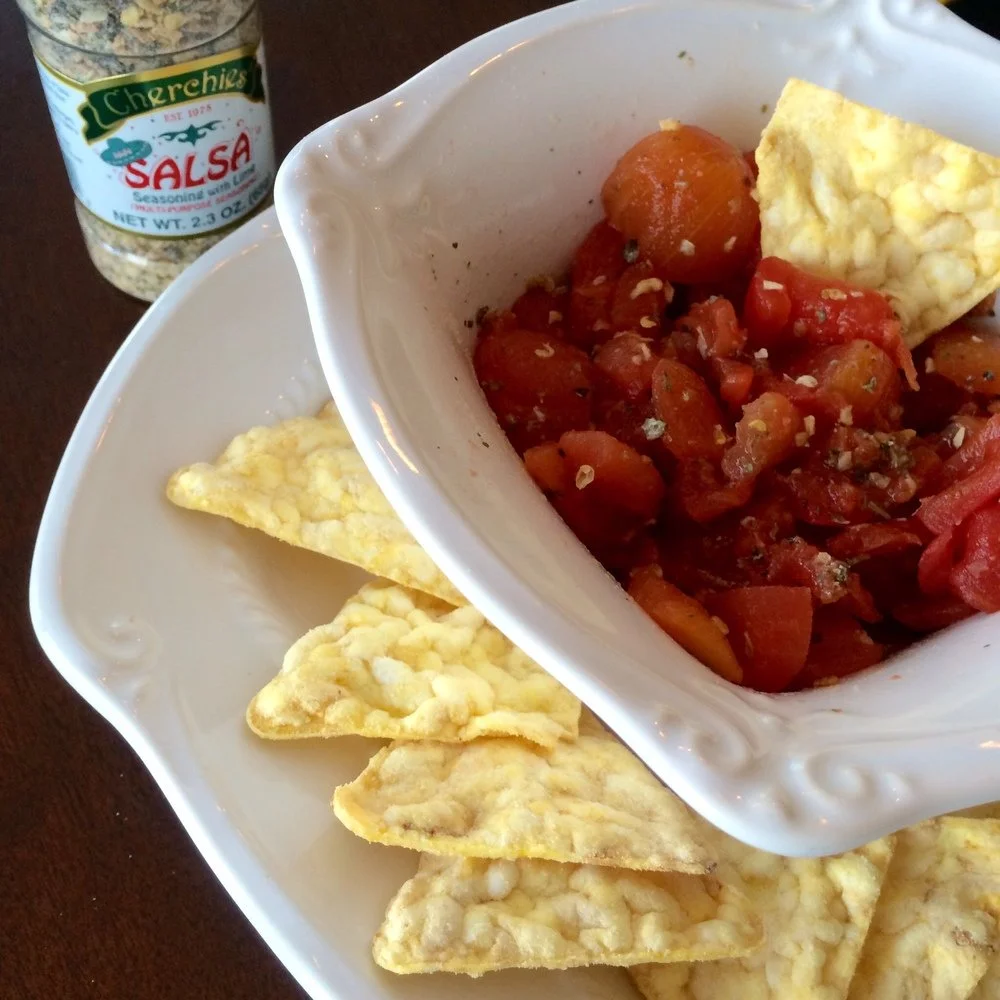
Oh Sooo Simple Salsa Recipe- featuring Cherchies® Salsa Seasoning.
Chardonnay Guacamole Recipe -featuring Cherchies® Salsa Seasoning and Cherchies® Chardonnay Lime & Cilantro Seasonings. Olé!

The Best Homemade Pimento Cheese Recipe- A Southern favorite featuring Cherchies® Pretty Peppers and Cherchies® Garlic Seasoning Blend.
Lemon Dill Smoked Salmon Spread Recipe- This “fancy pants” crowd-pleaser recipe features Cherchies® Lem ‘N Dill Seasoning Blend.


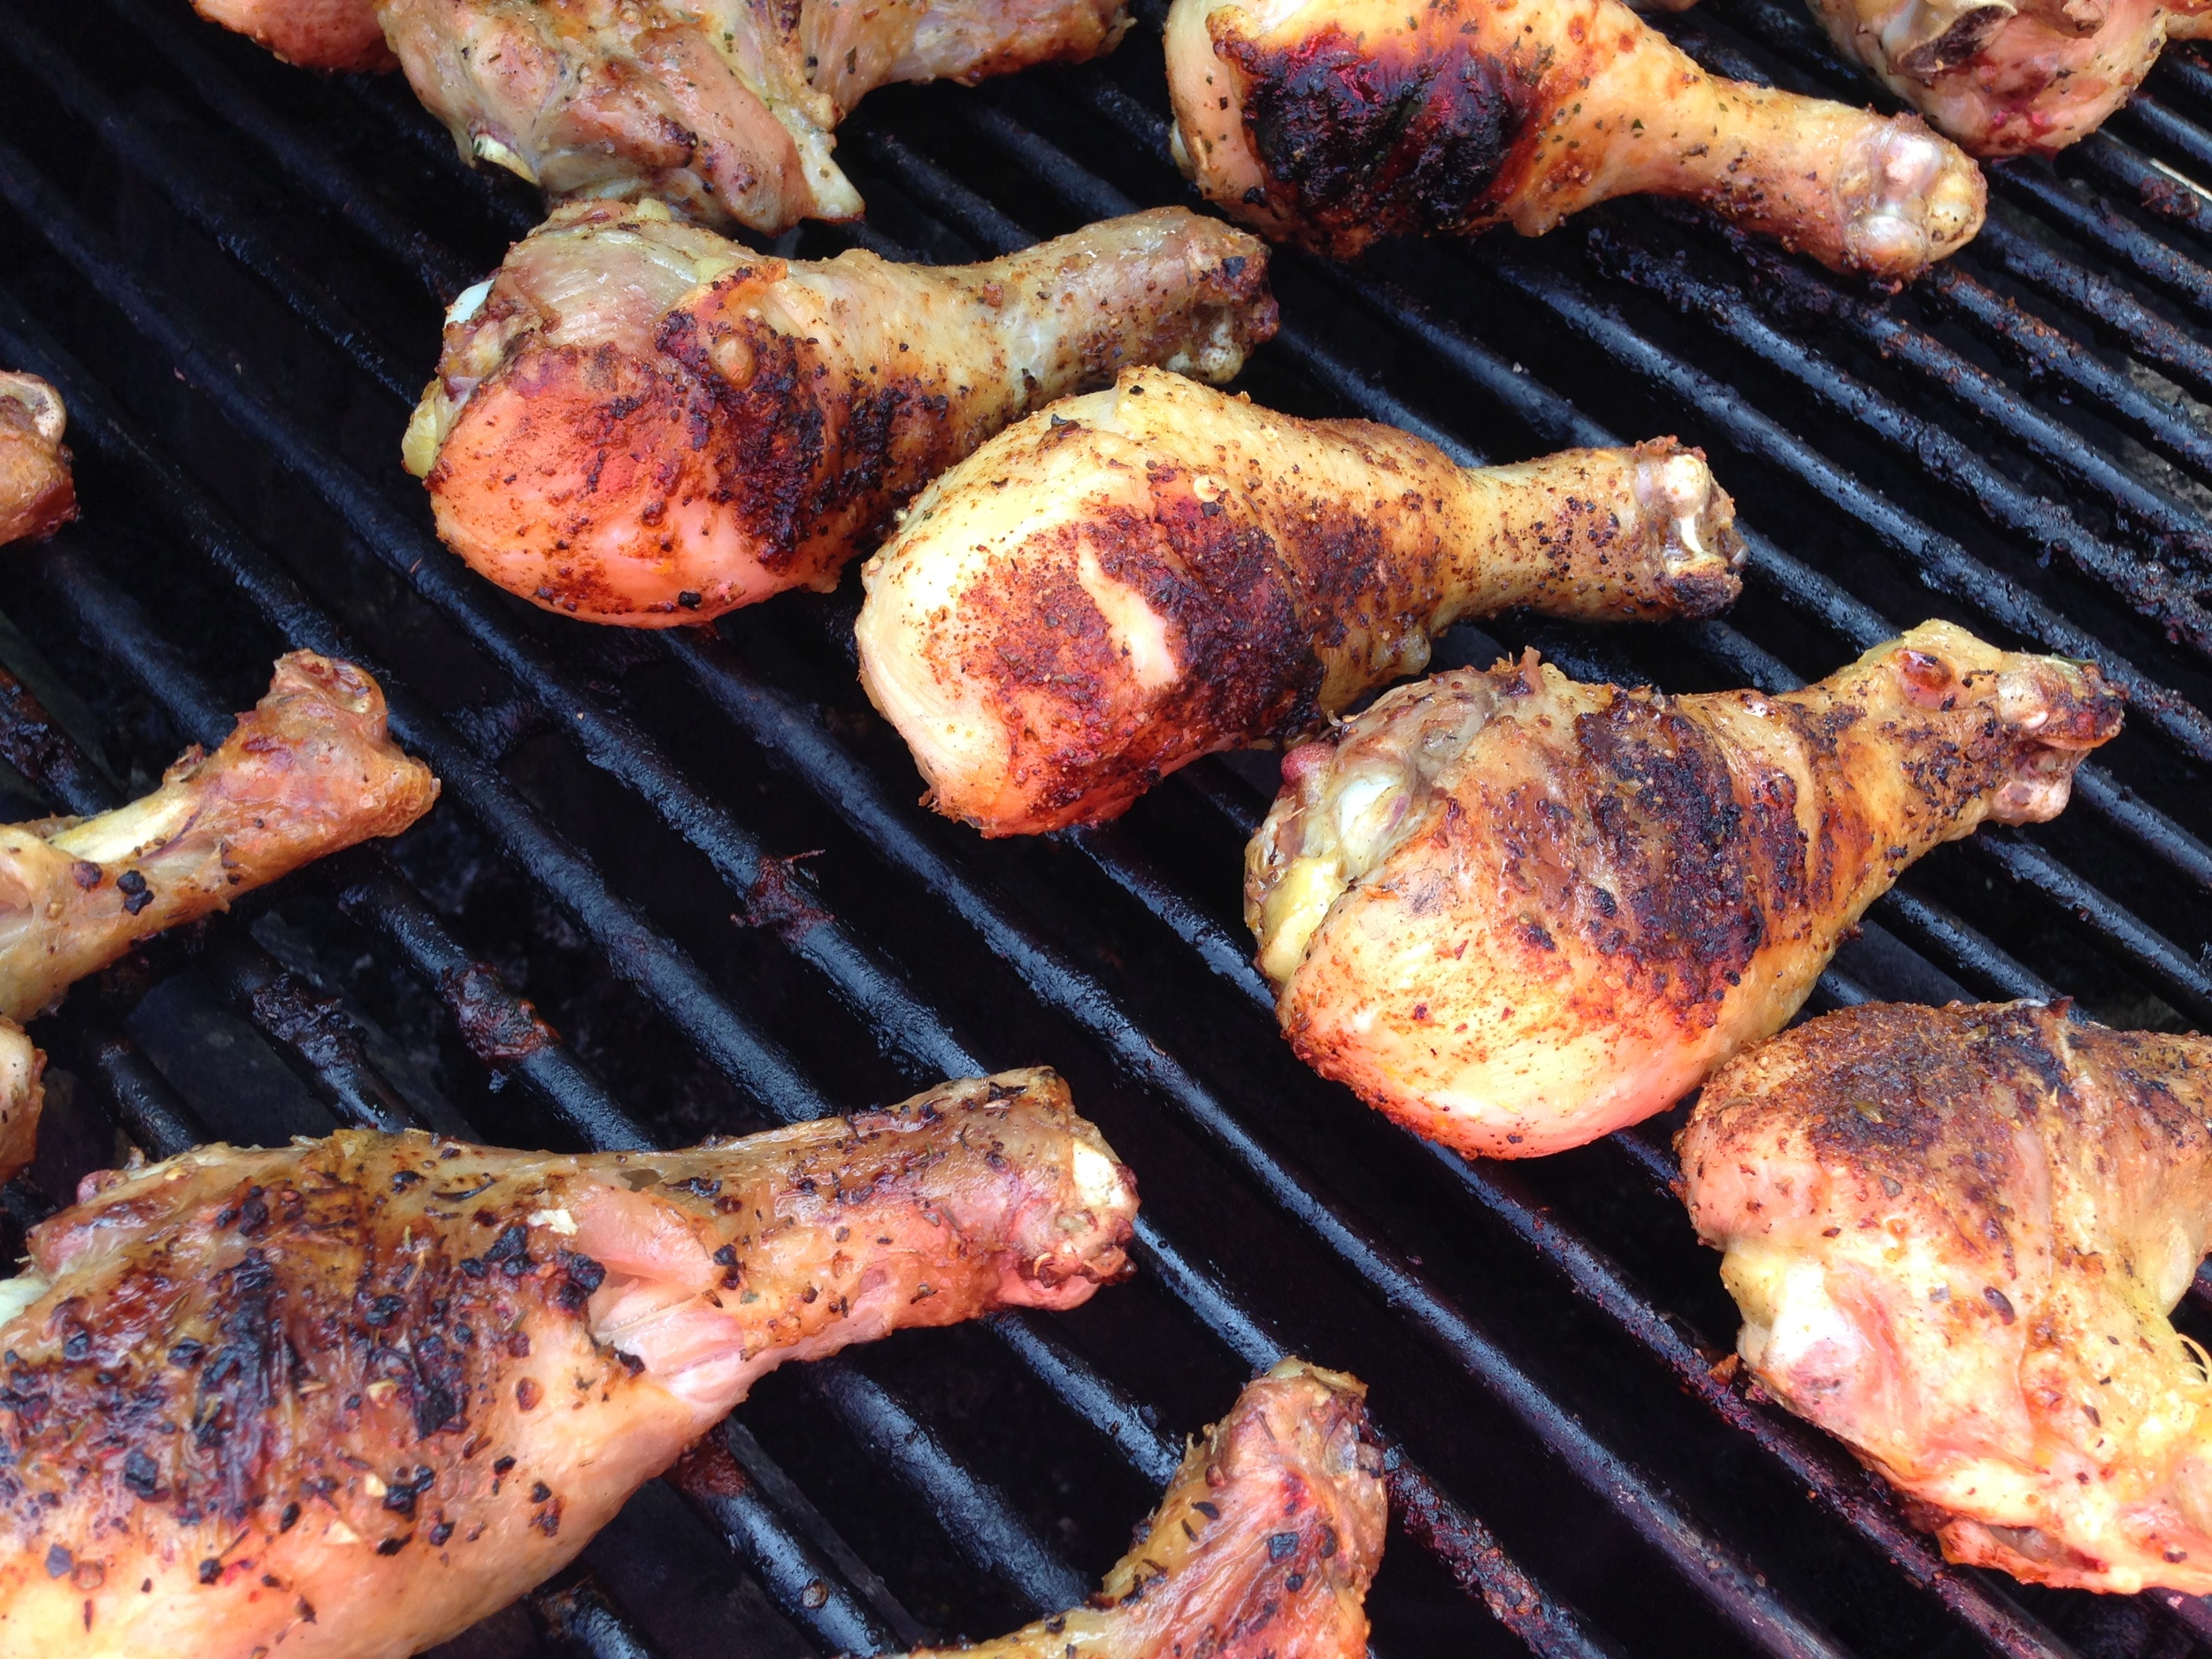
Bring on the wings!
Baked Blackberry Mustard Wing Recipe- Sweet and savory wings with Cherchies® Blackberry Preserves and Cherchies® Champagne Mustard.
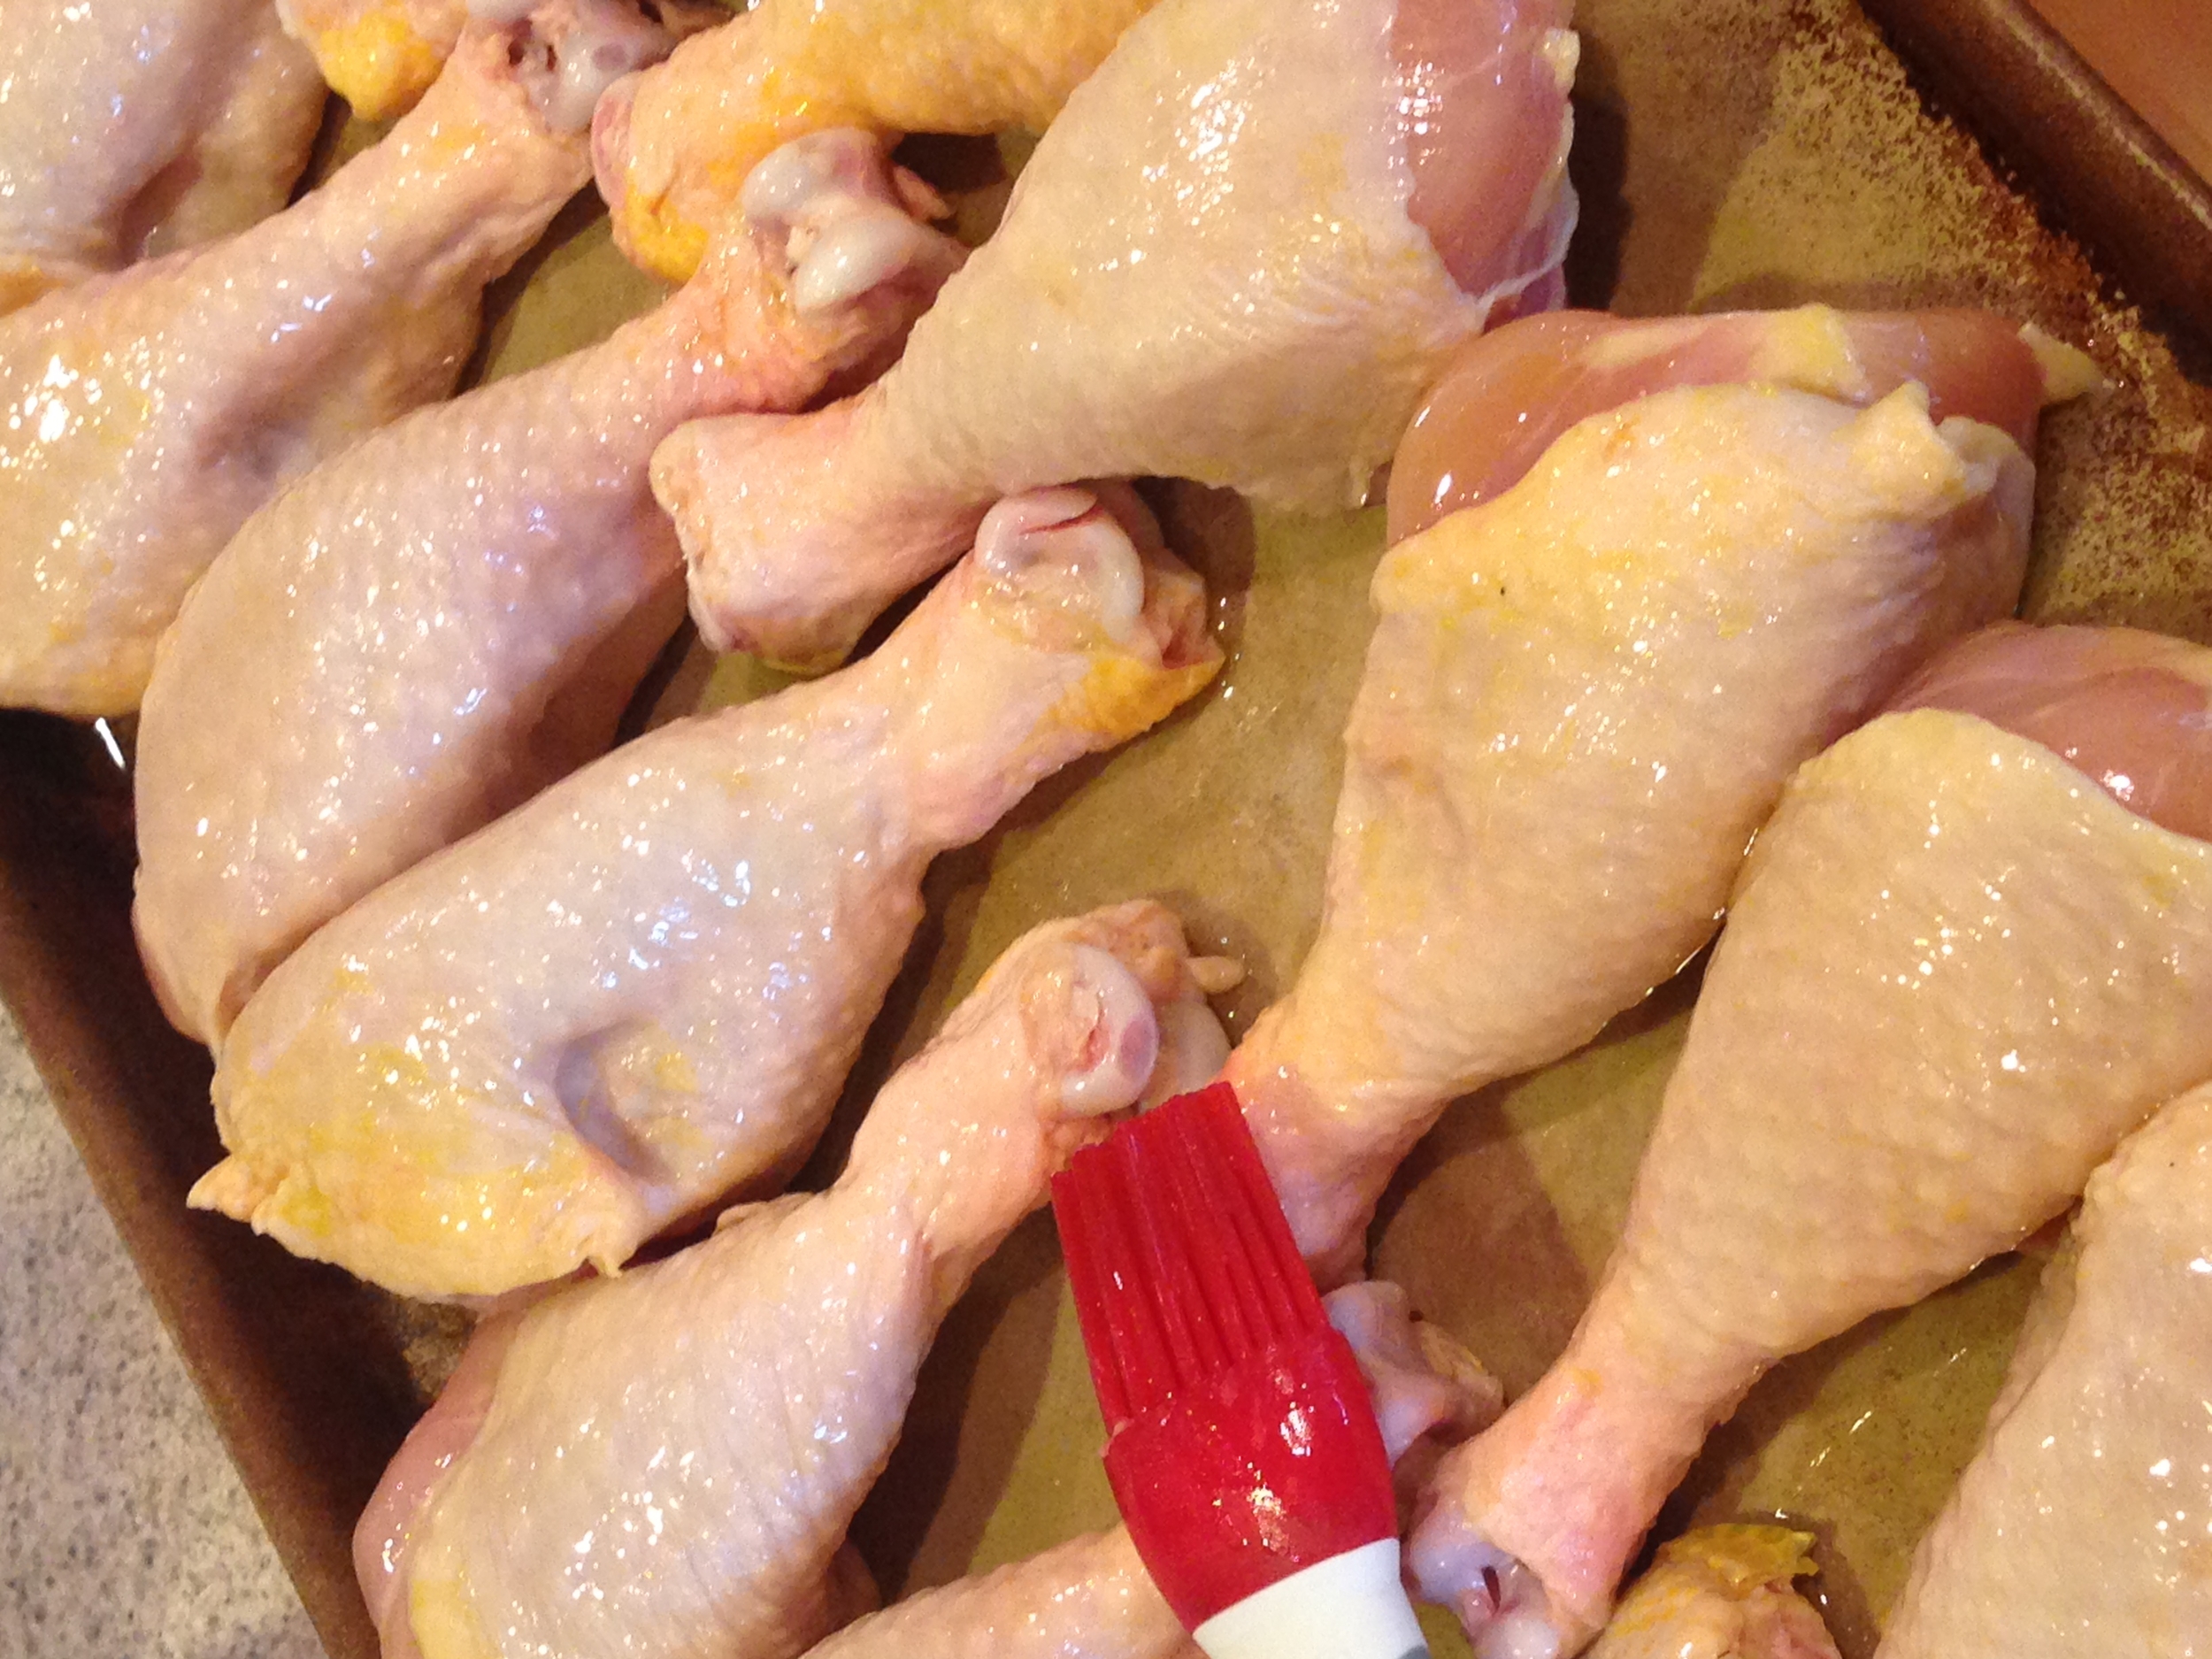
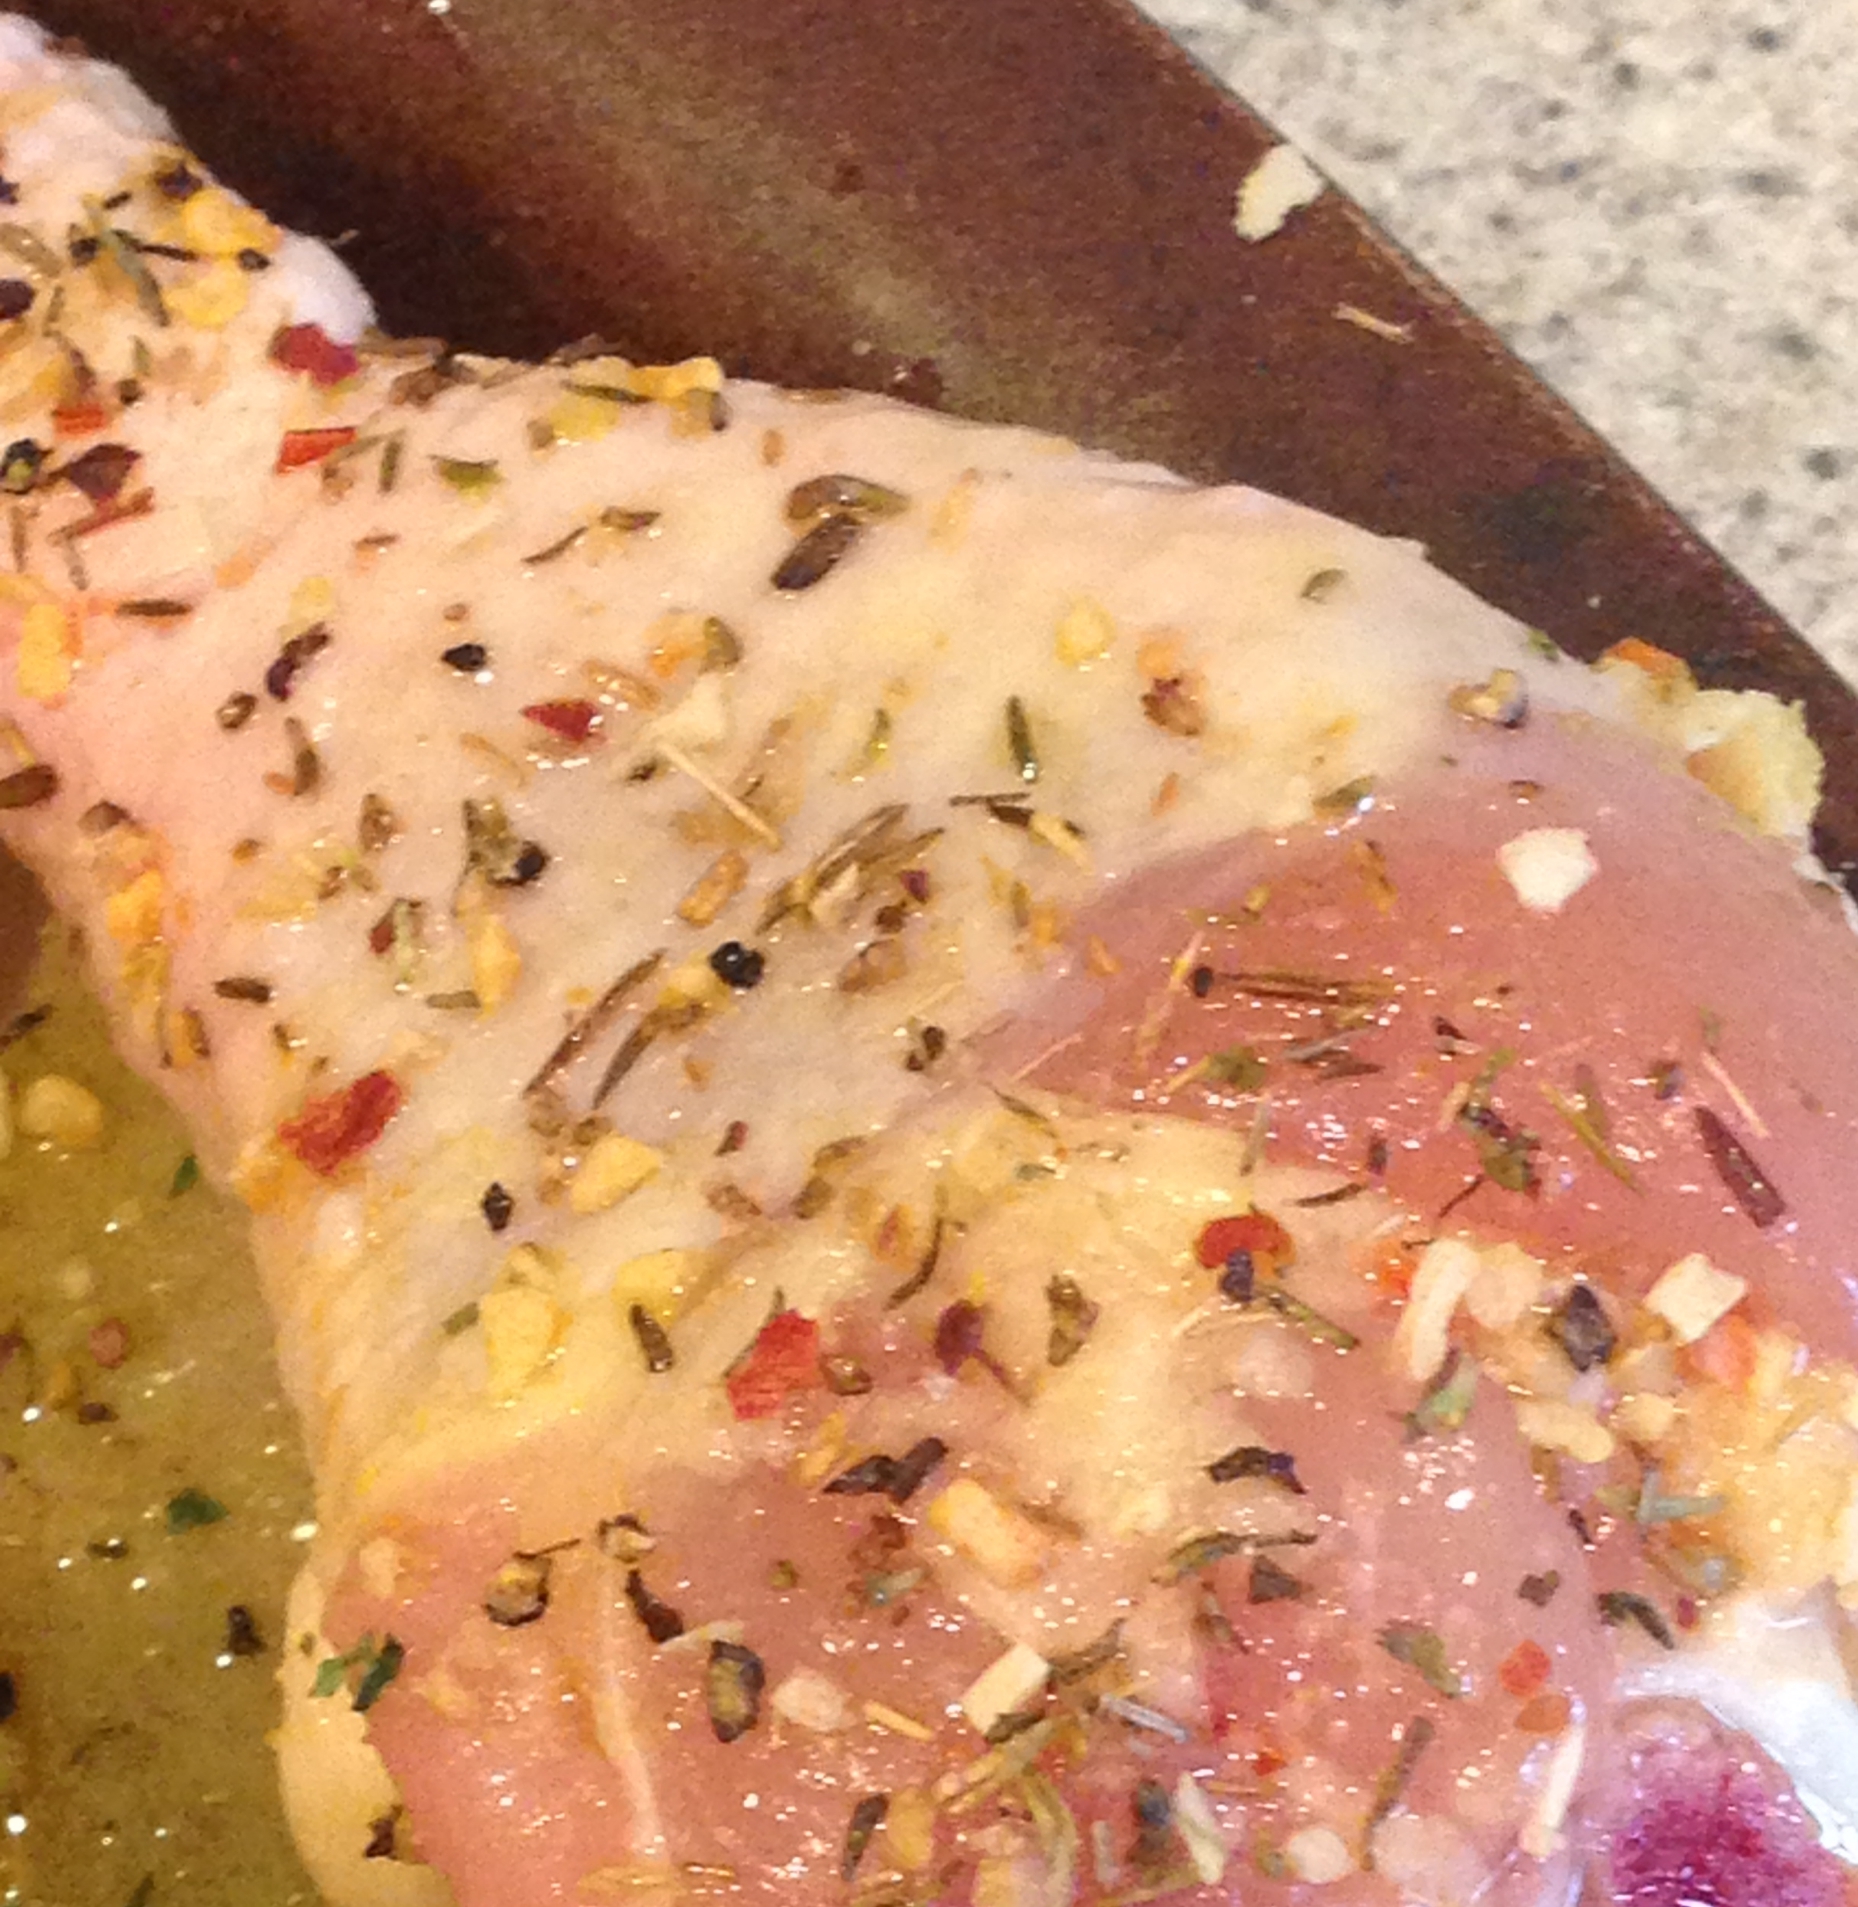
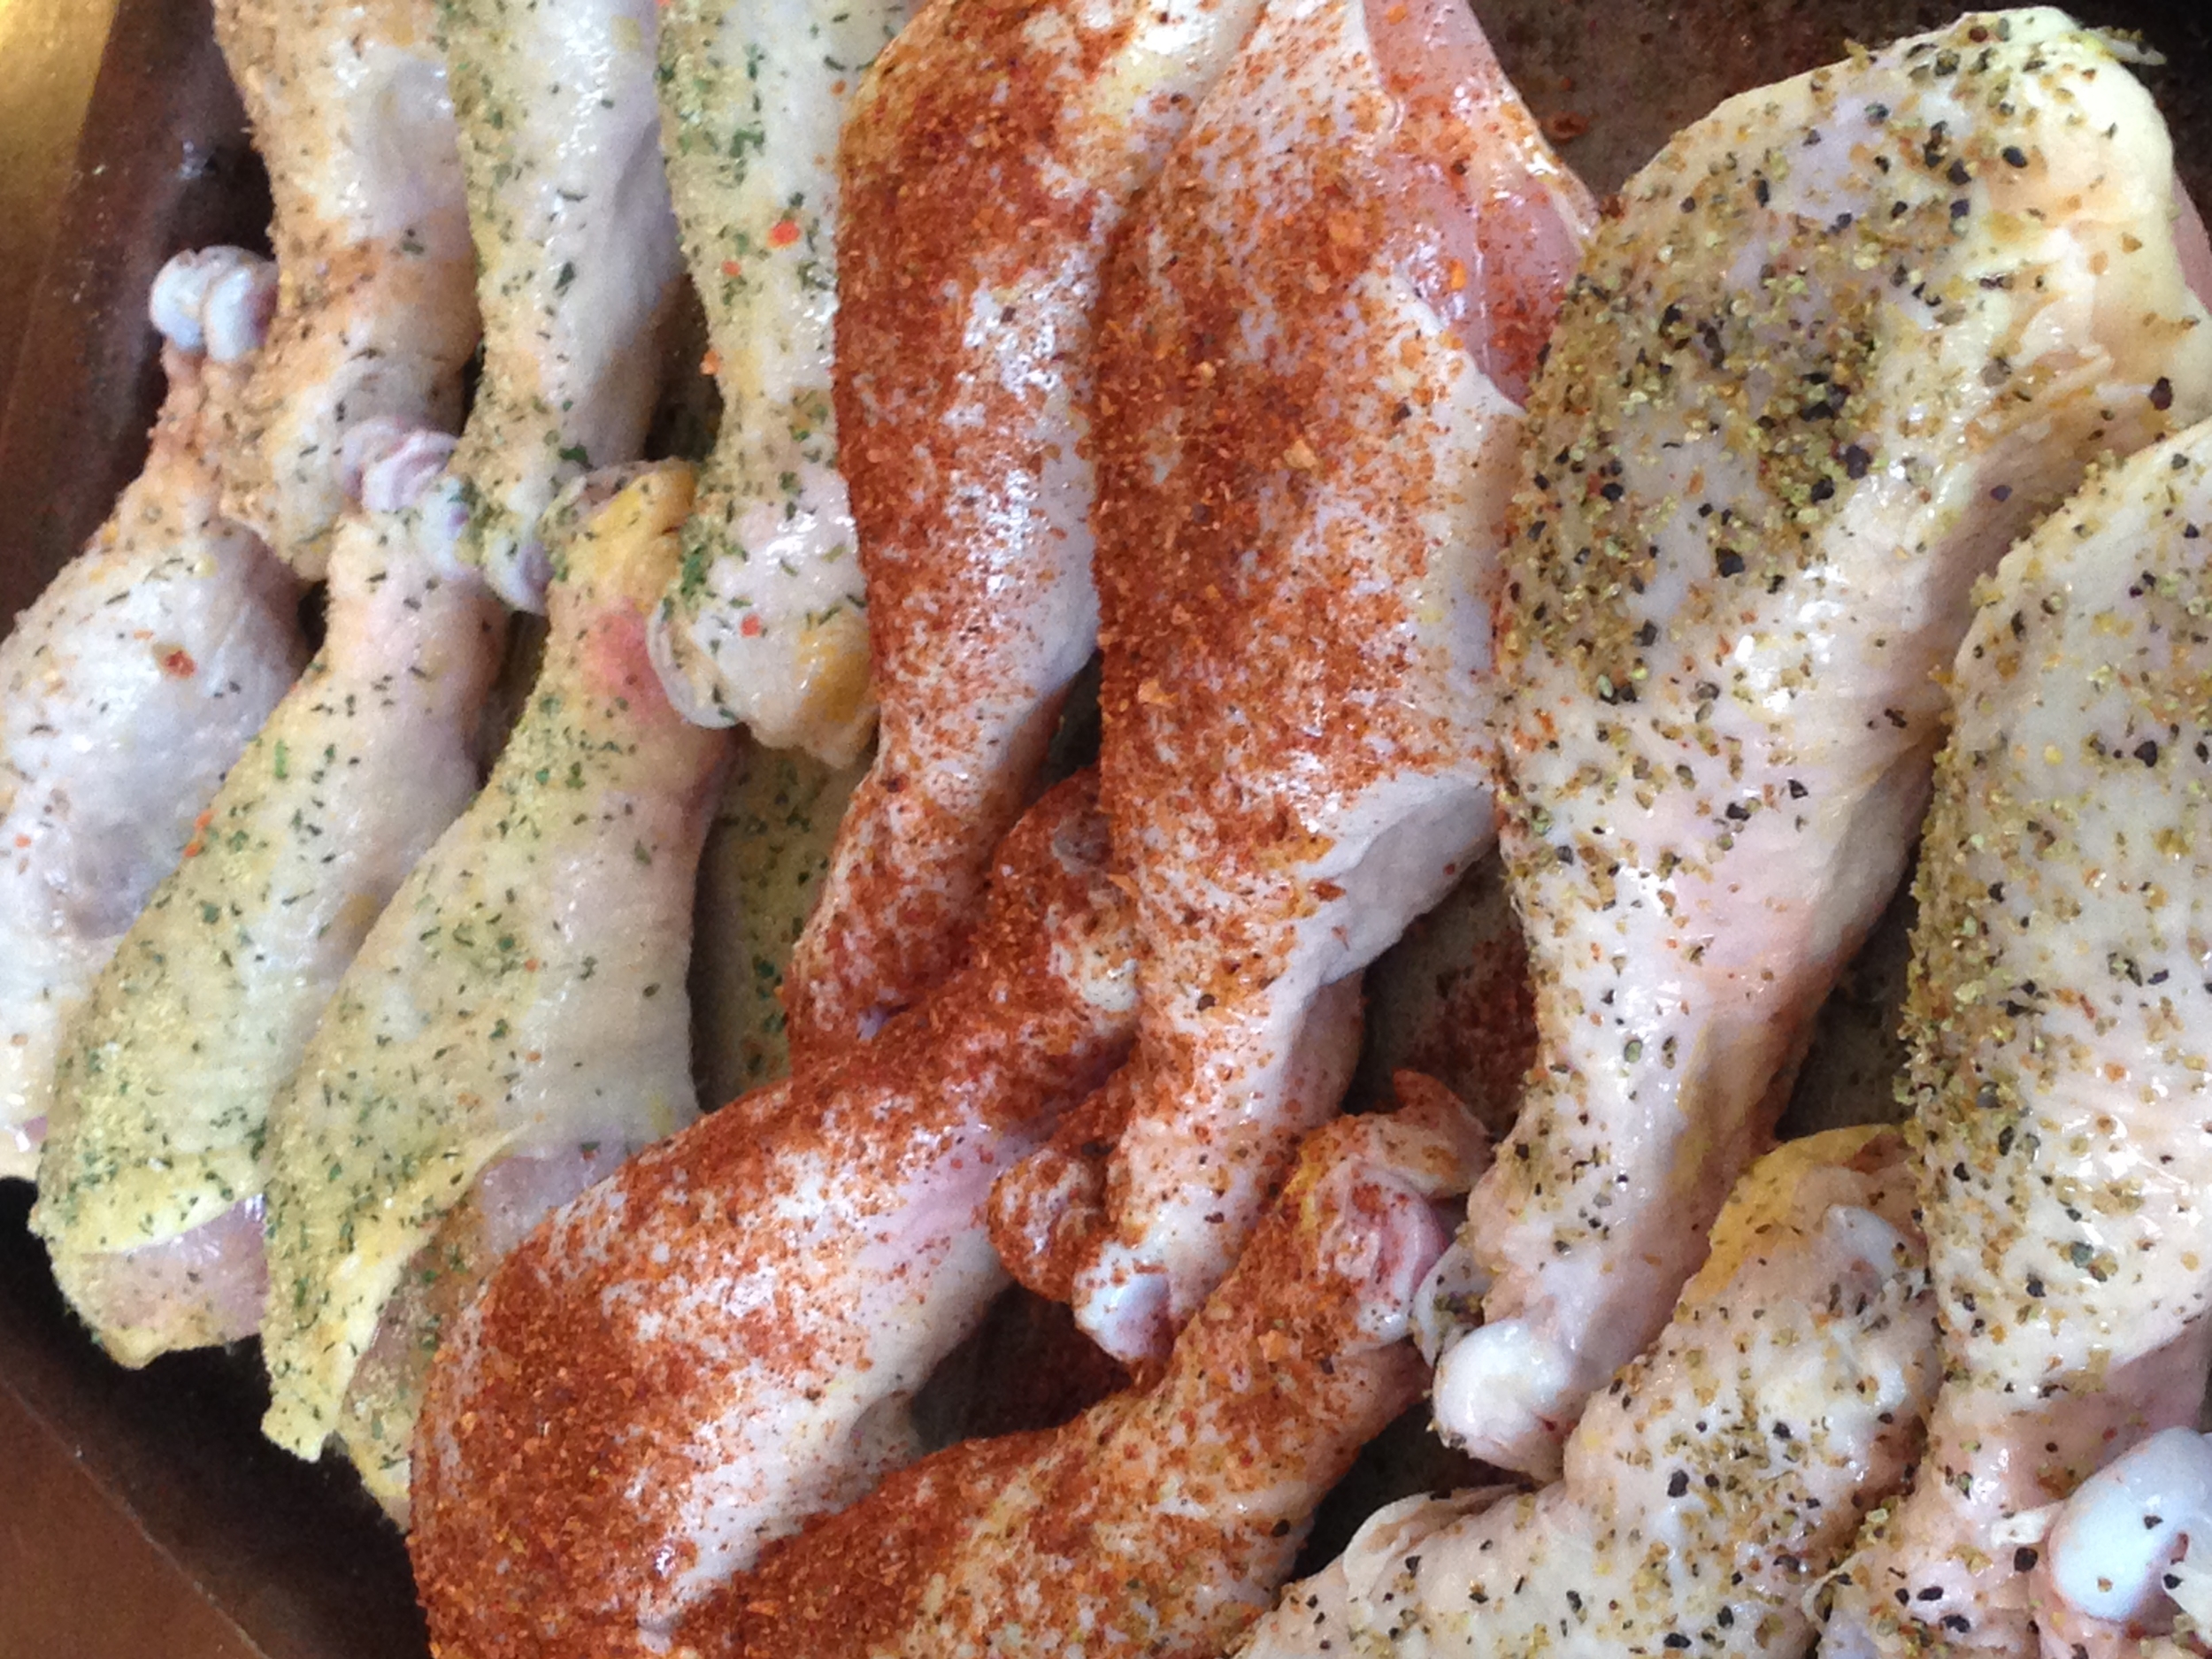
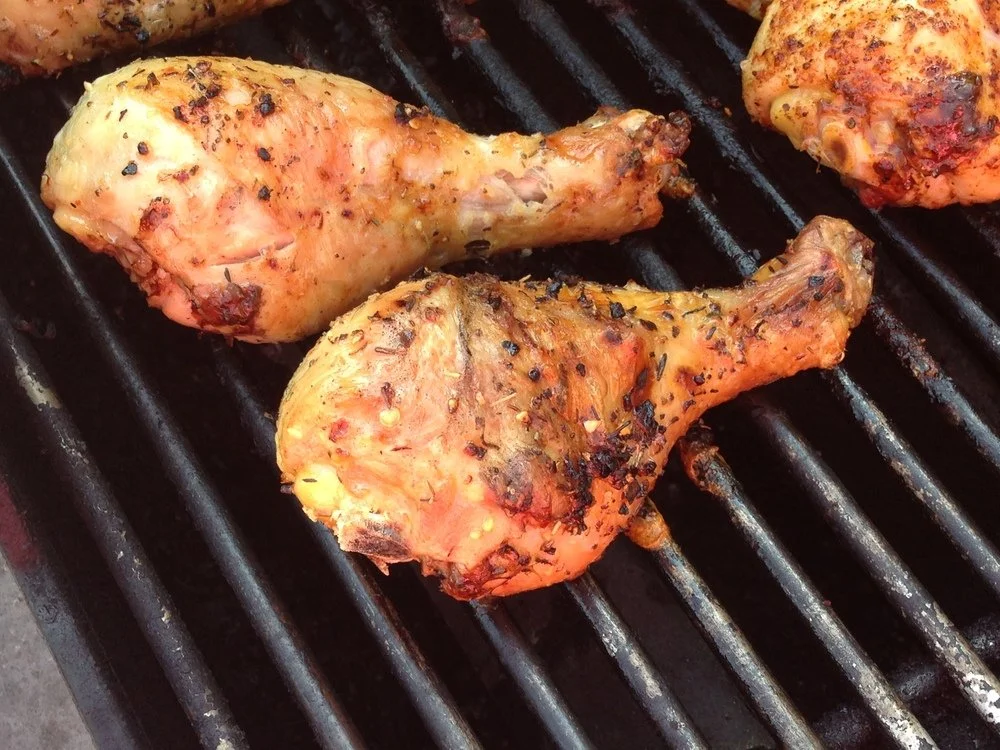
Lemon Pepper Chicken Wings Recipe- Grilled to perfection with Cherchies® Lem'n Pepper Spicy Blend Seasoning.
Spicy Cherry Chicken Wings Recipe- Baked not fried featuring Cherchies Cherry Hot Pepper Jam.


Hearty Game Day Food
Black & White Bean Chili Recipe- A necessity for the game-day featuring Cherchies® Select Grilling Rub & Seasoning Blend.
Ham, Turkey, and Cheese Stromboli Recipe- Easy and can be made ahead. This recipe features Cherchies® Champagne and Hot Banana Pepper Mustards.
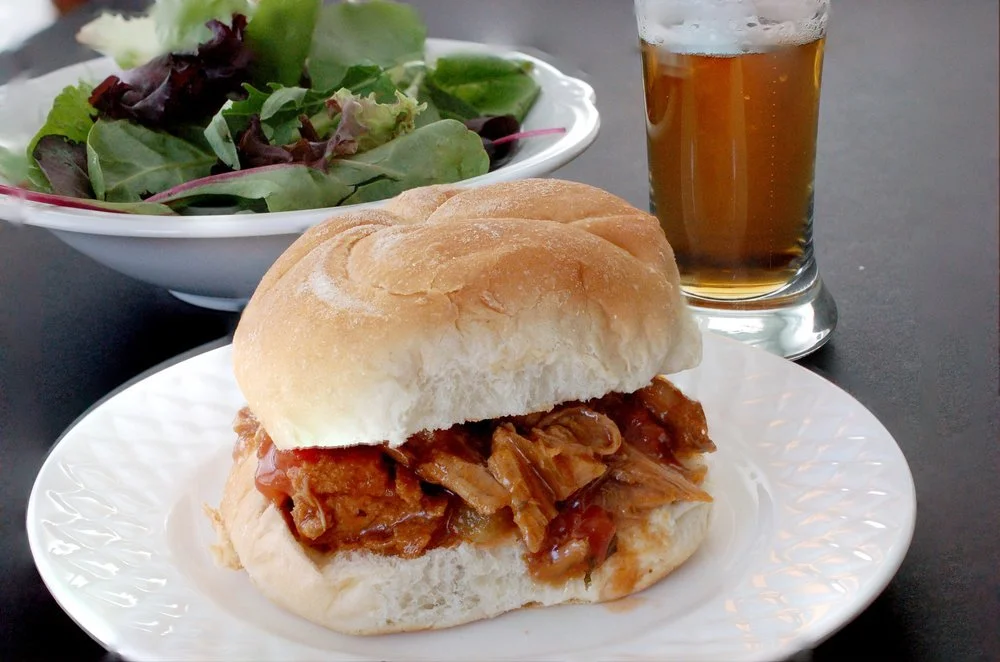
Slow Cooker Peach BBQ Pulled Pork Recipe- Step up your pulled pork recipe a notch with Cherchies® Vidalia Onion Peach Salsa.


Cherchies® Soup Mixes- Perfect for entertaining a crowd. Ready in 35 minutes!
Baked Chicken Tenders With Mustard Dipping Sauce- featuring Cherchies® Cranberry Mustard.
Mississippi Pot Roast Sandwich Recipe- Slow-cooked and melt-in-your-mouth deliciousness featuring Cherchies® Hot Banana Pepper Mustard.


Make a Taco Bar!
Double Decker Taco Recipe- featuring Cherchies® Garlic Seasoning and Cherchies Select Grilling Rub and Seasoning Blend.
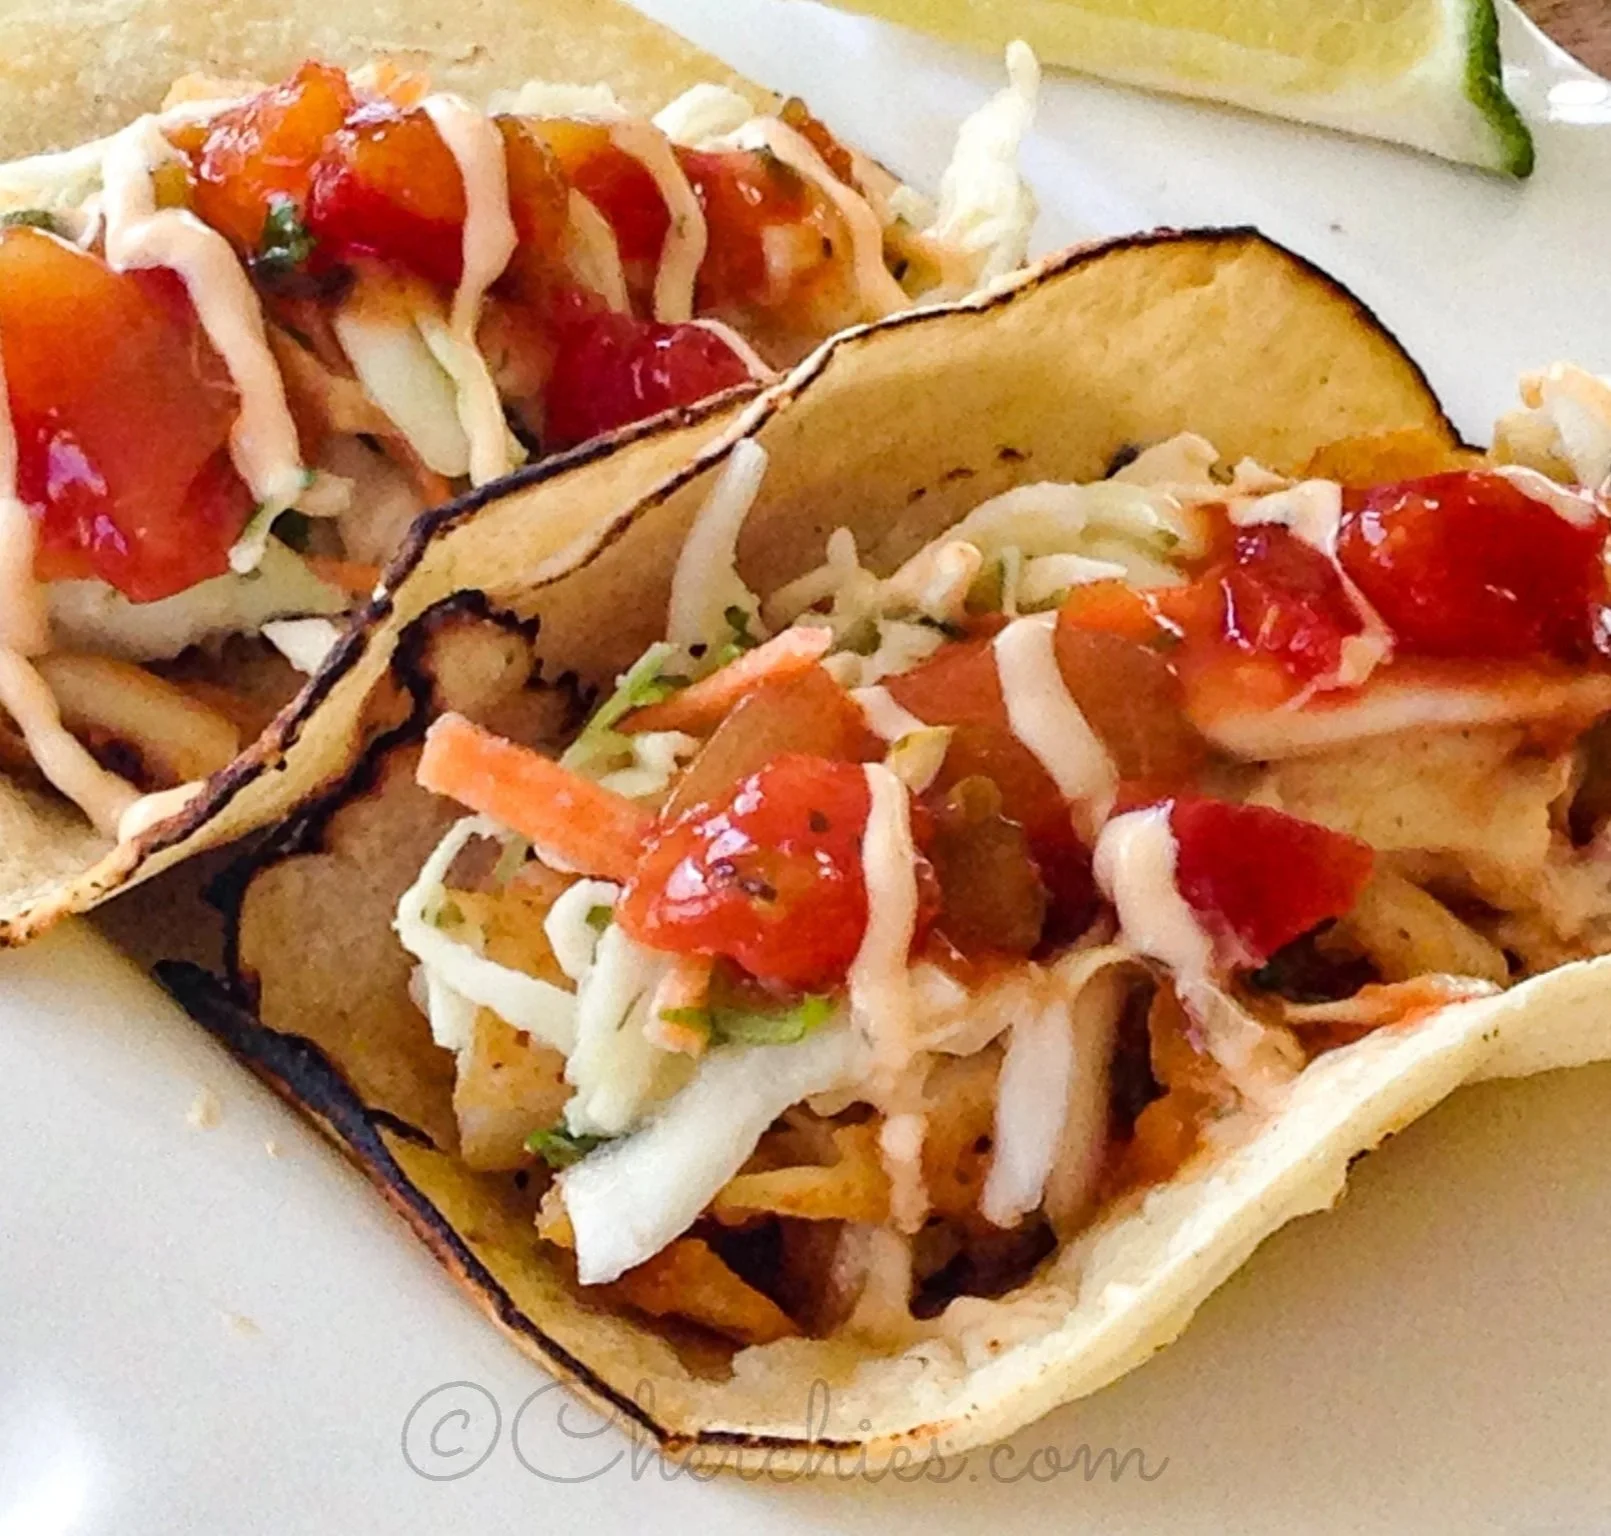
Fish Tacos with Cilantro Lime Ranch Dressing Recipe- featuring Cherchies® Select Grilling Rub & Seasoning Blend.
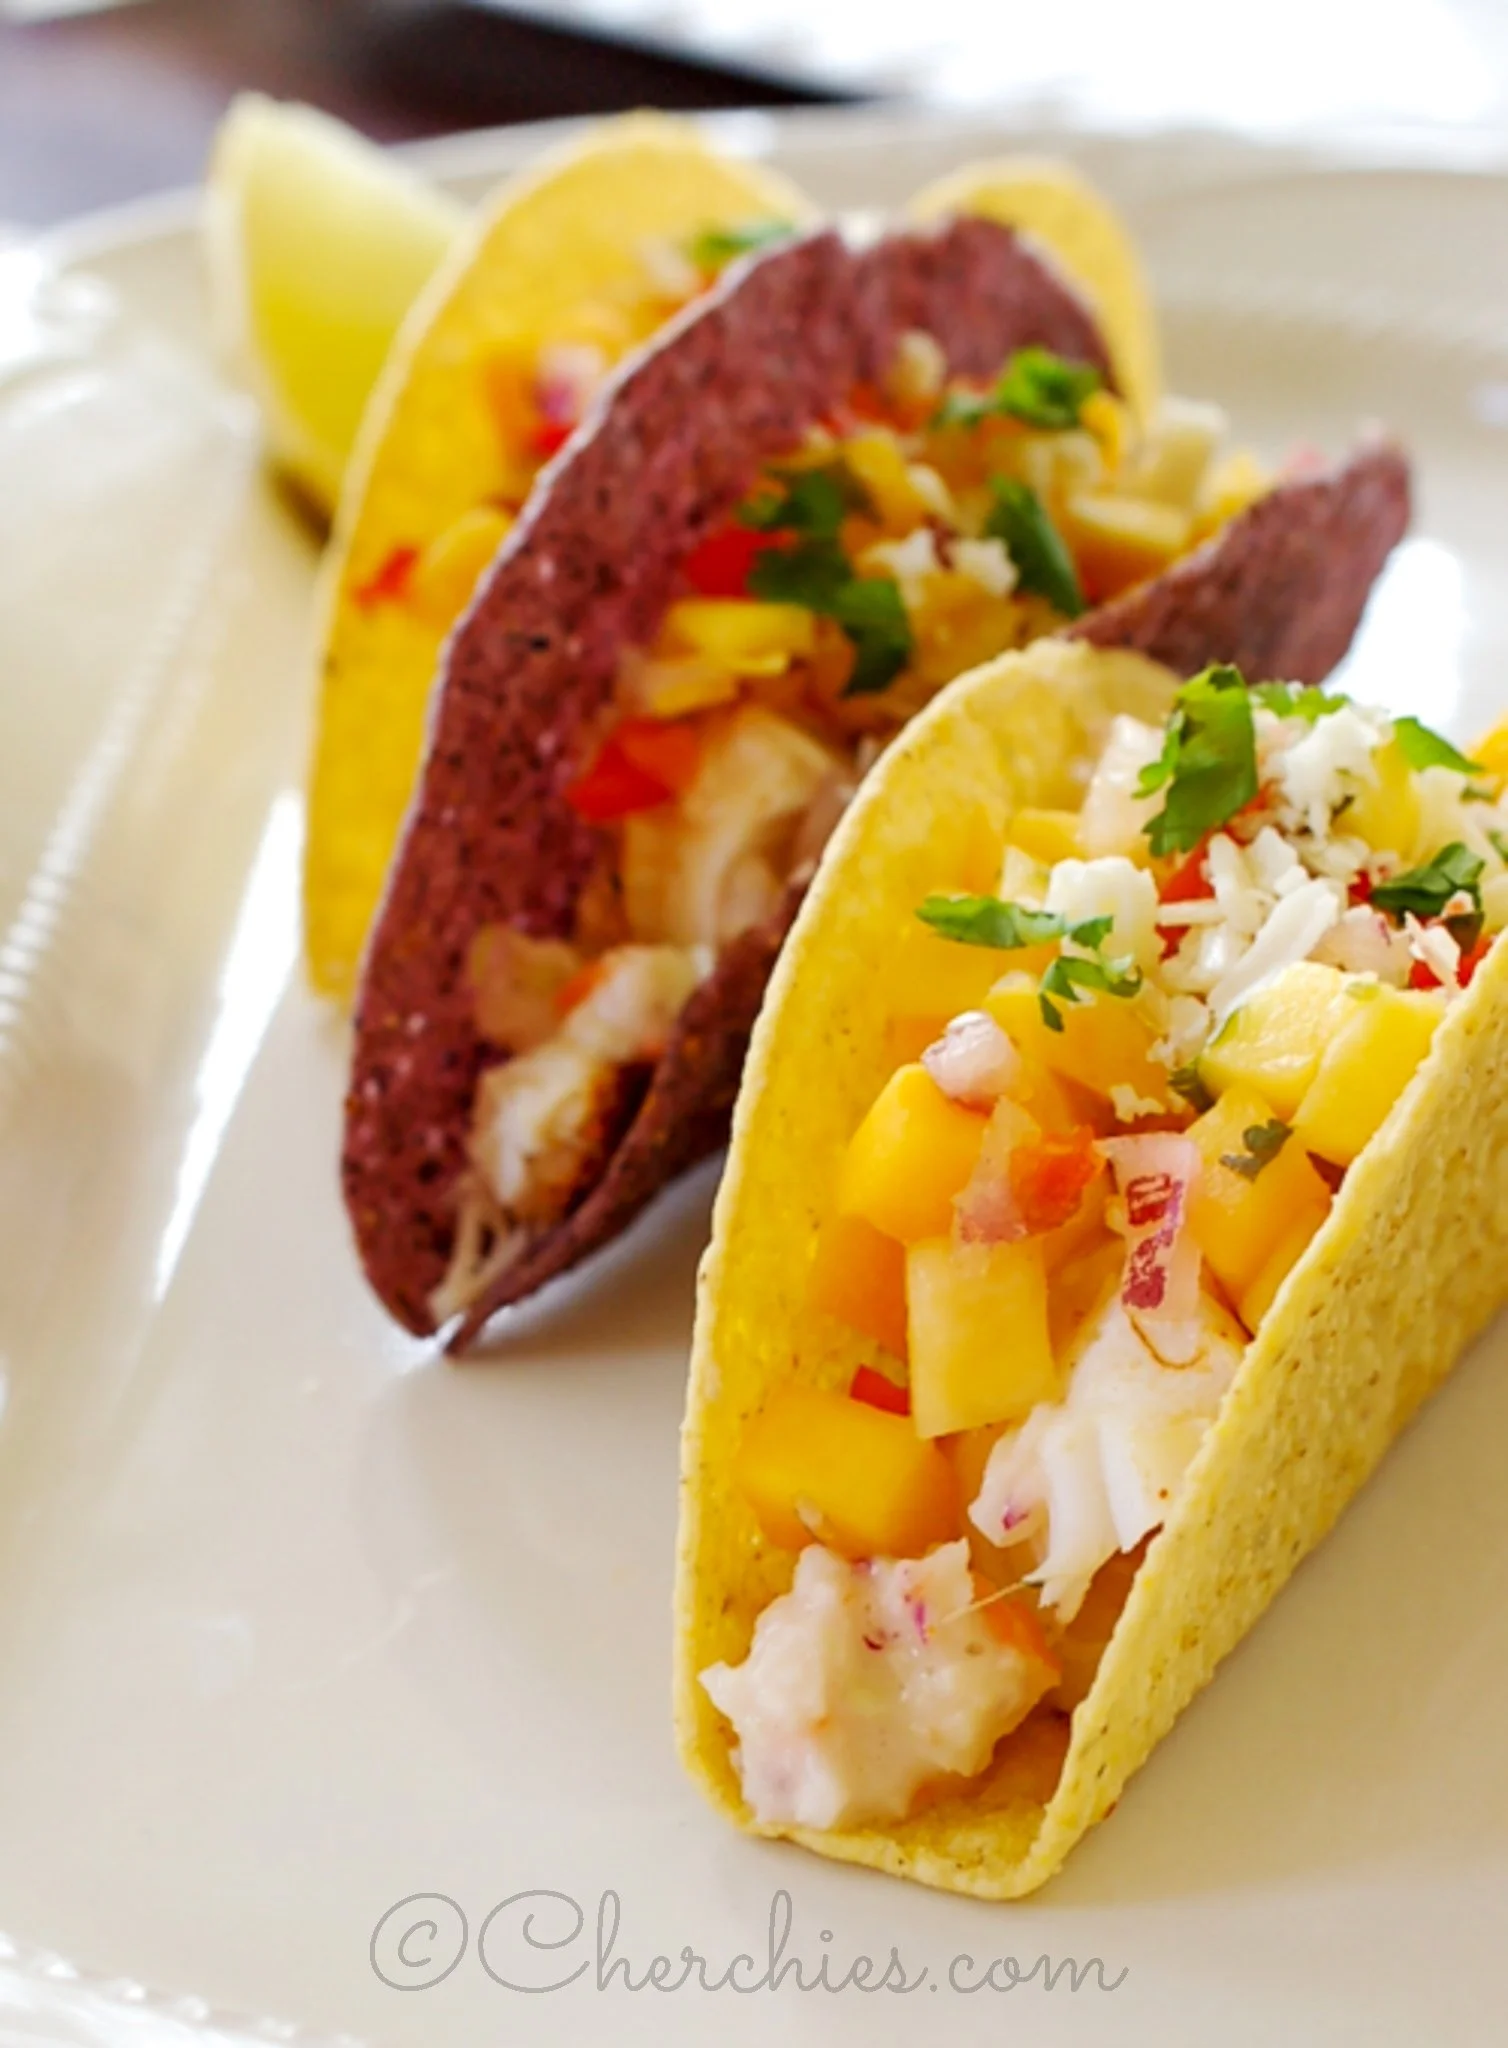
Peachy Fish Taco Recipe- Your tacos will sing with flavor with Cherchies Vidalia Onion Peach Salsa, Cherchies Chardonnay Lime & Cilantro, and Cherchies Select Grilling Rub & Seasoning Blend.

Cheese Please!
Pepper Cream Cheese Recipe- Sweet and roasted peppers- A quick and easy appetizer with Pretty Peppers.
Pepper Jam Cream Cheese Appetizer- Quick appetizer featuring Cherchies® Cherry, Cranberry, or Strawberry Hot Pepper Jams.
Mexican Martino Cheesecake Recipe- Perfect for a large crowd featuring Cherchies® Black Bean & Corn Salsa or Cherchies® Vidalia Onion Peach Salsa.


Charcuterie- Charcuterie or grazing boards are very popular right now. Pair Cherchies® Mustards, Pepper Jams, and Butter Spreads with your favorite cheeses and meats for the perfect complement to your charcuterie platter.