Cherchies Blog

Shop Cherchies.com   Free Shipping on continental US orders over $100

Cherchies Blog

cooking tips

Easy Pickled Jalapenos Recipe

side dishes, cooking tipsSheri SpalloneComment

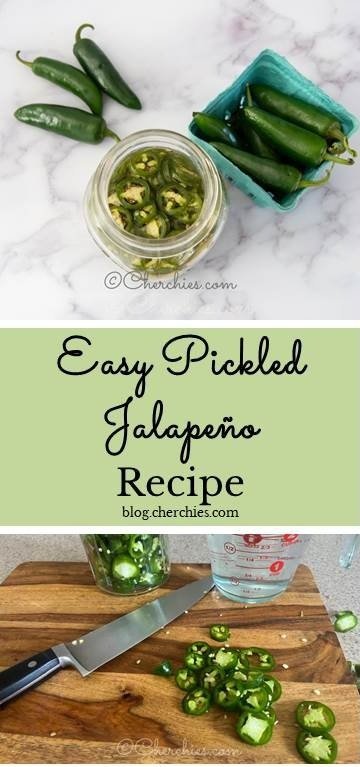
Easy Pickled Jalapeño Recipe

Prep Time: 10 minutes

Cook Time: 5 minutes

Difficulty: Easy

Makes one jar

Hello friends. If you want to kick up your culinary repertoire and love spicy foods, tangy pickled jalapeños will elevate your cooking to a new level.  Even if you are not a spicy food lover, pickling jalapeños makes the peppers sweeter and milder than fresh jalapeños. They are easy to make and add incredible flavor to Mexican dishes, cheese balls, dips, sandwiches, soups, and much more.  More on that later.  And you'll wonder why you never made them sooner because you will always want them in your refrigerator.  

Have I convinced you yet?

Here's my testimony. I have belonged to a CSA farm share for two summers, and jalapeños are part of the "pick-your-own crop." I avoided them two Summers ago because even though I love foods with a kick, I'm a wimp when it comes to fresh jalapeños or spicy peppers.  

That all changed last summer.  I put on my big girl pants, expanded my palate, and tried pickled jalapeños at a restaurant.  The rest is history, as I was hooked!  I LOVED THEM so much that I needed to make them at home so they would always be available.  

Luckily, last summer's CSA share included a plethora of jalapeños, so I had plenty on hand to experiment with and different recipes to use them in. At the end of the growing season, I sliced and froze the extras so my family and I could enjoy them all winter. This recipe includes only a few ingredients and features Cherchies® Garlic Seasoning.

Consider pickling these little gems if you're looking for a new go-to condiment to up your cooking game and add incredible flavor to your dishes.  You won't be disappointed.  

Thanks for stopping by. :) Comment below if you have made these zippy, pickled jalapeños. Revisit us for more family-tested recipesentertaining ideas, and cooking tips using all our favorite Cherchies® gourmet products.

Follow us on social media: FacebookInstagram, and Pinterest.

Ingredients

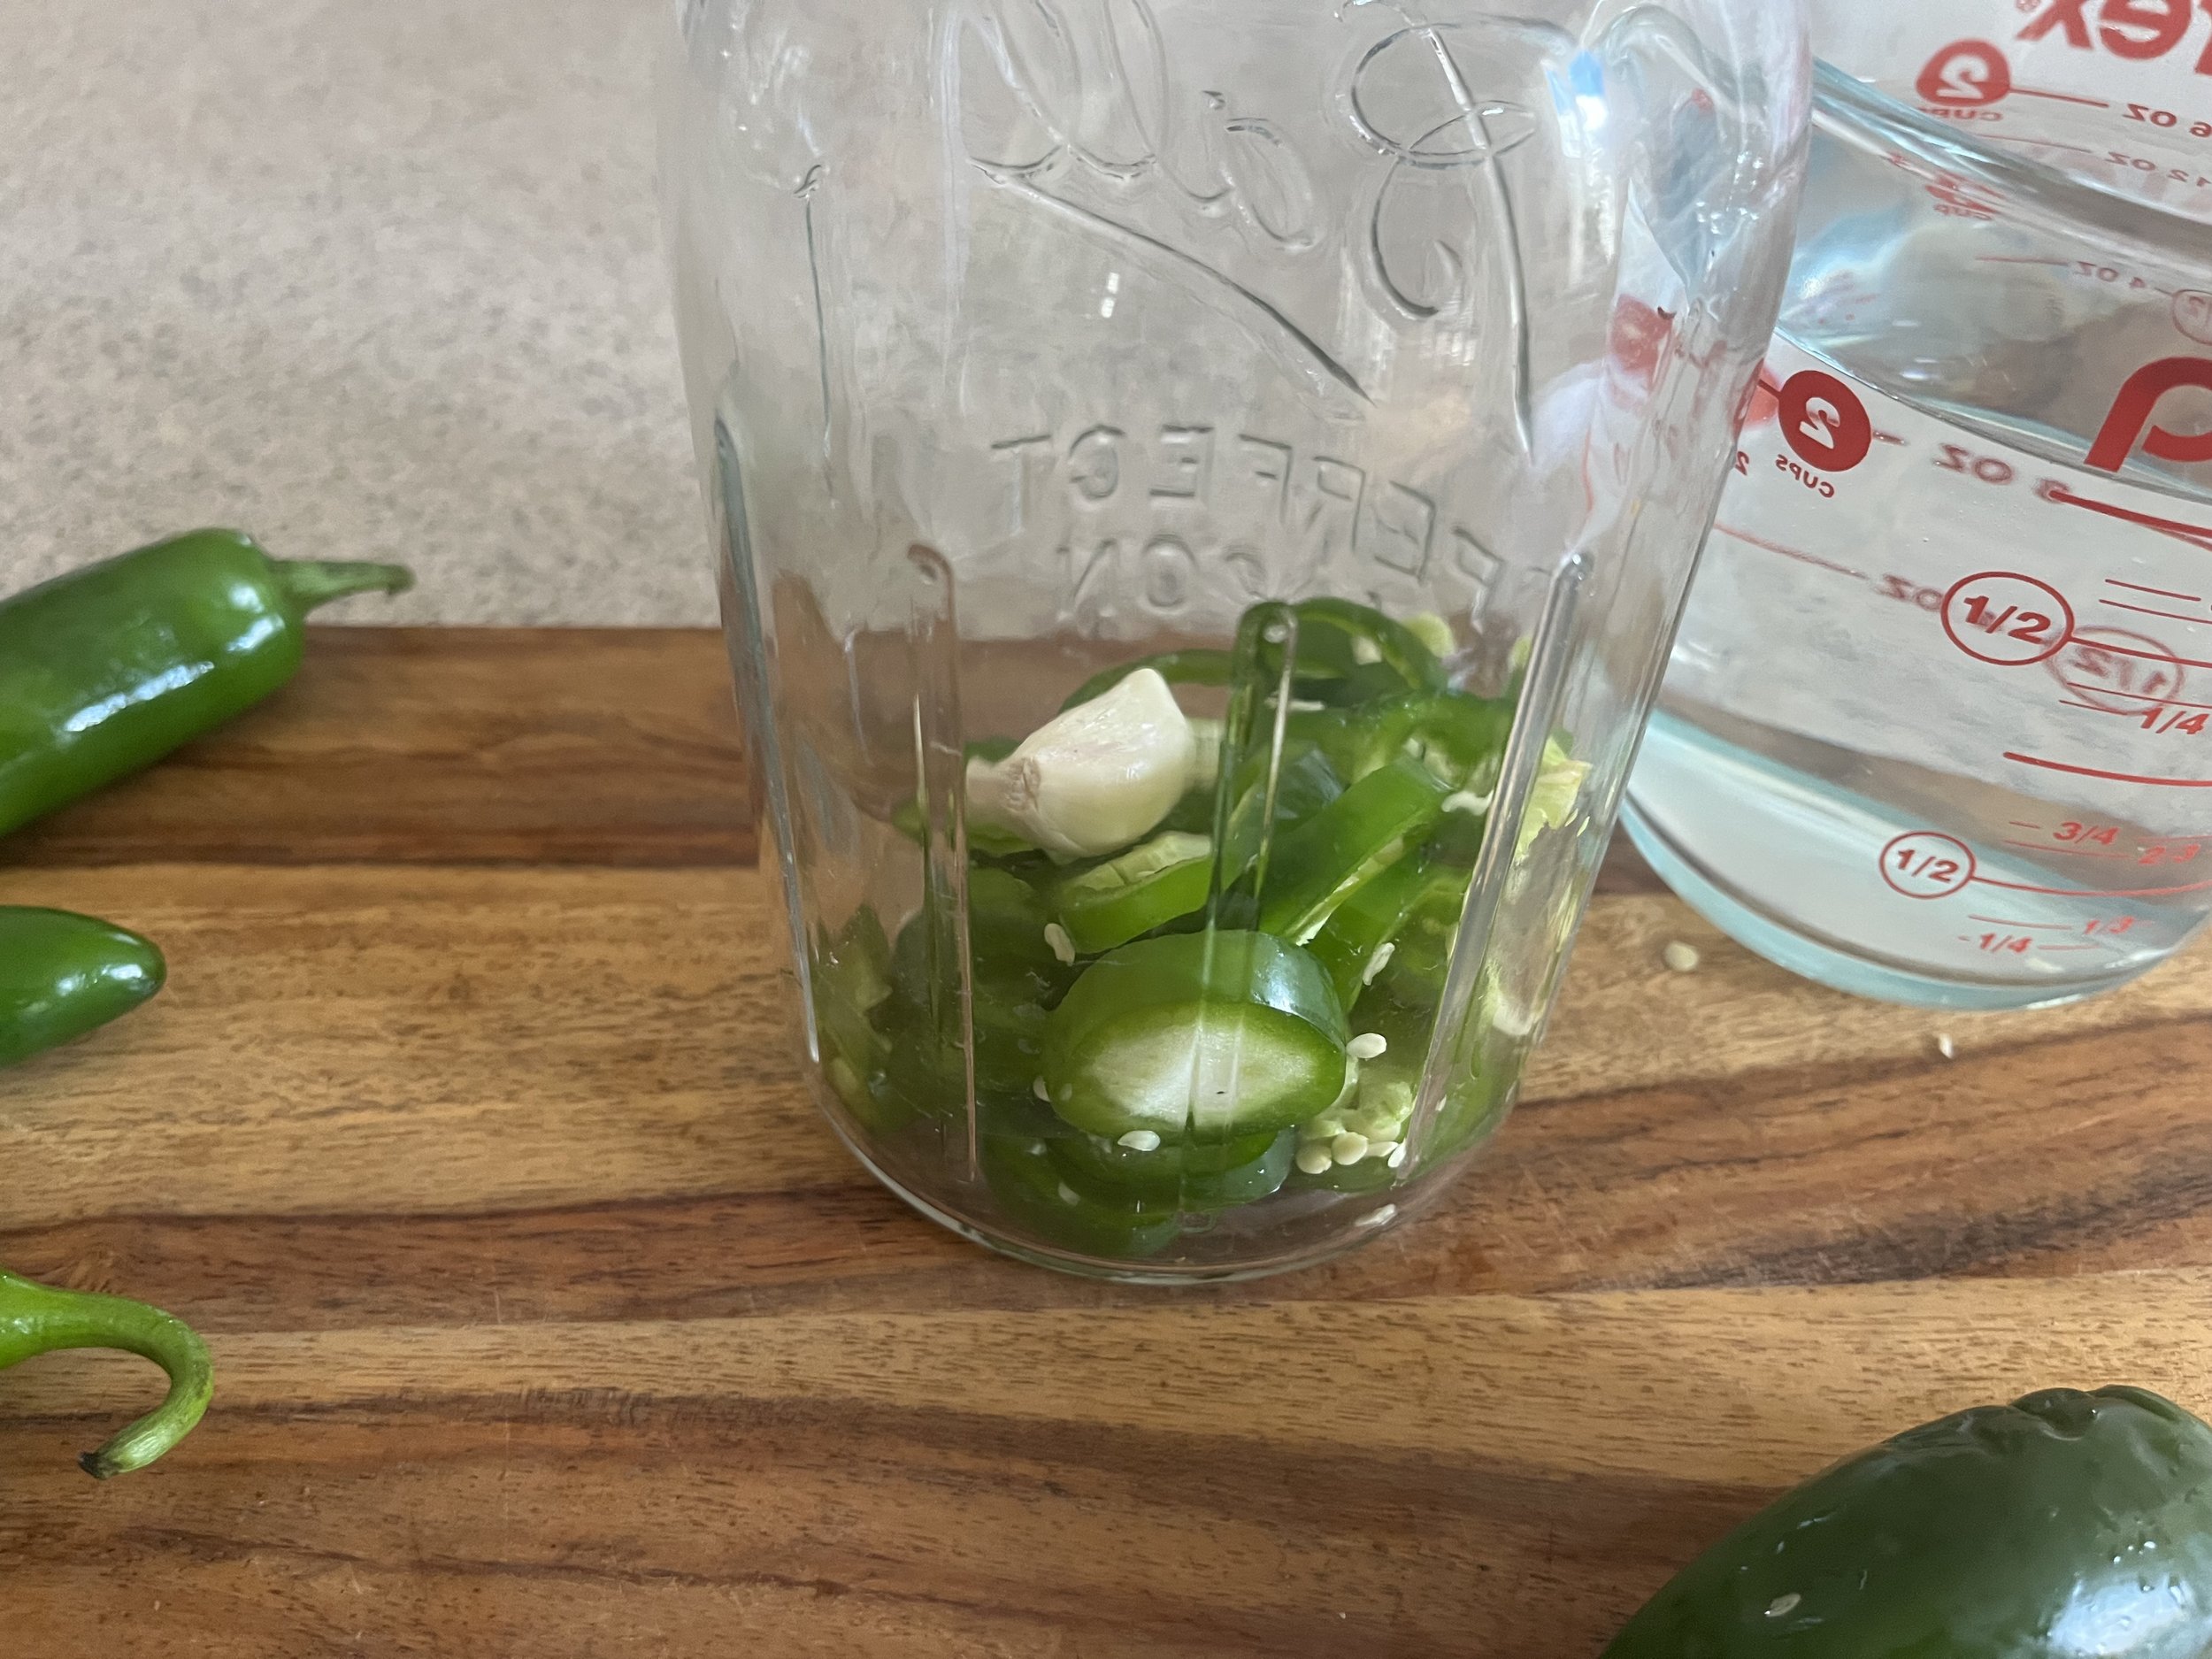
  • 6-8 jalapeños, thinly sliced

  • 1 clove of garlic, skins removed

  • 1 cup white vinegar

  • 1 cup water

  • 3 Tablespoons (Tbsp.) sugar

  • 1/2 teaspoon (tsp.) Cherchies® Garlic Seasoning

Preparation

I highly recommend using food-safe gloves to slice the jalapeños. The oil residue from these peppers stays on your hands, so be careful not to touch your eyes. Learn from my experience; it is not pleasant.

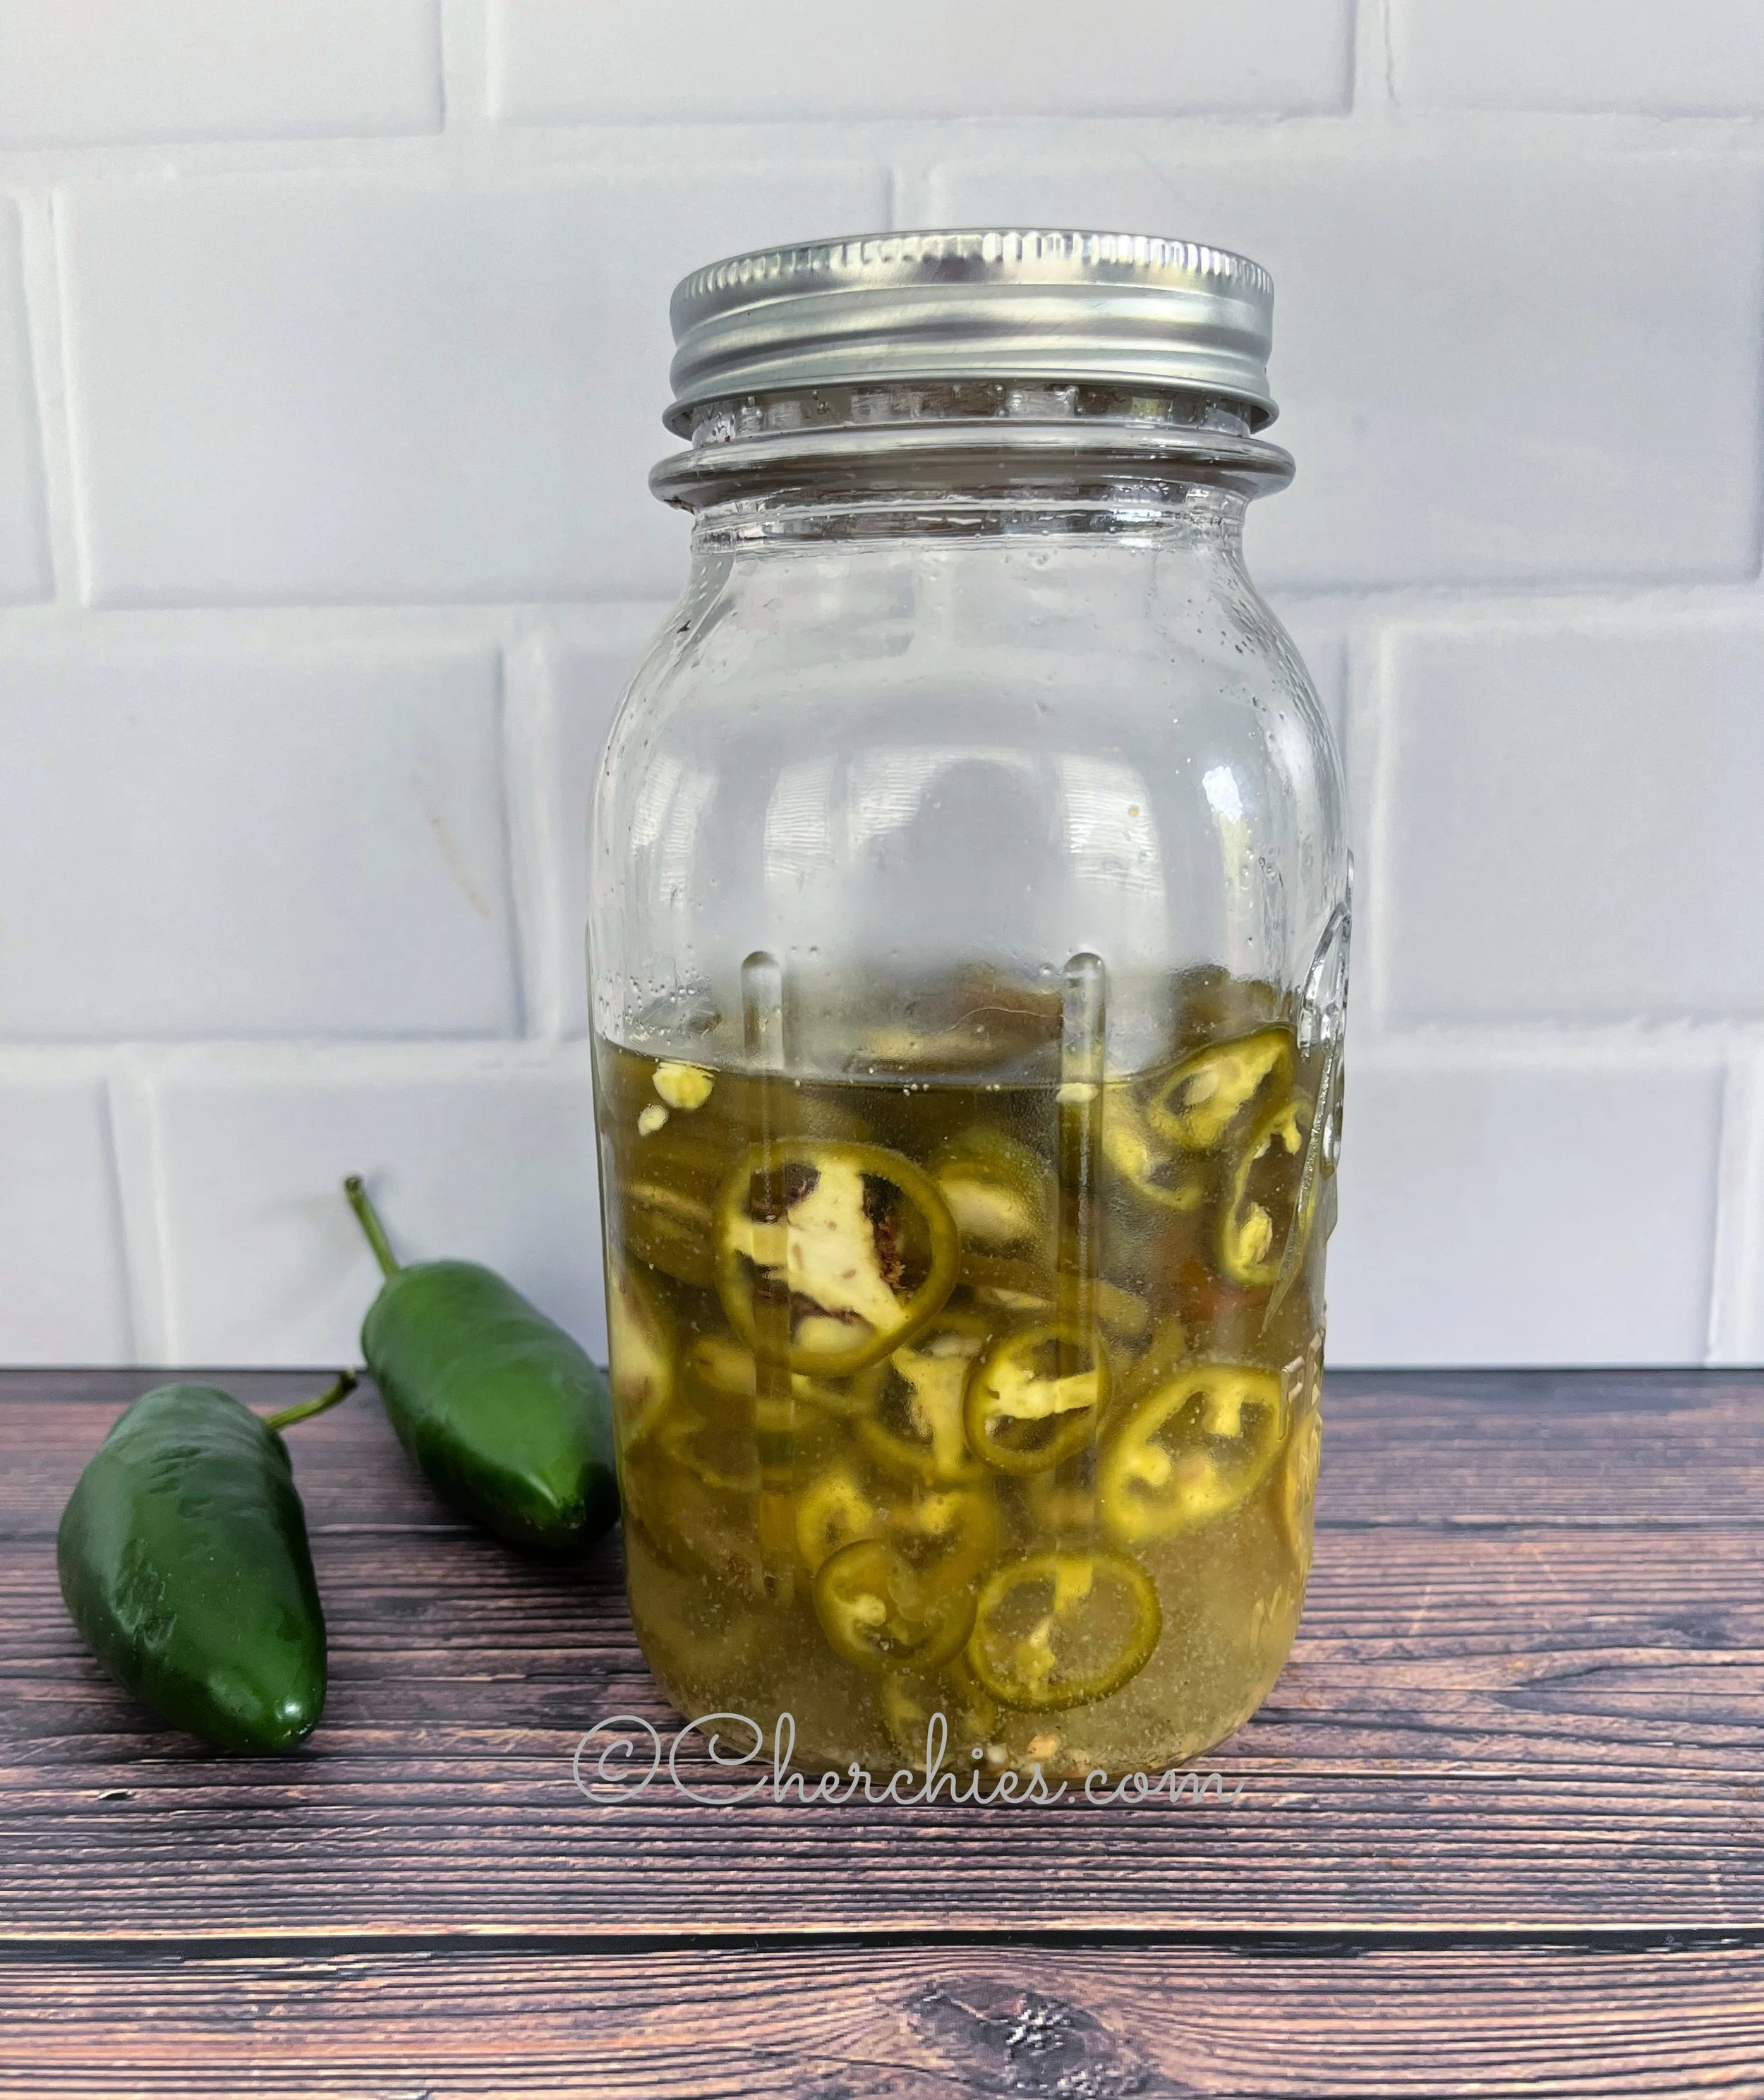
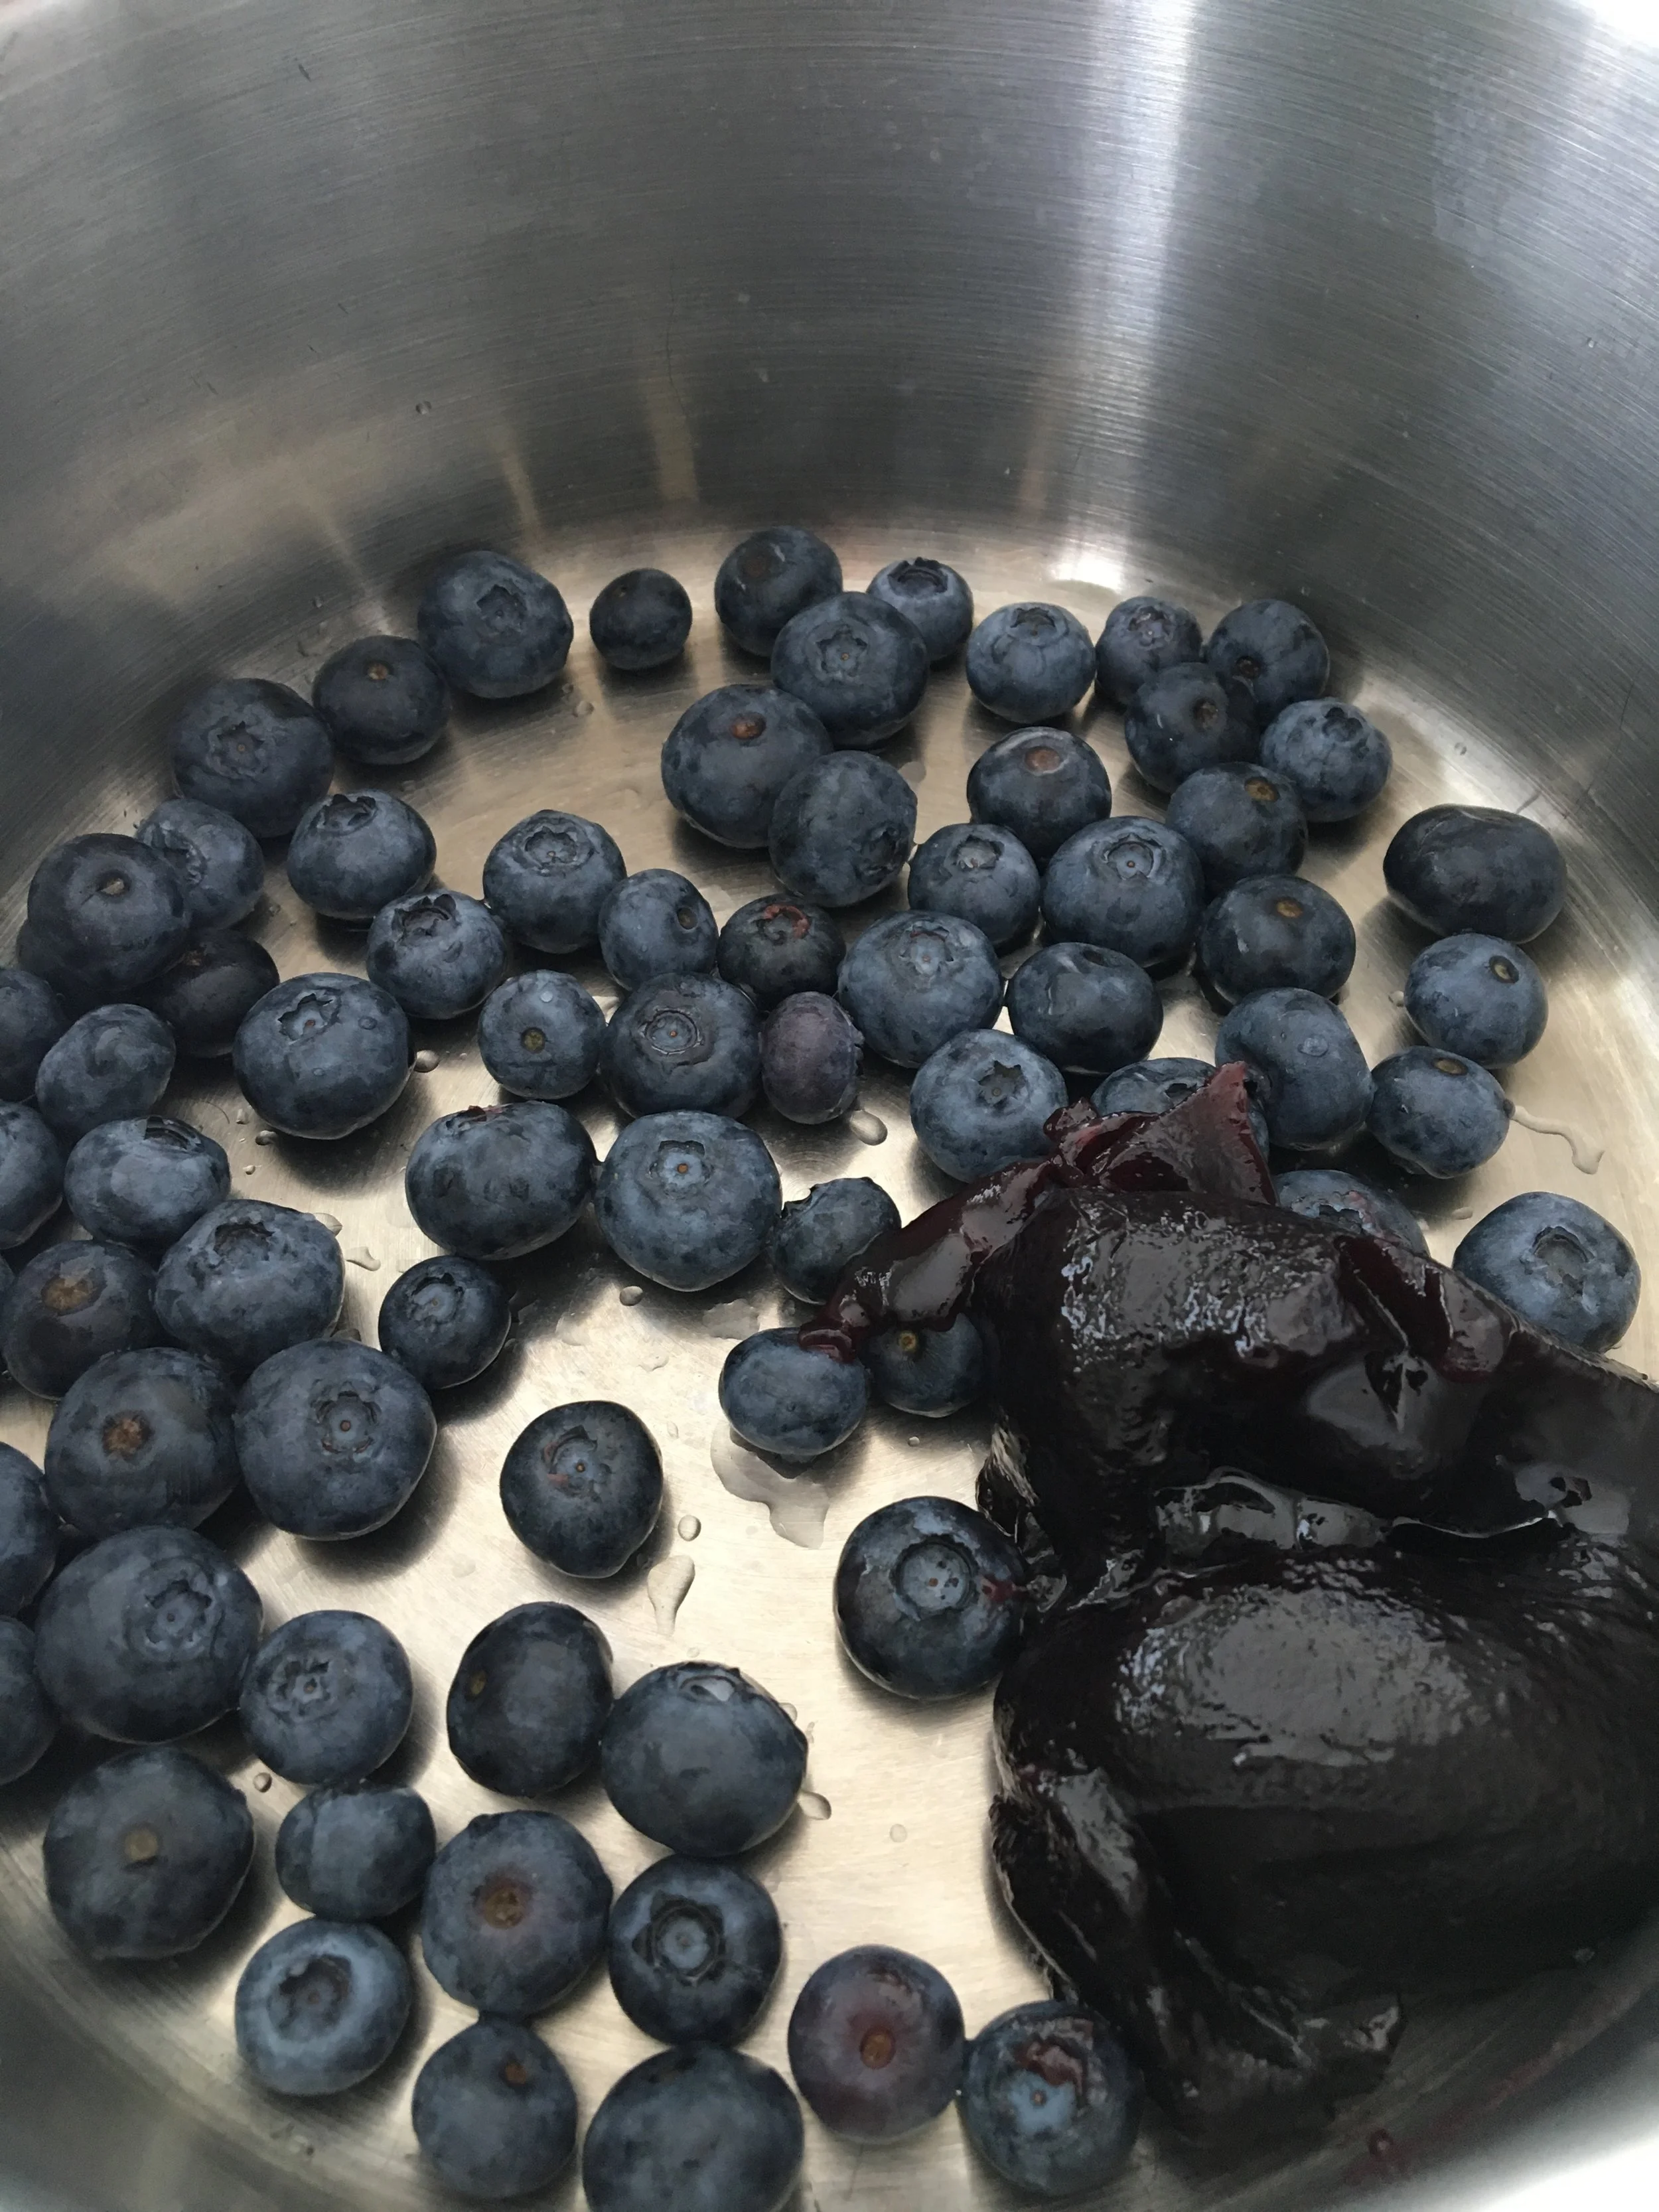
Wash and dry the jalapeños. Thinly slice the peppers and place them in a clean, sterilized jar with a lid, such as a Mason jar. (I have attached a link to the proper jar sterilizing techniques.) Add the garlic clove to the jar.

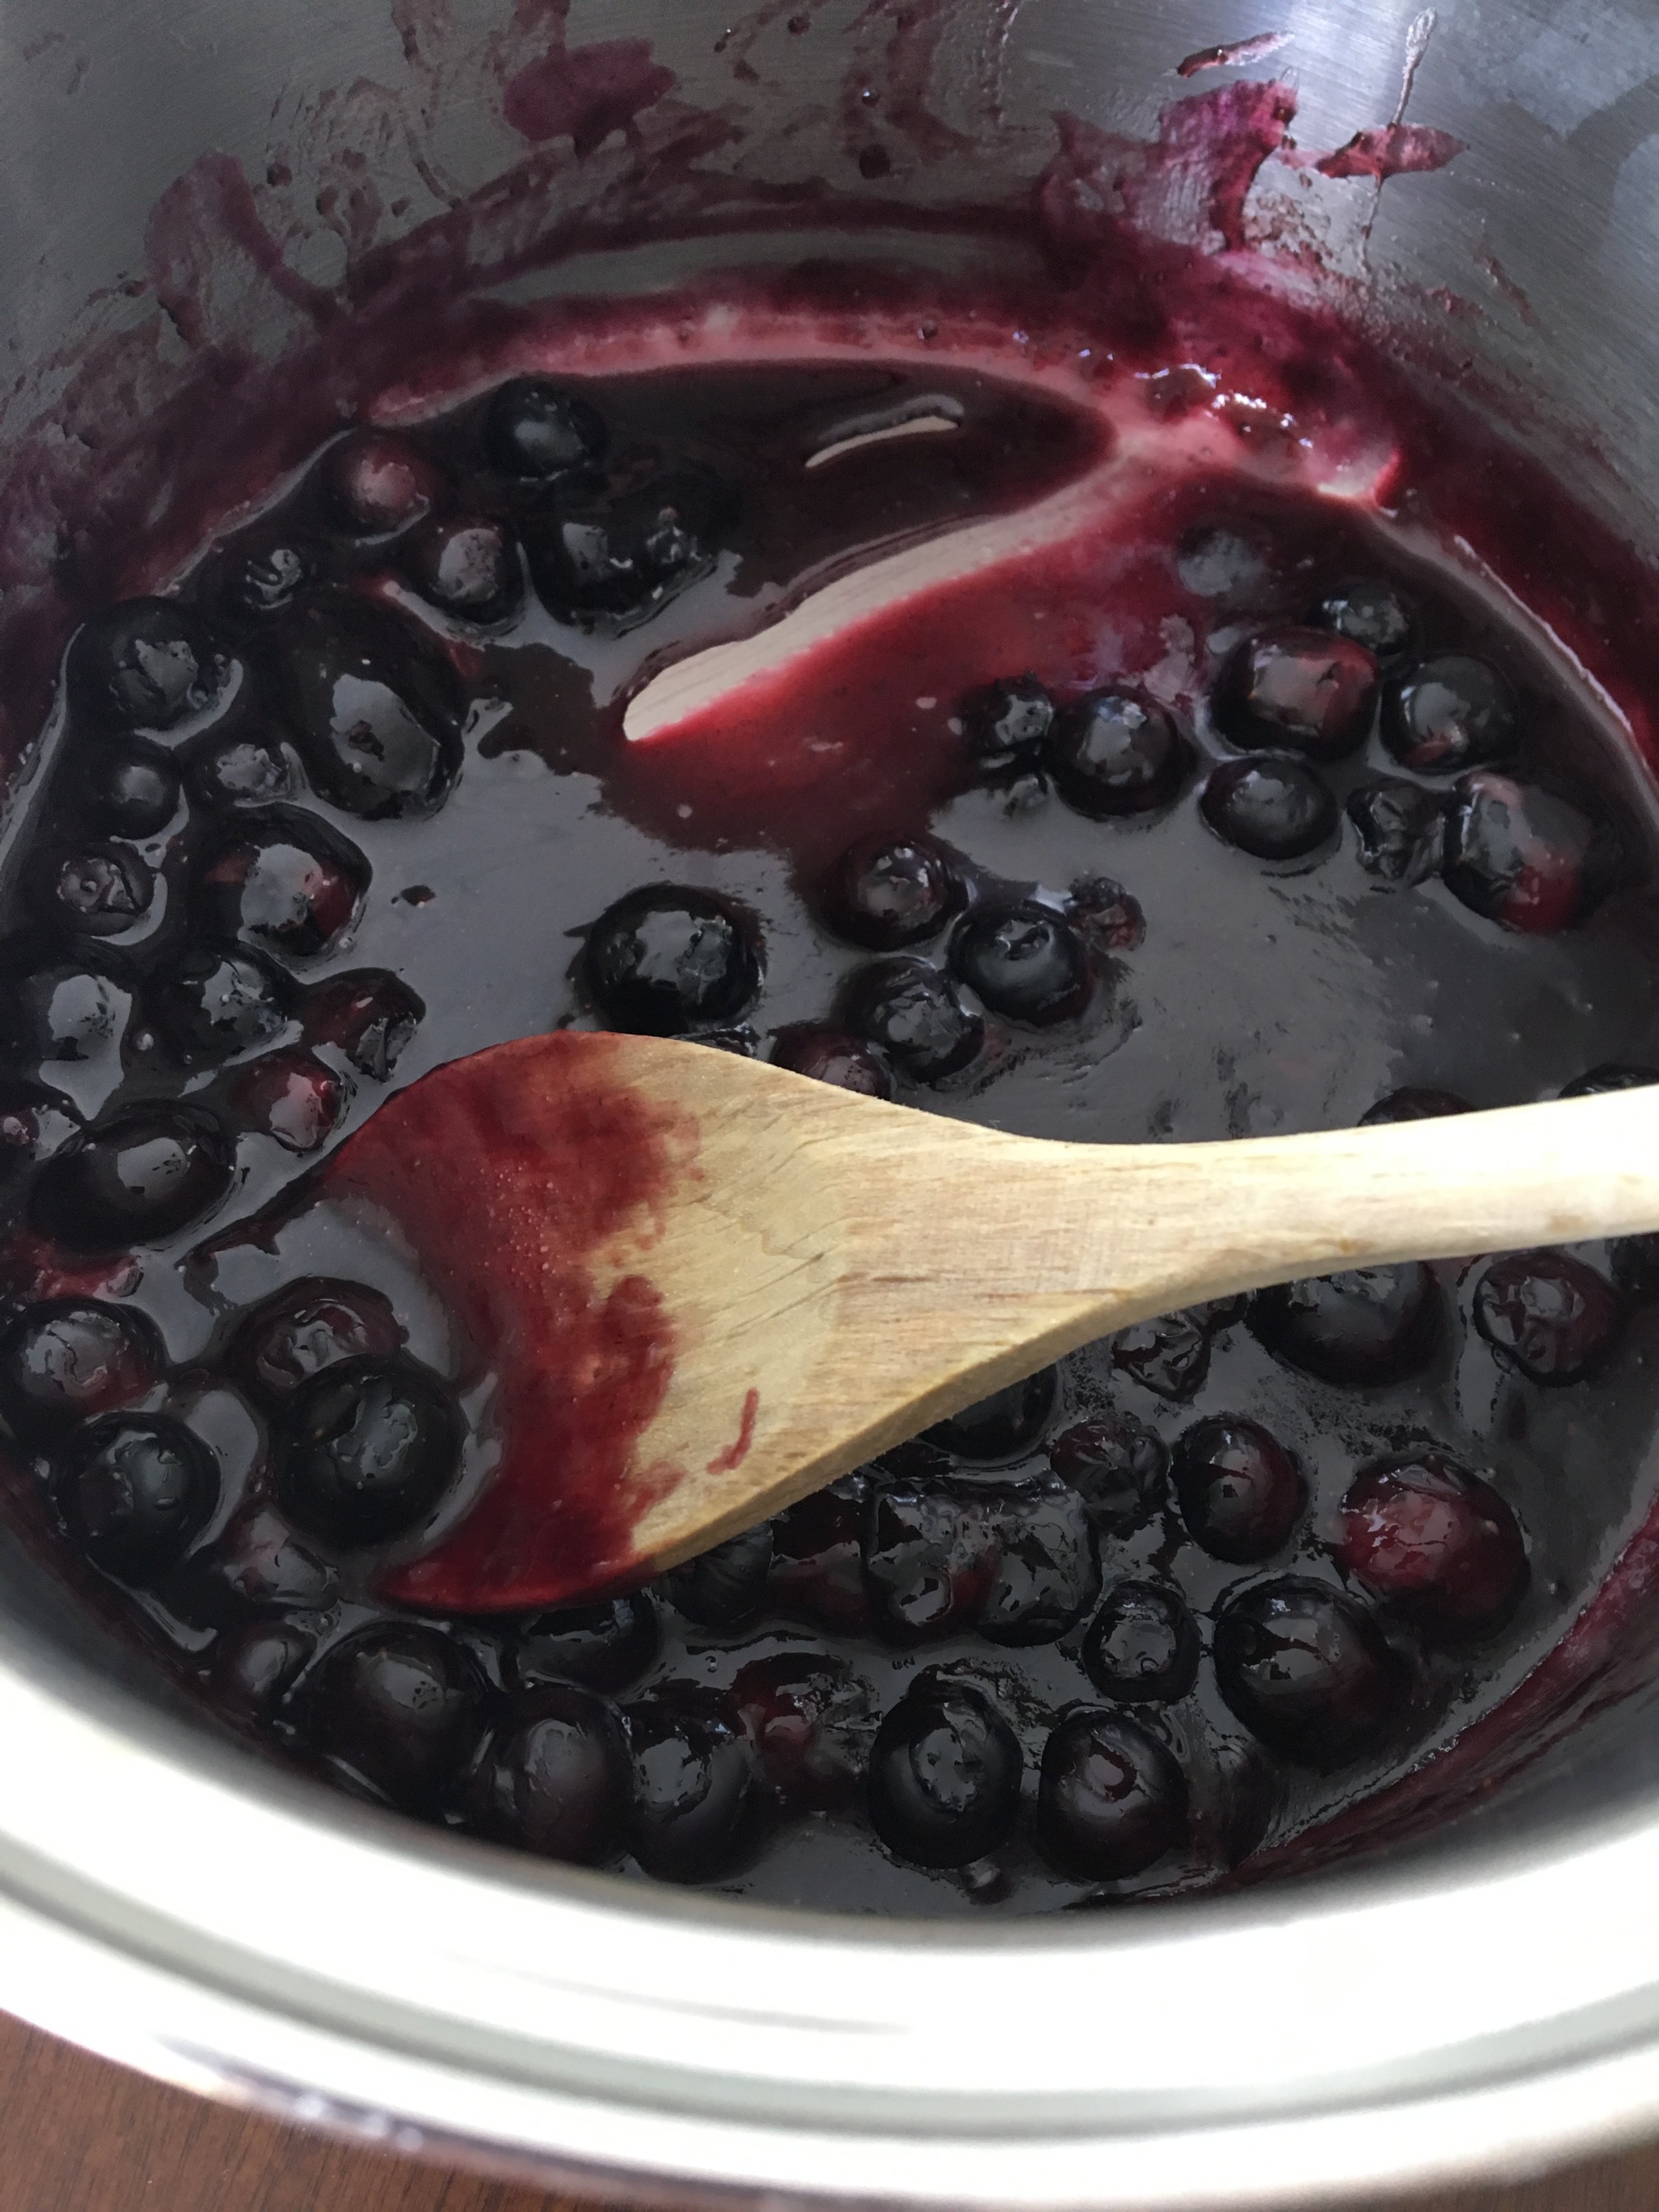
Now for the brine (salt water solution). In a small saucepan, simmer the vinegar, water, sugar, and Cherchies® Garlic Seasoning over low heat, stirring occasionally, until the sugar is dissolved, about 5 minutes. Pour the brine over the jalapeños. Let them cool to room temperature, then cover and chill them in the refrigerator for at least 30 minutes. They will keep in the fridge for two weeks.

That’s it. Super simple pickled jalapeños for whenever the craving hits.

*Note: The peppers will turn a lighter green once they connect with the brine.

How To Use Pickled Jalapeños:

  • Tacos, enchiladas, and pretty much any Mexican or Tex-Mex dish

  • Jalapeno popper dip or cheeseball

  • Sandwiches

  • Nacho cheese dip

  • Pimento Cheese

  • Combine with fruits for a delicious relish

  • Homemade Salsa, when combined with tomatoes, onions, cilantro

  • Egg dishes (omelets, avocado toast, casseroles (egg and chili casserole), deviled eggs

  • Beverages- lemonade, margaritas

  • Cream of jalapeno soup

  • Add to your favorite cornbread recipe for a little kick

  • So much more!

Enjoy!

Yum

Cooking Tip: How To Make a Gameday Snack Stadium

cooking tipsSheri SpalloneComment
Cooking Tip: How To Make a Gameday Snack Stadium

Cooking Tip: How To Make a Gameday Snack Stadium

Updated February 7, 2025.

Round Two: Eagles vs. Kansas City!

Super Bowl Sunday is this Sunday, and our beloved Eagles (It's a "Philly Thing") are going to the Super Bowl! We couldn't be more excited! What better way to celebrate the Super Bowl than to score a touchdown with your guests with this easy peasy "snack stadium"; game day food at its most creative!

I have always had a weakness for themed celebrations, and game day is no exception, especially when our hometown NFL team is in the Super Bowl. Our family loves the decorations, the fun food, etc., of themed parties, so when I learned about "snack stadiums" seven years ago (the last time the Eagles won the Super Bowl), we were all on board to create a "snack stadium."

I was amazed on the internet at the lengths football fans went to build elaborate snack stadiums. Creating a "snack stadium" does not need to be complicated or expensive, as most containers can be found in your home (plastic containers, aluminum take-out trays, empty soda boxes, magazine holders, etc.). I purposely recycle those containers just for my snack stadium. The idea is to surround the field with stadium-like seating (containers) where you will host a variety of snacks.

Here’s how we did it:

Assemble your stadium

Every stadium centers around the obvious, the playing field, so start with that. I used a green plastic tablecloth I purchased at our local party store for the background. For the actual football field, we used a rectangular foil tray saved from a previous party and sectioned off two end zones with cardboard and aluminum foil. (This will eventually house the guacamole and dip playing field).

Then place the foil tray on a lazy Susan for easy access from all angles. (*This step is not necessary, We used what we had at home).

For the goal posts, we used flexible straws and tape, which can be anchored with olives, grapes, cheese, or whatever your heart desires (make sure to slice off the bottom so it doesn’t roll over).

Arrange the stands. Plan what snacks you want in your snack stadium, as it might dictate the types of containers you use. Recycle and upcycle! We covered magazine holders with white craft paper, take-out containers we saved, plastic cracker tray inserts, etc. Pinterest has many ideas for the stands (cut-up soda boxes, plastic containers, ice cube trays from your refrigerator...use whatever you have!) Once again, it should be easy and stress-free. Plus, if you have your children helping you, it makes for the perfect teaching moment about our environment and recycling.

In the first picture, we used dip containers (from our local restaurant supply store) for tasting at Cherchies® food shows. The other pictures I got from Pinterest show different containers you could use.

Our children had a lot of fun decorating everything, including our salt and pepper shakers that they turned into referees, covering them in white craft paper with Sharpie stripes. Once you have your plan in place, the fun begins, filling your stadium!


Here are some of our favorite stand ideas from those creative internet people…and you know who you are!

Filling your Snack Stadium

This is the best part! Most Gameday celebrations are about the food, and we went further with some fun, creative ideas. The guacamole was in the middle, flanked by two different salsas in the end zones.

On opposite sides, the magazine box “stands” and dip containers by the end zones were filled with our favorite snacks, fruits, and veggies, with dips and candies on the “sidelines.”

The last touch was a stadium monitor. We propped our iPad on some styrofoam inserts from something we had purchased. I have to say, this was my contribution, and I was very proud of myself:) We streamed the game on the iPad for the ultimate “snack stadium.” Of course, we all watched the game on the big tv in the family room.

And, if you are looking for tasty game-day recipes featuring Cherchies® Specialty Foods, check out these recipes.

So, score a touchdown with your guests this Super Bowl Sunday with your creativity and create your own “snack stadium” using household items. Comment below and send us your photos. Thank you for stopping by!
GO EAGLES!!

Yum

The Best Taco Seasoning Recipe

gluten free, cooking tipsSheri SpalloneComment

The Best Taco Seasoning Recipe

Prep Time: 5 minutes

Difficulty: Easy

Let’s taco ‘bout taco seasoning for a moment. Why buy taco seasoning when you can easily make it homemade? Our flavorful, all-purpose, hand-crafted Select Grilling Rub & Seasoning Blend is one of our favorite seasonings because it is versatile in many culinary dishes, especially tacos. Add a tiny amount of cornstarch to this blend, and voila, homemade taco seasoning for the perfect tacos in minutes (see below).

In addition to tacos, this seasoning blend adds incredible flavor to grilled dishes, soups, stews, and unsuspecting dishes like coconut shrimp, chicken cordon bleu, ribs, pulled pork, and so much more. It is that versatile. See for yourself some of the many tasty uses https://blog.cherchies.com/select-grilling-rub-seasoning.

Whether you are celebrating Cinco de Mayo or Taco night or creating comforting soups or stews, casseroles, grilling your favorite dishes, etc., you need a seasoning that can do it all. Are you ready to add pizzazz to your culinary creations and tantalize your tastebuds?  Cherchies® Select Grilling Rub & Seasoning Blend is so flavorful and versatile that you will wonder why you haven’t tried it before.

Comment below and tell us if you have tried this seasoning and or your favorite use for 

Thanks for stopping by:) Comment below if you have made this delicious recipe featuring Cherchies® Select Grilling Rub & Seasoning Blend. Come back again for more family-tested recipes, entertaining ideas, and cooking tips using all our favorite Cherchies® gourmet products.

We would love for you to follow us on social media: FACEBOOK, INSTAGRAM, and PINTEREST!

Ingredients (for taco seasoning)

Preparation

This recipe seasons 1 pound of ground meat. Mix the contents and voila, instant taco seasoning.

Yum

Cooking Tip: How To Make Frozen Yogurt Popsicles

cooking tips, dessertsSheri SpalloneComment
Cooking Tip: How to Make Frozen Yogurt Popsicles

Cooking Tip: How to Make Frozen Yogurt Popsicles

Posted originally 9/7/16, but updated to reflect the times.

Frozen popsicles are just plain fun for kiddos and adults alike. Am I right? They are perfect heat busters, the flavor combinations are endless, they are easy to make with real pronounceable ingredients you have handy, and they are creative outlets for cooped up young adults. Yes!

How are you doing? A LOT has happened these last few months, but our family is safe, and for that, I am grateful, and I hope you and your family are as well. Do you have children at home? We have a full house once again (25, 19, and 16), and our younger two are always bored (even after they do something), and they are always hungry. Sound familiar? Luckily, they have always loved helping in the kitchen, so when they were practically bouncing off the walls the other day, with "nothing to do," I suggested making one of their favorite summer recipes, homemade frozen yogurt popsicles®.

Surprisingly, no eye-roll :). Problem solved, a creative project they could make and eat! Win-win! (I must have caught them at a weak moment).

A few years back, our middle child, Nicholas (15 at the time) suggested we not only use fruit and yogurt (instead of the typical fruit and fruit juices) but add our fruit butter spreads and preserves to the mix, an idea that had never crossed my mind before. It made sense, fruit butter spreads are fruits that have cooked down to a spreadable consistency, so why not use them in frozen pops? But preserves? Yes! What a bright kiddo:).

So we set forth on our quest and made frozen yogurt pops with whatever ingredients we had on hand, blueberries, cherries, vanilla yogurt, leftover Cherry Butter,  Blackberry Preserves, and chocolate syrup. We created three different varieties, Blueberry Vanilla Yogurt PopsBerry Cherry Yogurt Pops, and Ice Cream Sundae Yogurt Pops . The hardest part for young adults was waiting for the darn things to freeze;).  

These velvety, fruity concoctions will be a hit with your family, as they were with ours. They are the perfect healthy snack, dessert, or breakfast treat, they are easy to make with real ingredients, and they are the ideal boredom-buster project for all ages. Homemade is the best, especially when you can make recipes with someone else, and for me, my friends, spending time with our young adults, is priceless!

Here's how we made them (We made three kinds. You can see the recipes below ).

Thanks for visiting! Come back again. Comment below if you made this recipe and any yummy variations.

Ingredients

Preparation

Before you begin, you'll need a few kitchen tools, a popsicle mold (I purchased this 10 serving mold on Amazon), and a cherry pitter (also to make my life easier).

1.  Separate the greek yogurt into 3 medium bowls (not necessary if only making one variety), and set aside. 

2.  In a small sauce pan, cook the blueberries and the Blackberry Preserves on low until the preserves have dissolved (a few minutes).  Turn off the heat and allow the preserves to cool about 5 minutes.  Now the fun begins!

3.  As I mentioned, we made three varieties.  I'll post another blog in the future (maybe the next heat wave) of other combinations.  For the Blueberry Vanilla Yogurt Pops, we added about 2 Tablespoons of the blueberry-preserve mixture.   Gently swirl the blueberry mixture into the yogurt.  Don't mix too much, as you want the swirled effect.  Carefully pour into the molds.

4.  For the Berry Cherry Pops, we followed Step 3 using 2 Tablespoons (Tbsp) of the Blueberry-Preserve Mixture and we added 1/4 cup of chopped cherries to the mixture, swirled ever so gently just as above, and poured into our molds.

5.  Finally, for the Ice Cream Sundae Pops, we added to the remaining bowl of greek yogurt, chopped cherries, 2 Tablespoons (Tbsp) Cherry butter (heated for 10 seconds in the microwave), and 1 Tablespoon of Chocolate Syrup.

6.  Once again, gently swirl the yogurt mixture and pour into the mold.  The molds I purchased had this handy lid to insert the sticks, but you could easily cover with plastic wrap and insert the sticks into the plastic.  Almost done!  Place in freezer and wait...and wait...and wait!

7.  After a few hours (what seems like eternity), remove the lid or plastic wrap, run the desired mold bottoms under warm water and gently pull out pops.  Voila!  Homemade frozen yogurt fruit pops, a sure-fire heat buster and delicious treat anytime!  Enjoy!

Frozen Yogurt Popsicles

Blueberry Vanilla Yogurt Pops

  • Vanilla Greek Yogurt (divided if making three separate batches)

  • 2 Tablespoons (Tbsp) Blueberry-Preserve Mixture (mentioned in Step 2)

  • Follow directions above for making the pops

Berry Cherry Yogurt Pops

  • Vanilla Greek Yogurt (divided if making three separate batches)

  • 2 Tablespoons (Tbsp) Blueberry-Preserve Mixture (mentioned in Step 2)

  • 1/4 cup chopped cherries

  • Follow directions above for making the pops

Ice Cream Sundae Yogurt Pops

  • Vanilla Greek Yogurt (divided if making three separate batches)

  • 1/4 cup chopped cherries

  • 1 Tablespoon Chocolate Syrup

  • Follow directions above for making the pops


Yum