Cherchies Blog

breakfast

Vegetable Cream Cheese Spread Recipe

breakfast, snacks, glaze marinade & sauceSheri SpalloneComment
Vegetable Cream Cheese Spread Recipe

Vegetable Cream Cheese Spread Recipe

Cooking Time: 15-20 minutes  
Difficulty: Easy

Today's recipe is a copycat version of our family's beloved Philadelphia's Garden Vegetable Cream Cheese Spread. It is chock full of vegetables and fresh herbs and is a fraction of the cost of the store-bought brand. I have to say, this recipe is pretty darn close to the original.

Bagels and cream cheese are a staple breakfast or afternoon snack in our home, especially bagels slathered with Philadelphia Garden Vegetable Cream Cheese, our family's favorite. Unfortunately, the small tubs found in grocery stores do not last long in a home with young adults and their friends, all with voracious appetites. Anyone with teenagers or young adults can attest to how quickly food disappears. Yeesh!

Re-creating recipes at home is my thing, so I took a stab at re-creating my family's beloved veggie cream cheese spread because I could make larger quantities and control the ingredients. It took a couple of tries experimenting with the ingredients (apparently, cucumber was a no-no), but according to our "Master Taster Tester," as my son calls himself, this recipe got a thumbs up!

With just a few ingredients and a few minutes of chopping and mixing, the result was a creamy, dreamy, savory spread, the perfect addition to bagels, crackers, sandwiches, and more! This recipe is so tasty and economical that you may never use the store tubs again!  

Thanks for stopping by:) Comment below if you have tried this tasty recipe. Return again for more family-tested recipes, entertaining ideas, and cooking tips using all our favorite Cherchies® gourmet products.

Follow us on social media: Facebook, Instagram, and Pinterest.

Ingredients

  • 3 (8 oz.) packages of cream cheese, softened

  • 1/2 whole green pepper, seeded and coarsely chopped

  • 1/2 whole red pepper, seeded and coarsely chopped

  • 1/2 whole yellow pepper, seeded and coarsely chopped

  • 6 whole green onions, sliced

  • 1 large carrot, peeled and coarsely chopped

  • 1 stalk of celery, coarsely chopped

  • 1 clove of garlic, peeled

  • 1 1/2 Tablespoon (Tbsp) coarsely chopped chives (more to taste)

  • 1 Tablespoon (Tbsp) Cherchies® Lem'n Dill Seasoning (more to taste)

  • 1 teaspoon (tsp) Cherchies® Garlic Seasoning (more to taste)

*Feel free to add or subtract any veggies or herbs to your liking.

Preparation
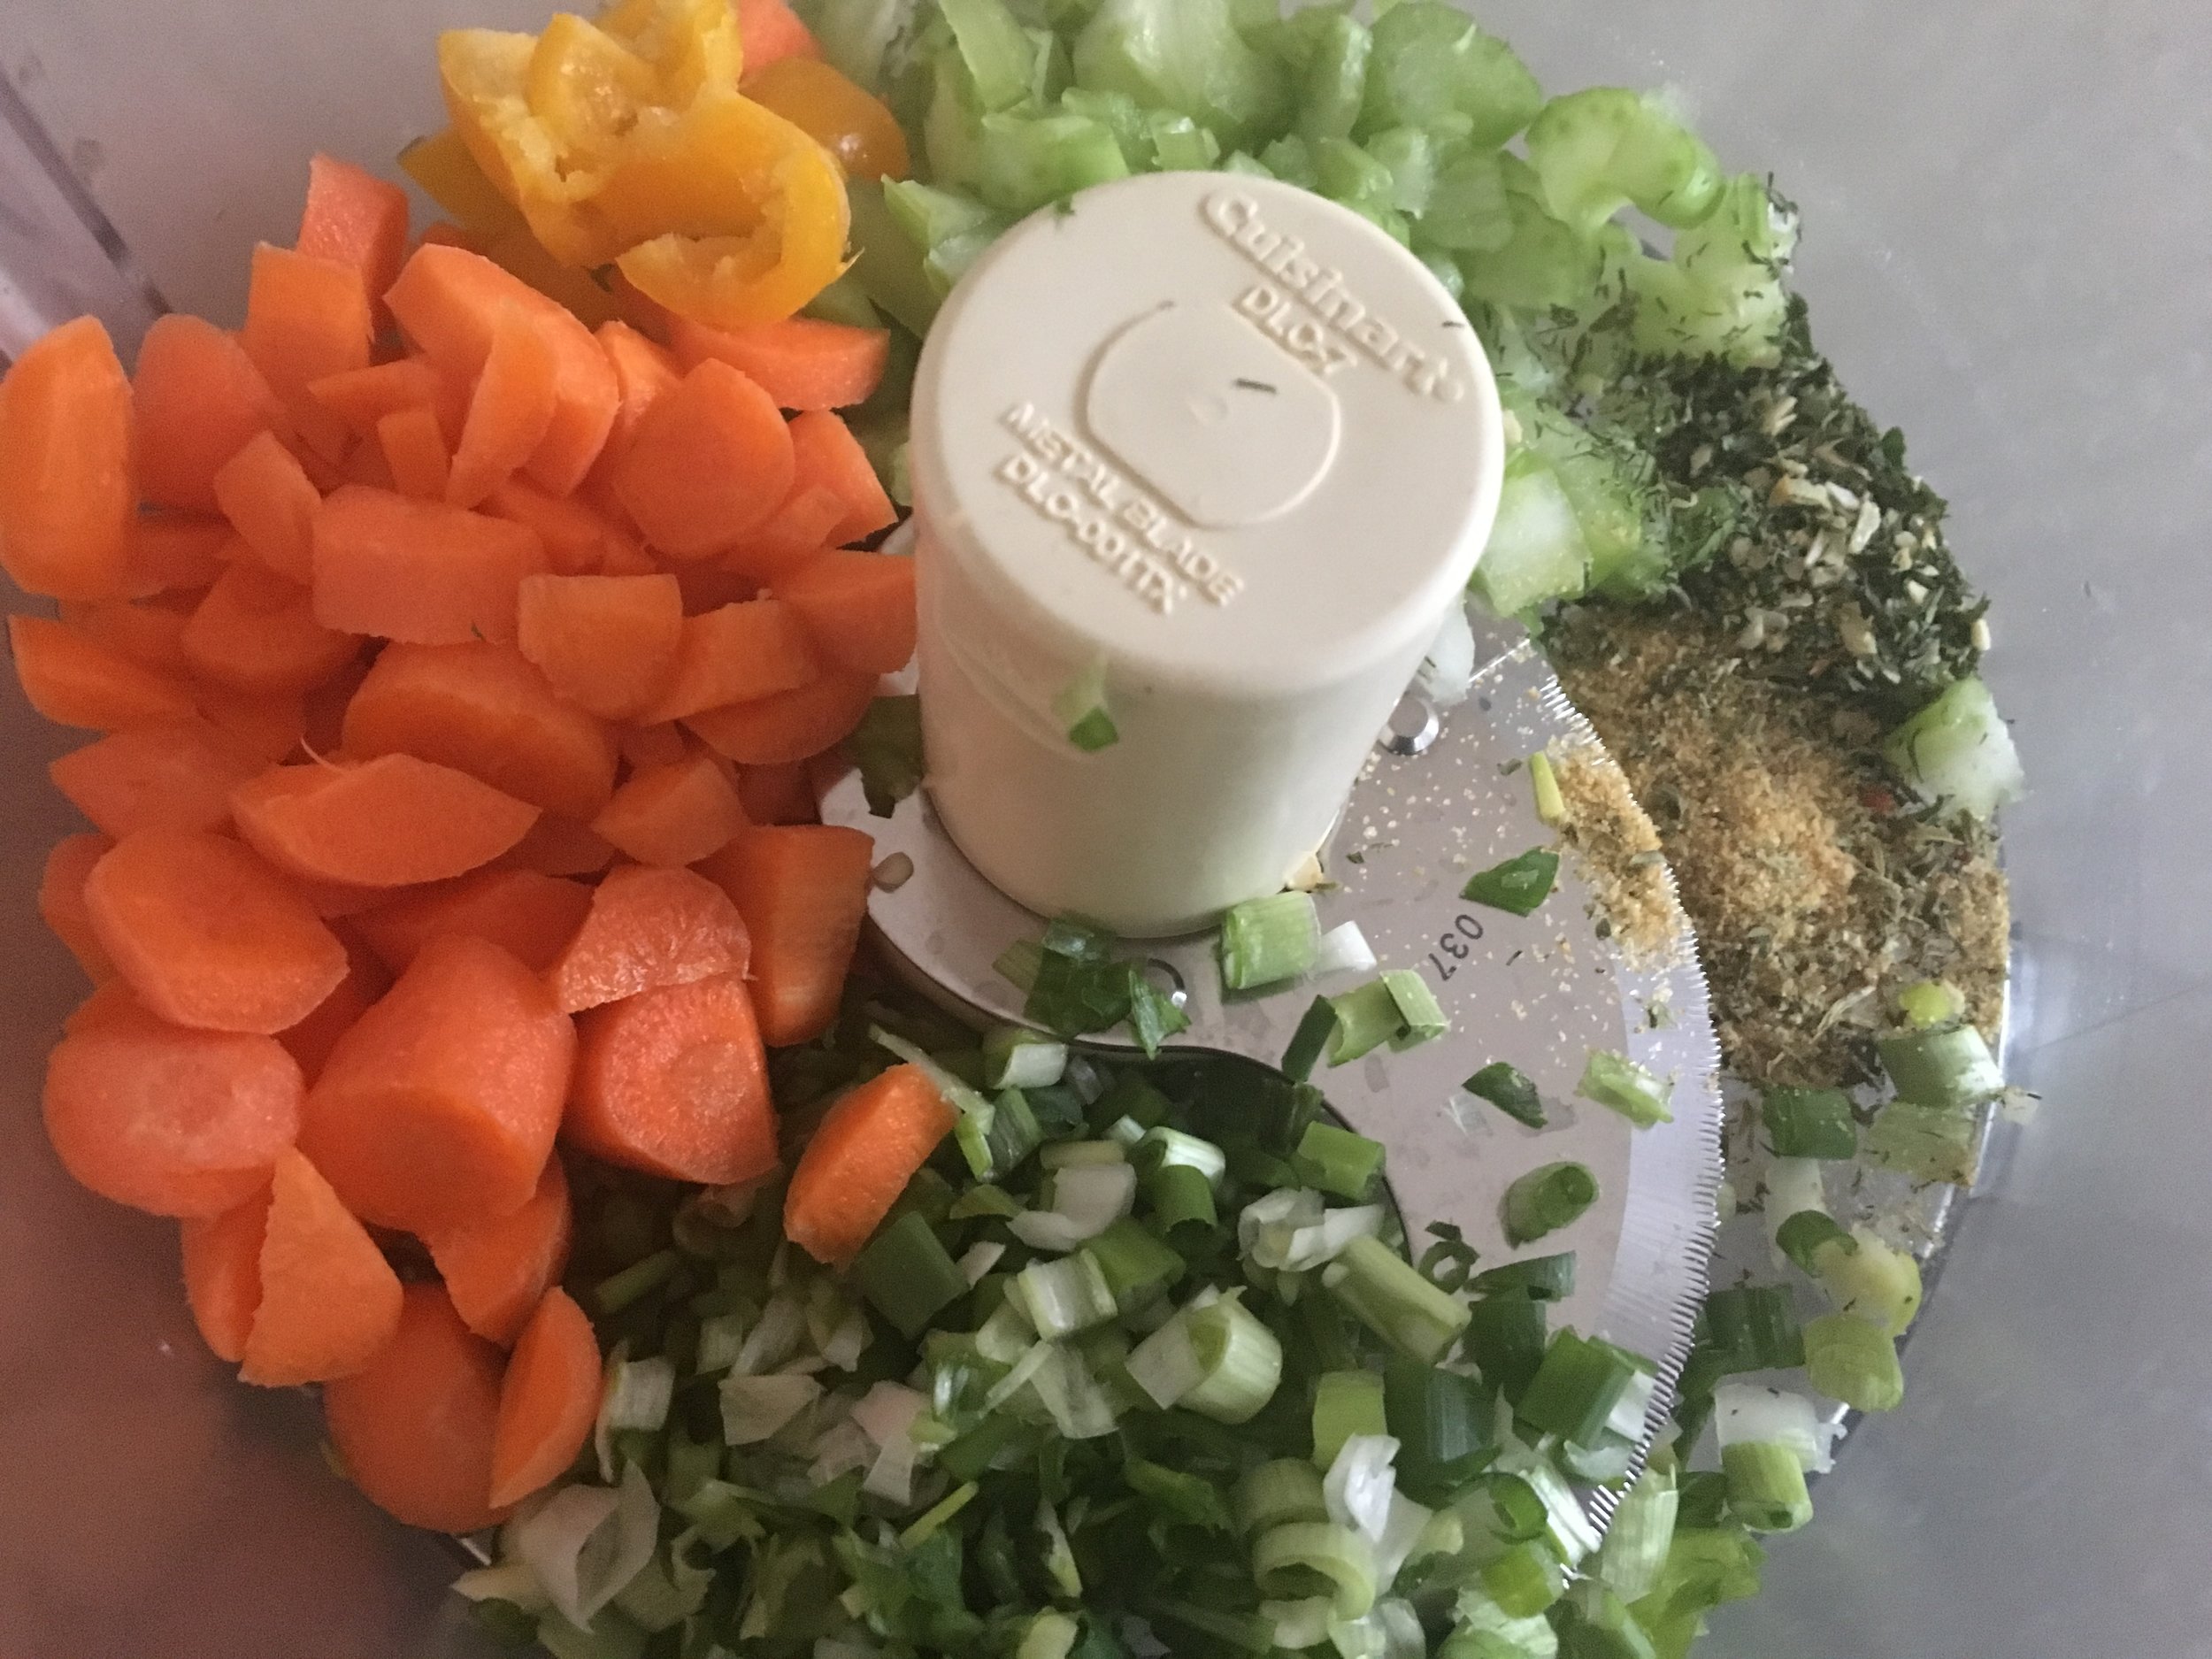
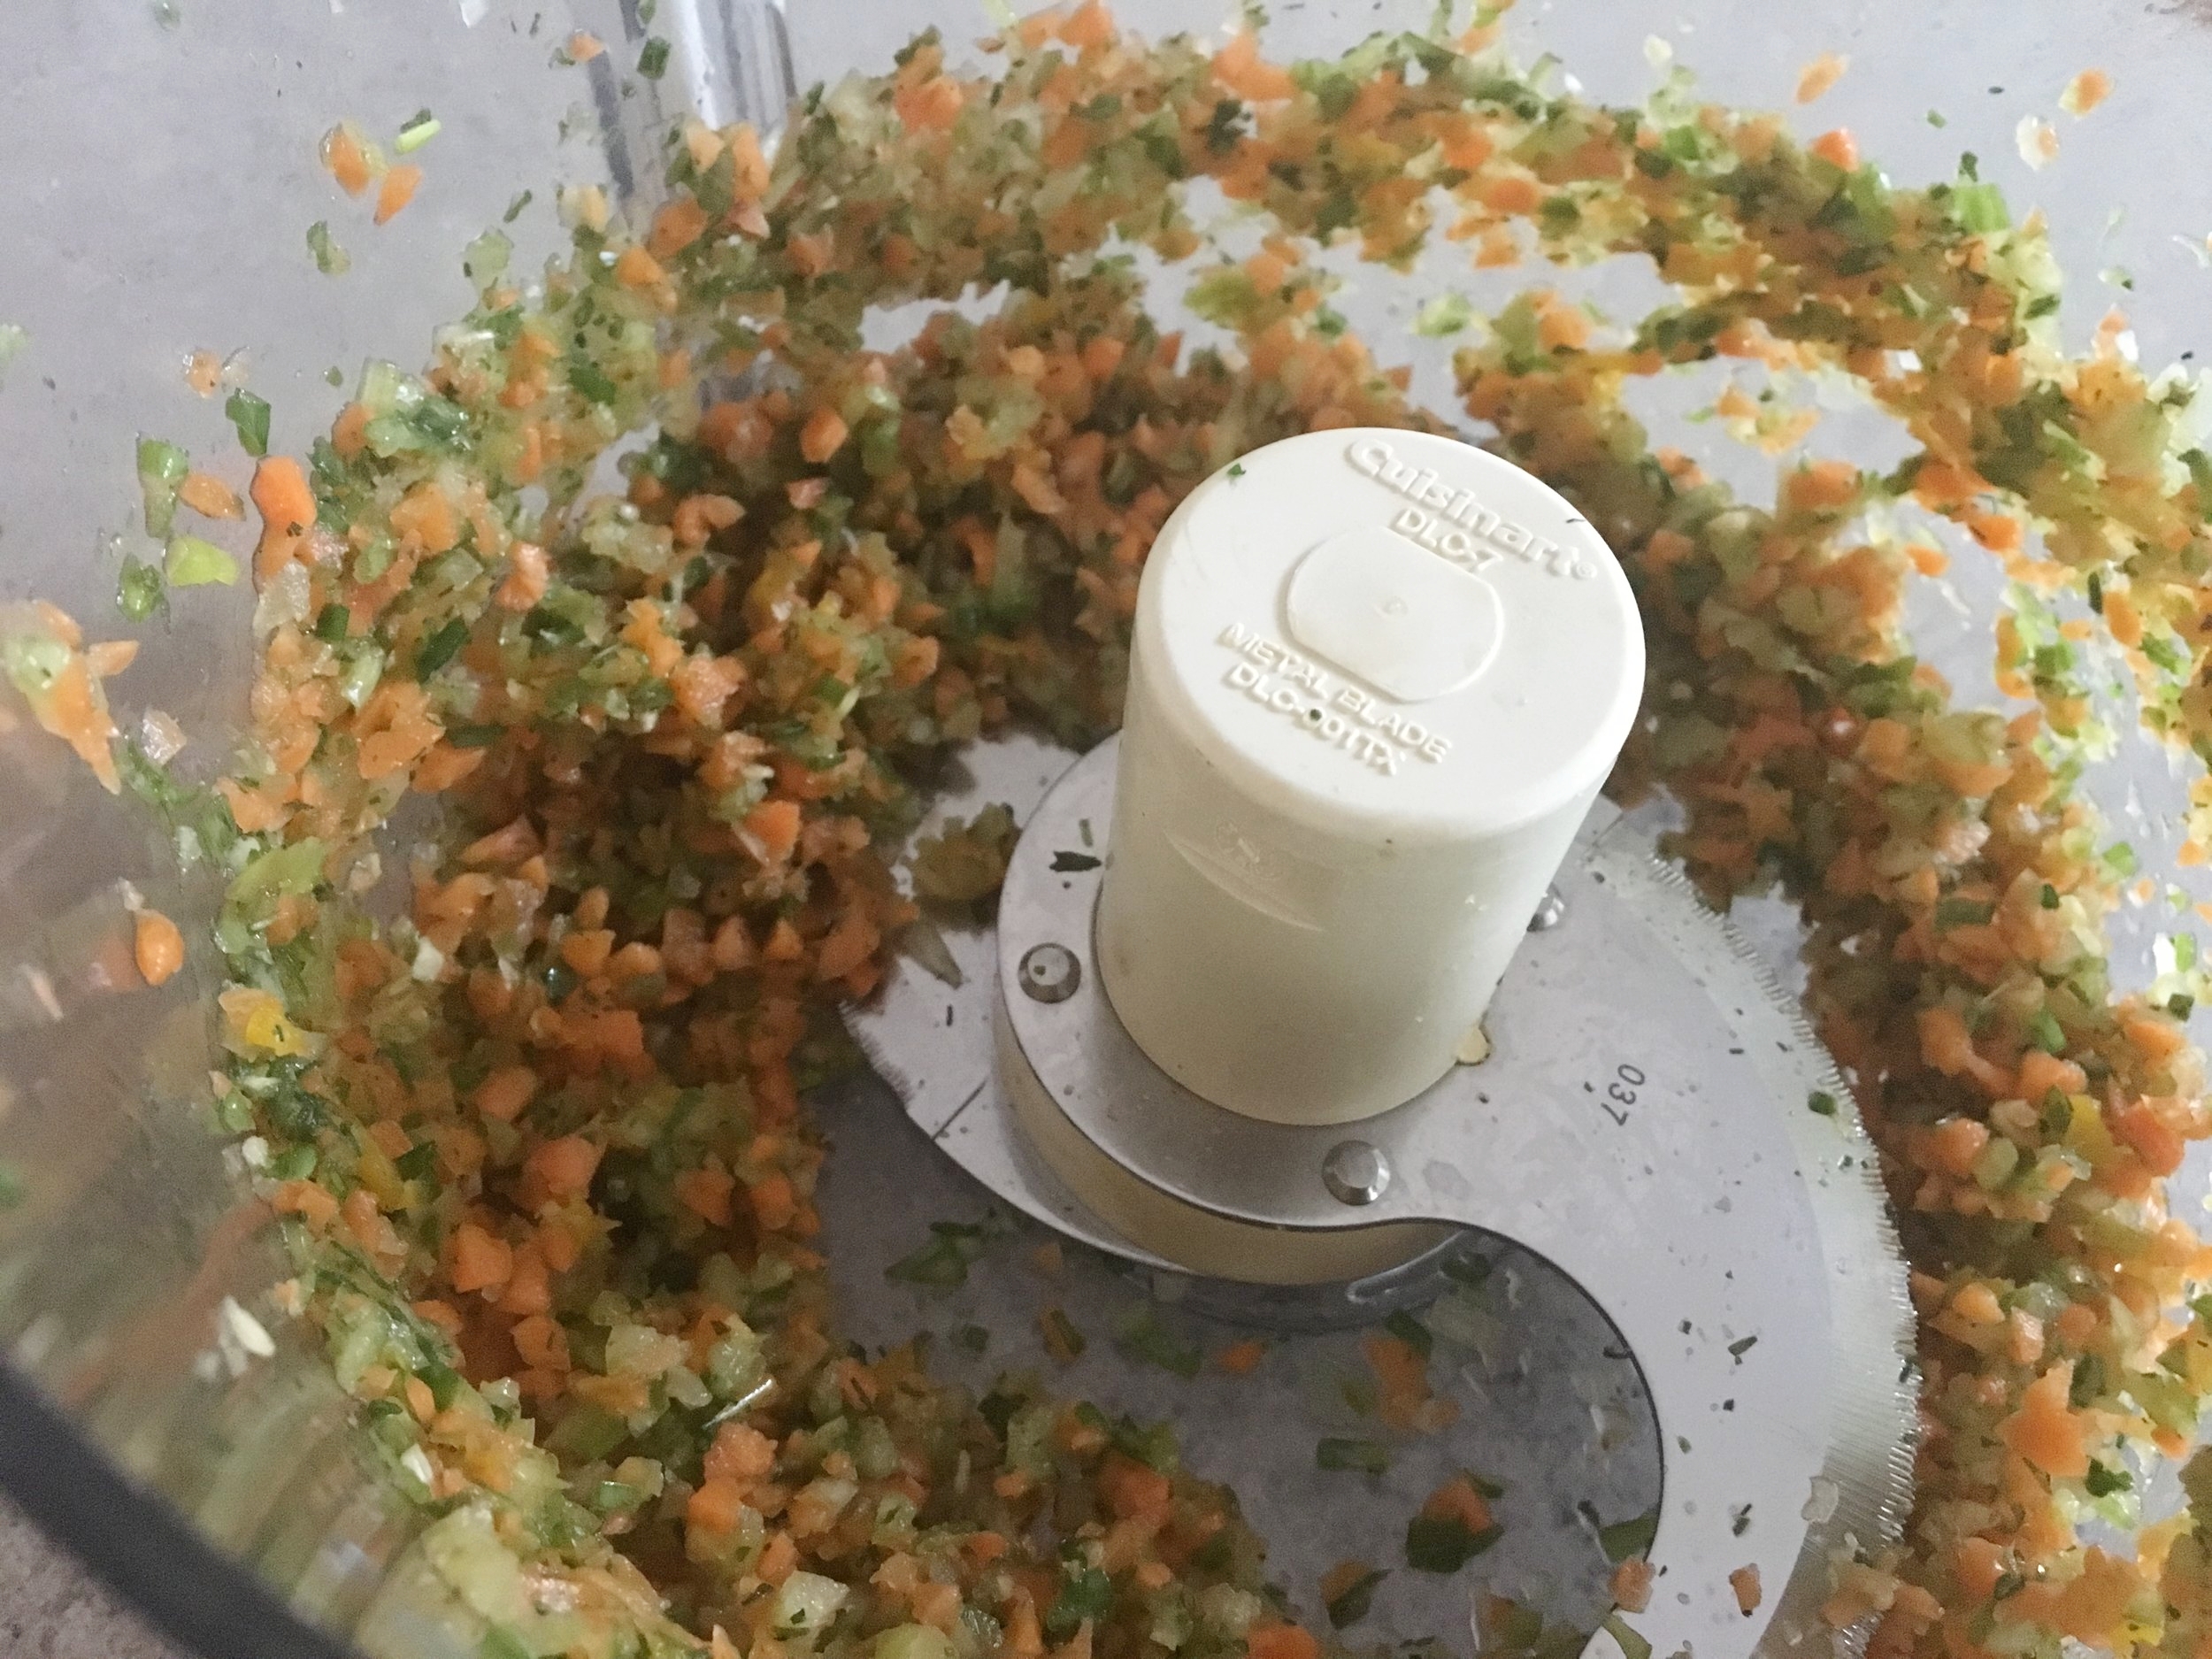
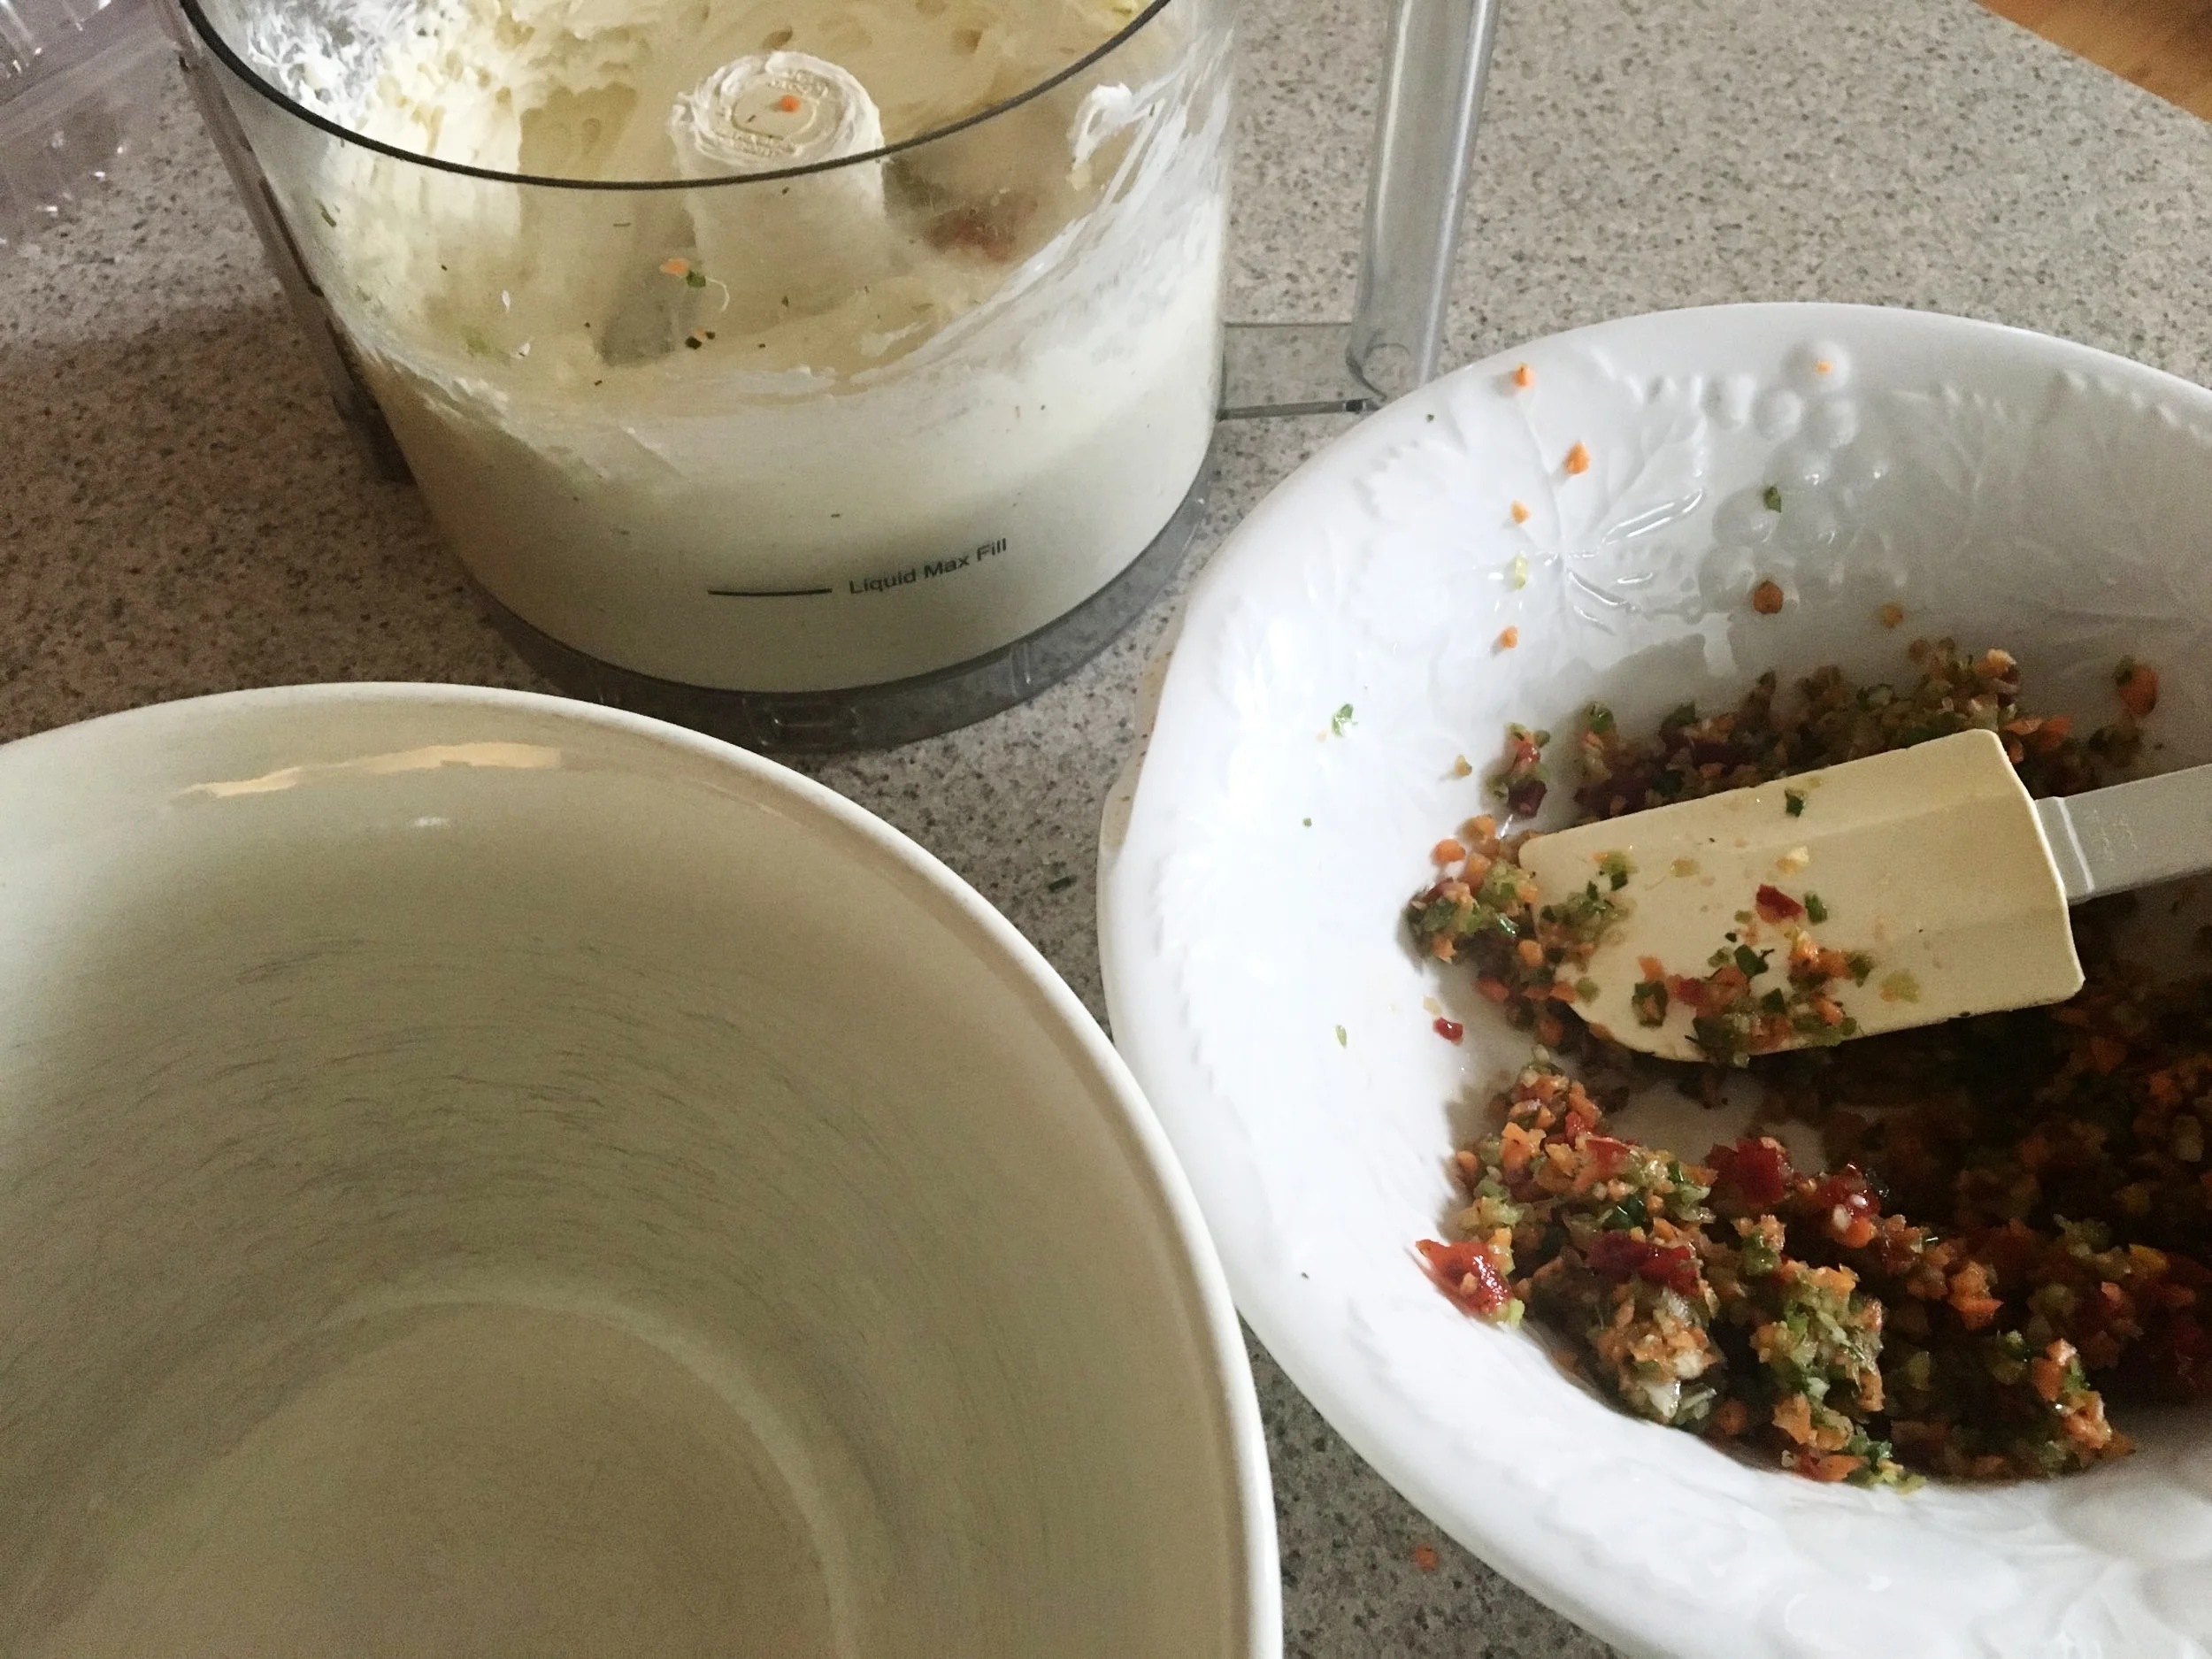
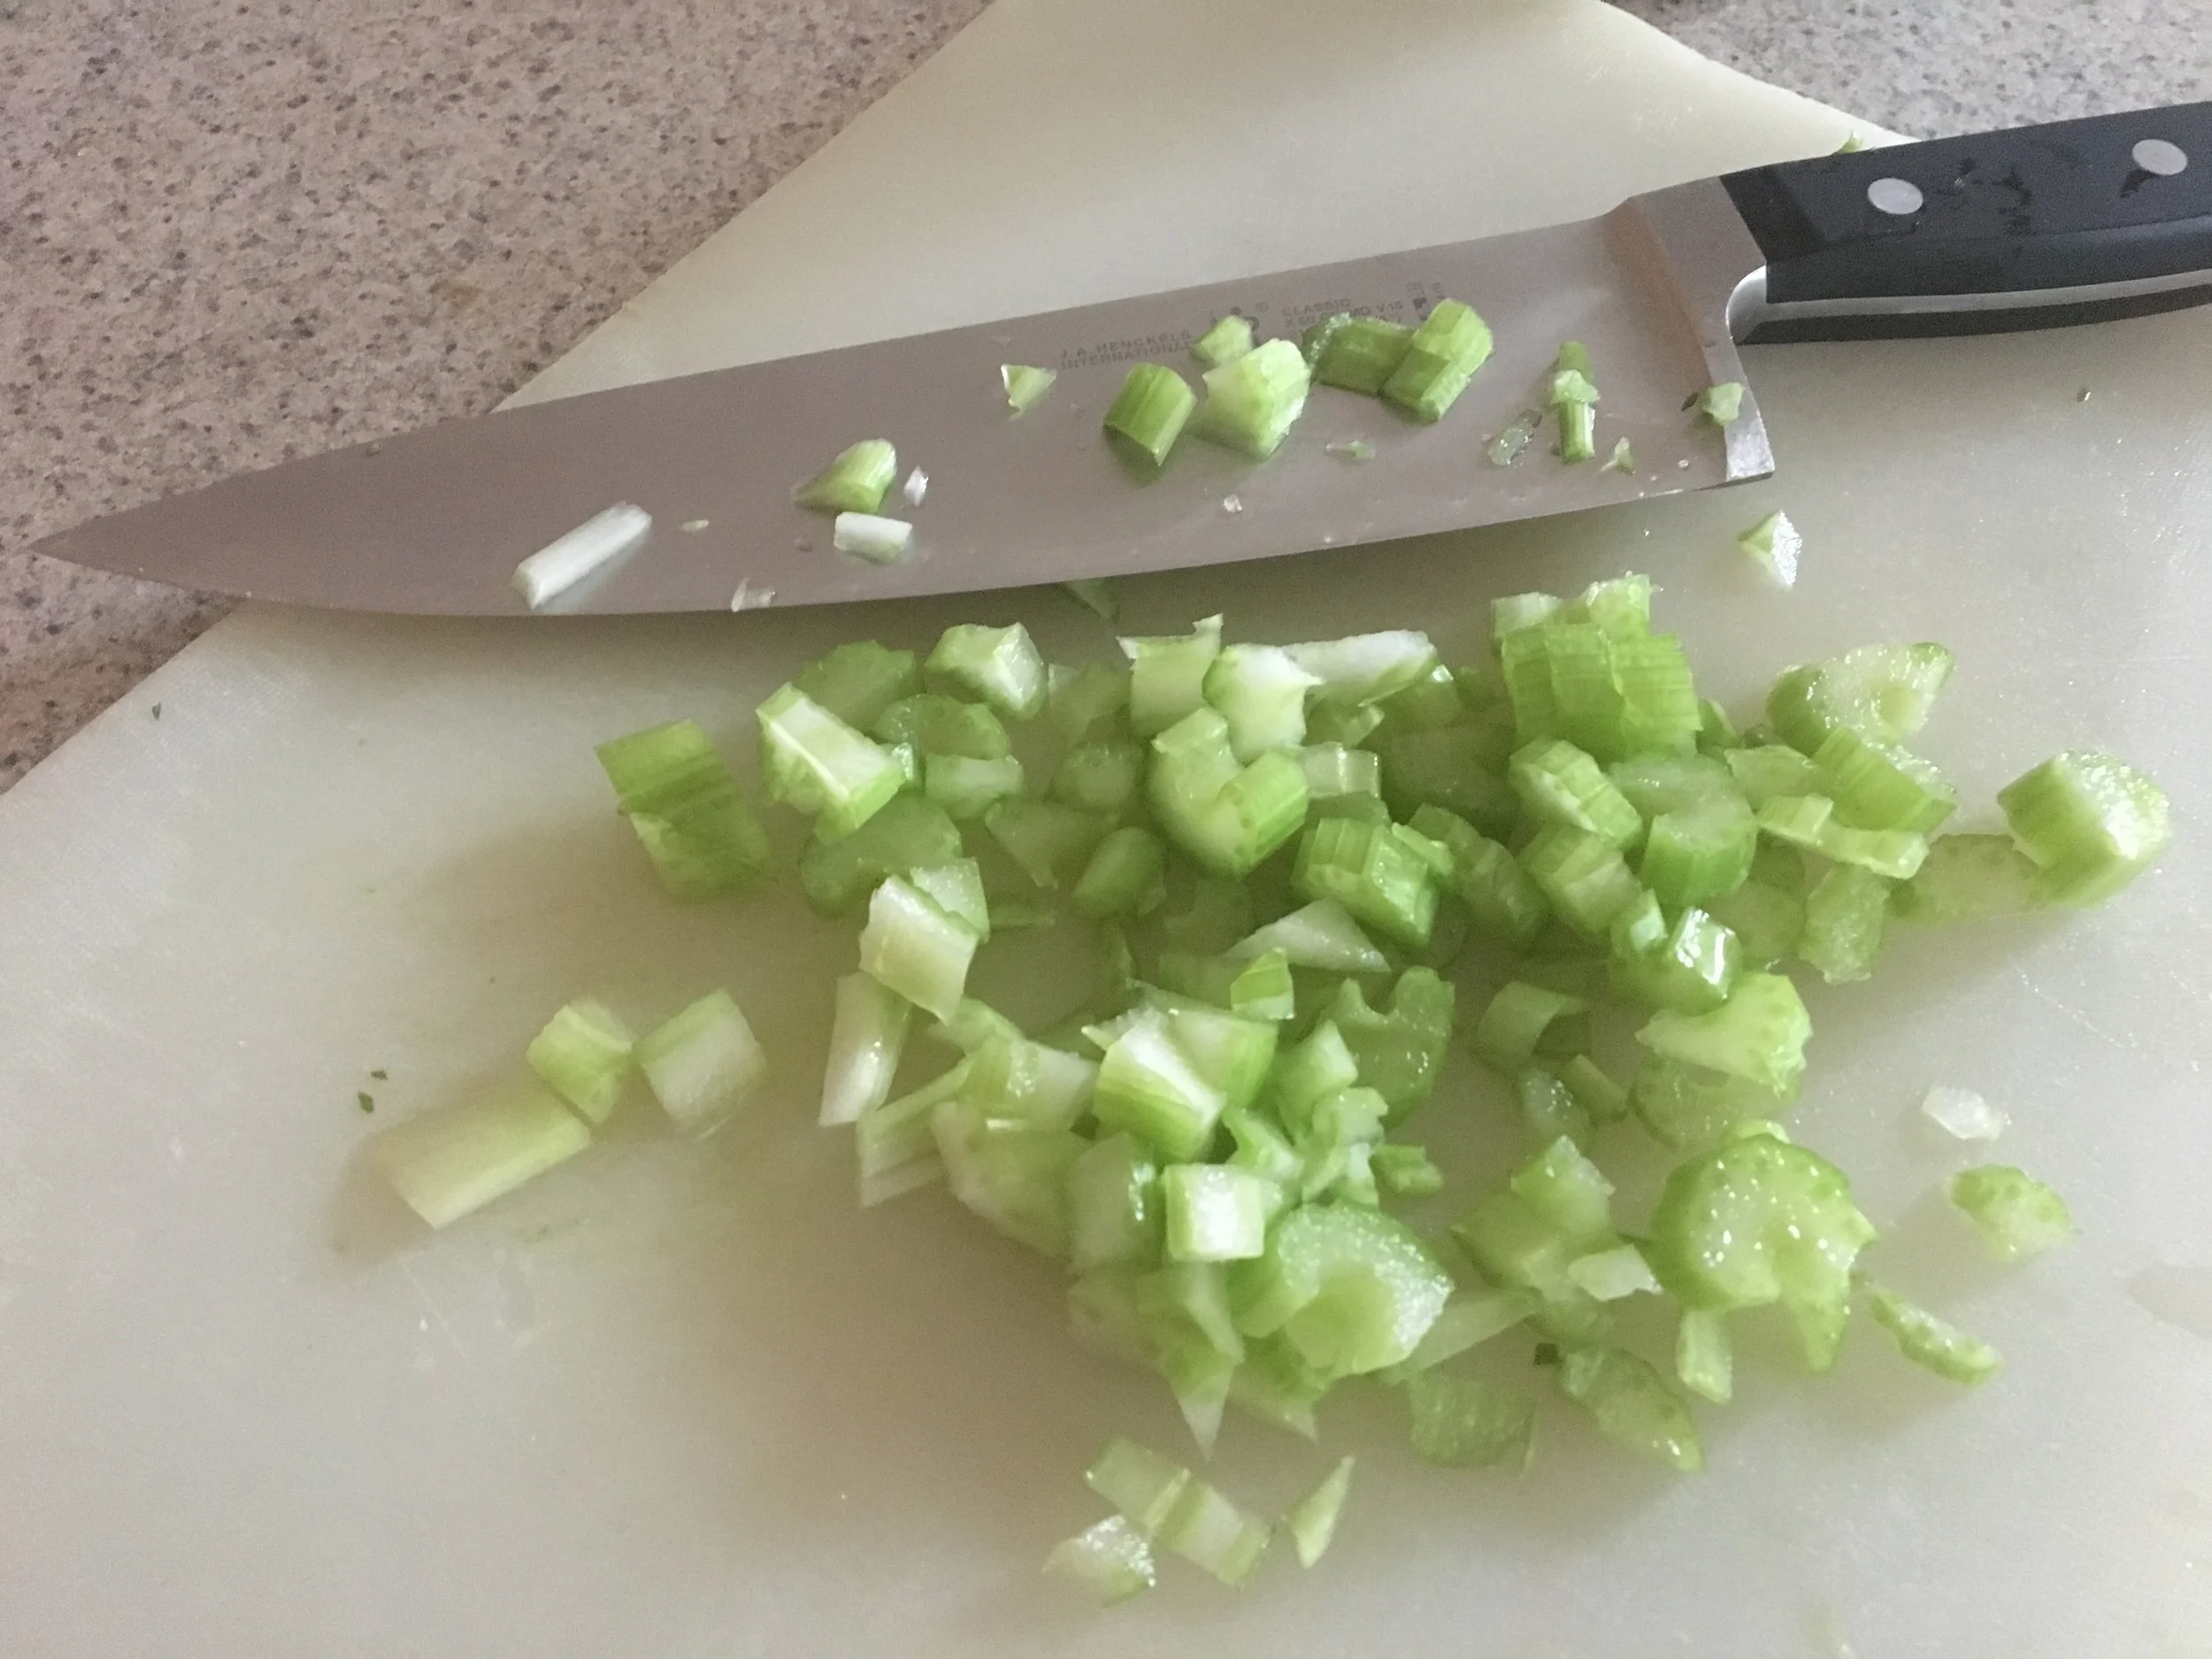
Coarsely chop the peppers, the onions, carrot, celery, and herbs.  Add all the ingredients, except the cream cheese, to a food processor and pulse until desired consistency.  My family prefers chunks of vegetables in their veggie cream cheese spread, but you are welcome to pulse until really fine. Scoop out the vegetable mixture from the food processor and place into a bowl. Set aside.  

*Note:  if you do not have a food processor, don't fret, this recipe can easily be made by finely chopping up all the ingredients and adding to the softened cream cheese.

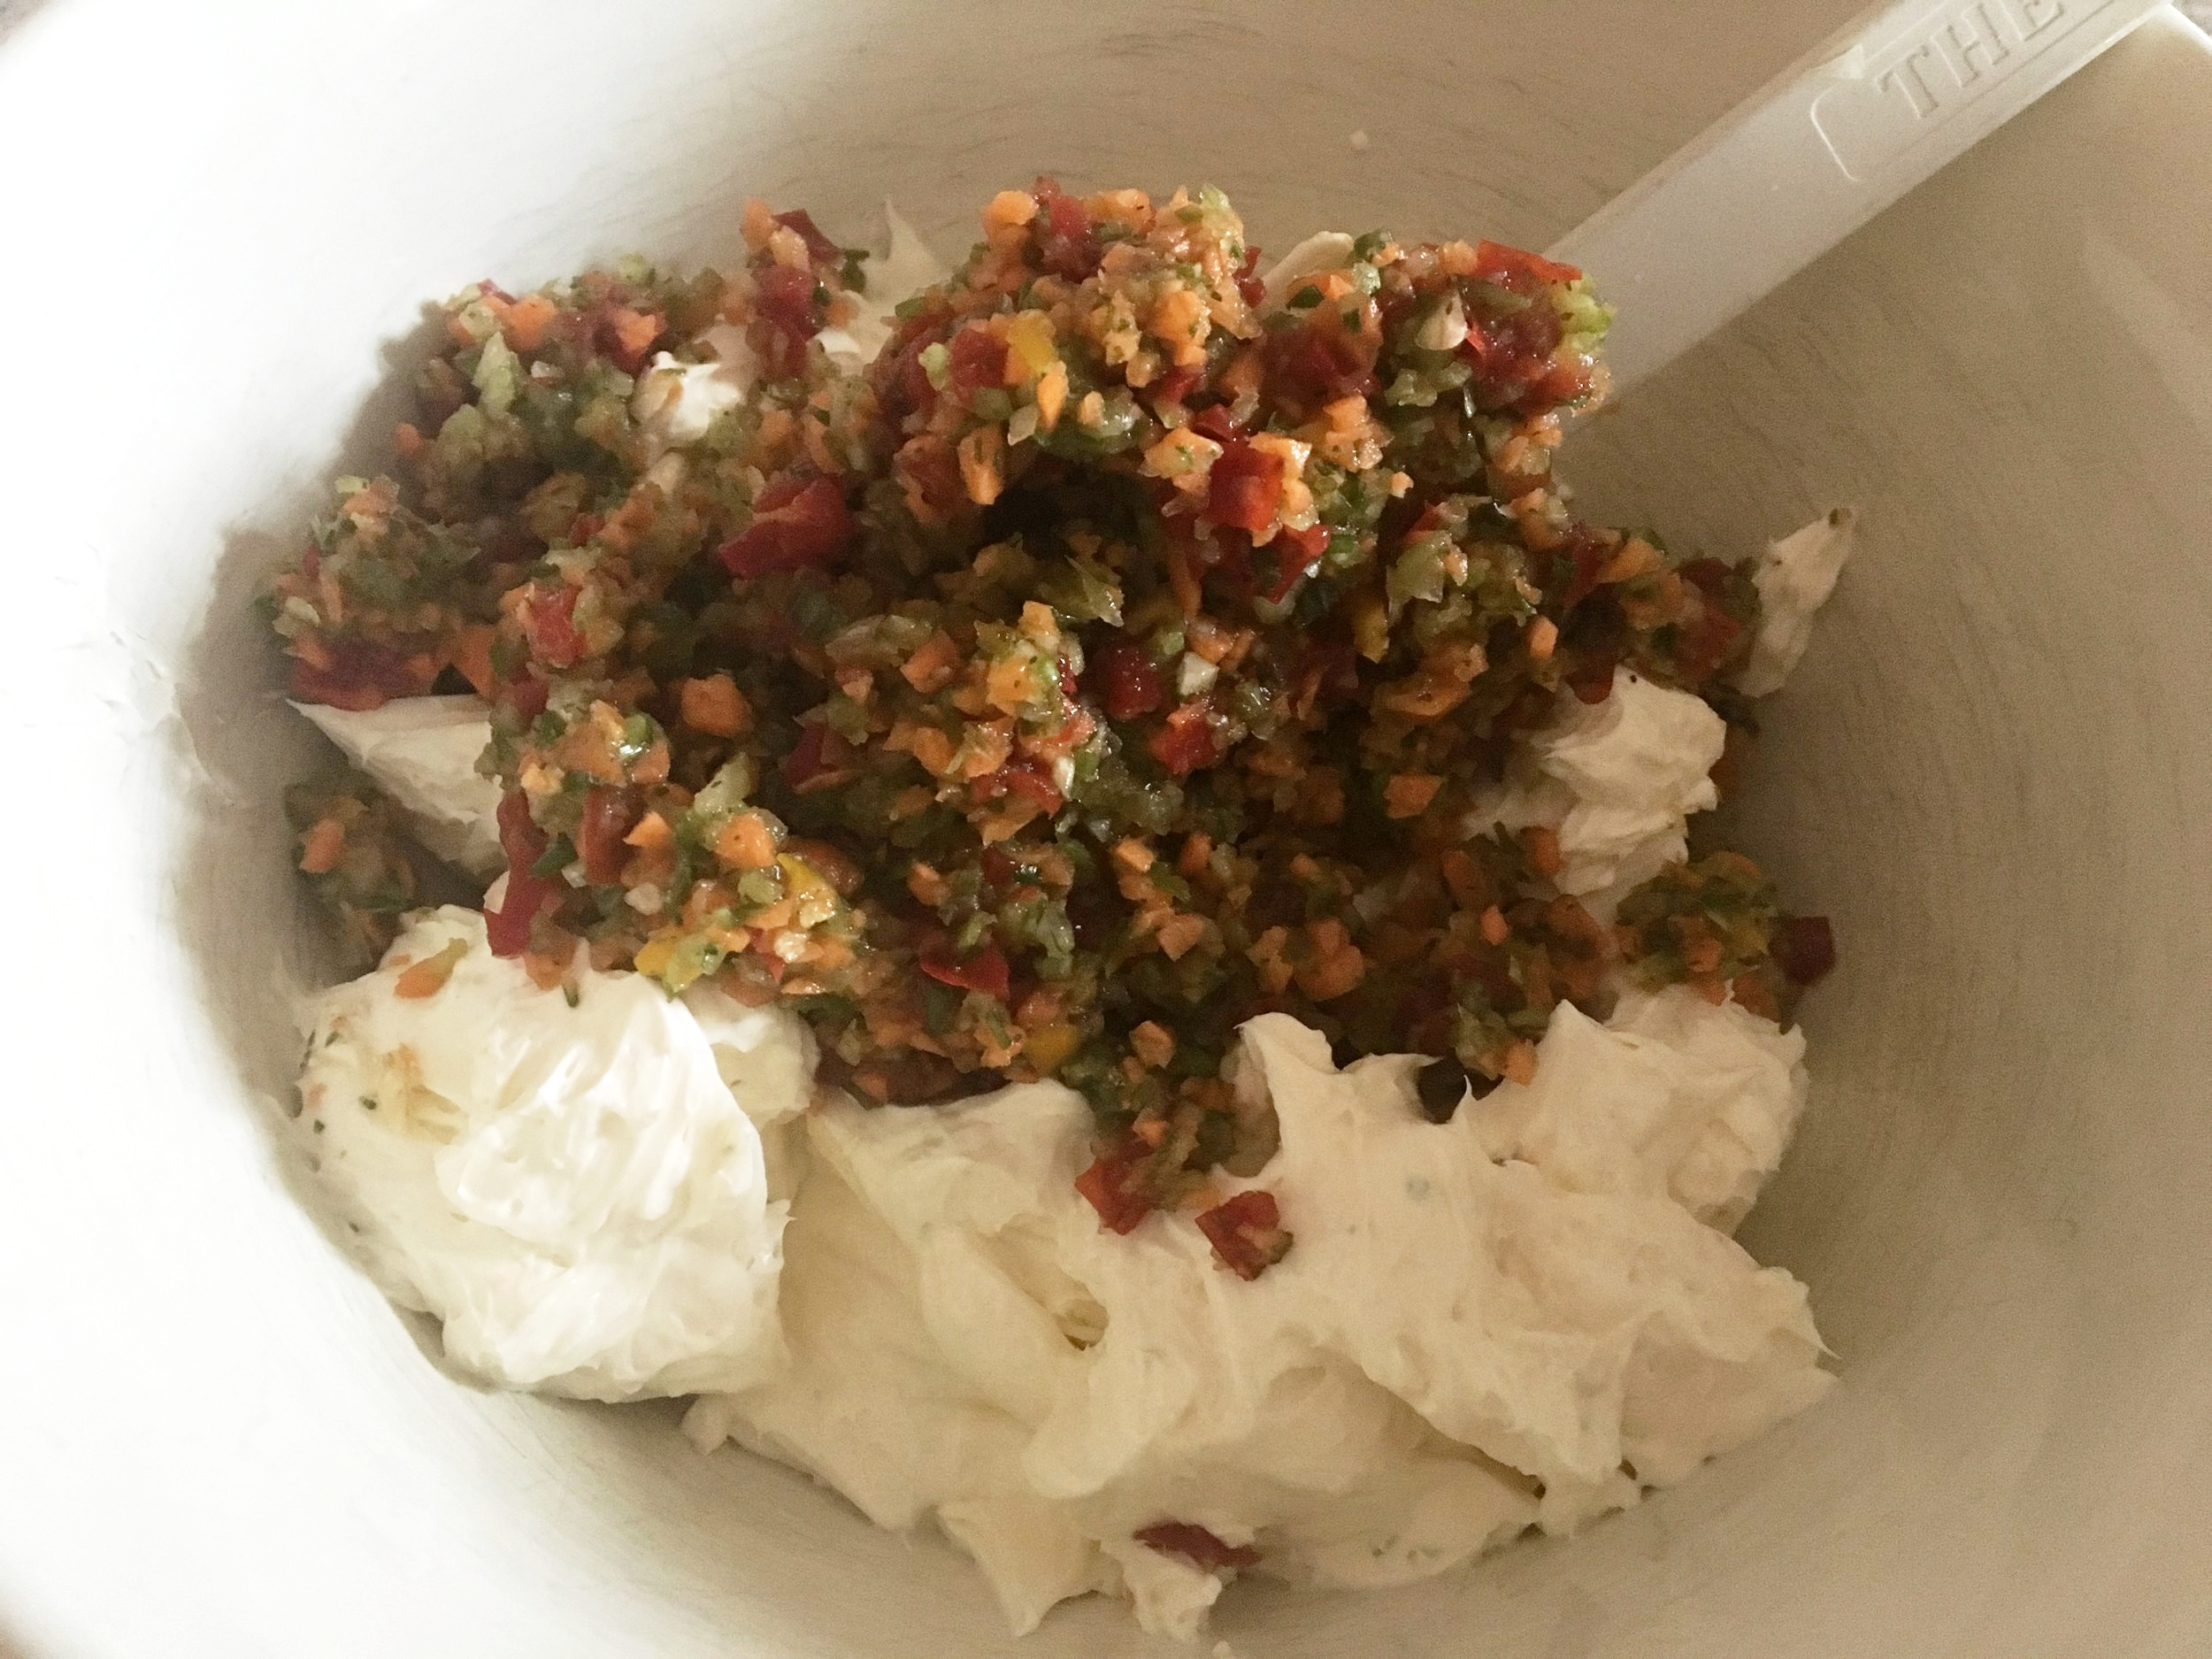
Combine the cream cheese in the food processor until smooth.   Remove the cream cheese from the food processor and add to the vegetables.  Mix to combine.  Refrigerate the mixture for at least a half hour to marry the flavors.

Spread this heavenly mixture on just about anything, bagels, crackers, sandwiches, wraps, or use as a dip.  Enjoy!

Vegetable Cream Cheese Spread Recipe

Vegetable Cream Cheese Spread Recipe
Yum

Refreshing Fruit Pizza Recipe
desserts, breakfastSheri Spallone2 Comments
Refreshing Fruit Pizza Recipe
Refreshing Fruit Pizza Recipe
This refreshing dessert pizza recipe is a new "twist" on an old classic and is the perfect recipe to take advantage of summer's glorious berries and fruits.  
Growing up, my mother occasionally made this special treat for my sister and me, using whatever fruit was available, and topped it off with a delicious marmalade glaze. (Secretly, I think she made this dessert so her daughters would eat their fruit. We were picky eaters. Clever mom, using a cookie as a disguise).  

This pretty dessert pizza recipe is easy to make; it uses whatever fruit you have on hand (canned or fresh) and is a fun family project for any occasion, any time of year. It features a sugar cookie crust, cream cheese frosting, fresh berries and fruit, and Cherchies® Fig Preserves. I have made this decadent dessert over the years with my babies, with different combinations, and it was a hit every time. Now that my babies are in college, they still like to bake with mom. :) They recently made this dessert for Memorial Day and arranged the strawberries and blueberries to resemble an American flag, but the decorating options are endless. We finished the dessert pizza with a glaze using our Fig Preserves, amping up Mom's original recipe. I did not have time to photograph their creation because it didn't last long.
Are you ready to try this tasty dessert pizza recipe? It is easy and flavorful; it is fun to make and can be made any time of year in whatever design you desire, using whatever fruit is available. 

Thank you for visiting! Stop back again for more tasty recipes!

Comment below if you have made this recipe.

Ingredients

  • 1 pkg. (16.5 oz.) refrigerated sugar cookie dough

  • 1 pkg (8 oz.) cream cheese softened

  • 1/4 cup powdered sugar

  • 1/2 teaspoon (tsp) vanilla

  • 4 cups assorted fruit (blueberries, strawberries, kiwi)

  • 1/4 cup Cherchies® Fig Preserves (you could substitute your favorite preserves or marmalade)

  • 1 Tablespoon (Tbsp) water

Preparation

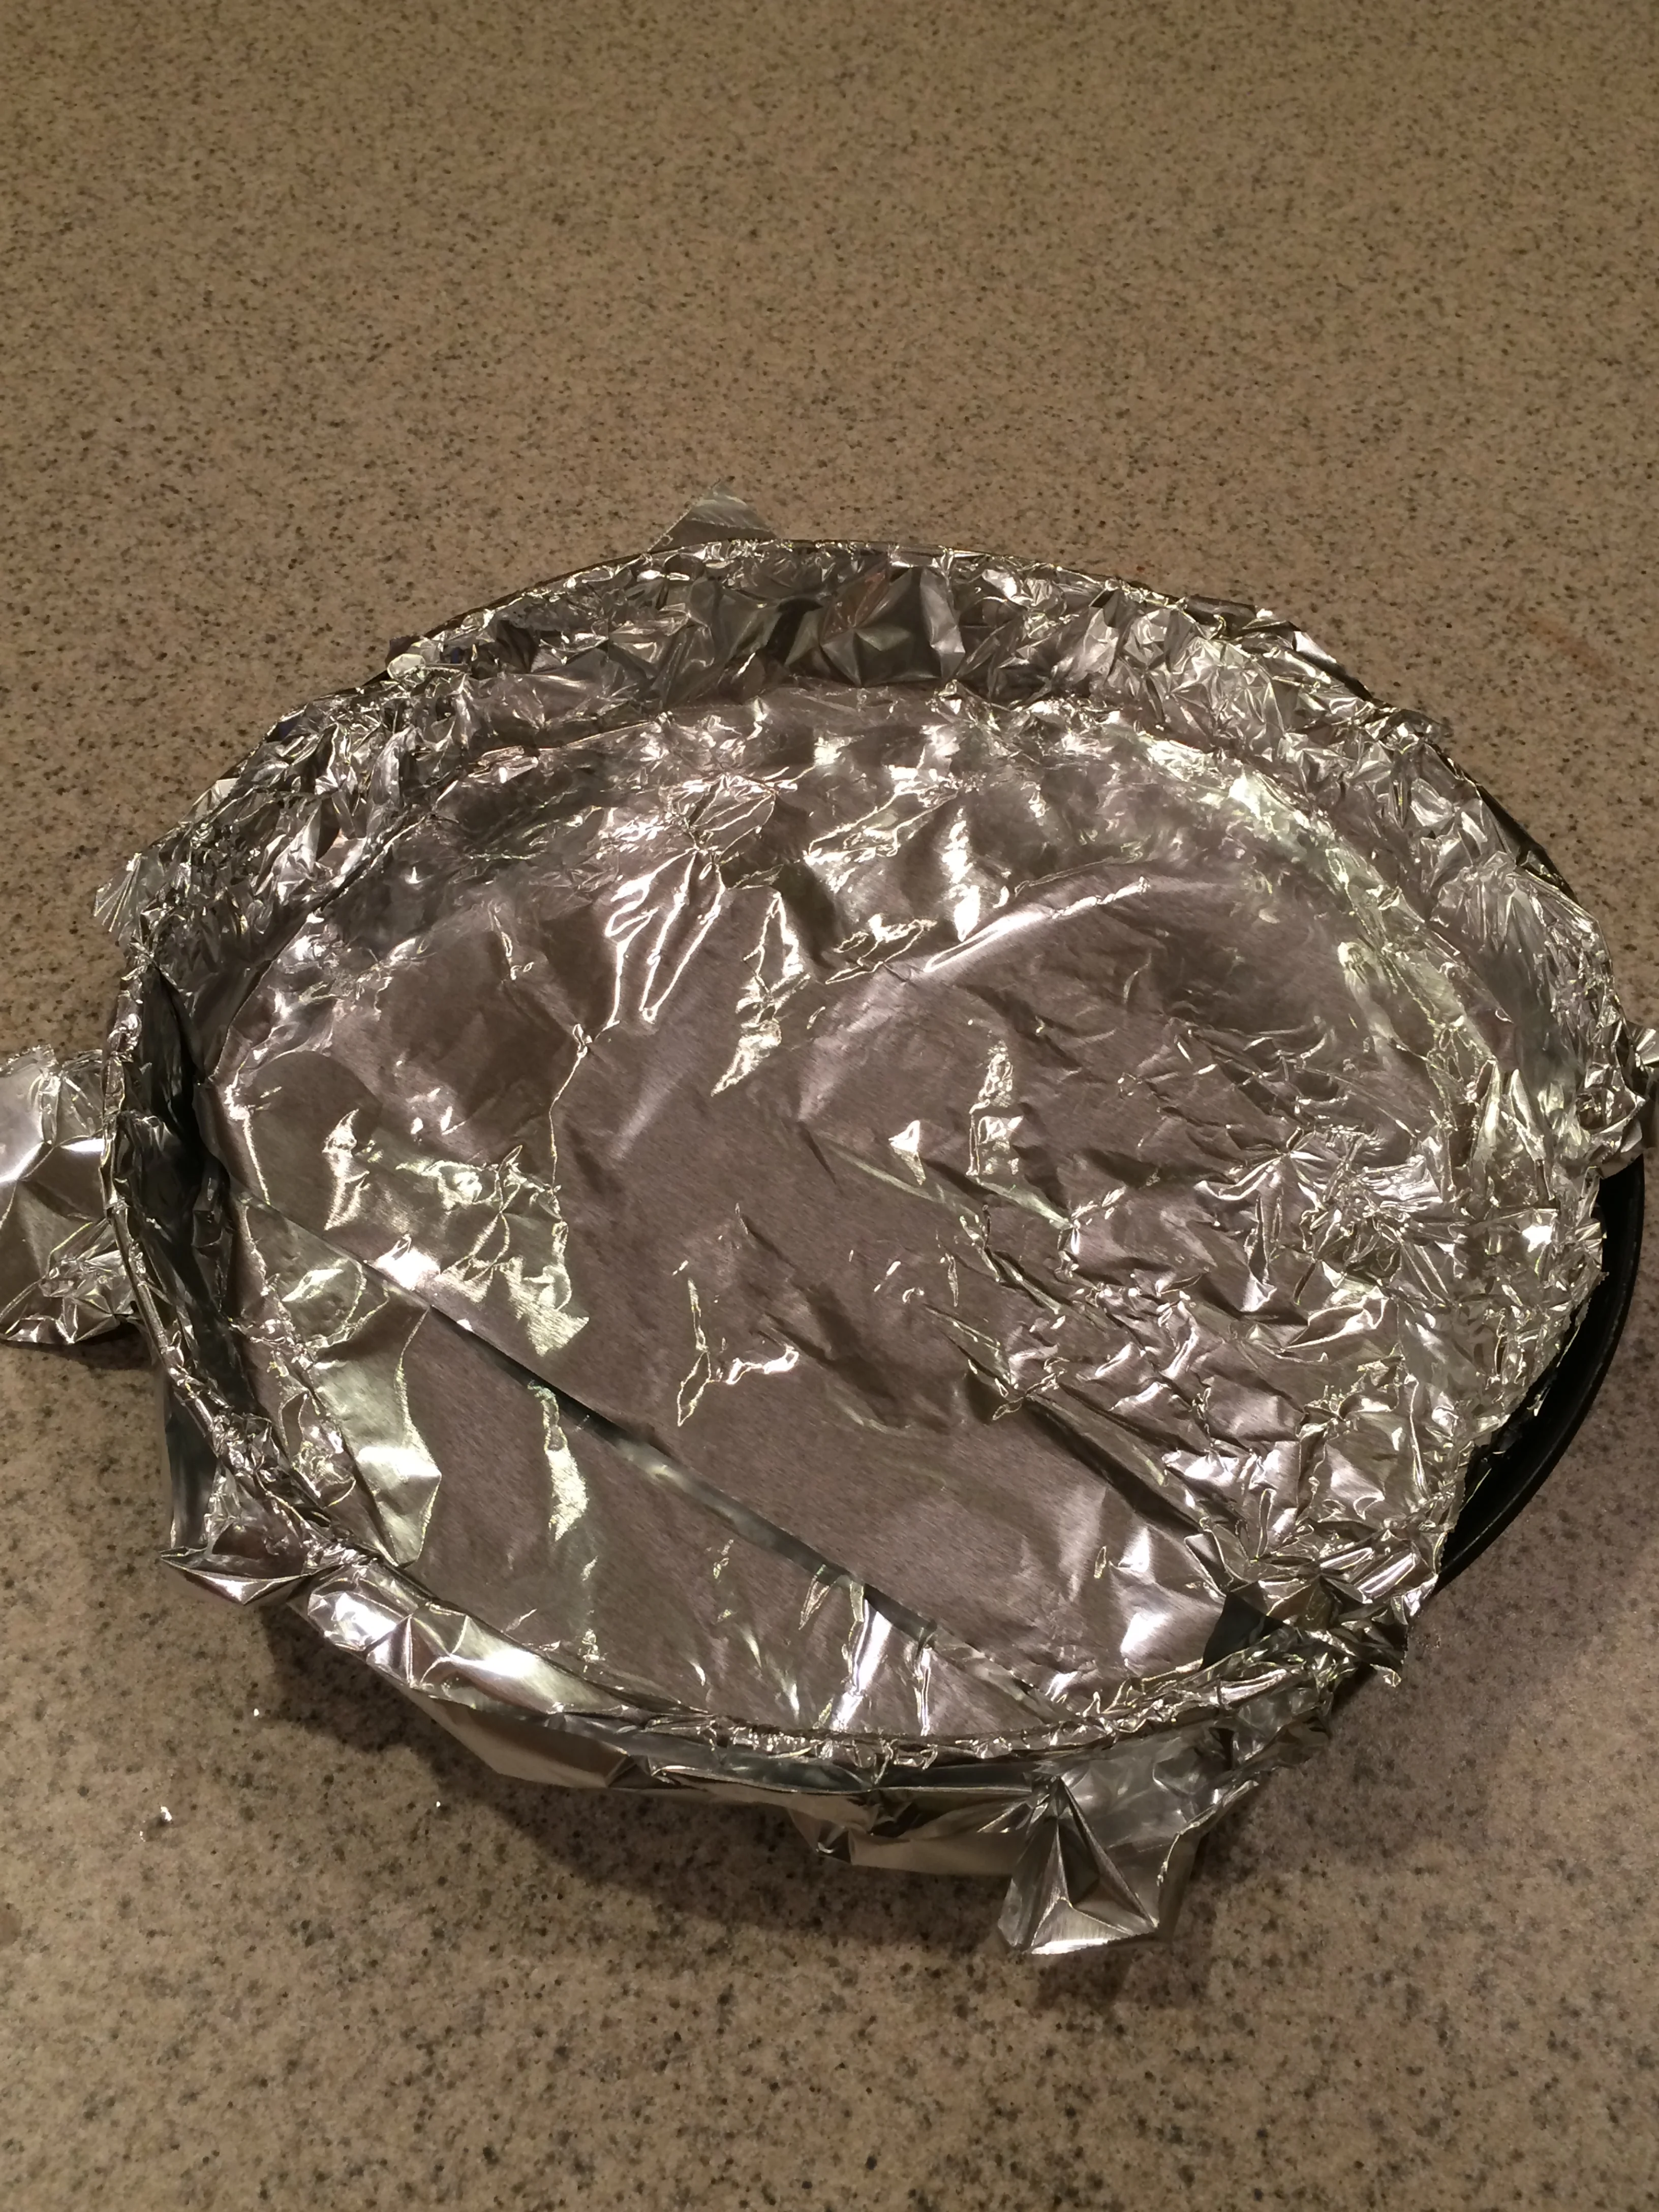
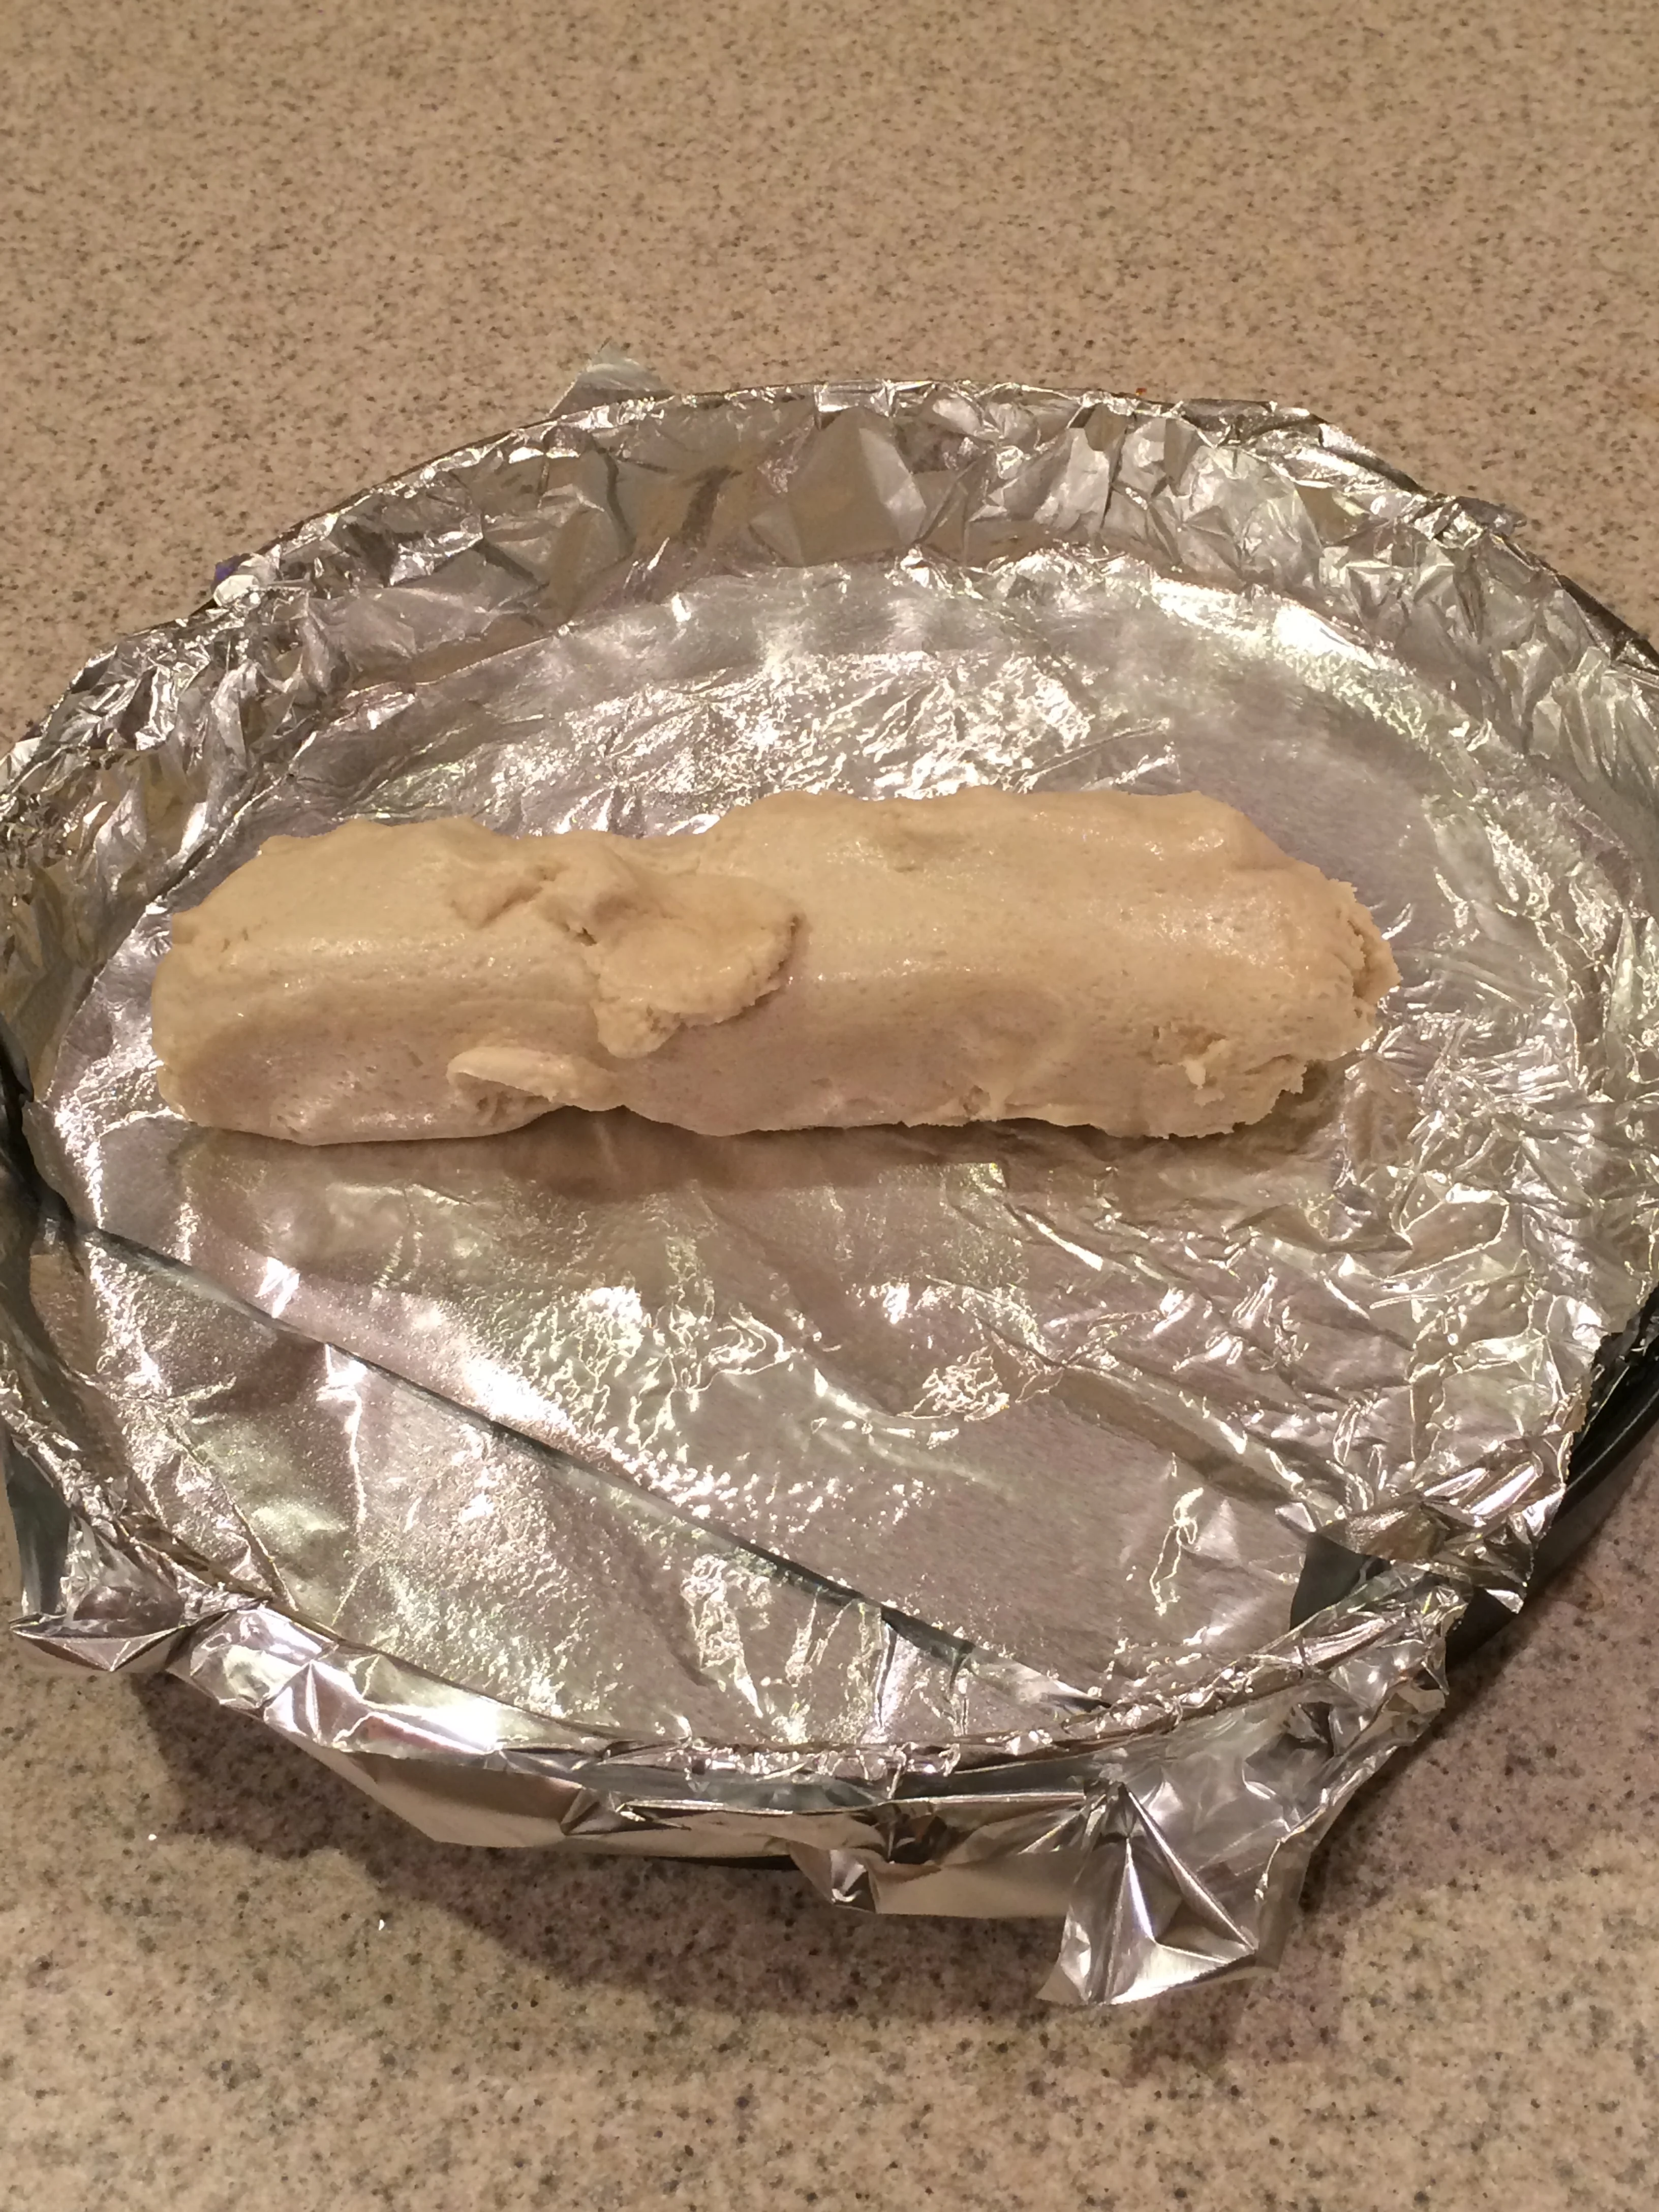
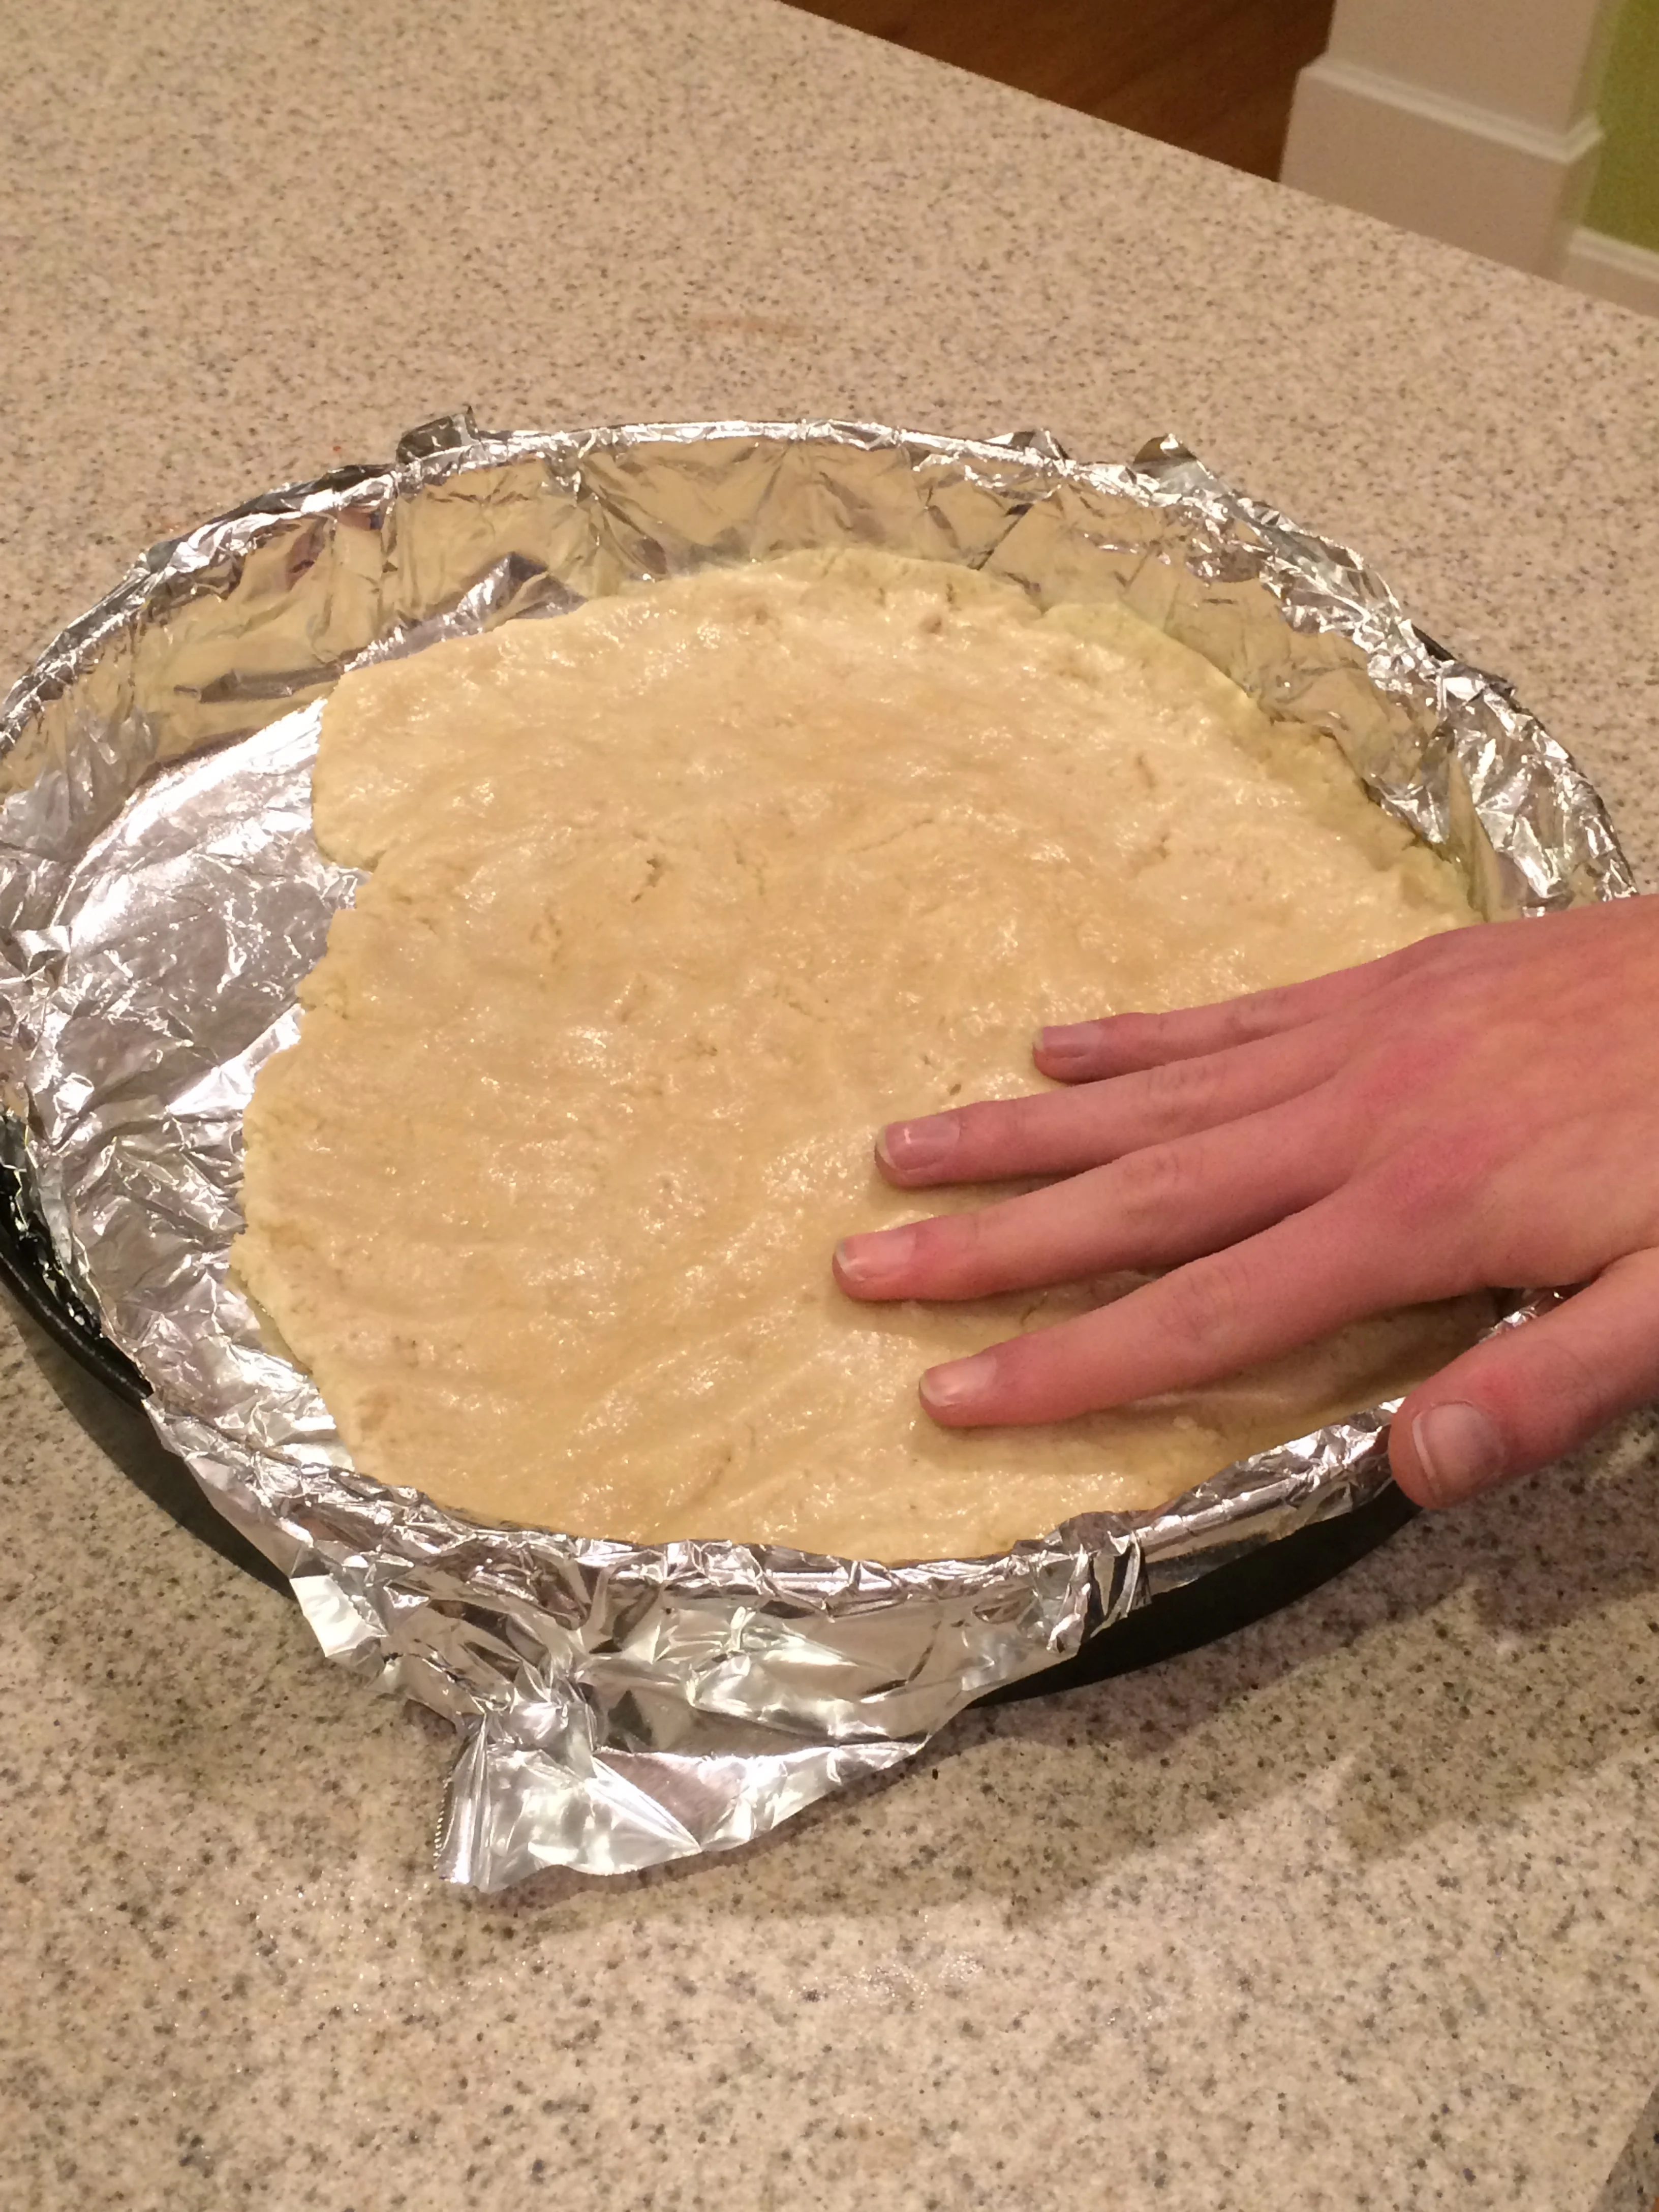
Heat oven to 375.  Line a 12-inch pizza pan (or any kid of round sheet) with foil; spray with cooking spray. Press cookie dough into pan to completely cover pan.  

Bake 14 minutes, or until golden brown.  Cool completely.  Invert cookie onto plate.  Gently remove foil. Turn crust over onto plate.  

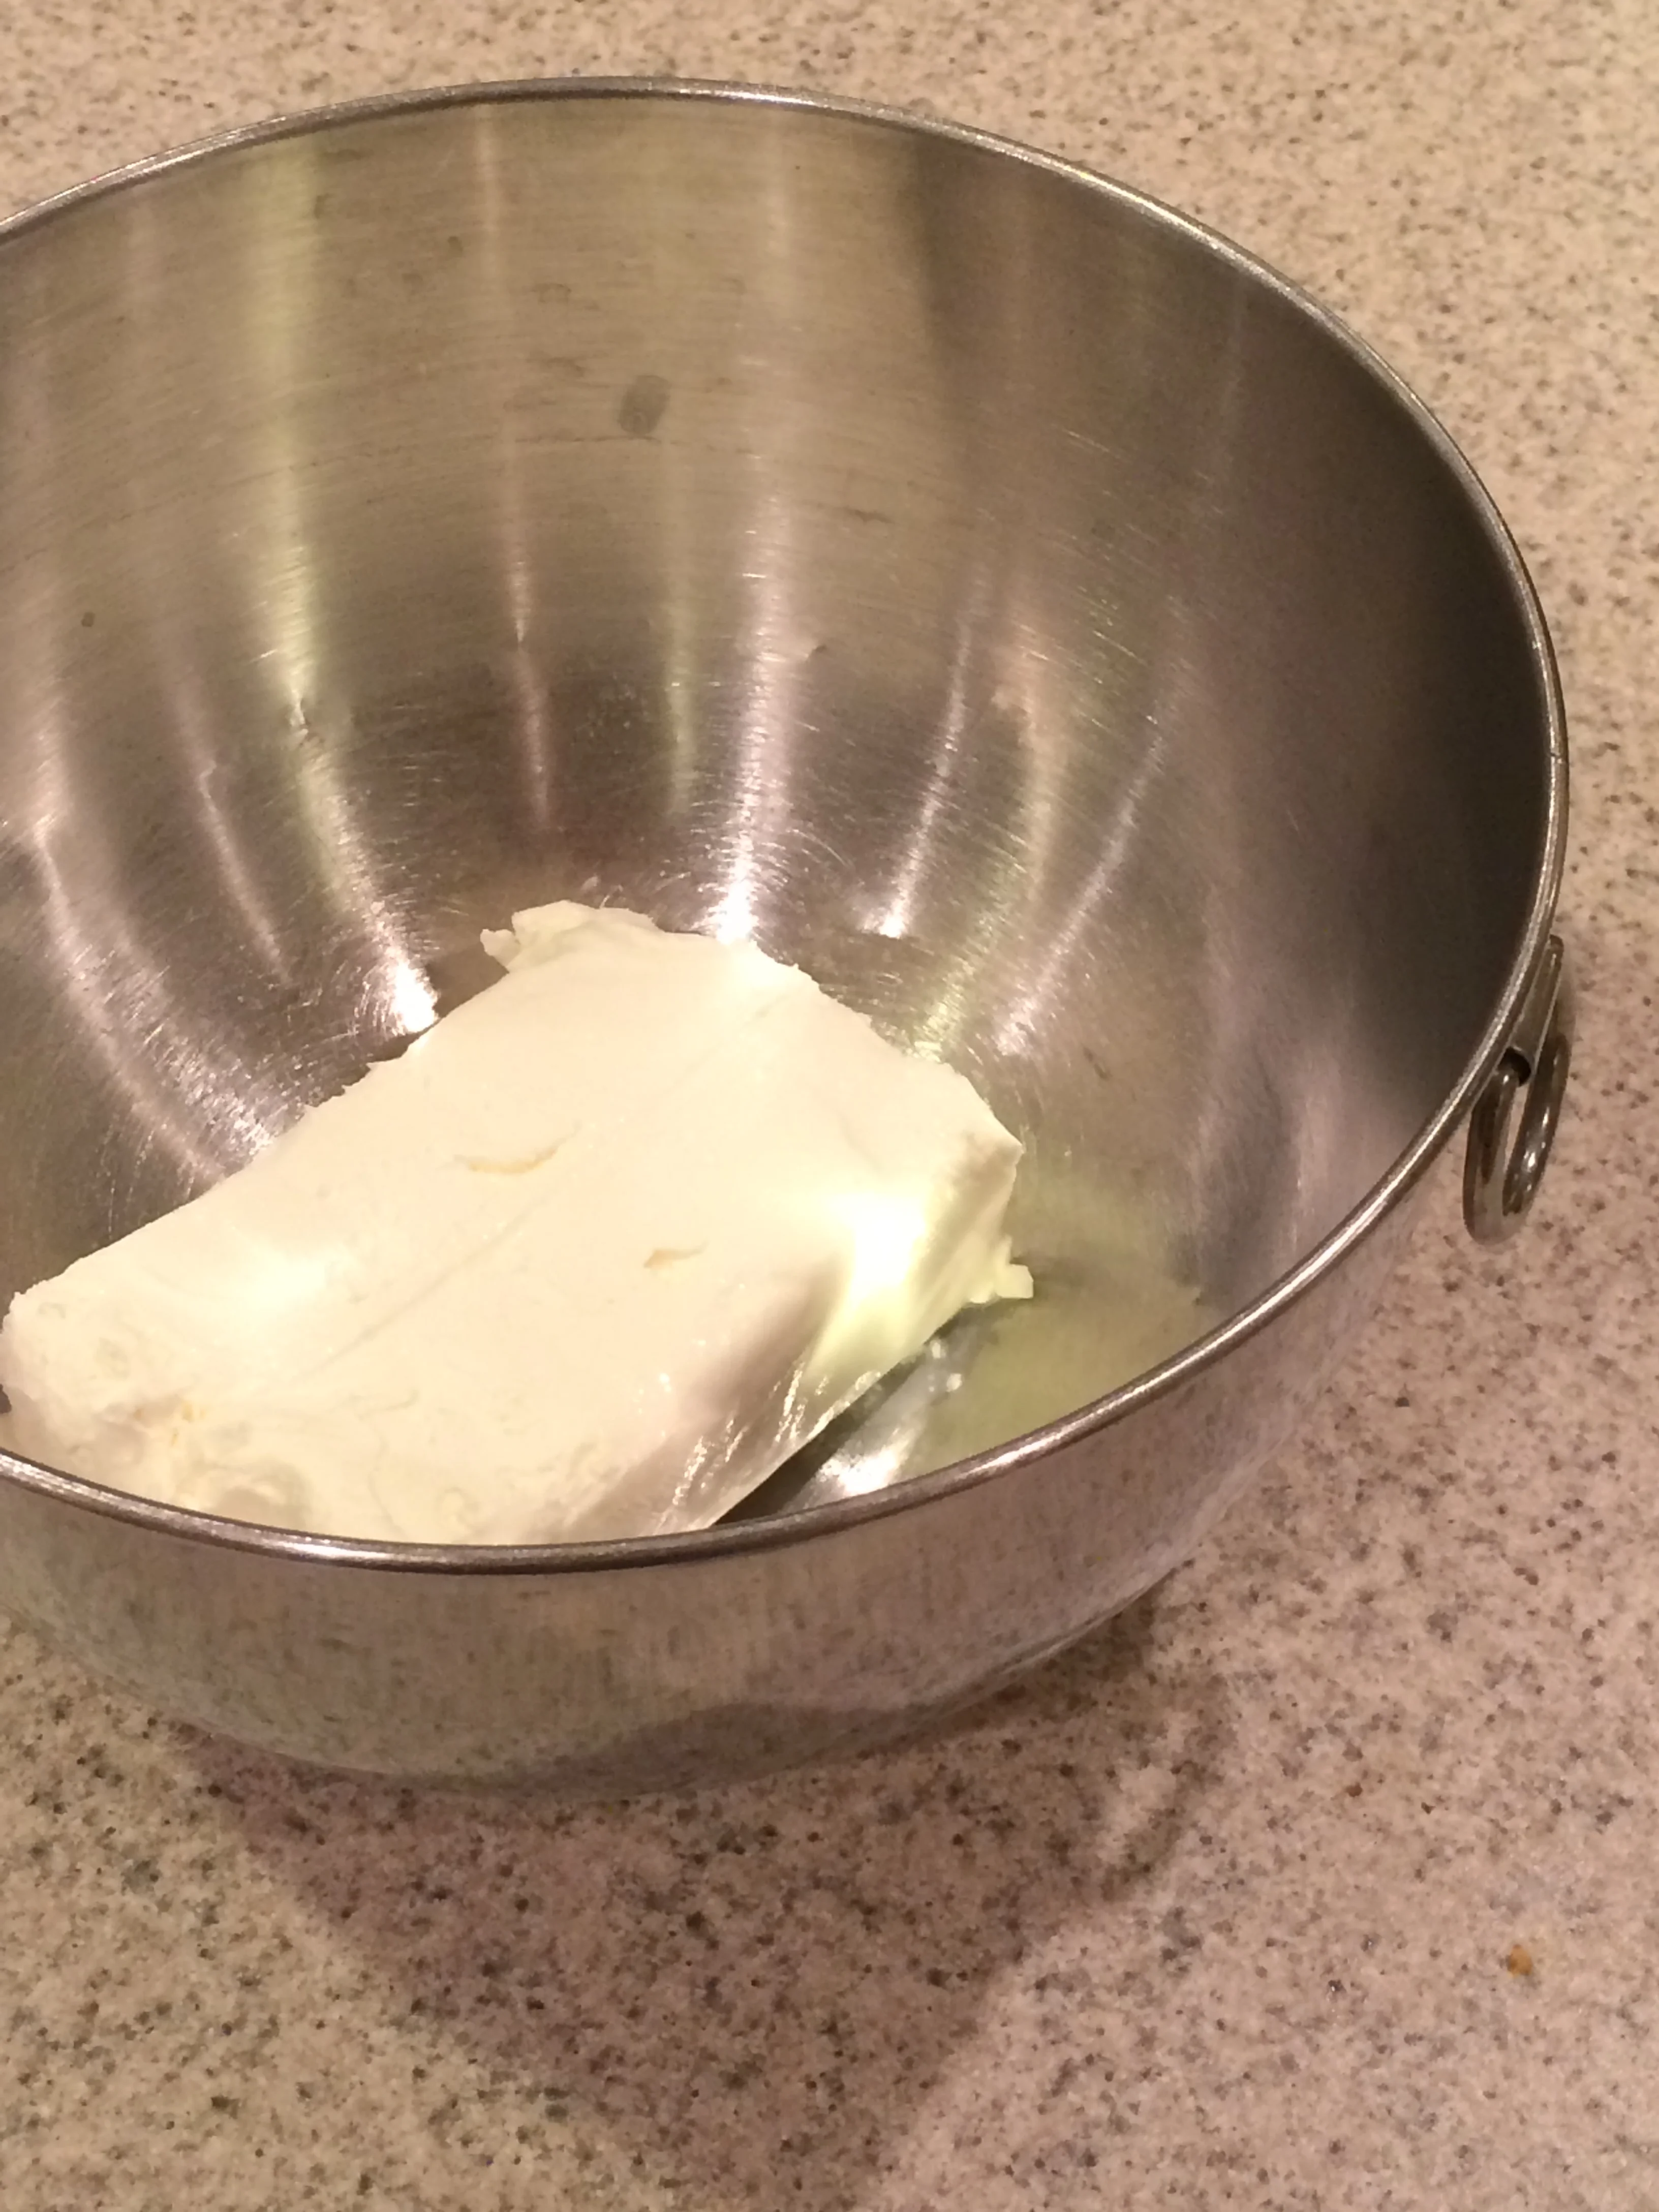
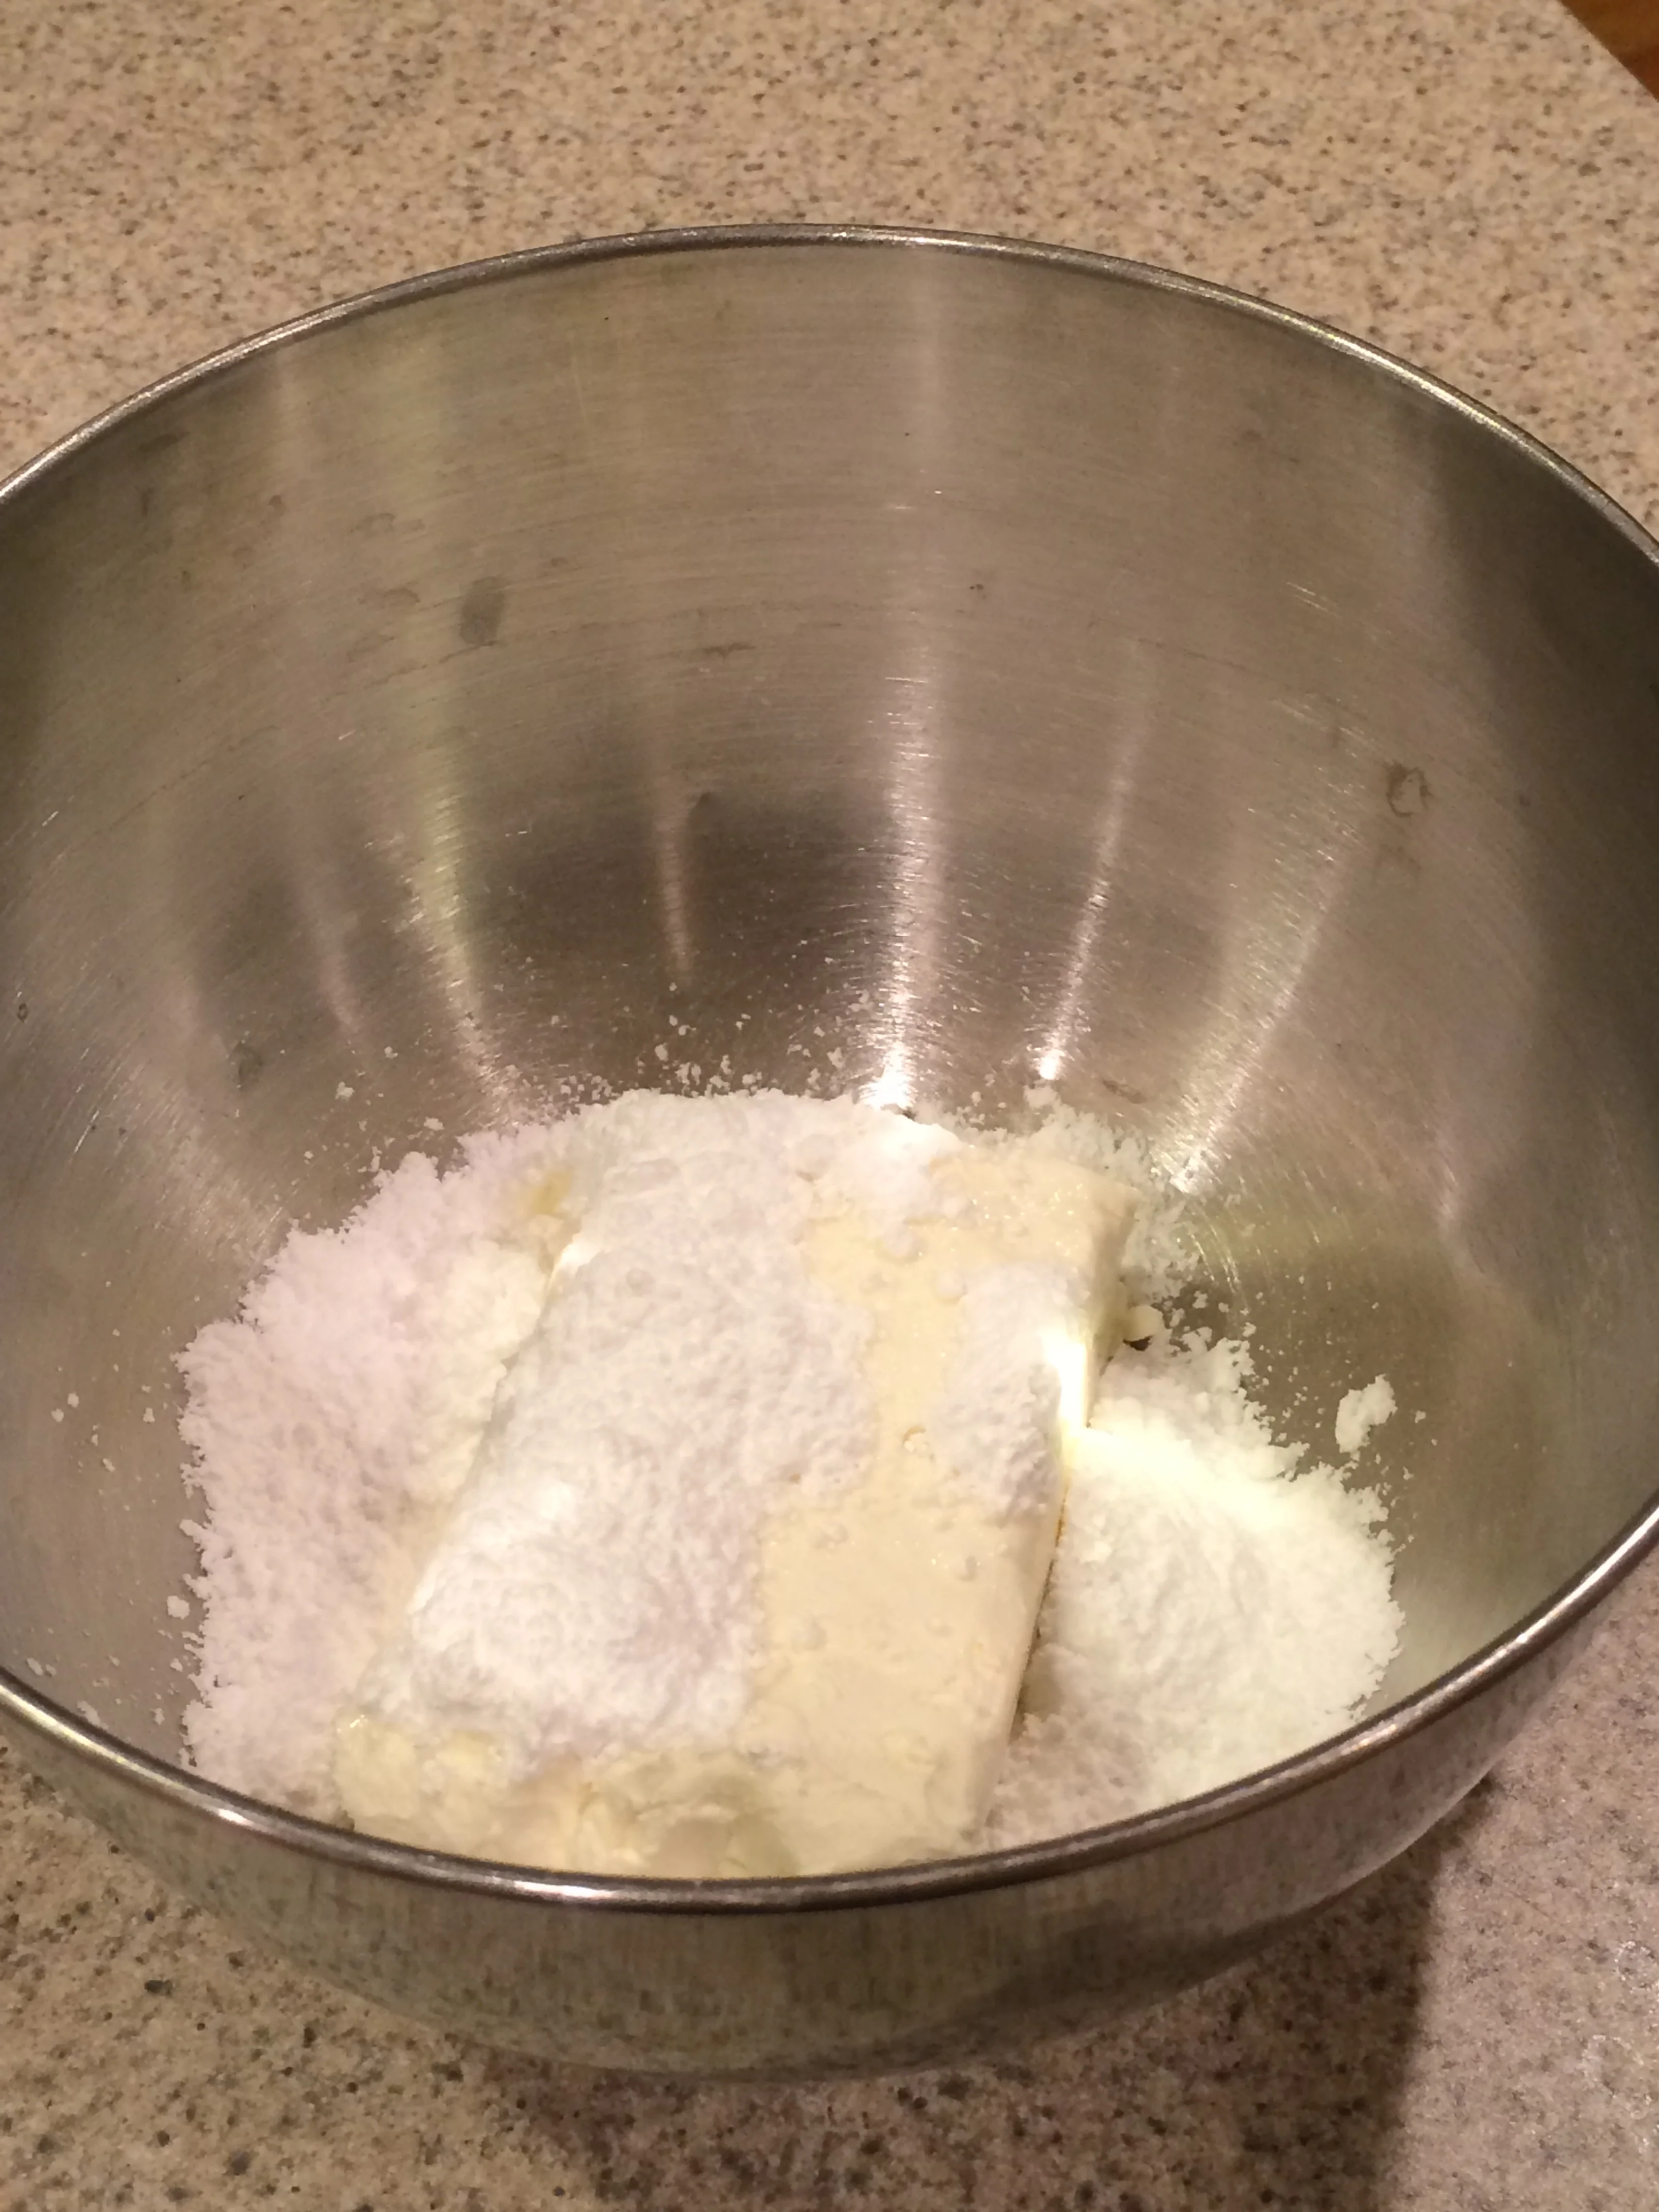
Meanwhile, while cookie pizza is baking, mix together the cream cheese and the powdered sugar and vanilla, and spread cream cheese mixture onto entire cooled cookie.  Now the fun begins...

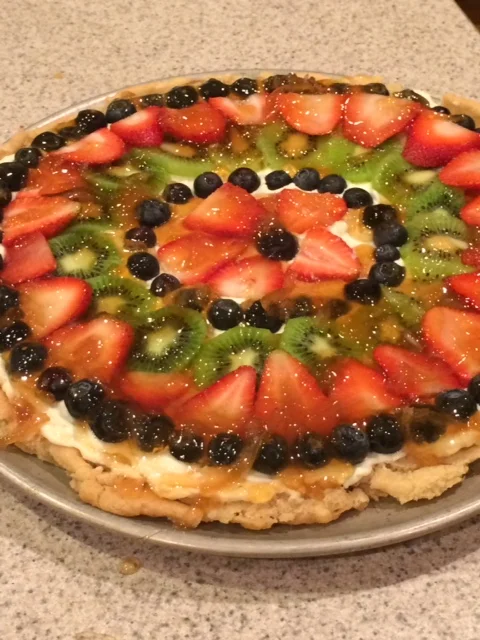
Then load up the pizza with whatever fruit makes you happy.  In this case, I used kiwis, strawberries, and blueberries.  My mother’s recipe called for mandarin oranges, but for some reason my children don’t like them (silly kids).  If I had had Clementine’s on hand, I would have used them.

Arrange the fruit onto the pizza.  The possibilities are endless.  This is a great family or kid’s party activity.  How fun would it be to arrange the fruit into a face?

Wait for it...

Now the "piece de resistance", the glaze!  Mix the Cherchies Fig Preserves with the water, and drizzle over the pizza...

Yummy goodness!  Dig in:)


Yum

Canadian Bacon Egg Casserole Recipe

breakfast, leftovers, lunchSheri SpalloneComment
canadian bacon casserole long.jpg

Do you love breakfast casseroles? We do! Breakfast casseroles are perfect for holidays, brunches, family gatherings, or even dinner because they can be made ahead, leaving more time to enjoy the things that matter most.

We love when our friends across the nation share their favorite Cherchies® recipes with us! Thank you, Colleen, from Pennsylvania, for sharing this delicious hearty breakfast casserole recipe! Your secret ingredient (Cherchies® Lem 'n Dill) elevated this egg dish of eggs, Canadian Bacon, French Bread, and cheese over the top! Dill and eggs? Absolutely! Hello!

The best part about this breakfast casserole? It is easy to make and can be made the night before. Let it soak in the refrigerator overnight, and it is ready to plop in the oven the following morning, allowing you extra time for whatever is important to you! Add this breakfast casserole to your list of favorite recipes. The combination of flavors is divine; your family and guests will rave about this dish.

Comment below and let us know if you made this tasty casserole. Thank you for stopping by! Come back and visit for more easy recipes, entertaining ideas, cooking tips, and more!

Ingredients  

  • 4 slices of French Bread, crusts removed, cubed

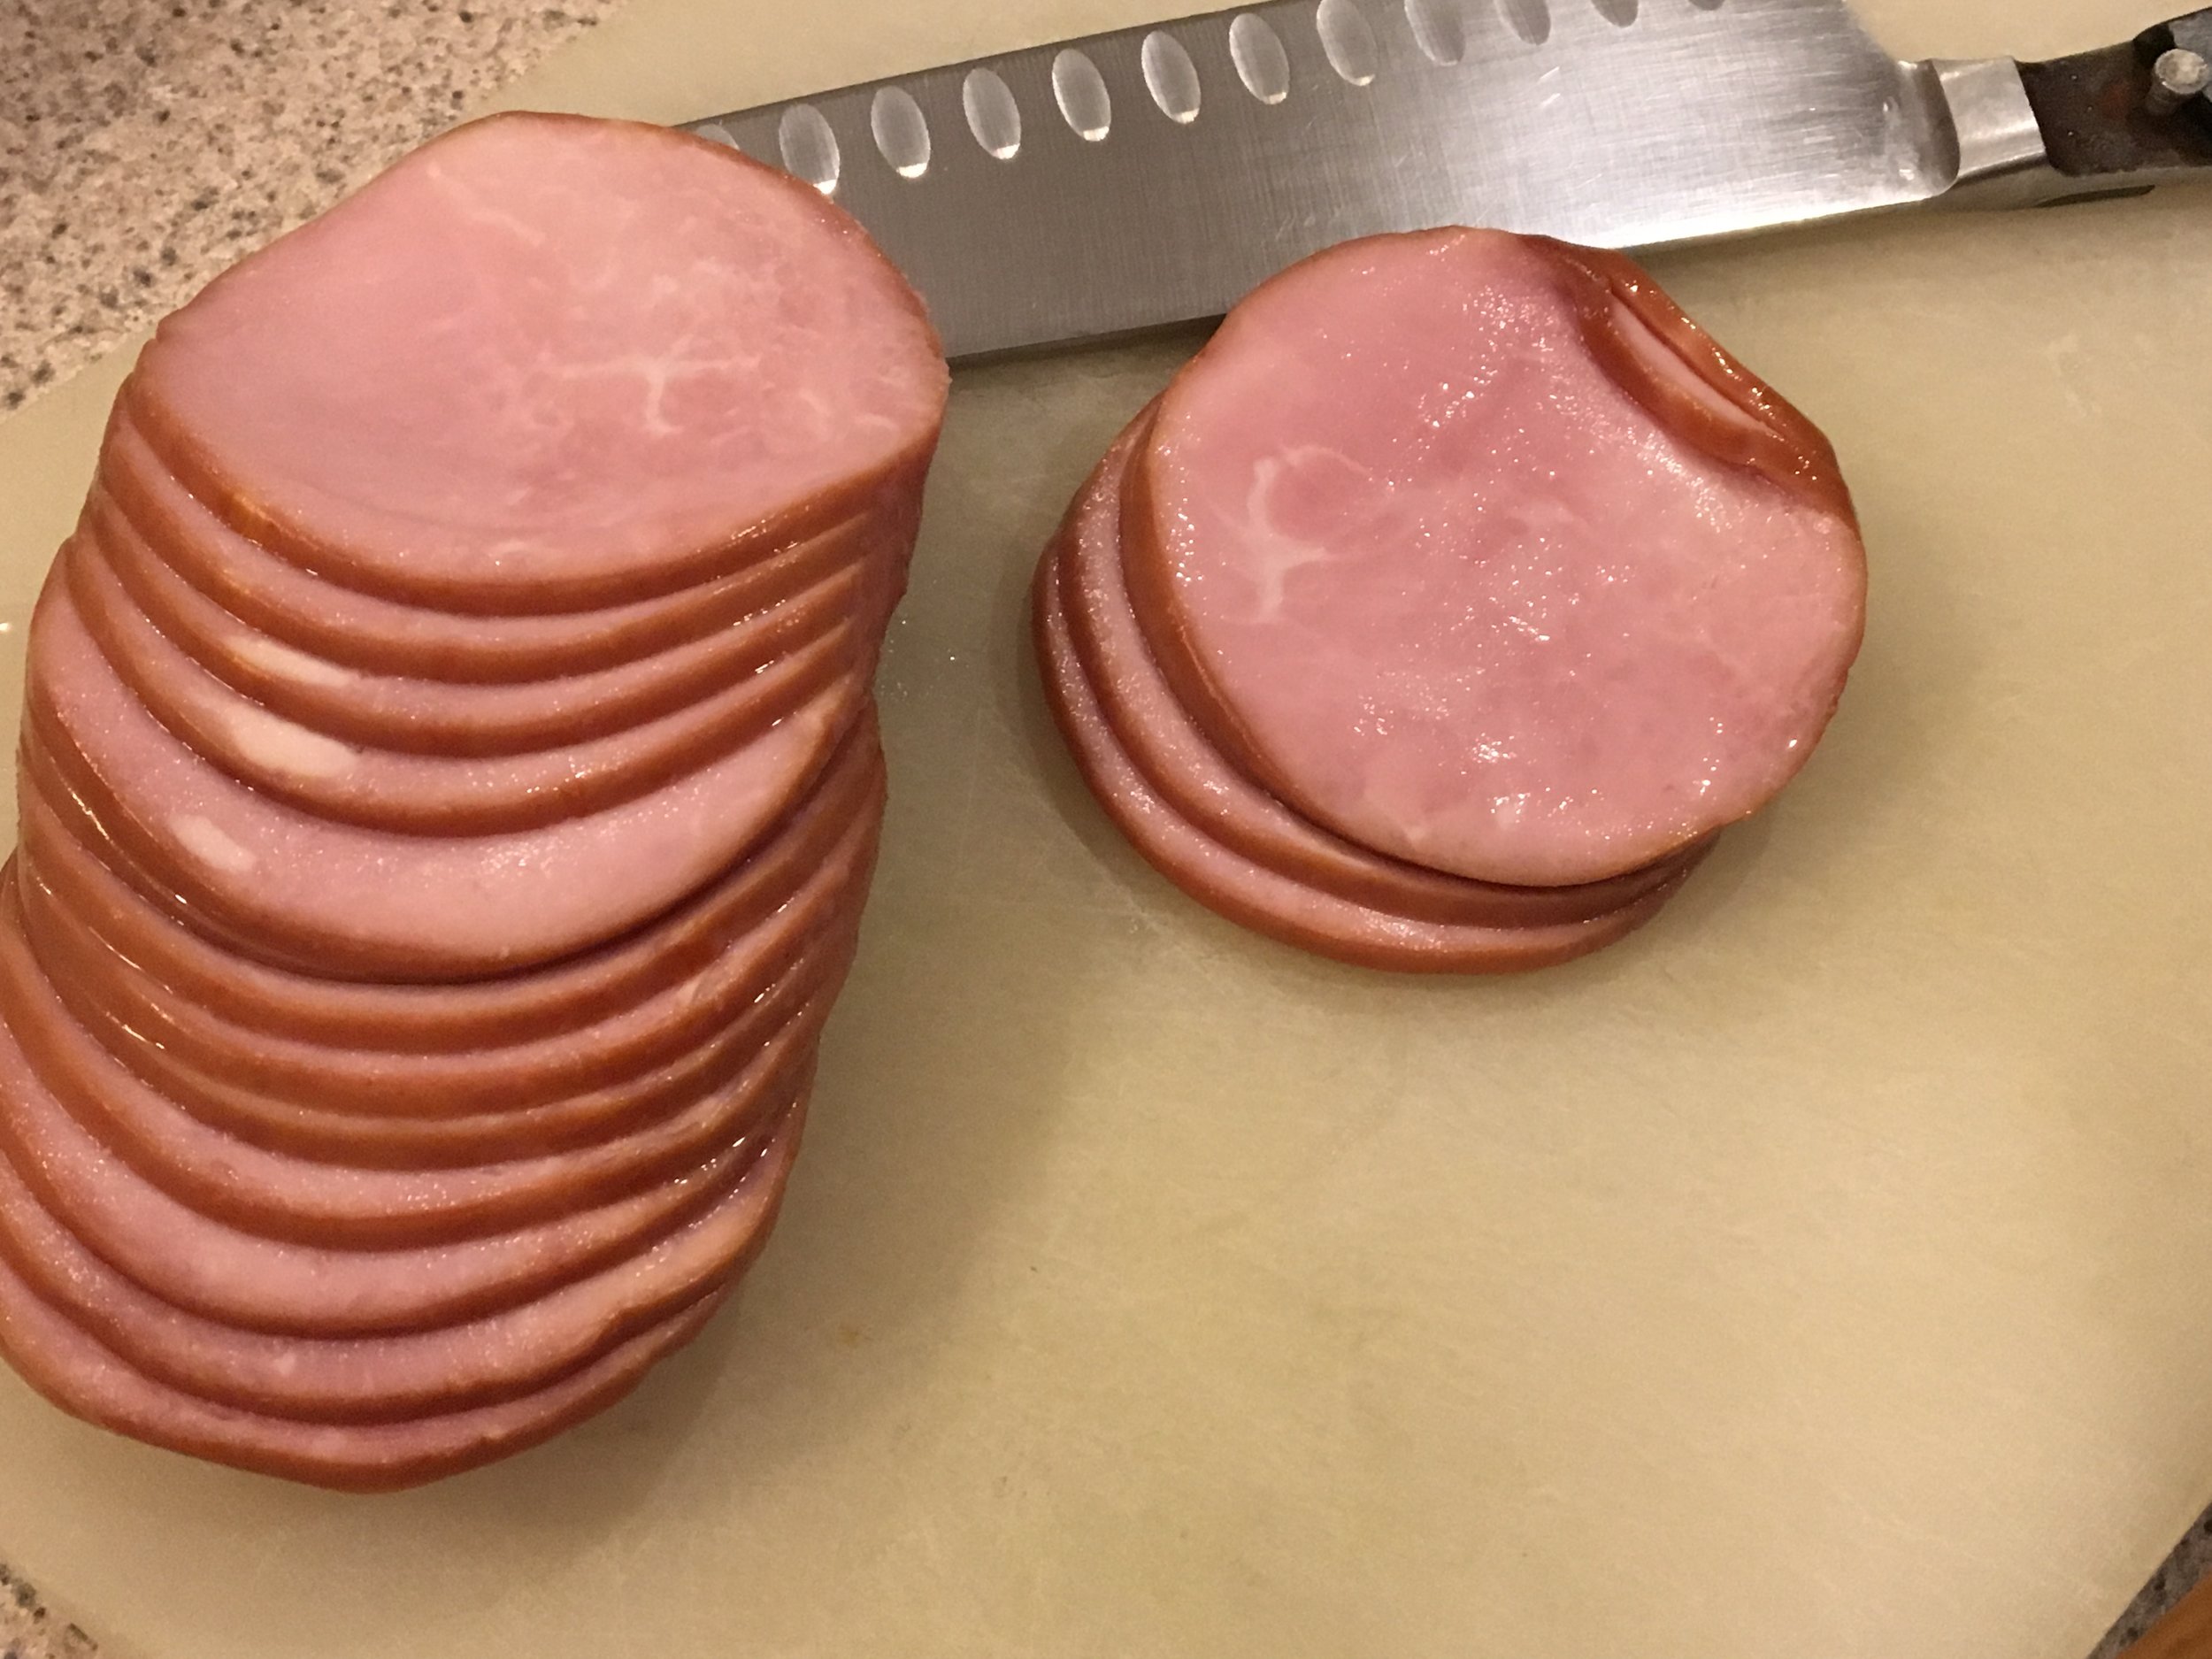
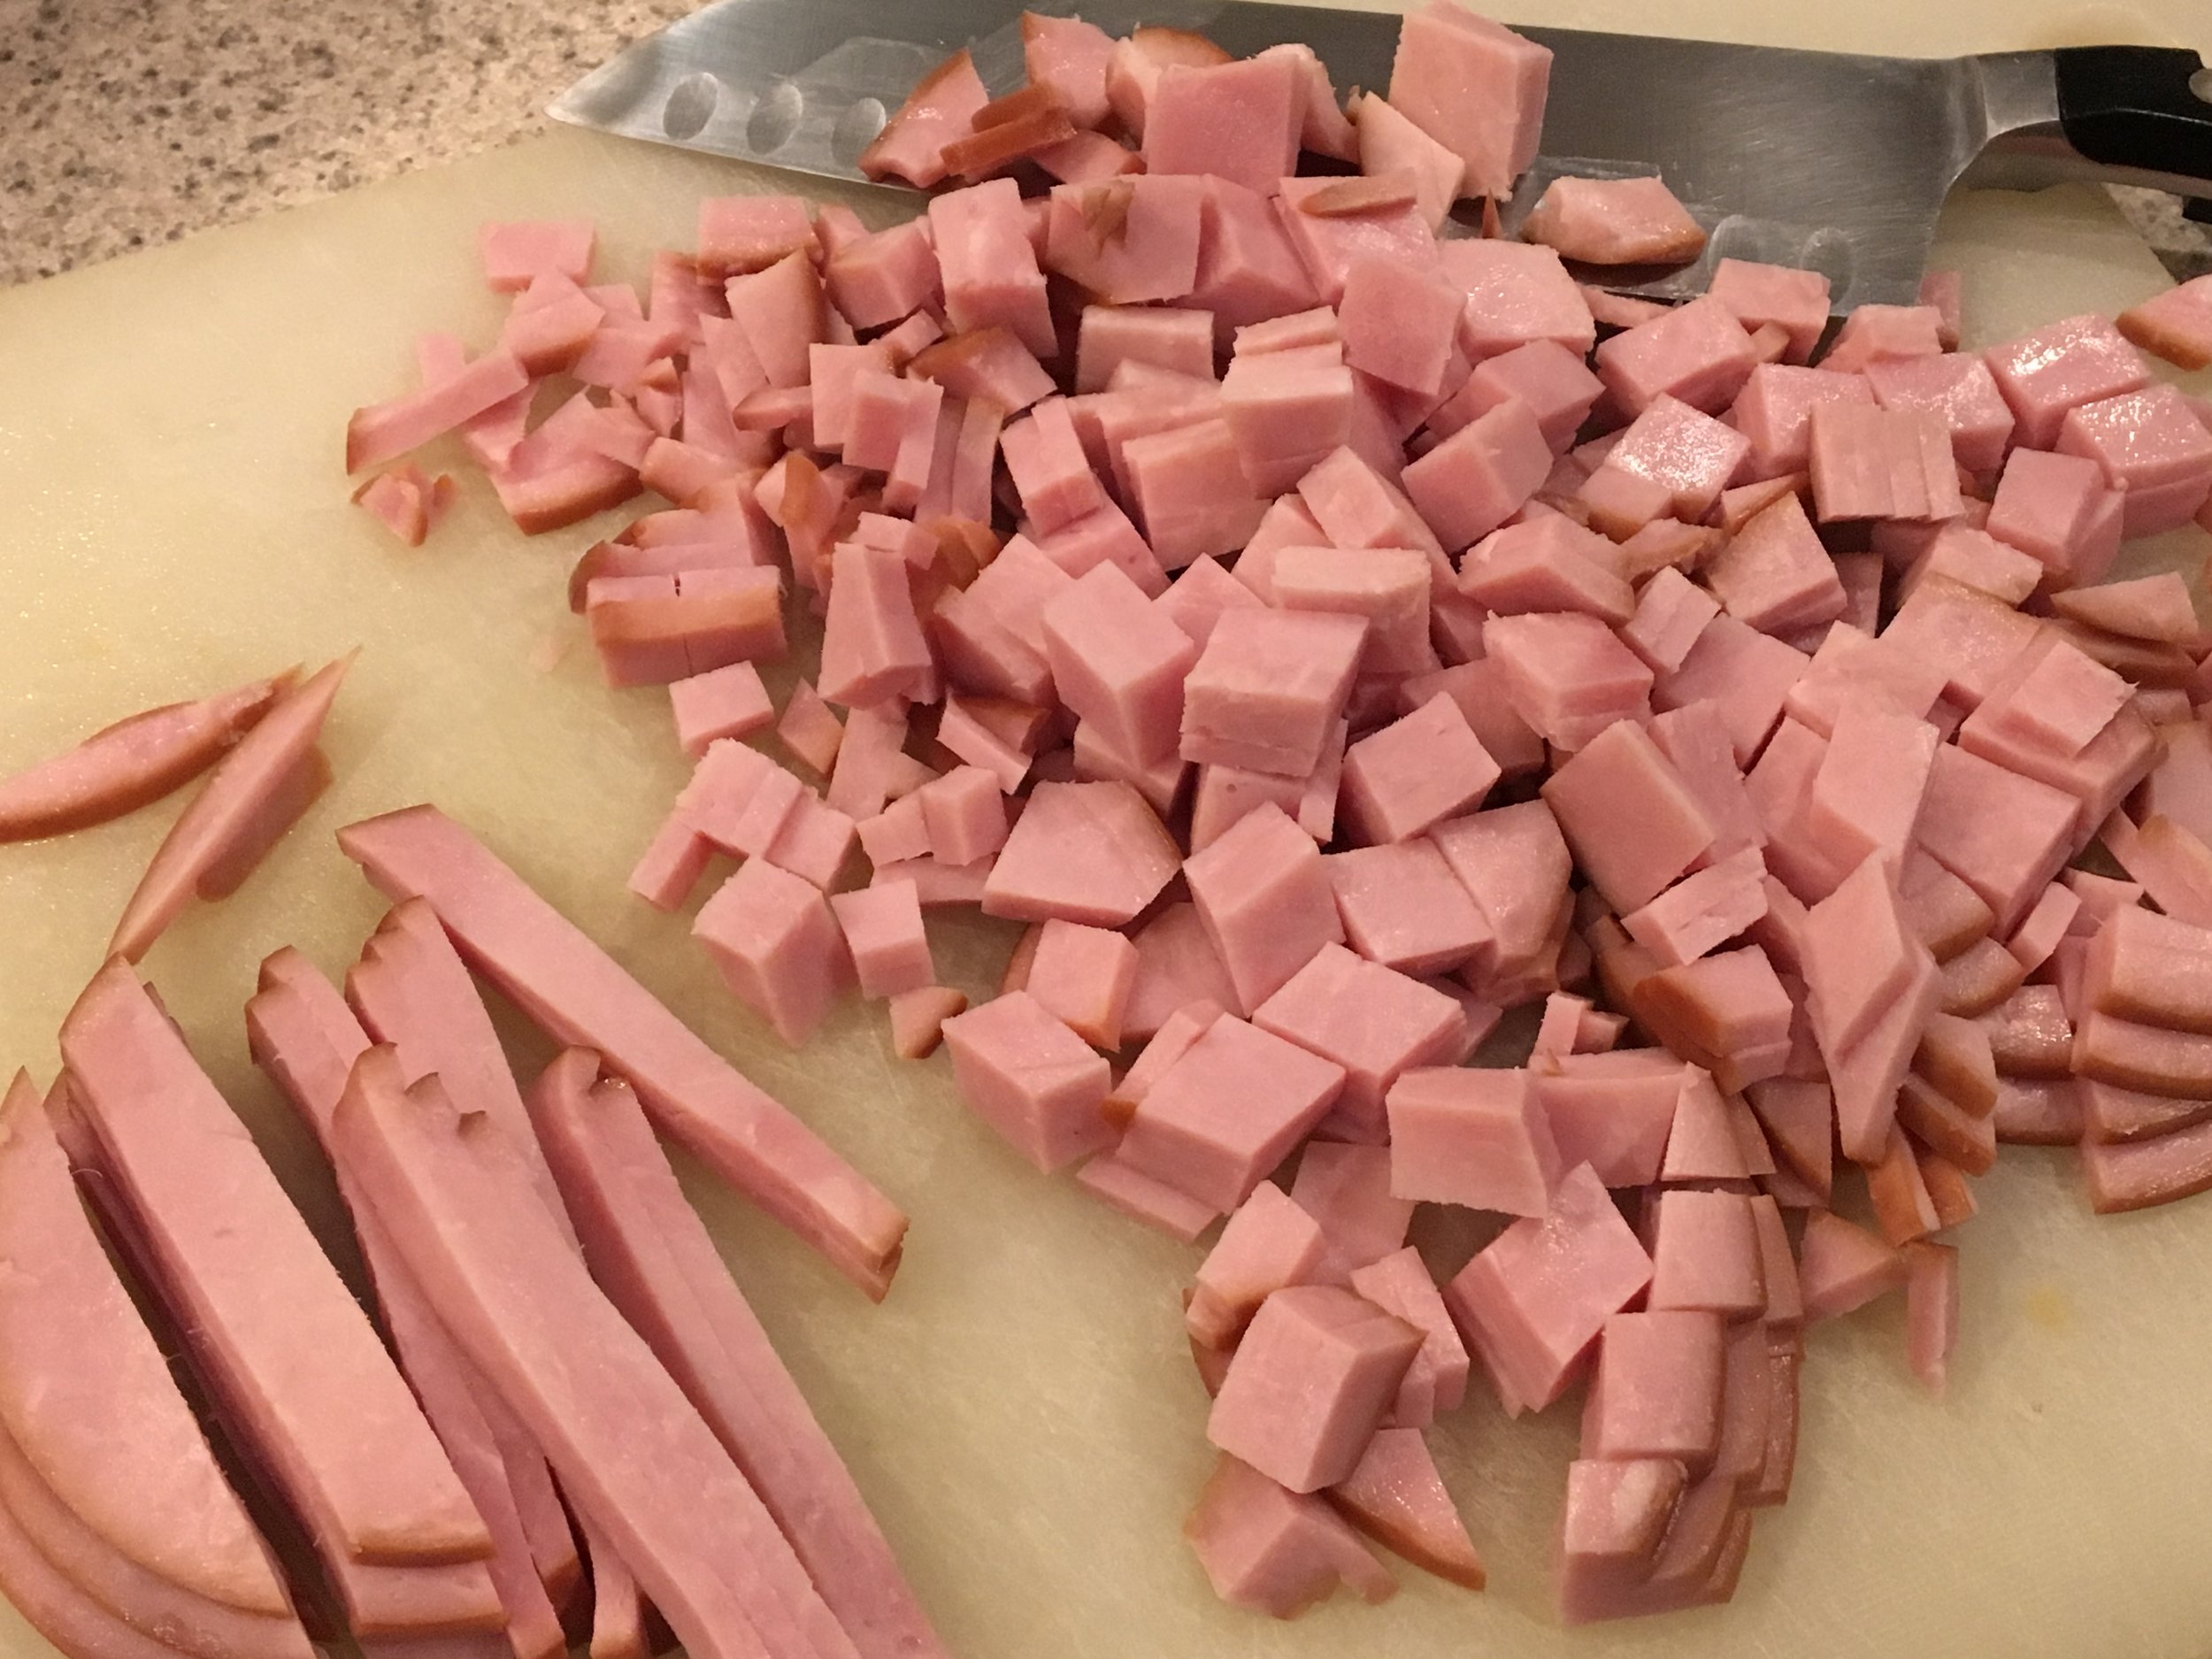
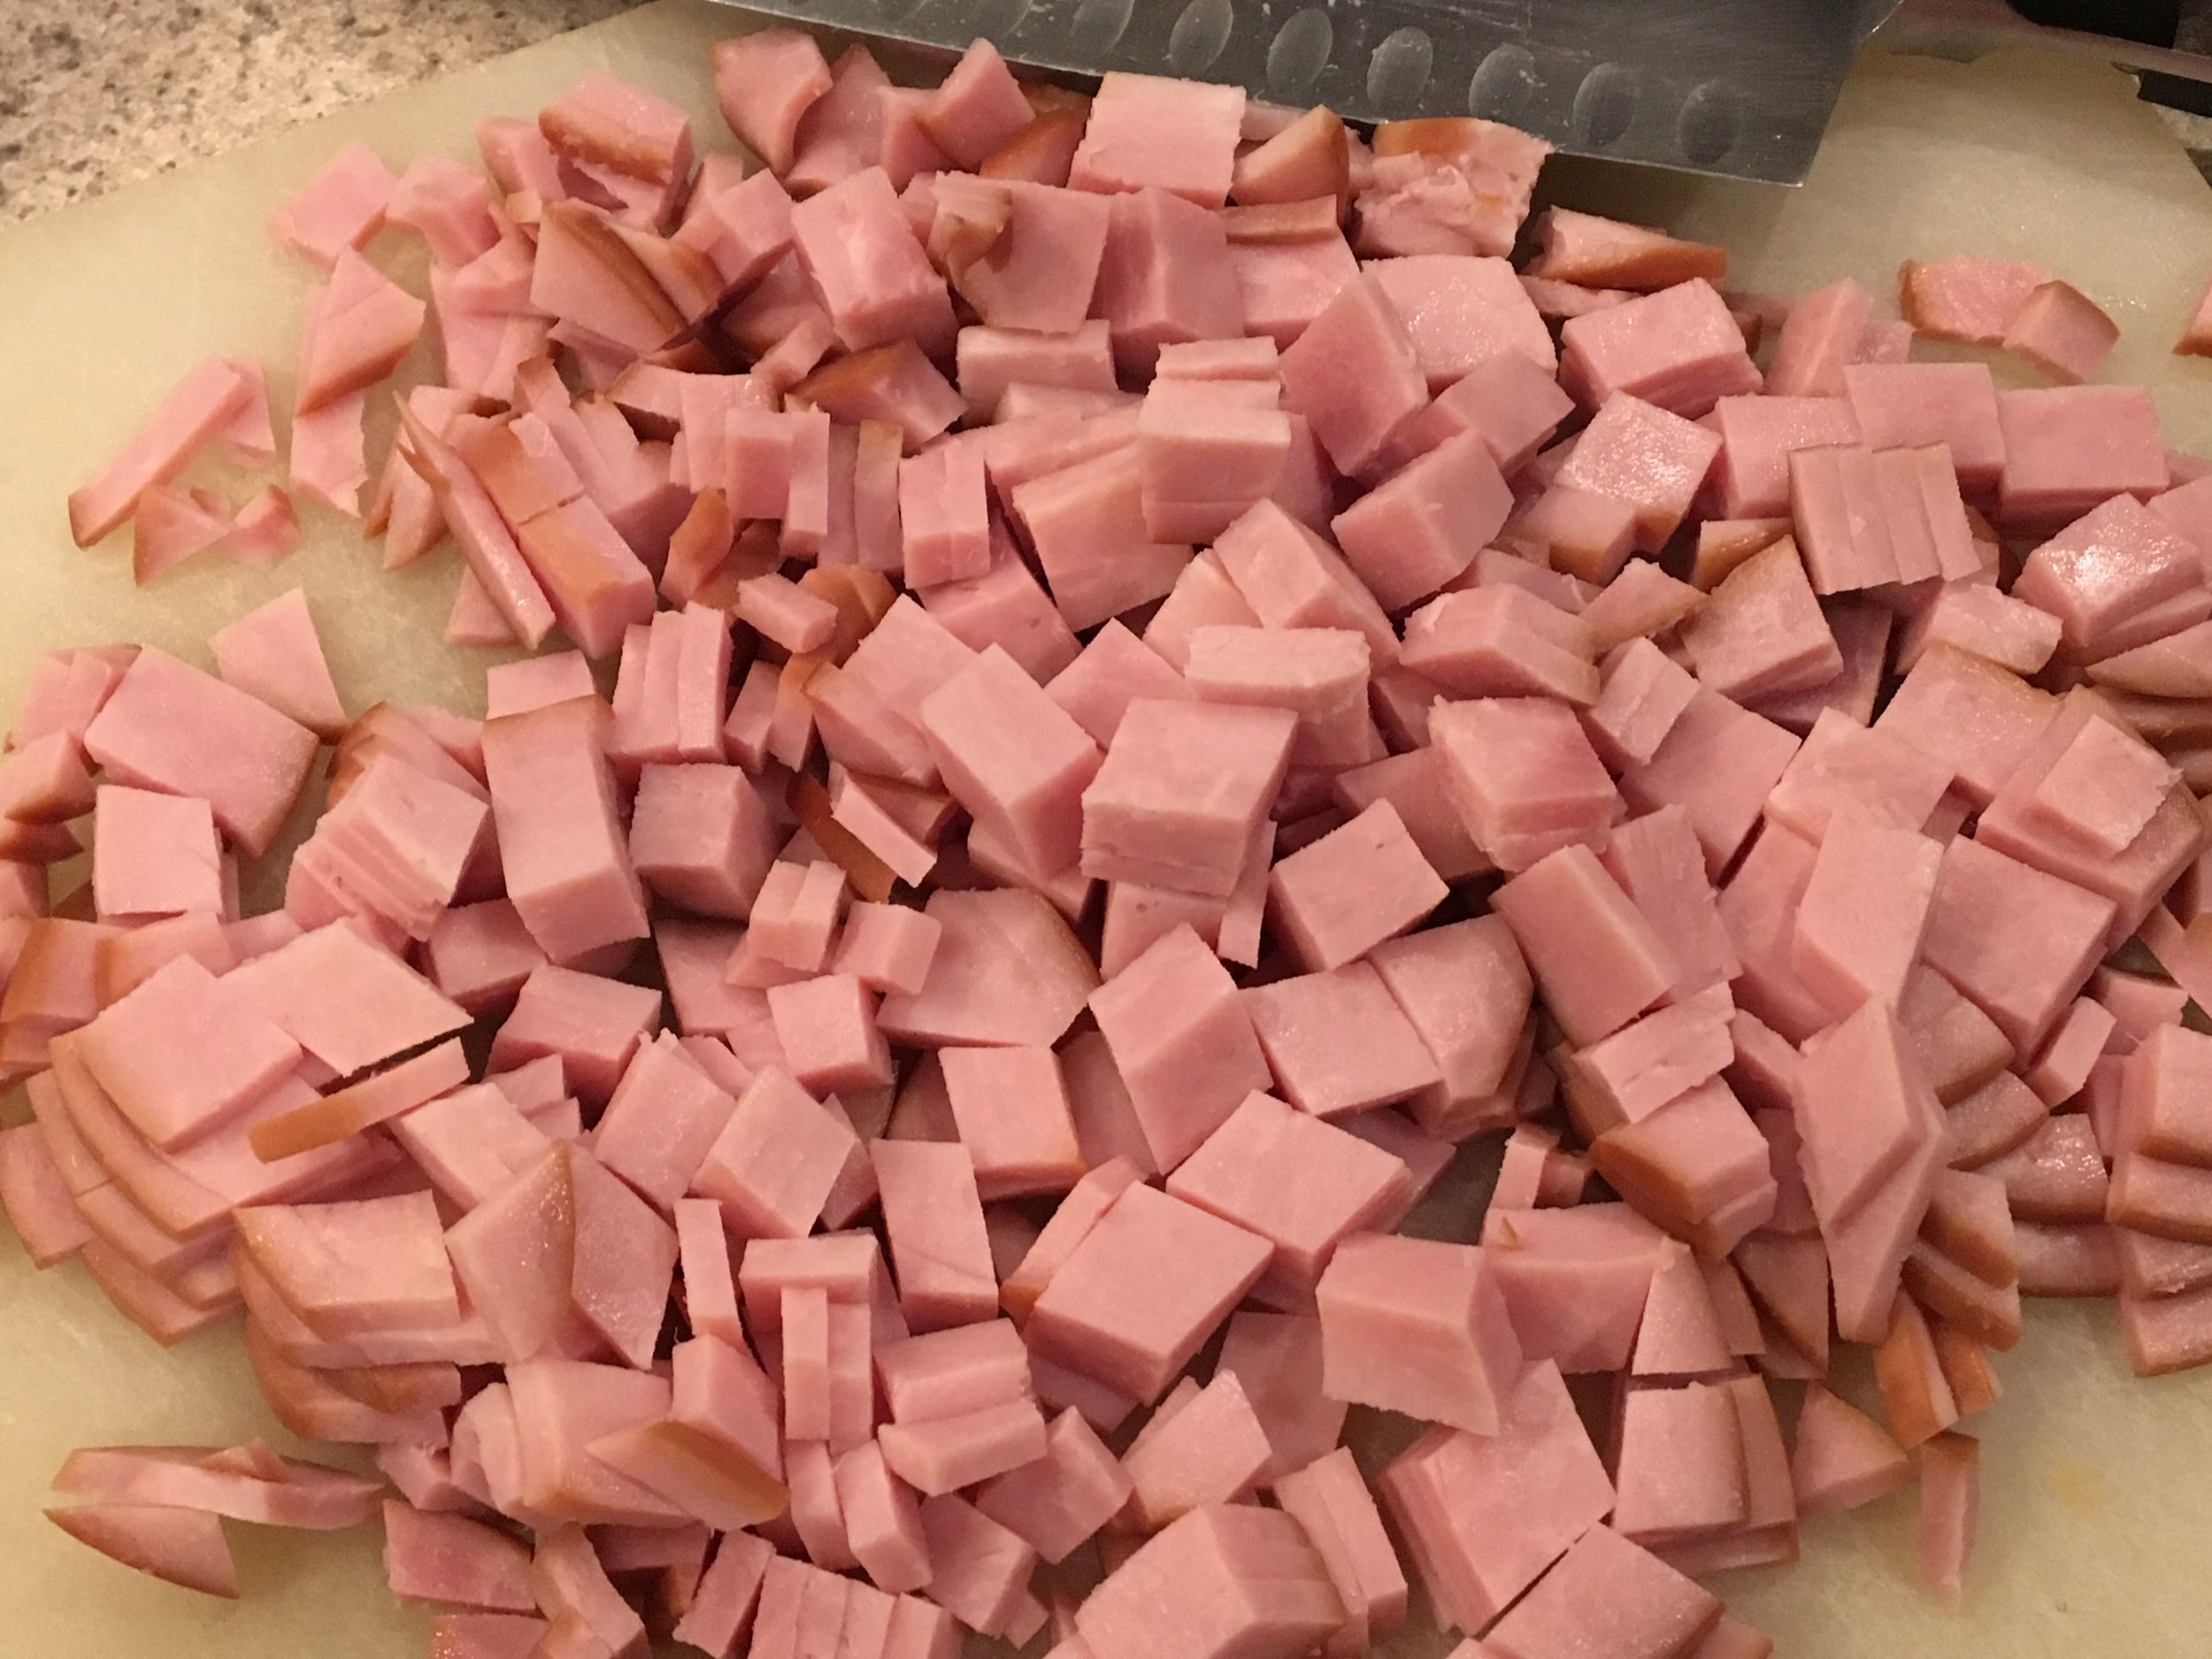
  • 1 lb. Canadian bacon, diced

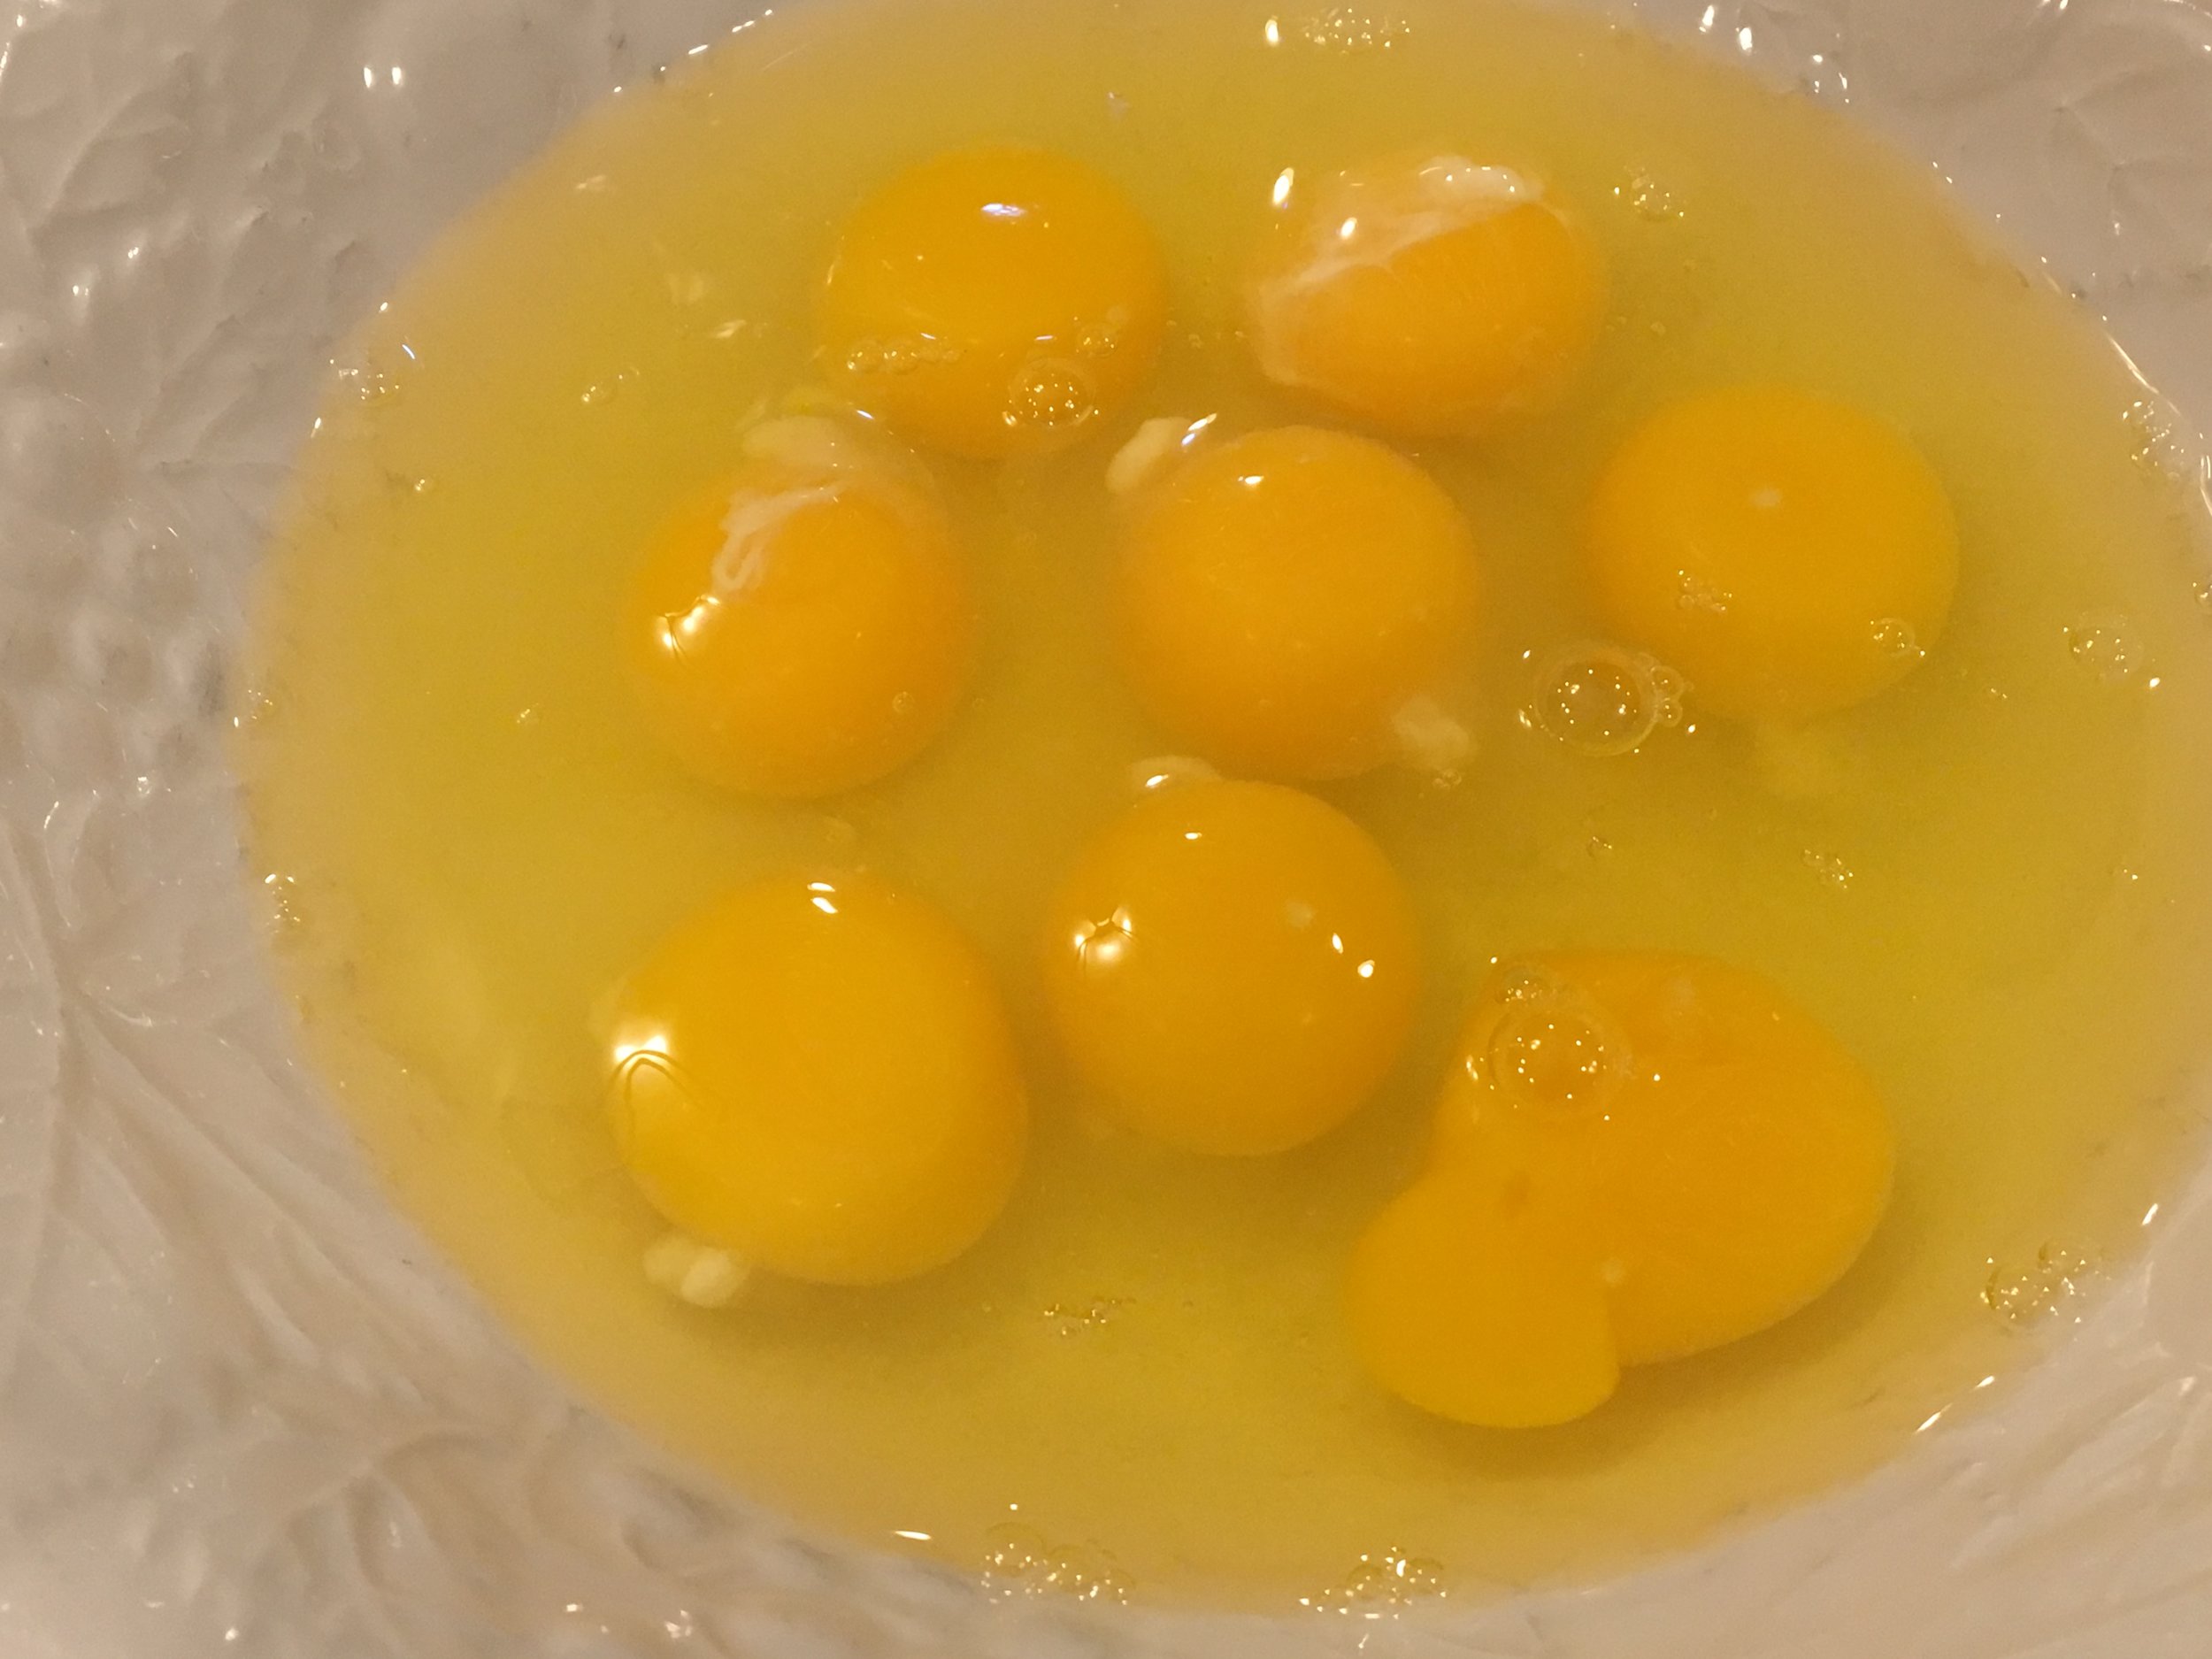
  • 8 eggs, beaten to blend

  • 3/4 cup shredded cheddar cheese

  • 3/4 cup shredded Jalapeno Jack Cheese

  • 1 1/2 Tablespoons (Tbsp.) Cherchies® Lem'n Dill Seasoning Blend

  • 4 cooked potatoes, sliced

Preparation
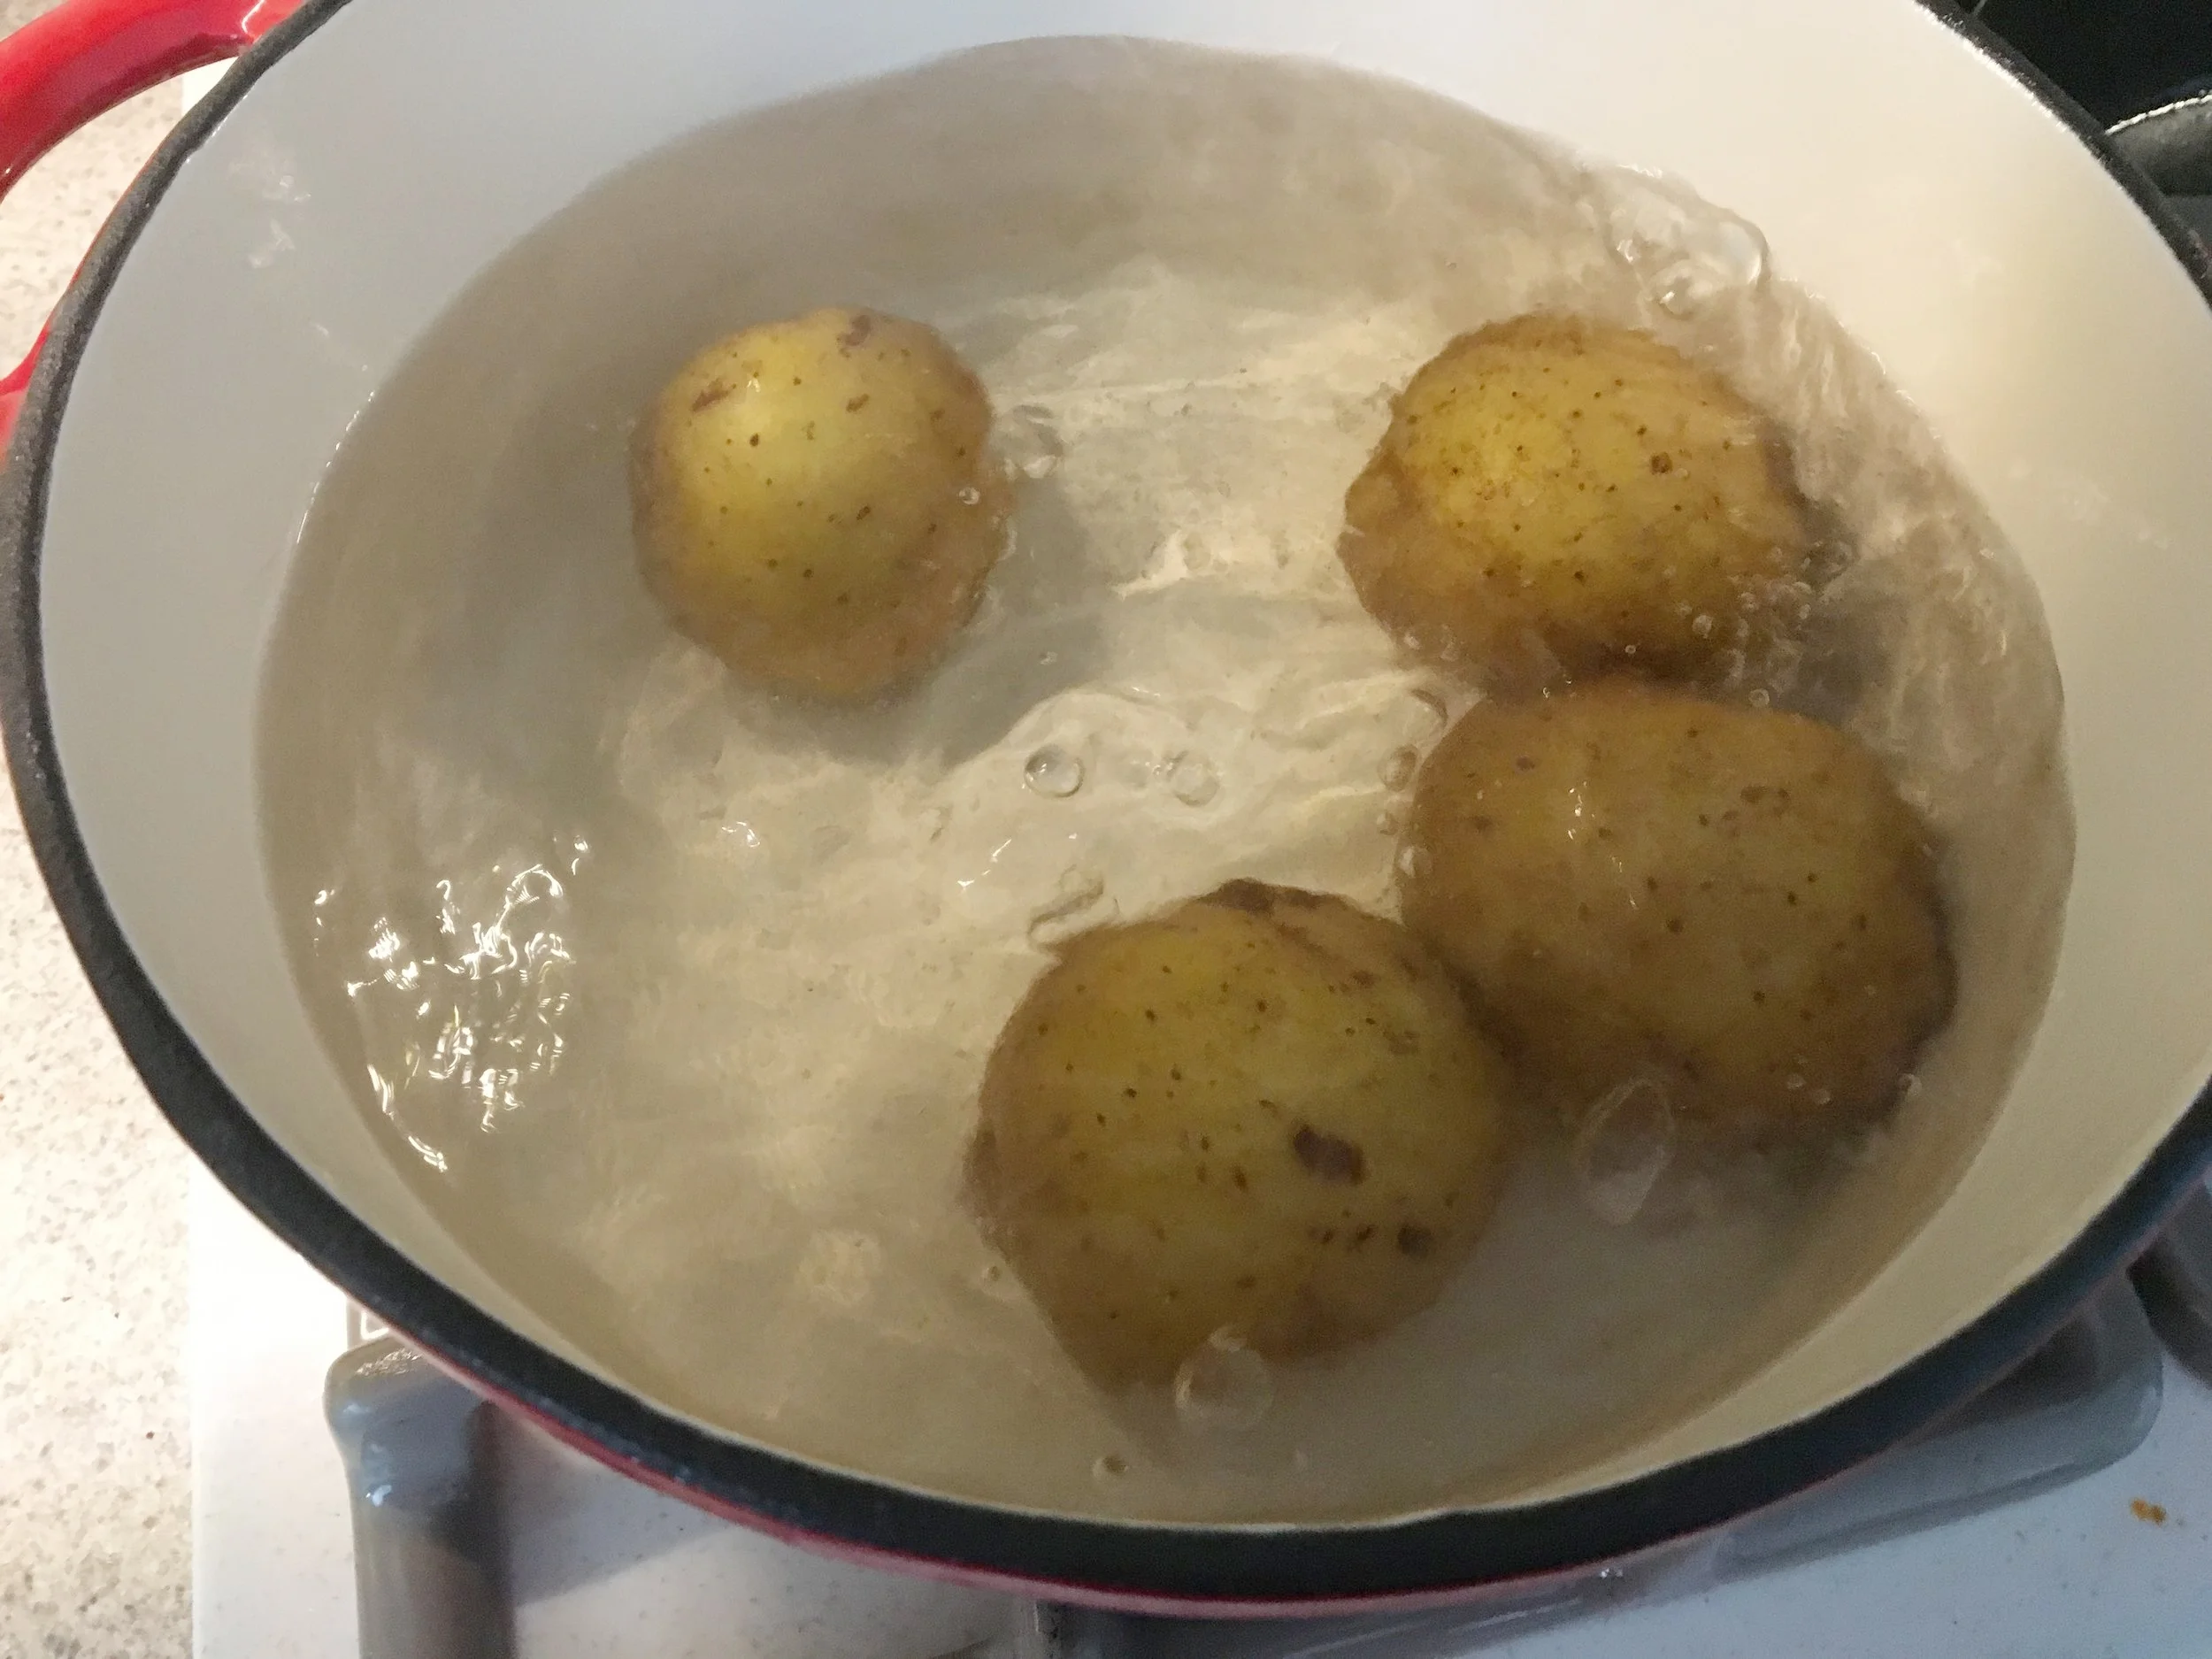
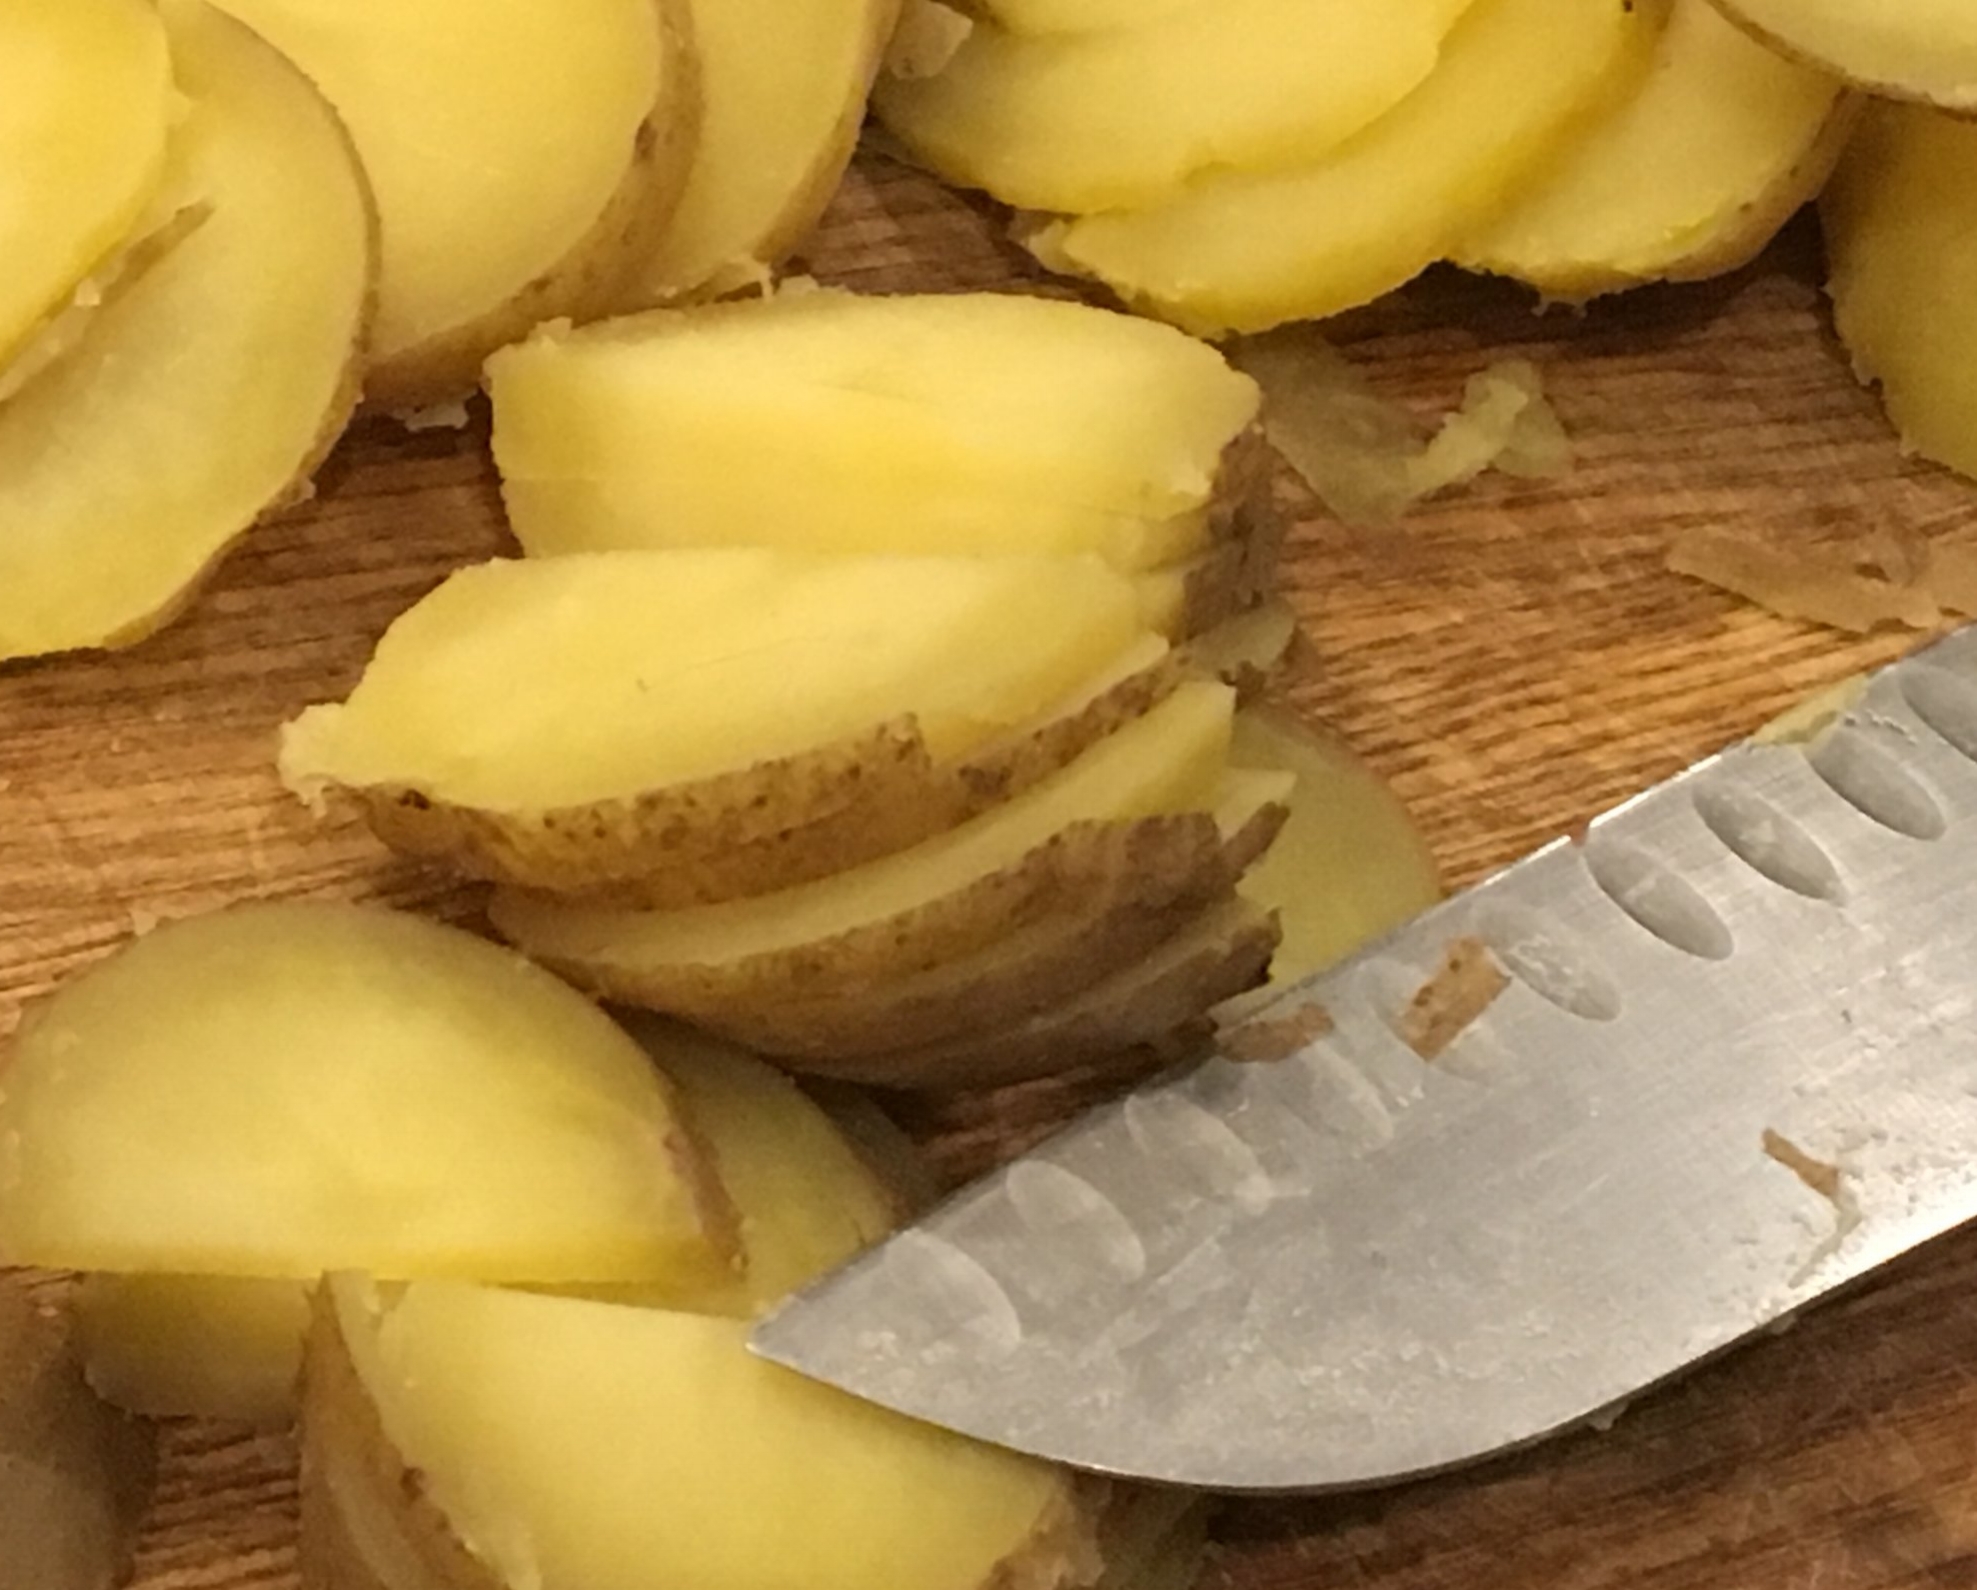
Lightly grease a 9x13 inch baking dish and set aside.  Wash potatoes.  In a medium pan, boil potatoes (ok to leave skin on) until potatoes are al dente (or just about cooked). Drain the potatoes.  Allow potatoes to cool before slicing.

Dice Canadian bacon.

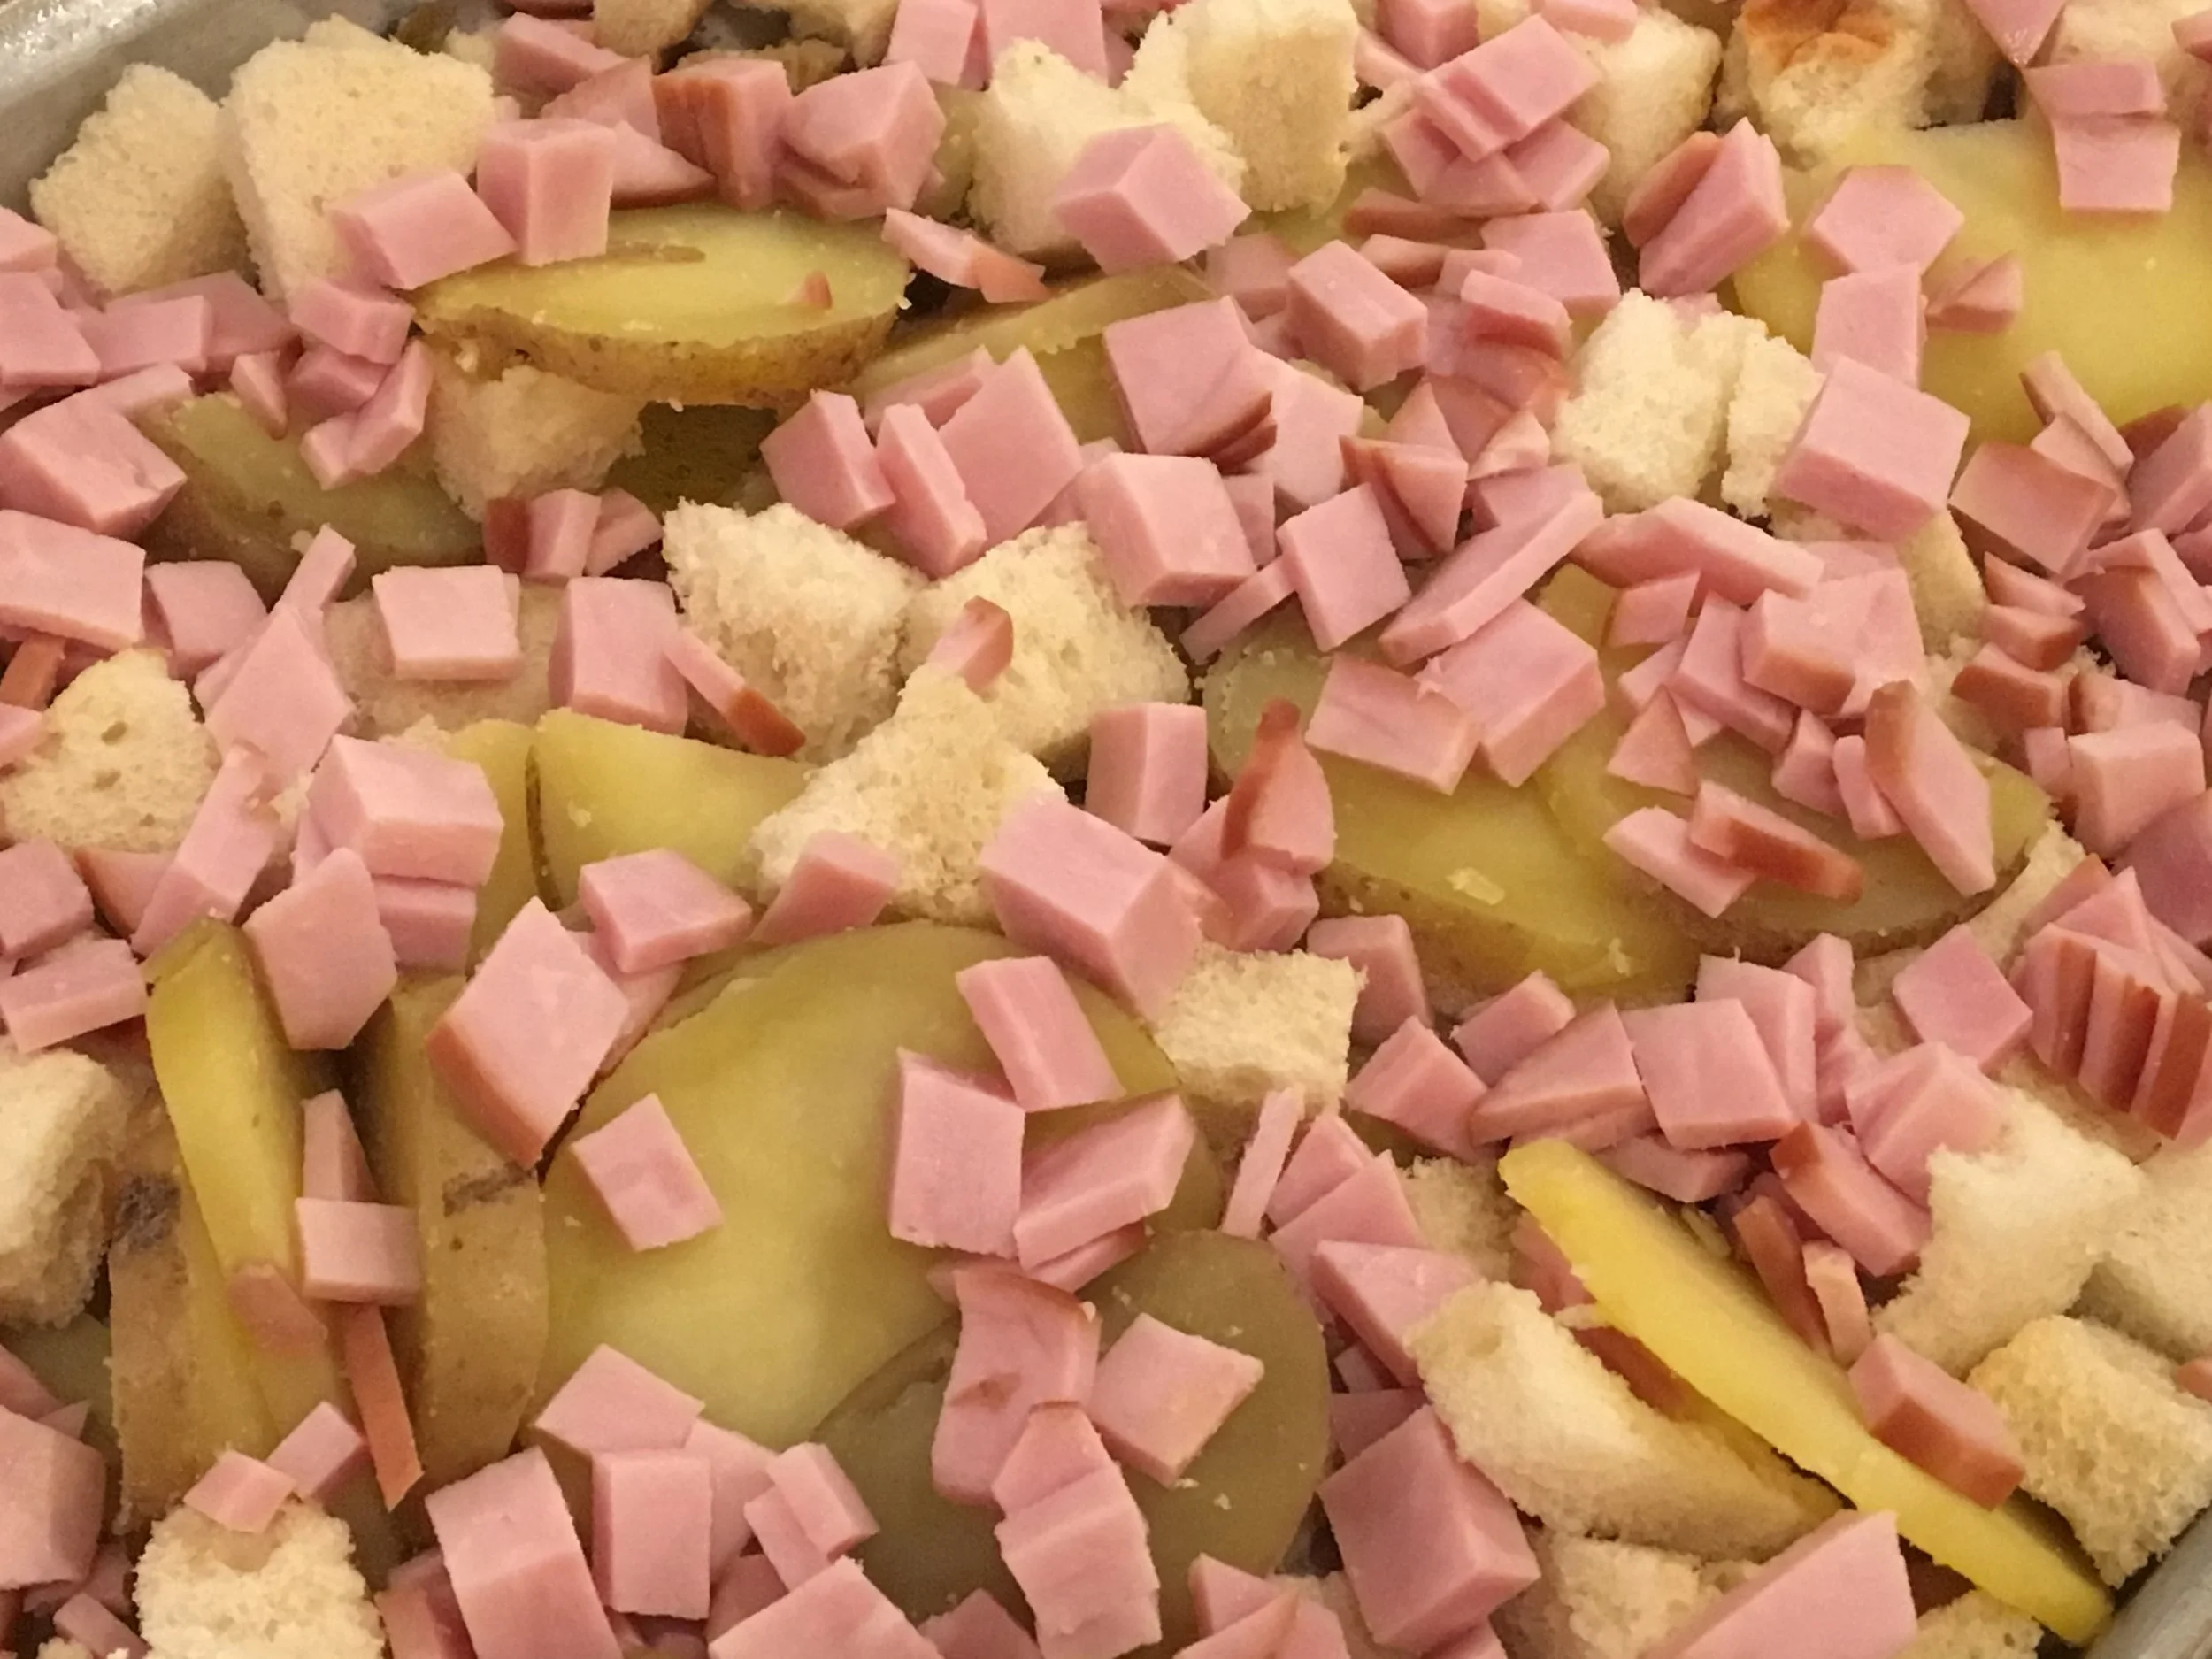
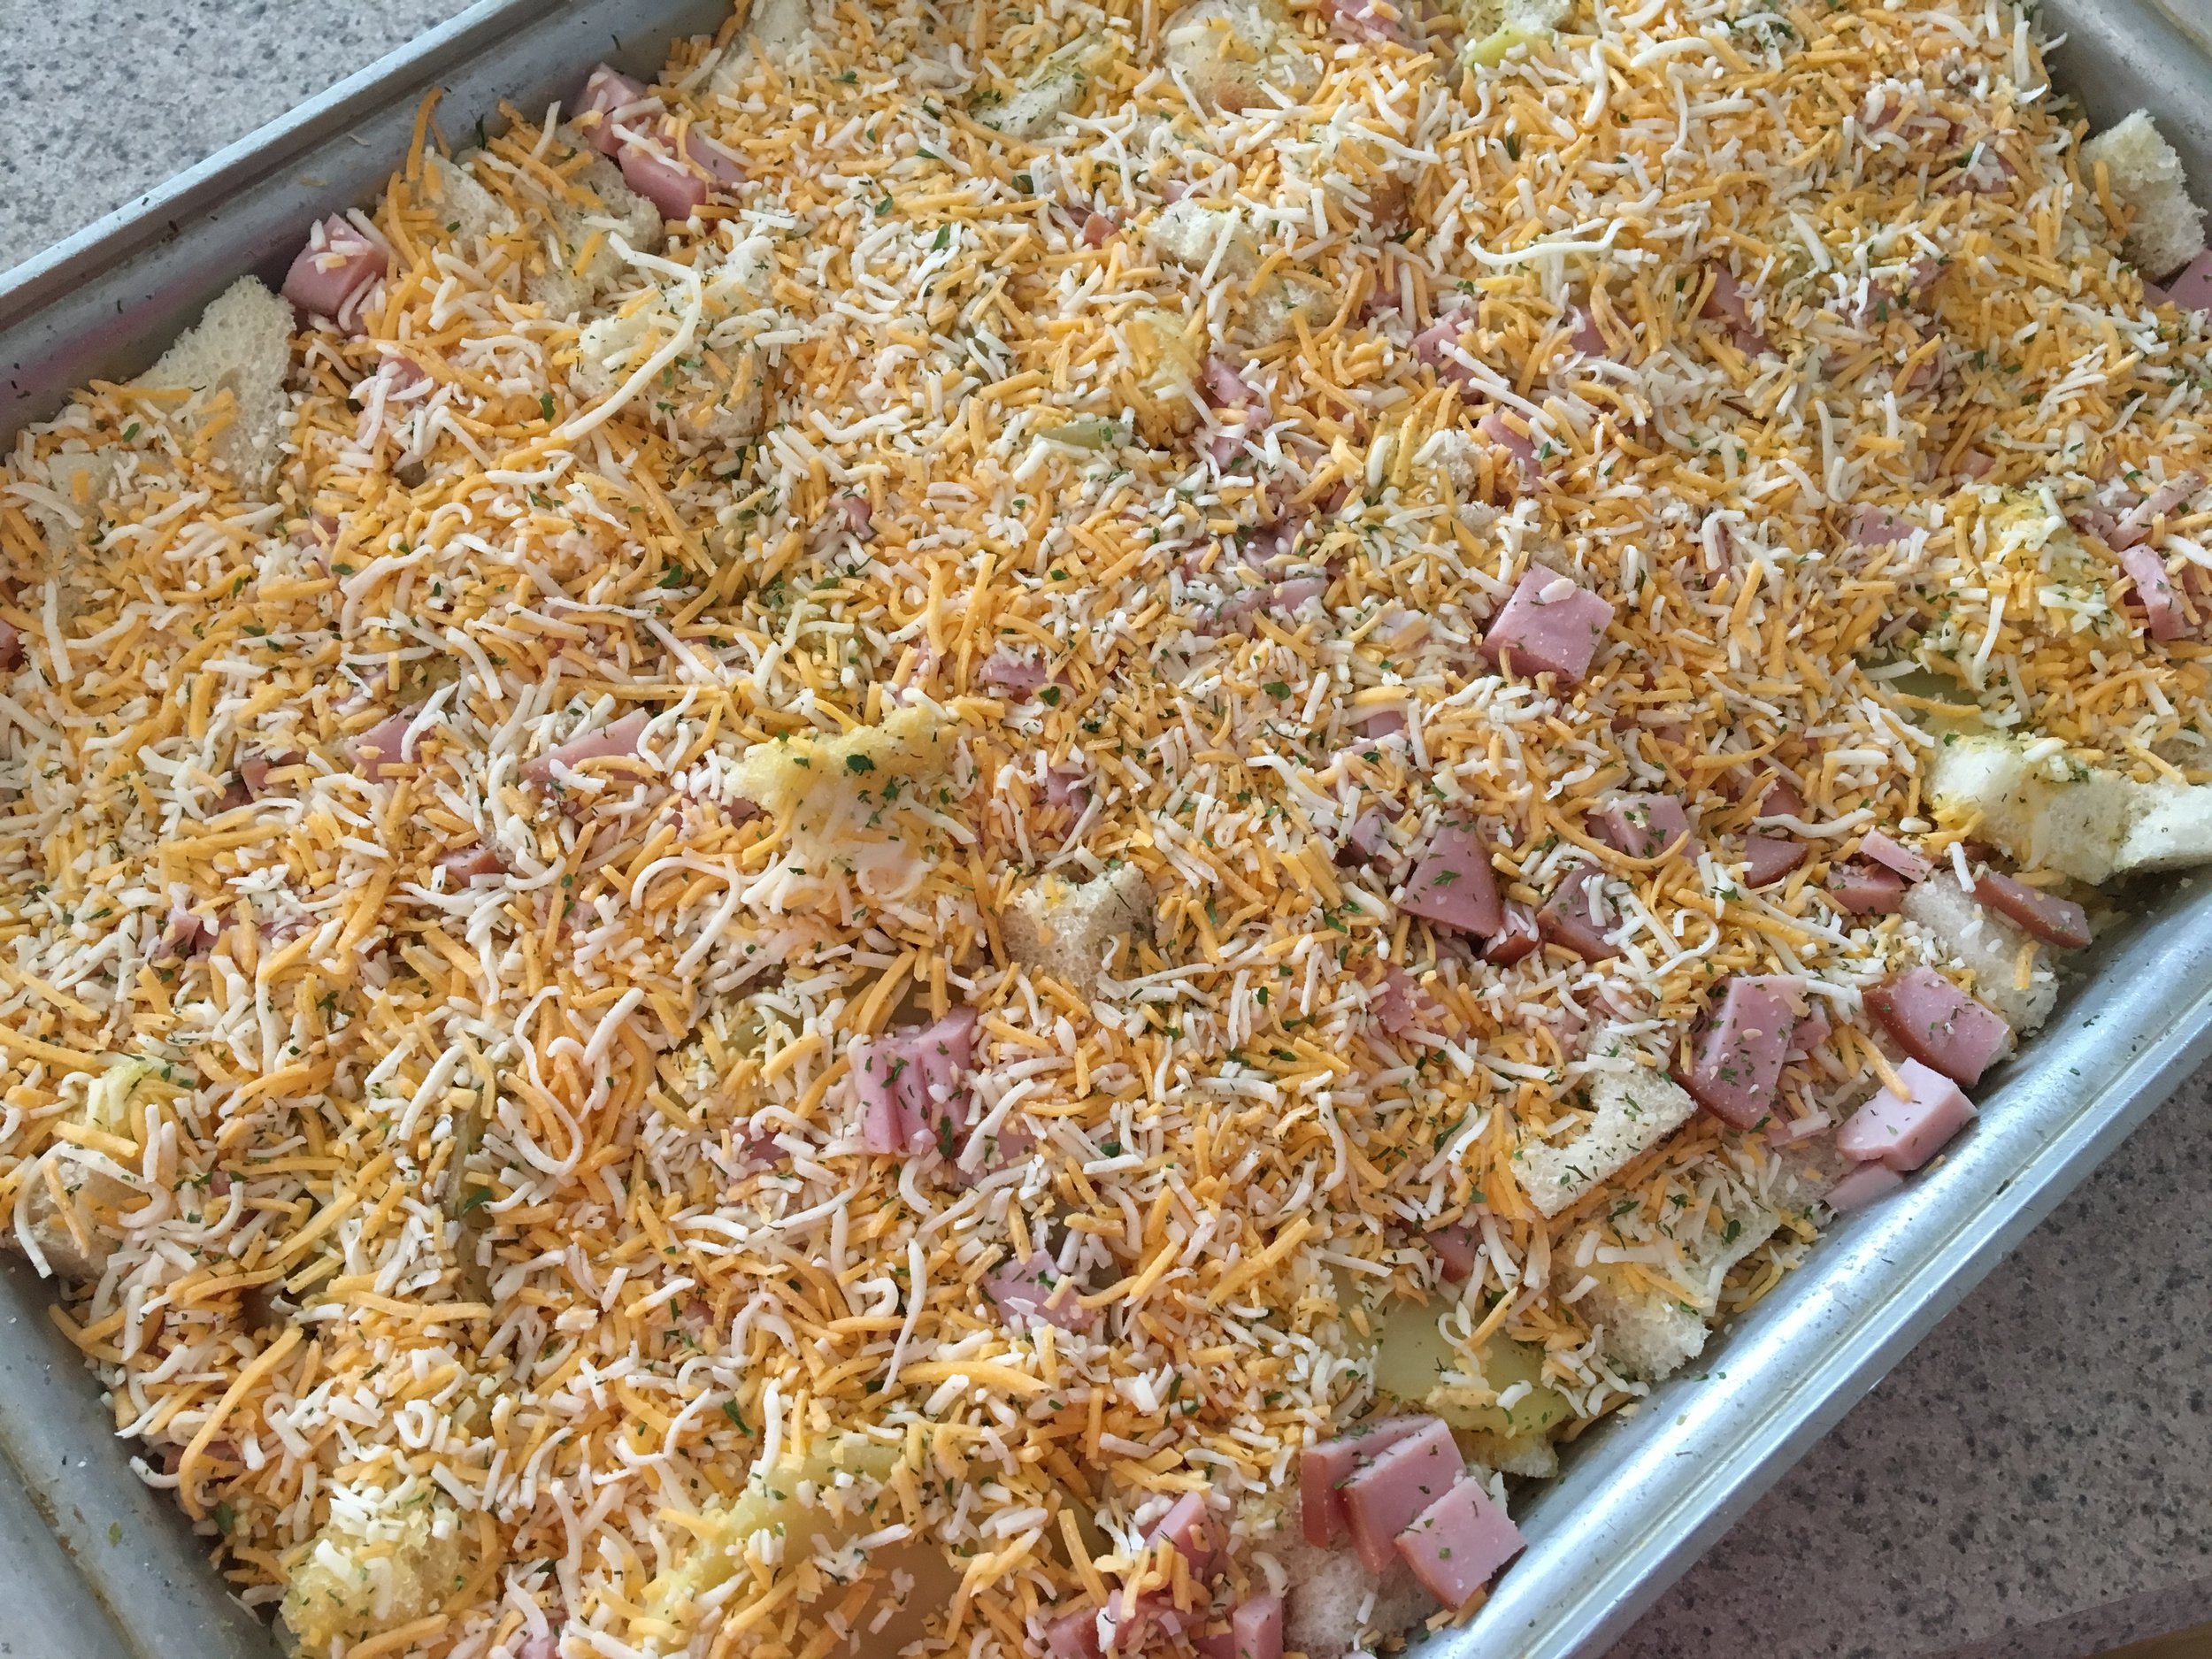
Arrange the bread cubes and potatoes in the bottom of prepared pan.  Then add diced bacon.  Pour beaten eggs over top (I took this photo before I beat the eggs).  Top with cheese and Lem'n Dill.  

Cover with foil and refrigerate overnight.  
When ready to bake, preheat the oven to 350 degrees.  Remove foil.  Bake the casserole until eggs are set, approximately 35 minutes. Cool 5 minutes.  Serve hot and enjoy!

Canadian Bacon Egg Casserole Recipe

Canadian Bacon Egg Casserole Recipe

Yum

Homemade Pop Tarts Recipe

breakfast, snacks, dessertsSheri SpalloneComment
Slide1.jpg

Happy Valentine's Day, friends! Last year, I posted a recipe for Homemade Toaster Strudels. This morning, before the kiddos went to school, I surprised my favorite valentines with sweet, tasty, fruity, homemade Valentine Pop-Tarts. Sweets for my sweeties:) Needless to say, Mom prevailed a hero (a great way to start the day).

I used the same idea as the Toaster Strudels, except this time, I substituted refrigerated pie dough to emulate the Pop-Tarts sold in grocery stores (our kiddos love, but I am not a fan). Yes, I certainly could have made the pie dough from scratch, but considering school mornings are crazy enough, I opted for grocery store refrigerated pie dough.

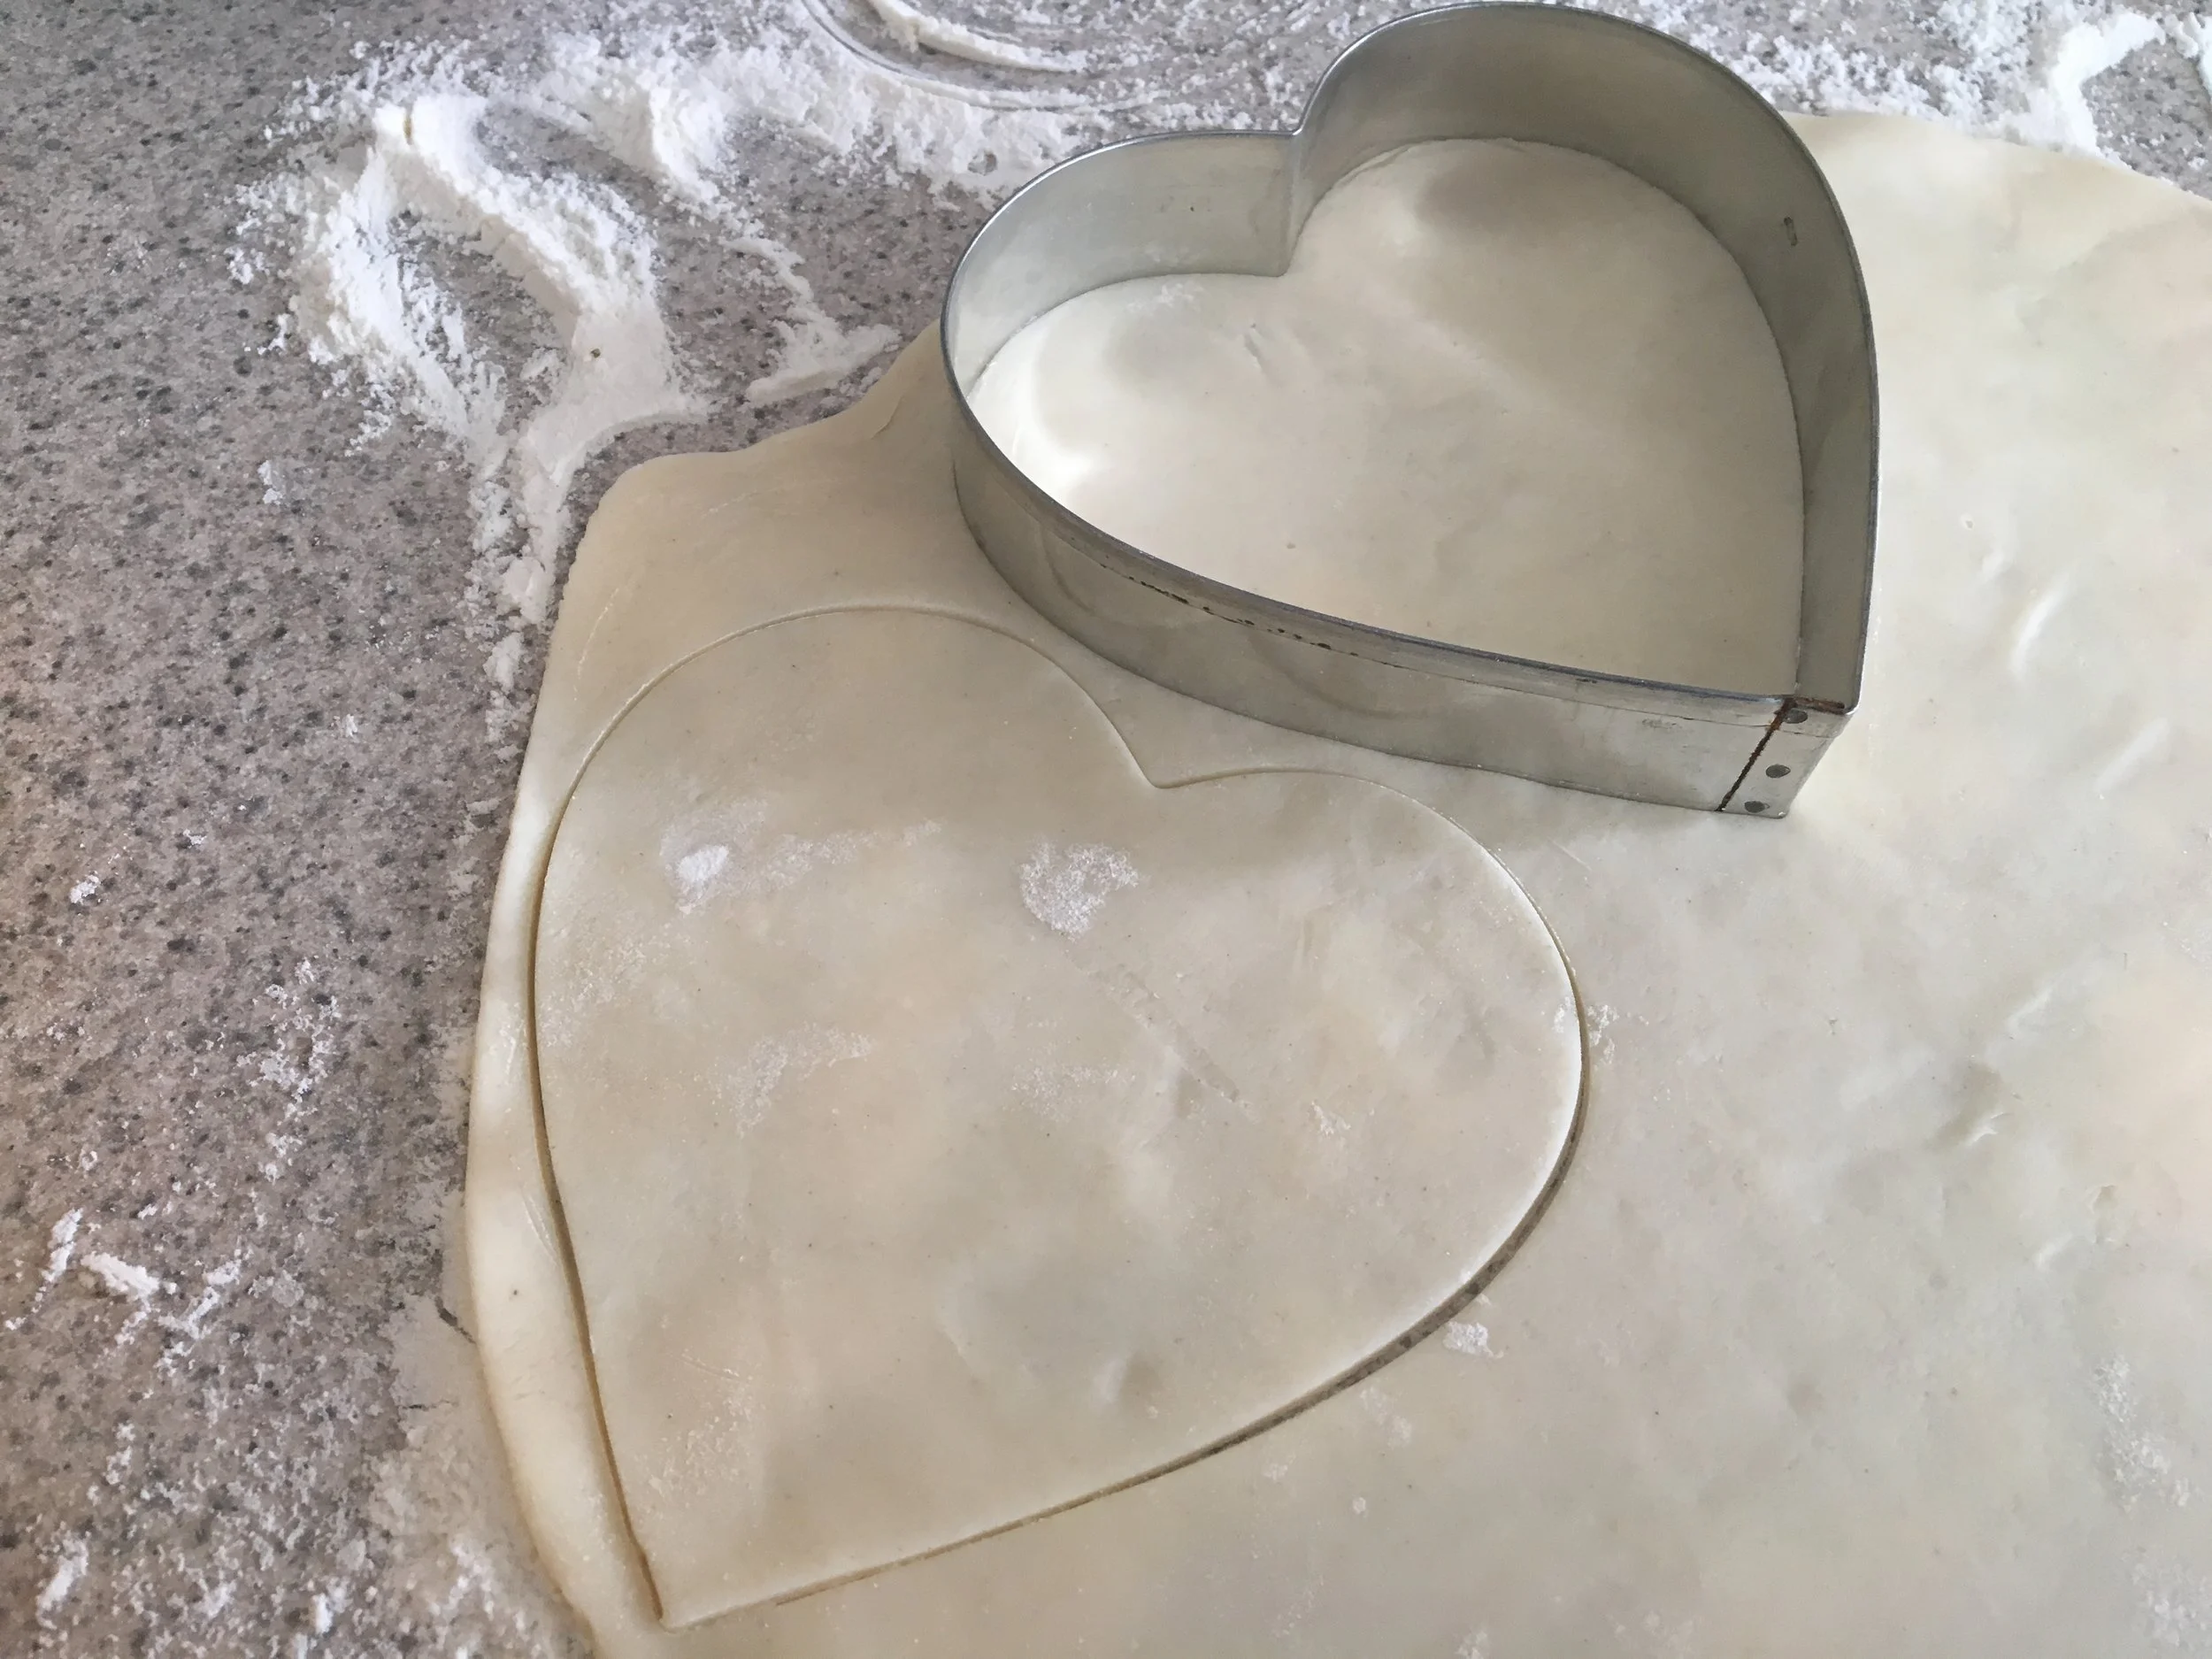
Since February is Cherry month (didn't know that did you?), I decided to go with our Cherry Butter for the filling (but any of our Butter Spreads or **Preserves (see below) could be used in this recipe).  And, because it is Valentine's Day, I went the extra step and used large heart-shaped cookie cutters to seal the deal.  These "Pop-Tarts" were delicious by themselves, and adding gooey icing and sprinkles made these semi-homemade "Pop-Tarts" irresistible! Hands down, these homemade Pop-Tarts are far better than the grocery store versions and are our children's new favorite. Try our homemade version today. You may never go back to store-bought Pop-Tarts again.

Happy Valentine's Day!

Thank you for visiting. Comment below if you have tried this recipe and if you have pictures to share.

Ingredients

  • 2 rolls of room temperature refrigerated pie dough

  • Cherchies® Cherry Butter (or could substitute Cherchies® Strawberry Butter, or Cherchies® Apple Butter, or any of our **delicious preserves, mixed with 1 Tablespoon of corn starch).

  • 1 egg, beaten

  • 1 cup powdered sugar

  • 1 Tablespoon (or more depending on consistency) heavy cream

  • 1 or two drops of food coloring (I actually used 1 Tablespoon of additional Cherry Butter in the icing in lieu of food coloring)

  • 1 large heart-shaped cookie cutter- Approx. 4 1/2 inches in diameter (optional)

  • Sprinkles (optional)

Preparation

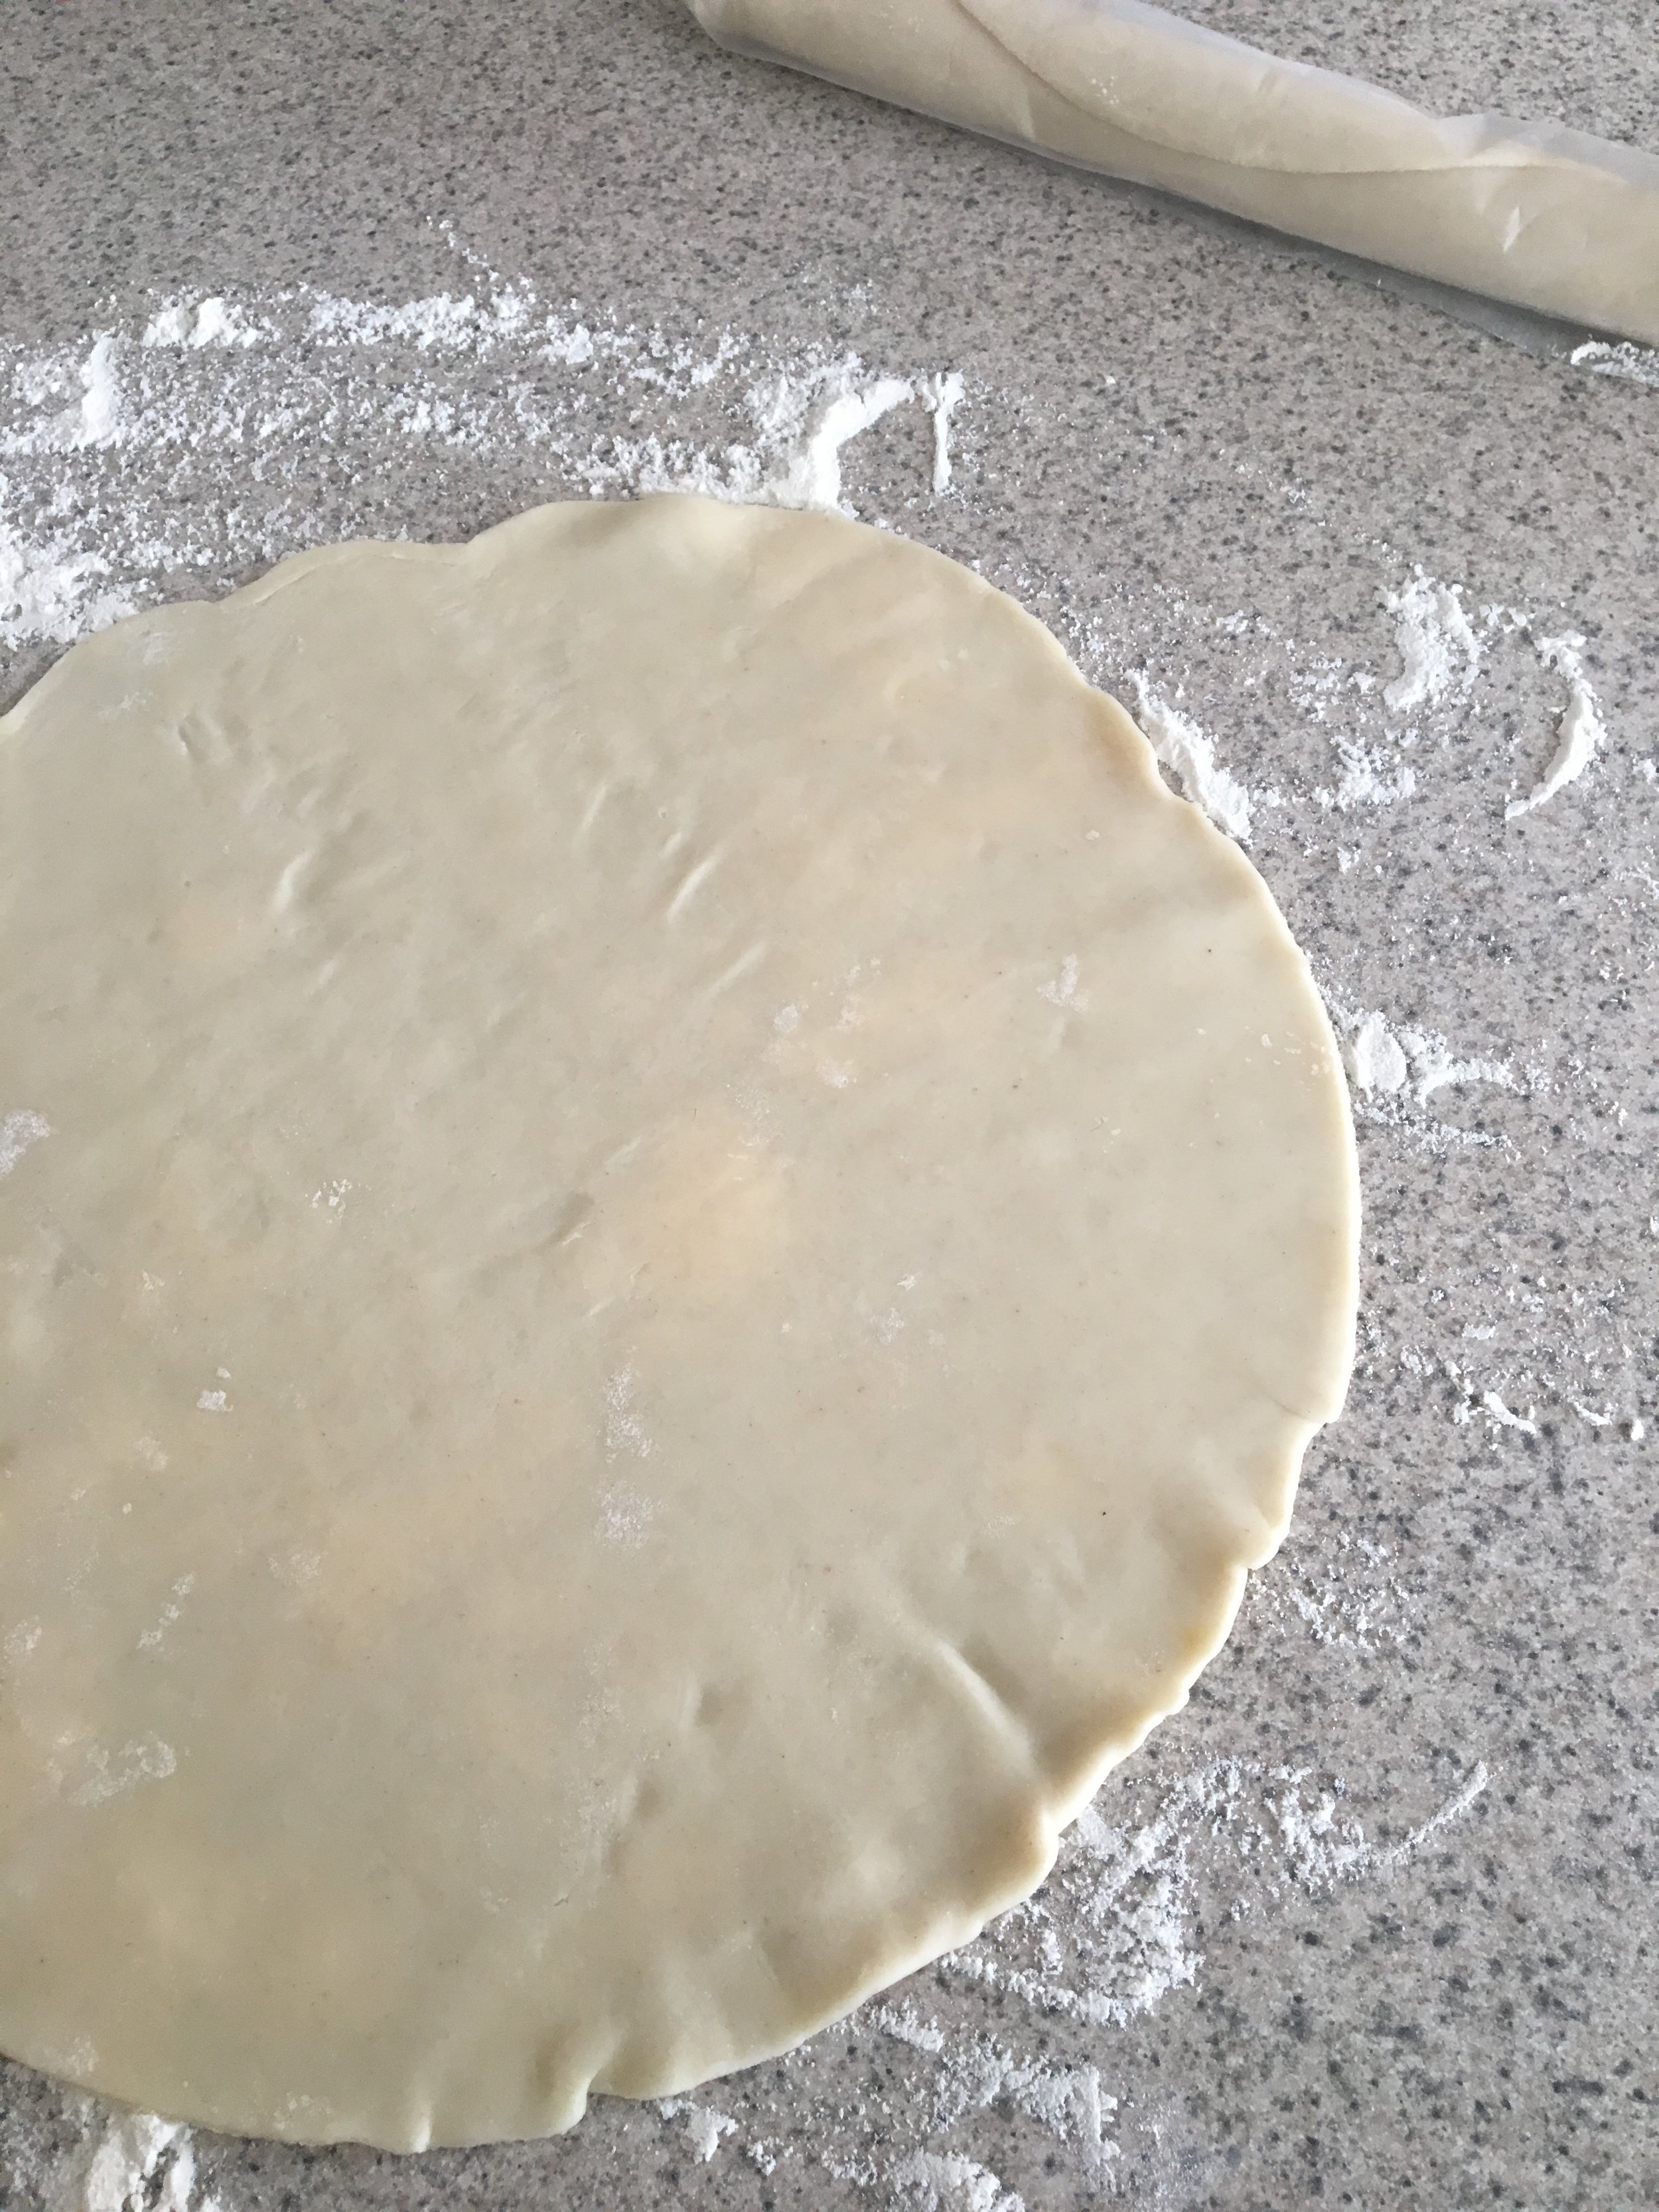
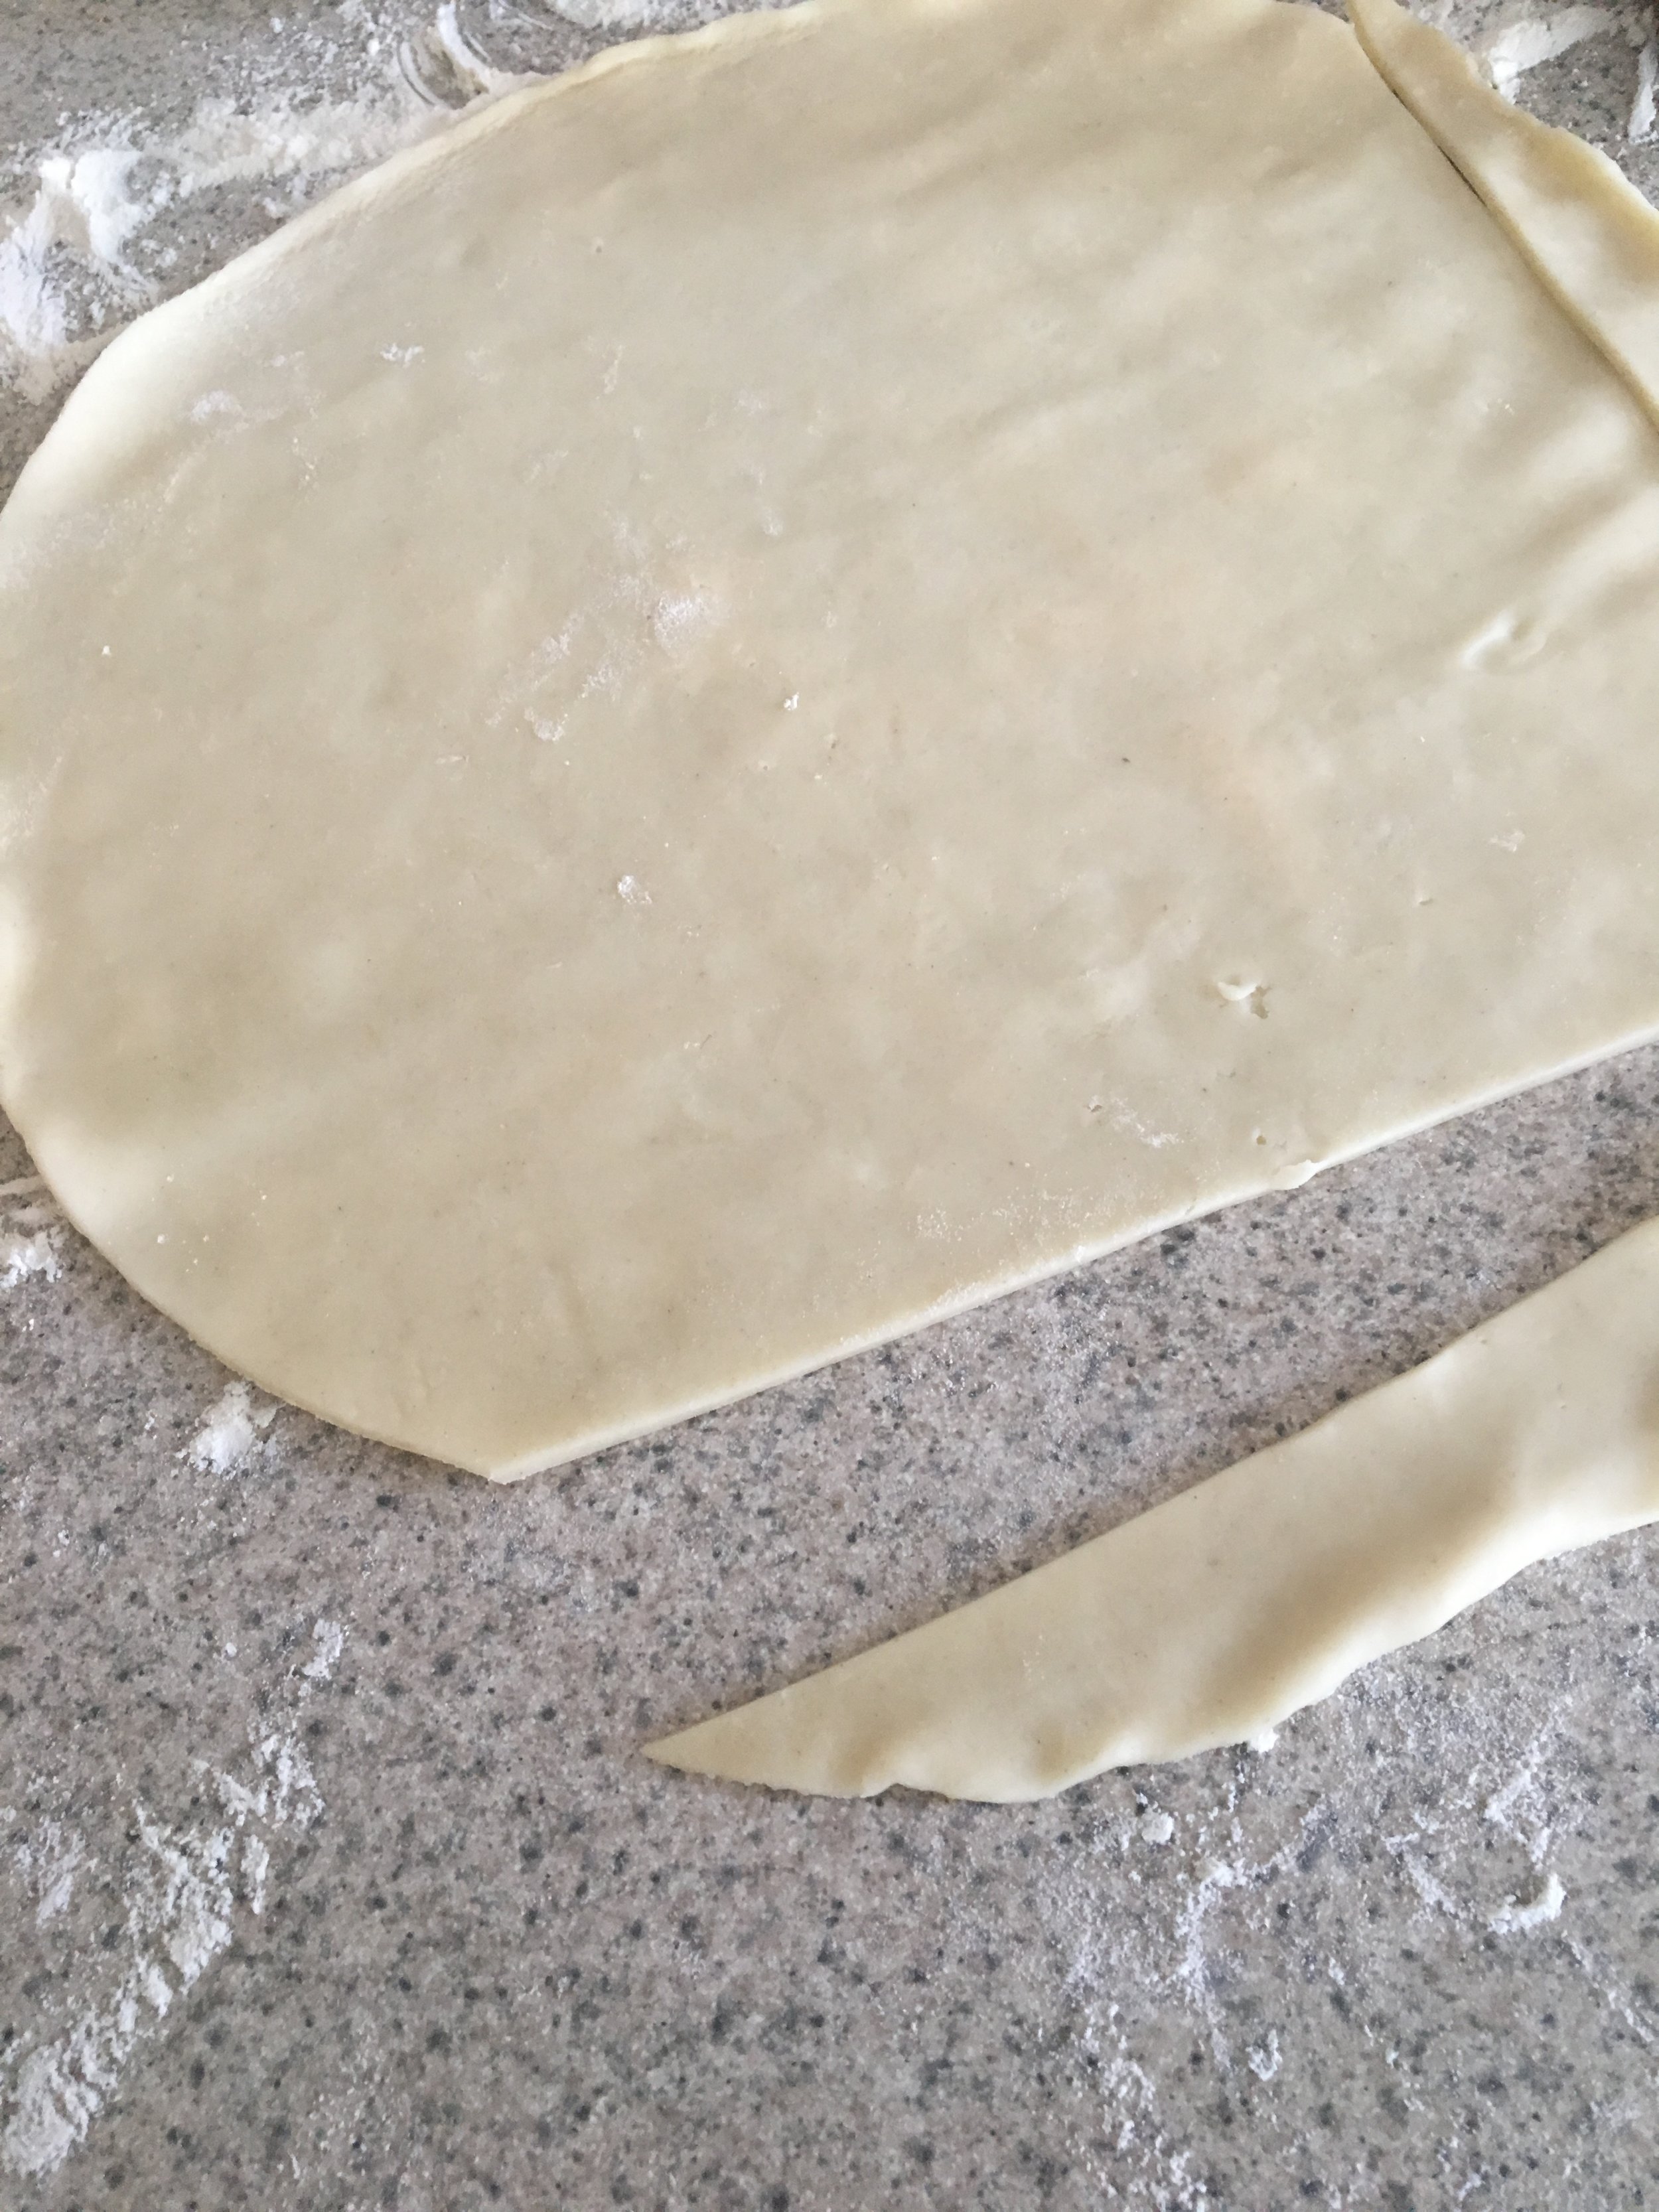
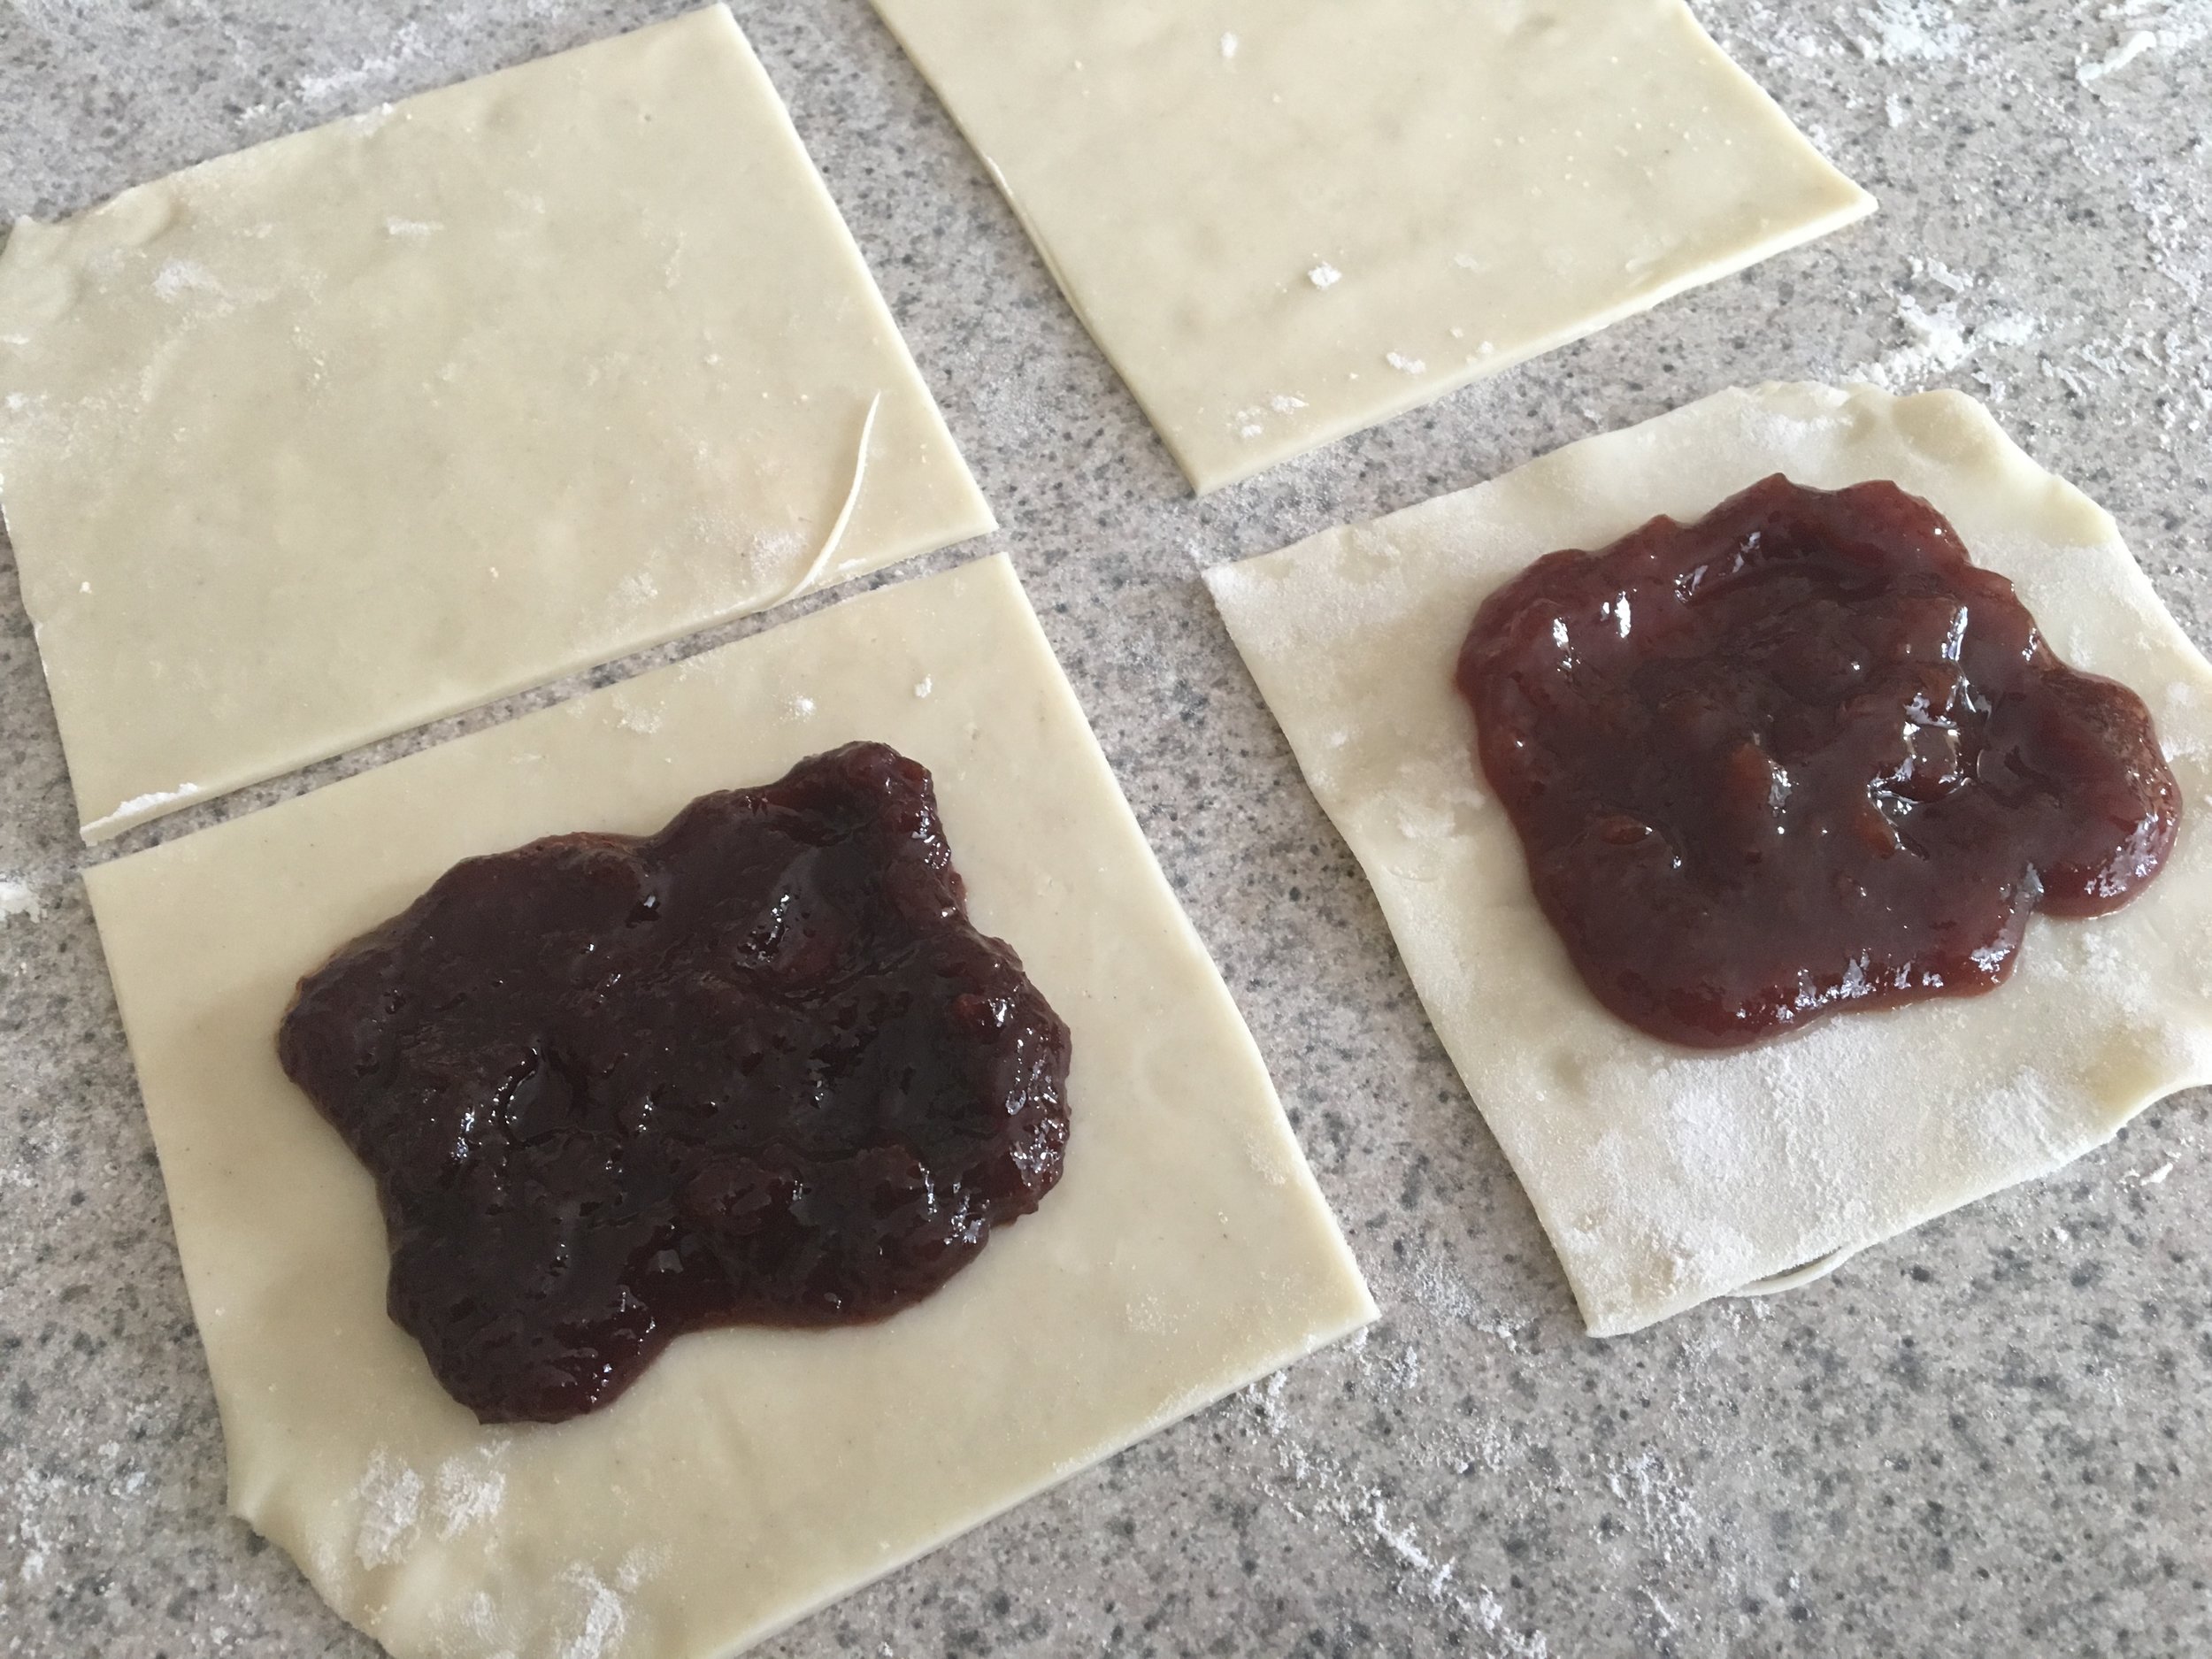
Preheat the oven to 350 degrees.  Lightly flour your prep surface.  Roll out the dough over the counter or prep surface. Use cookie cutters to cut out desired shapes.  If making simple Pop Tarts (not using cookie cutters, cut off rounded ends of pie dough, and cut pie dough into rectangles).

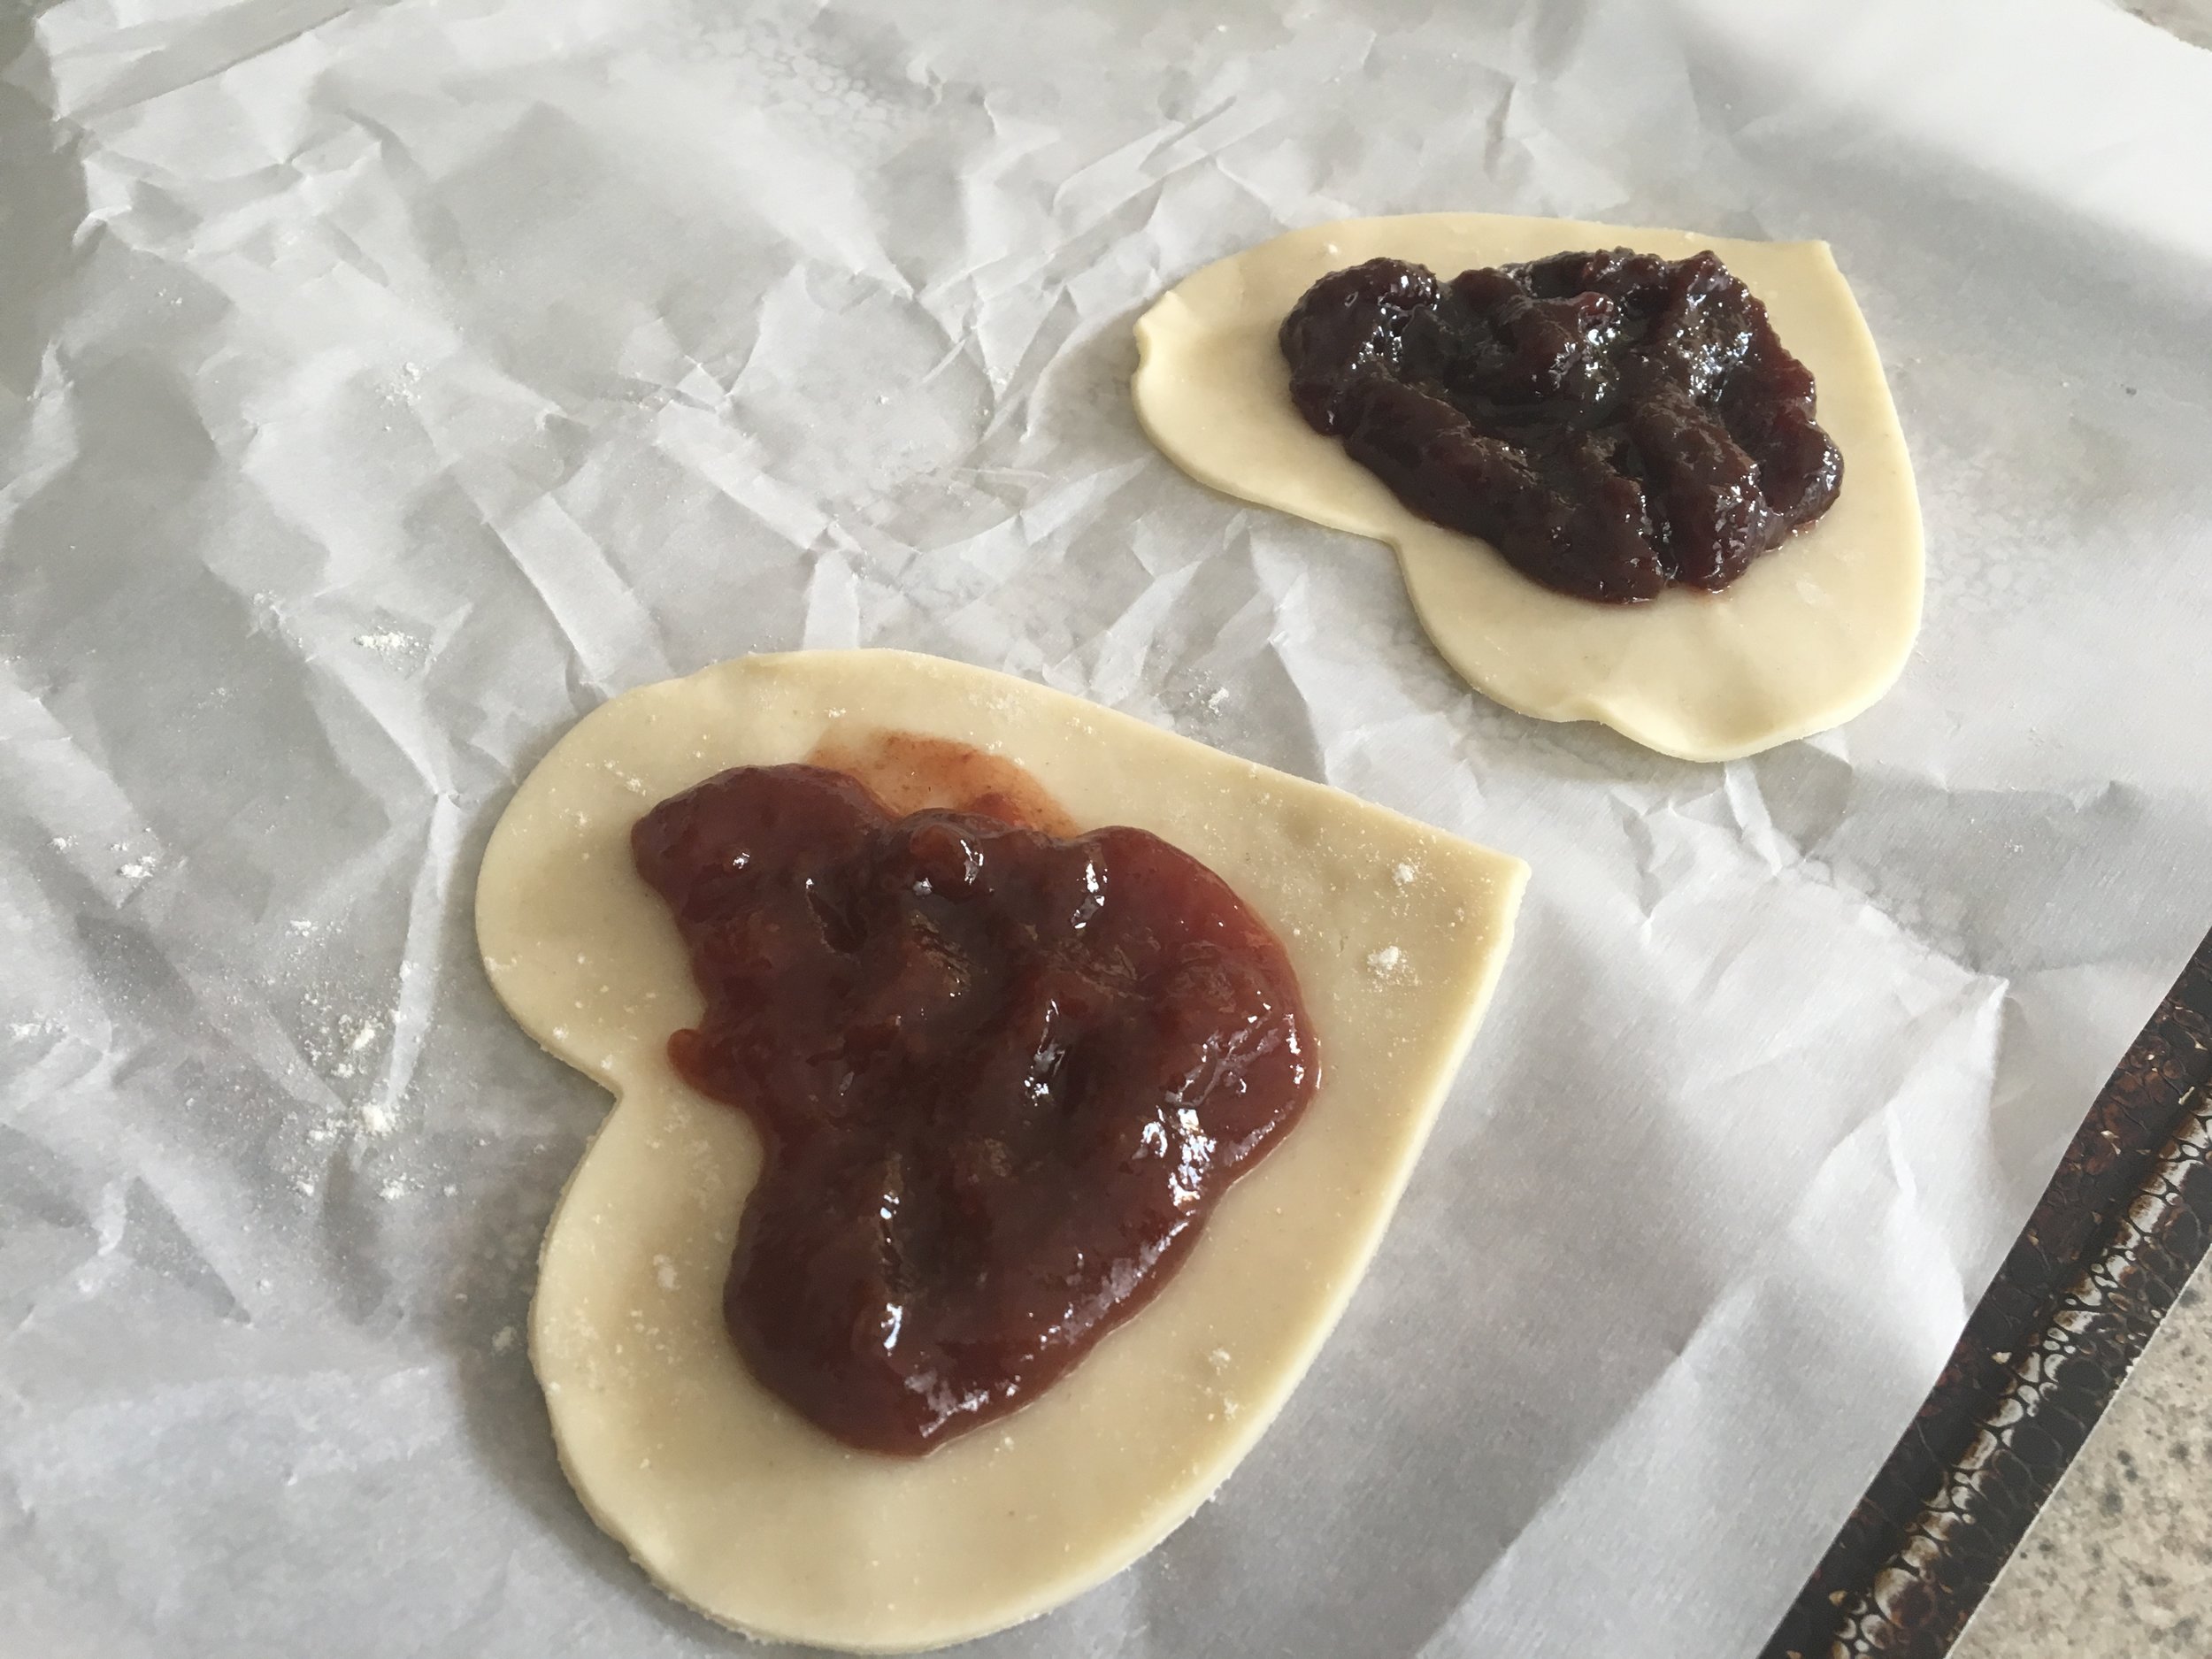
Line a baking sheet with parchment paper.  Add about 1-2 Tablespoons (depending on size of cookie cutter) with Cherchies® Cherry Butter Spread to the center of the dough, making sure to leave at least 1/2 inch around the perimeter of the dough for sealing.

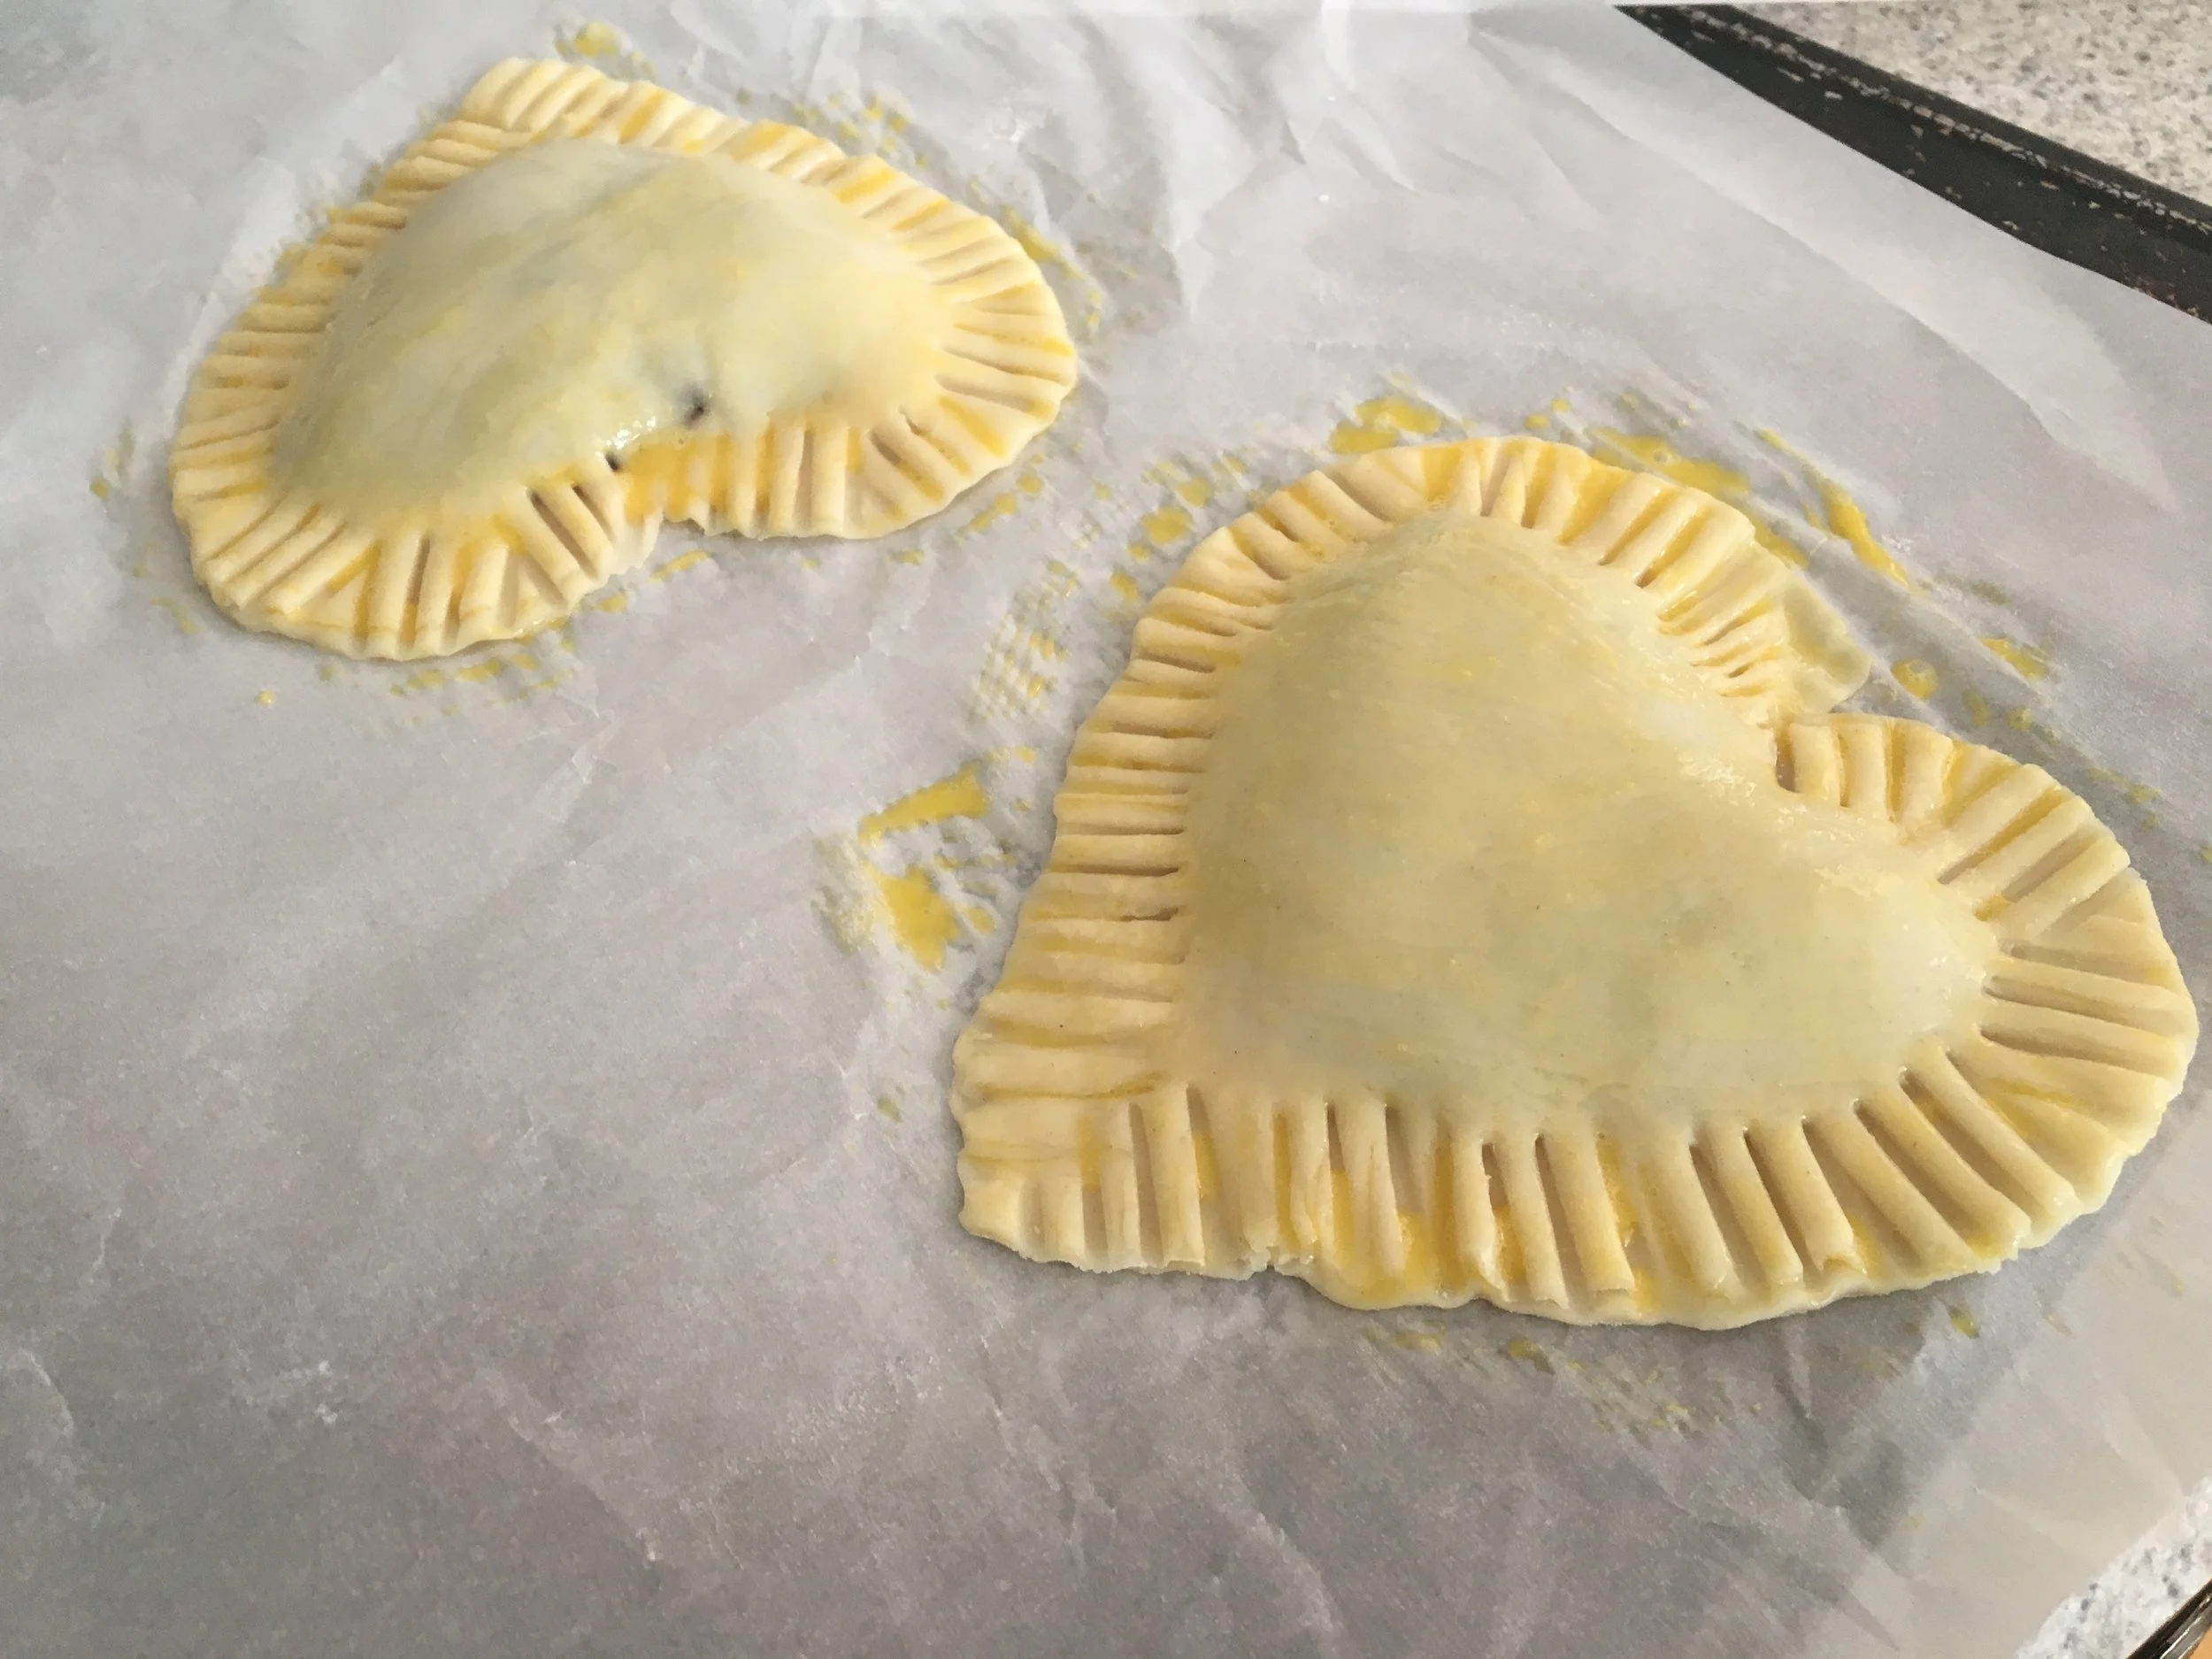
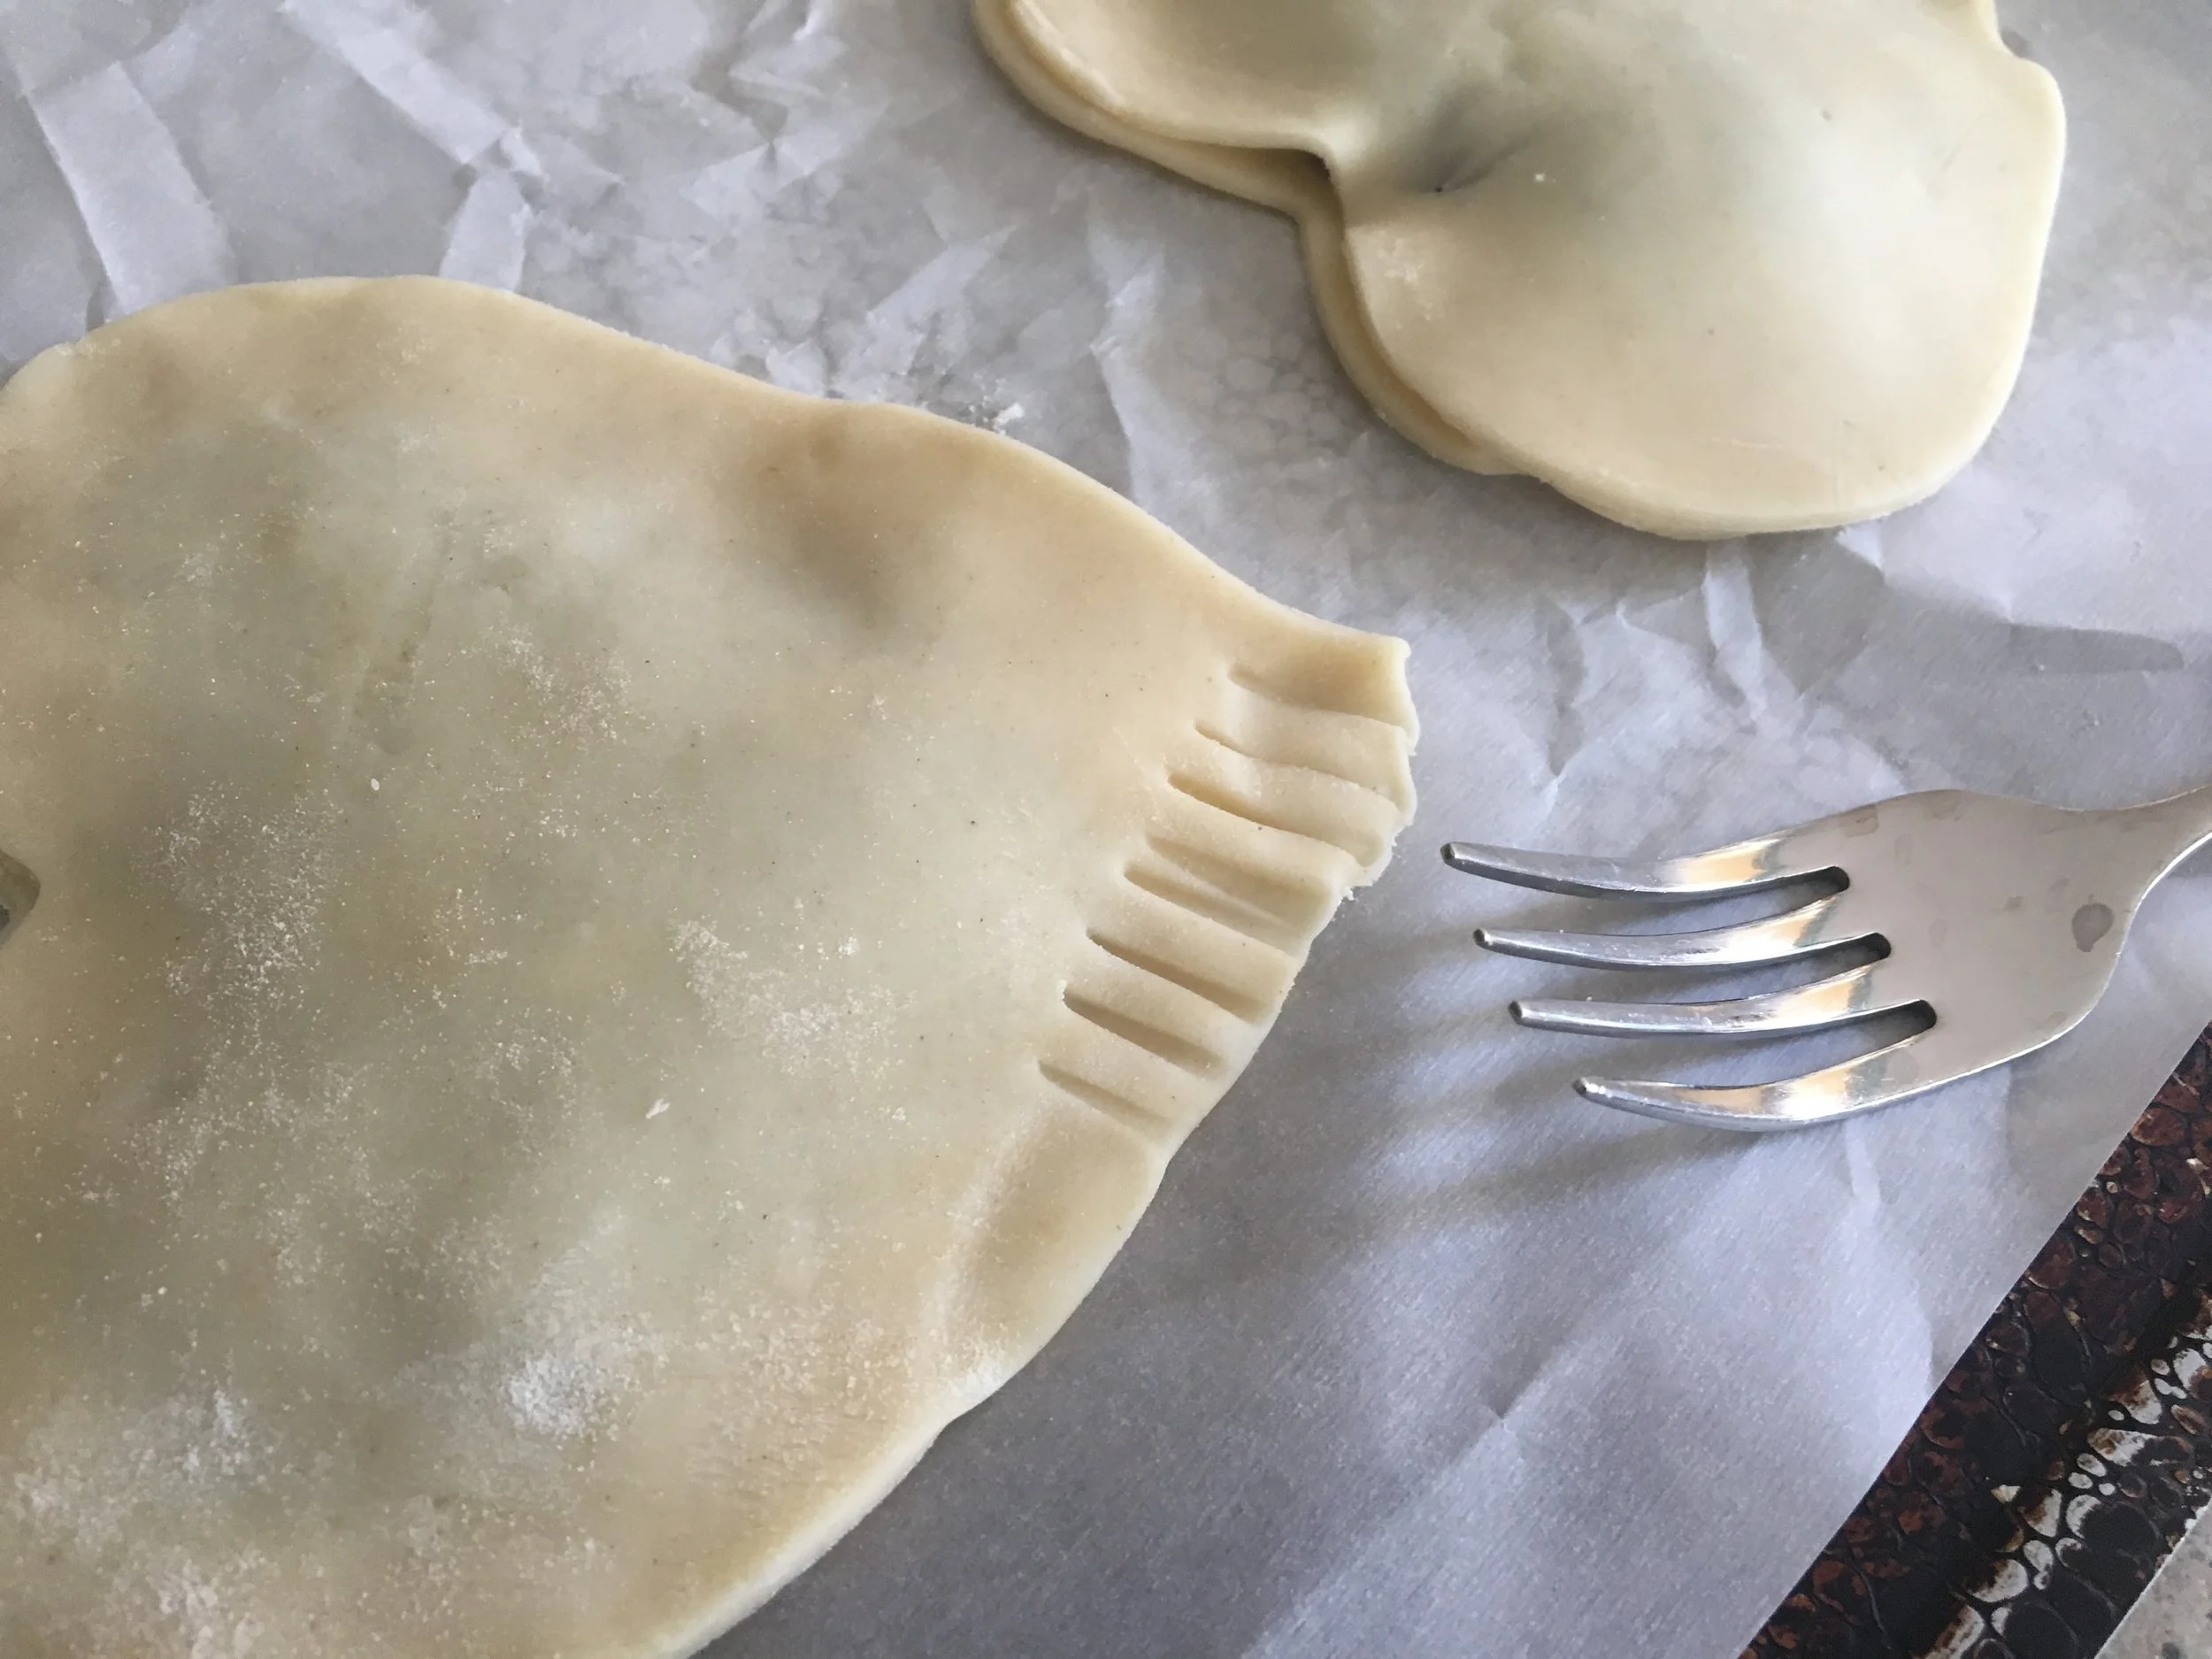
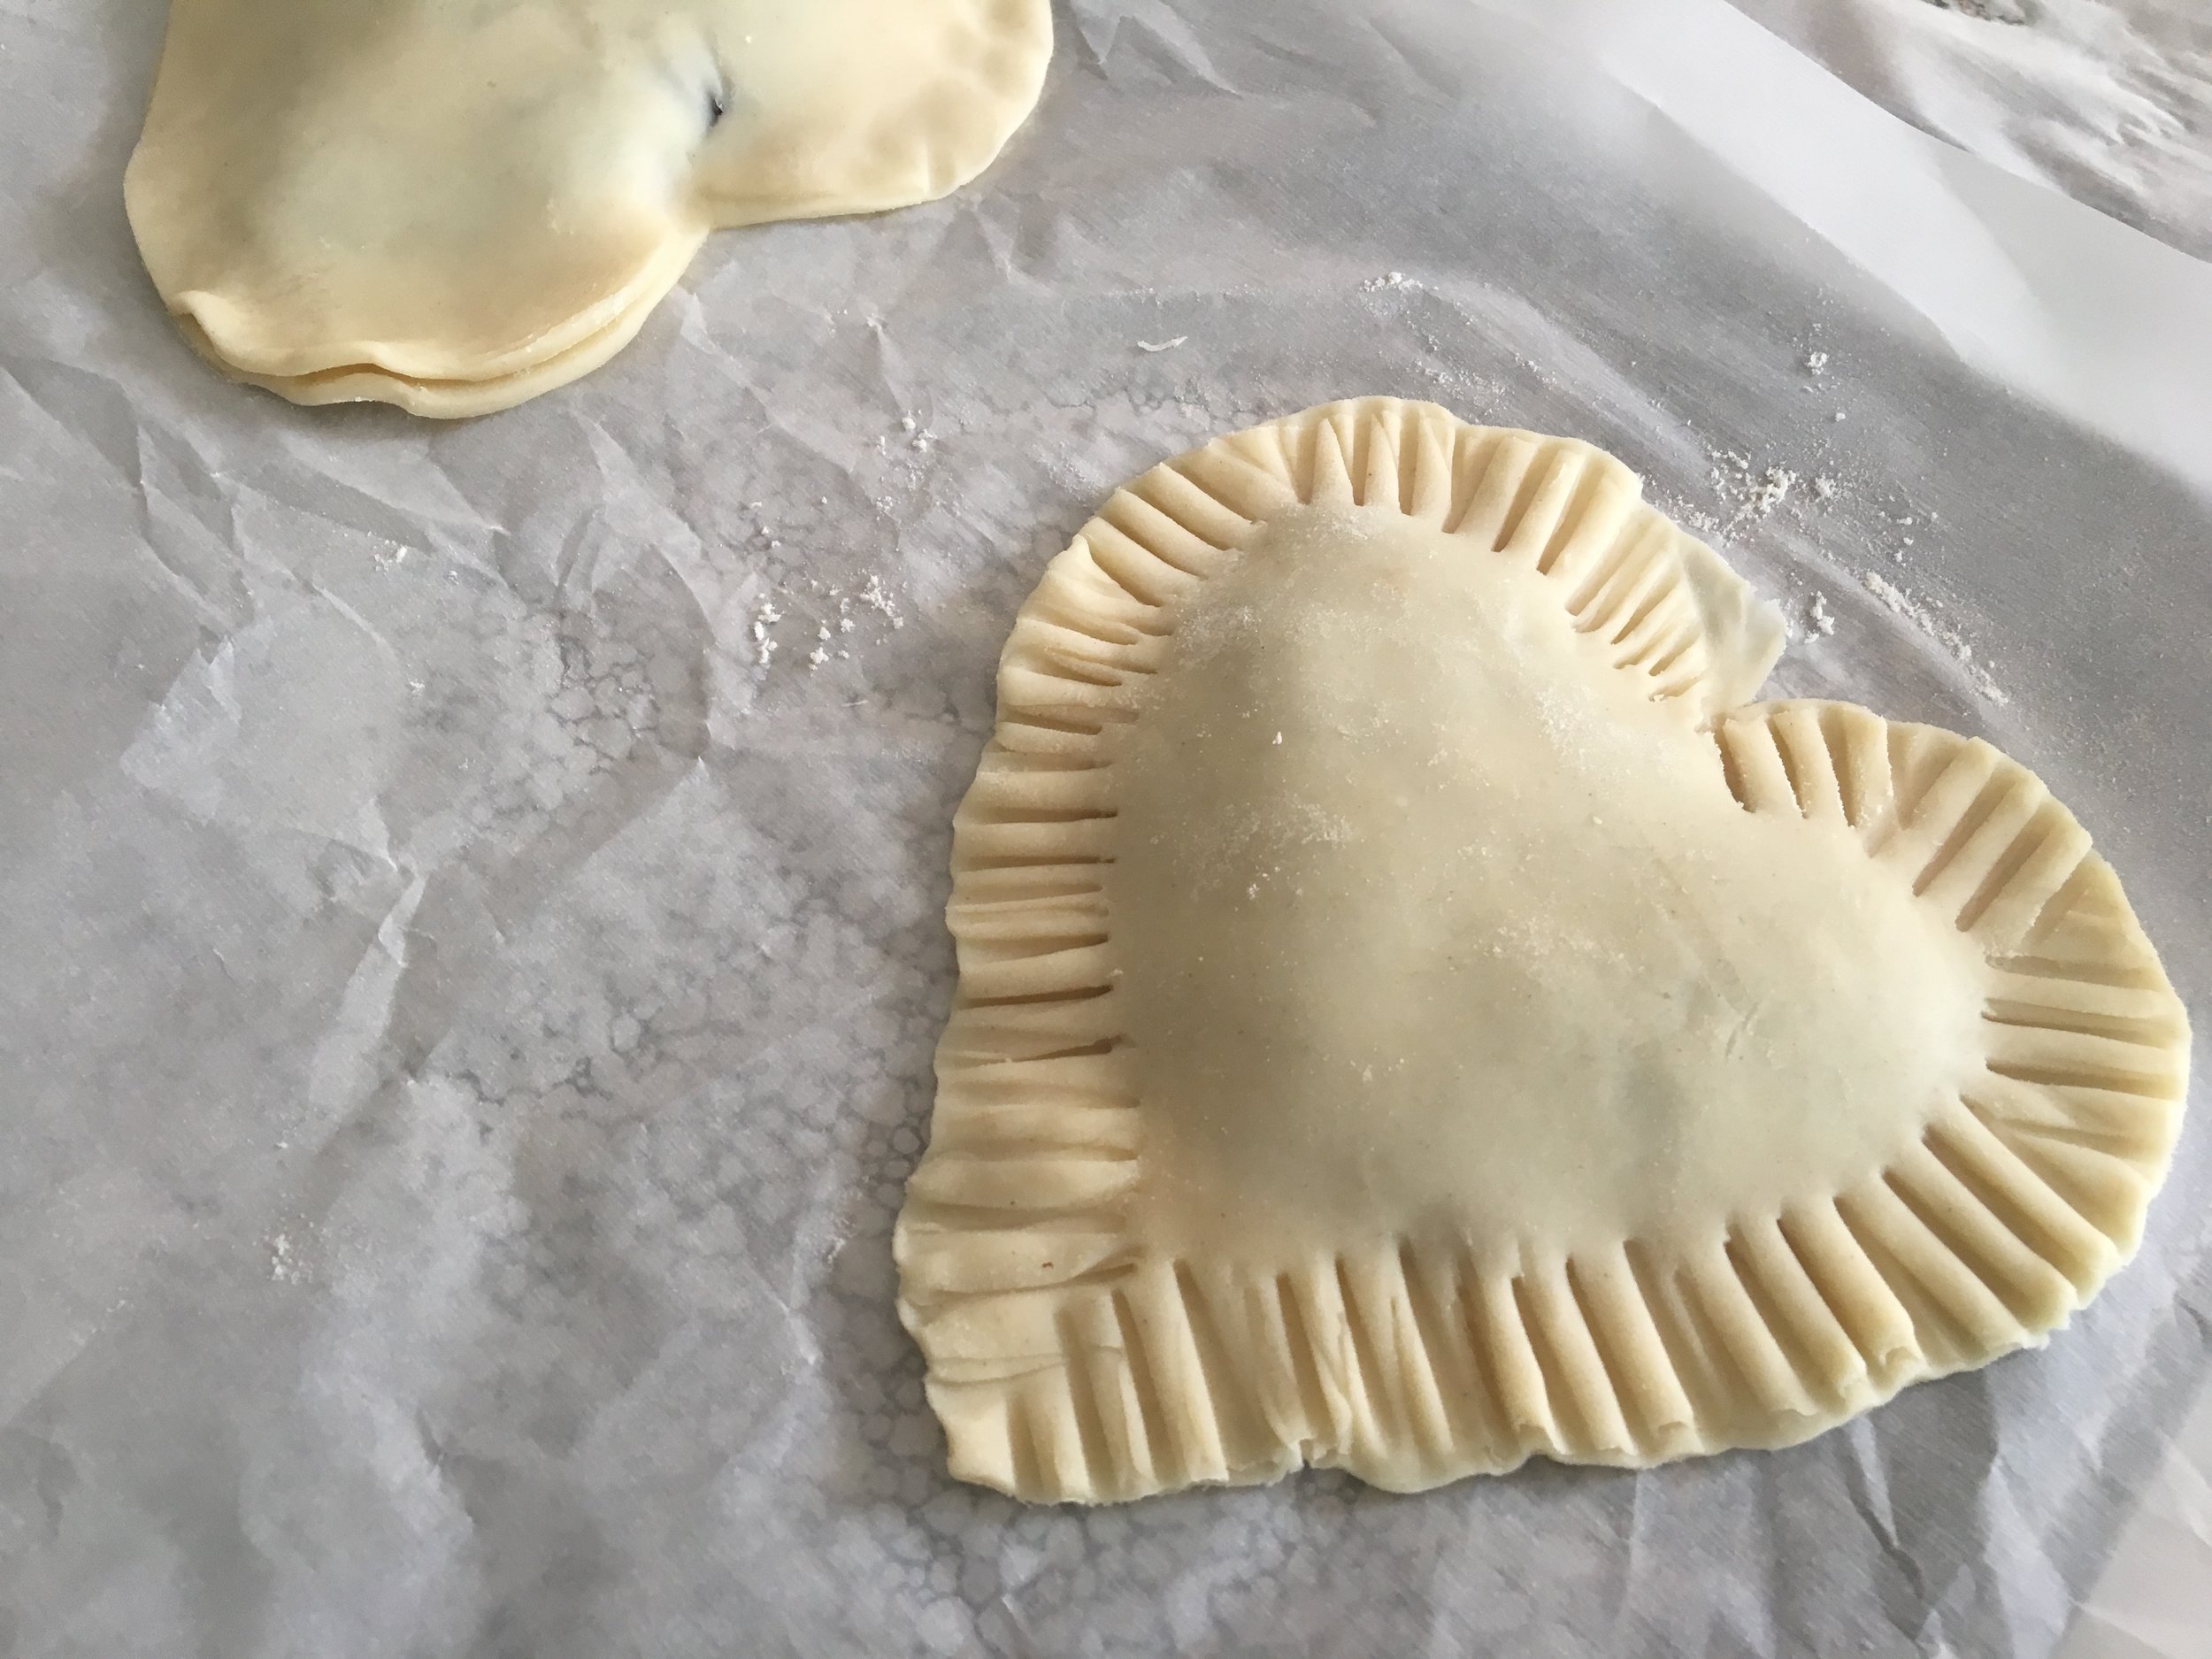
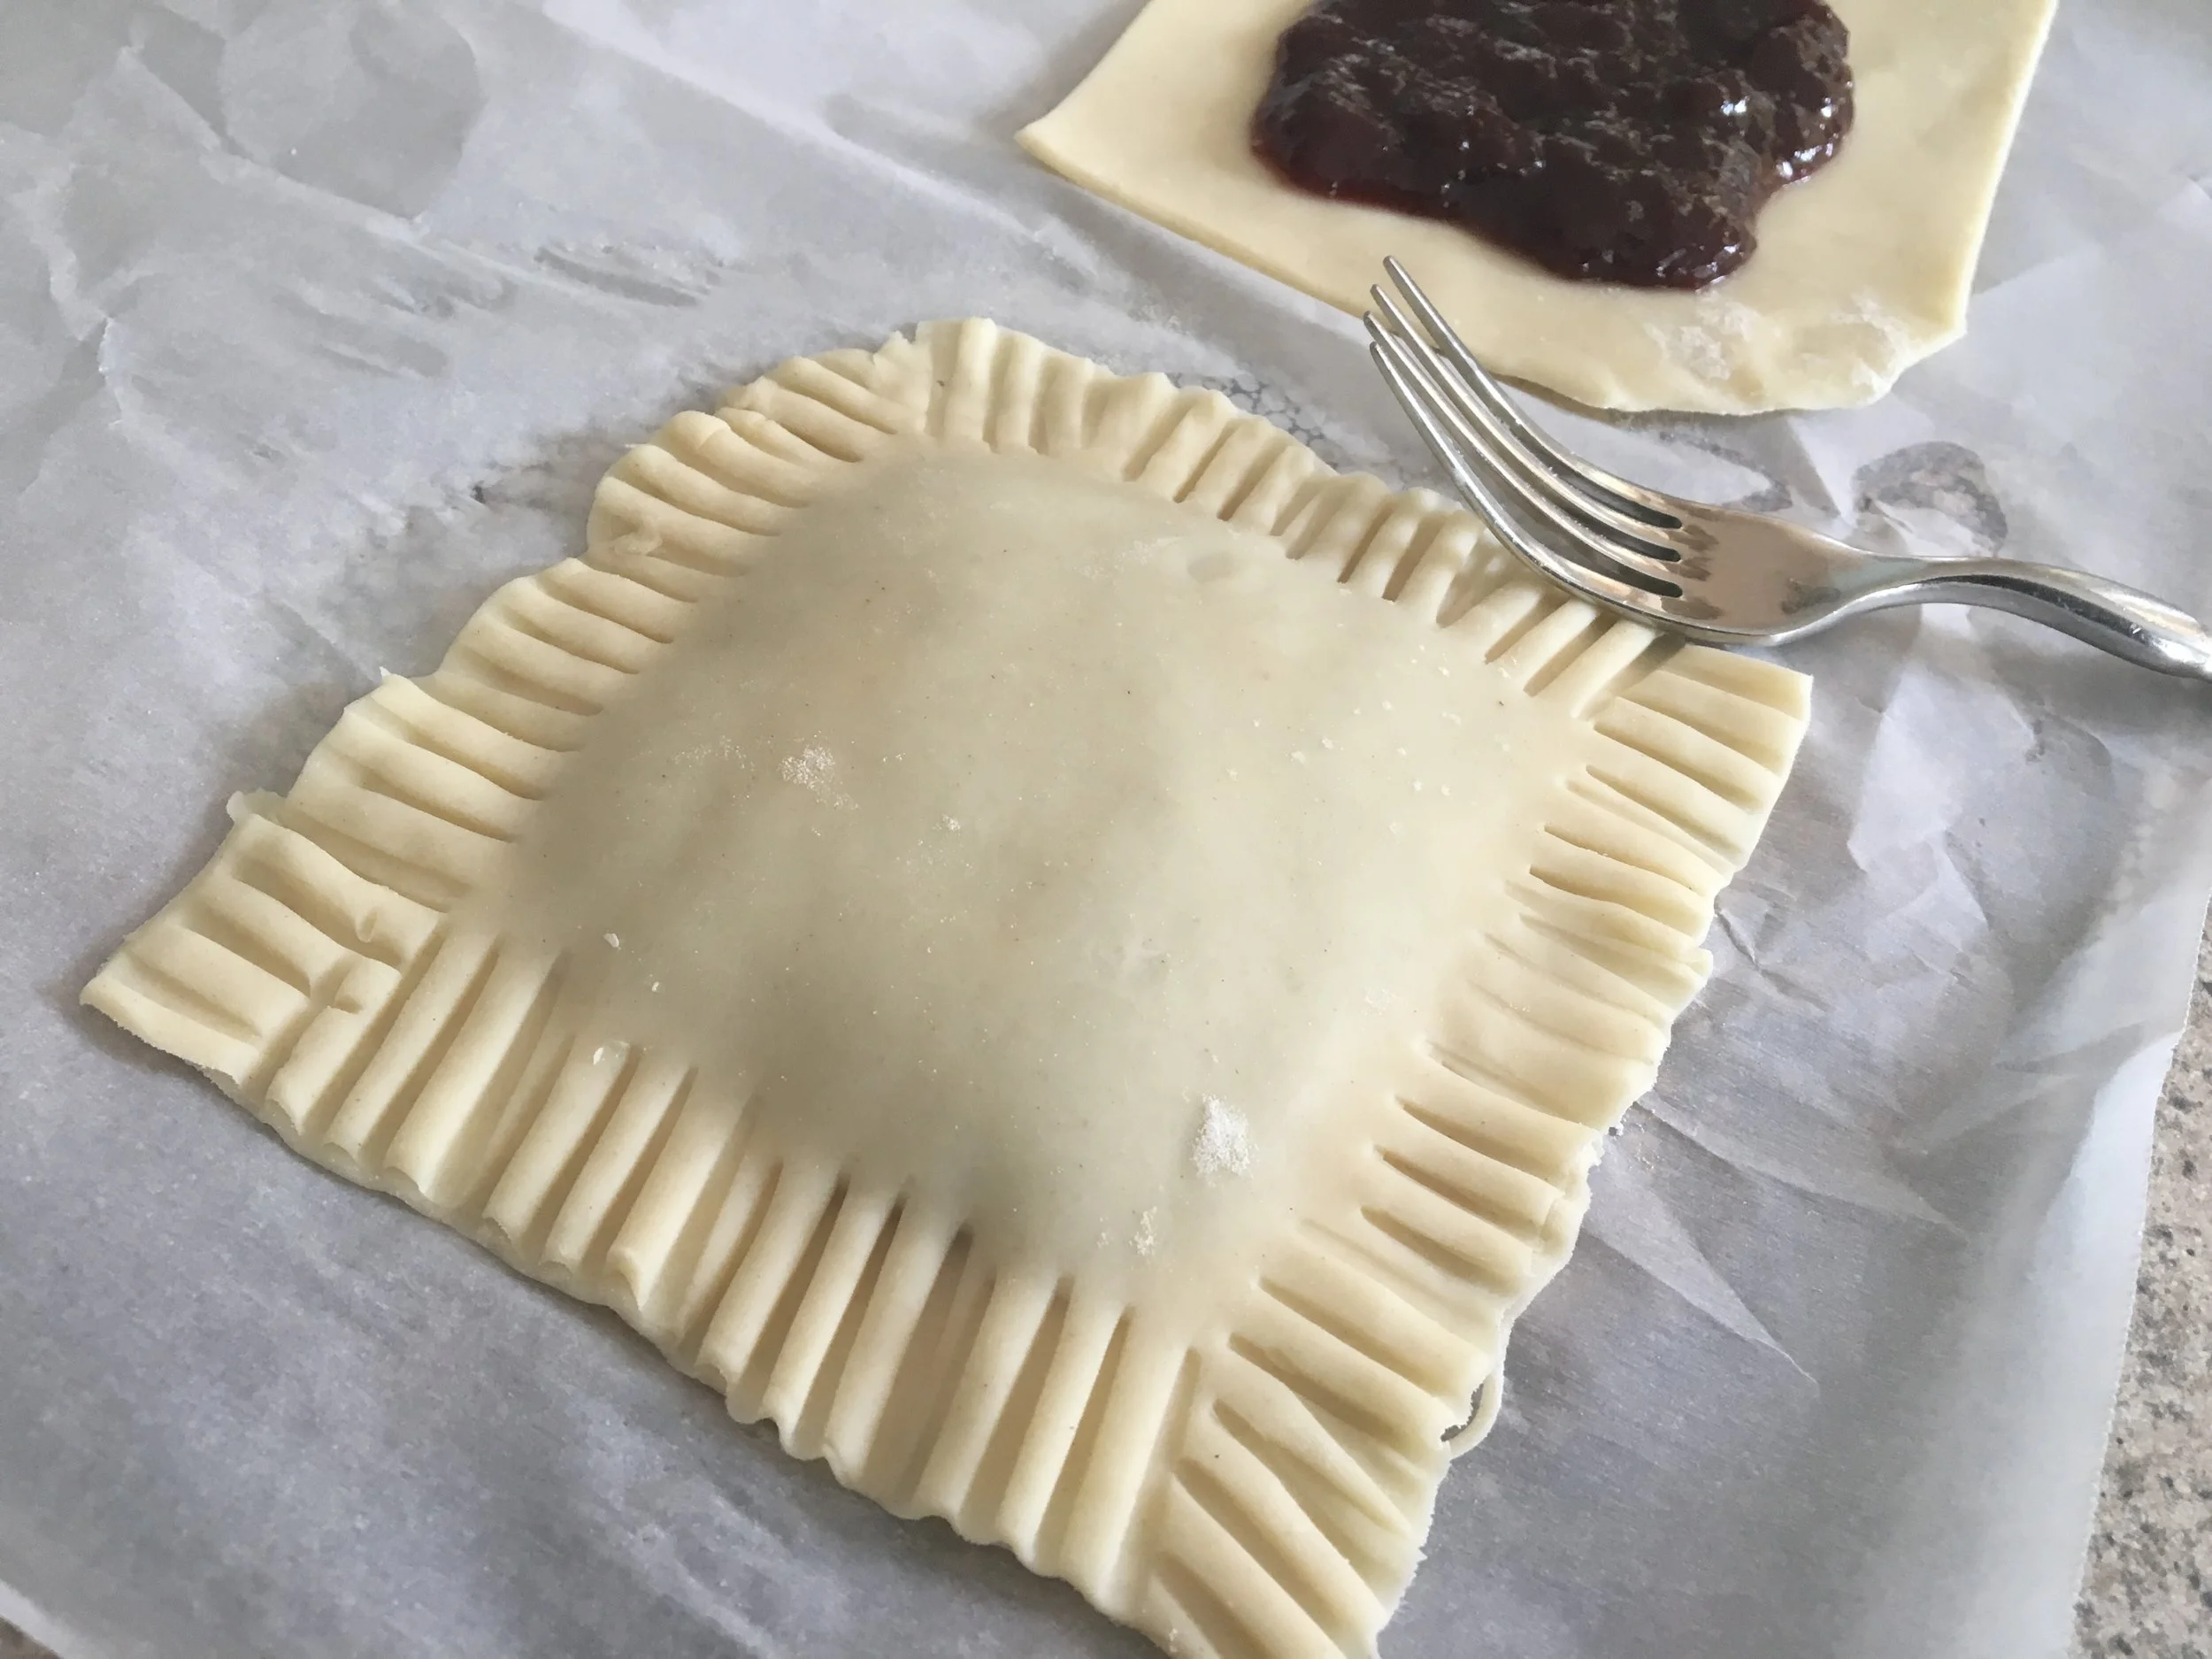
Place another piece of dough gently over the filling and crimp the edges with a fork to seal the tart.  Seal well to keep the tasty fruit inside from seeping out. 

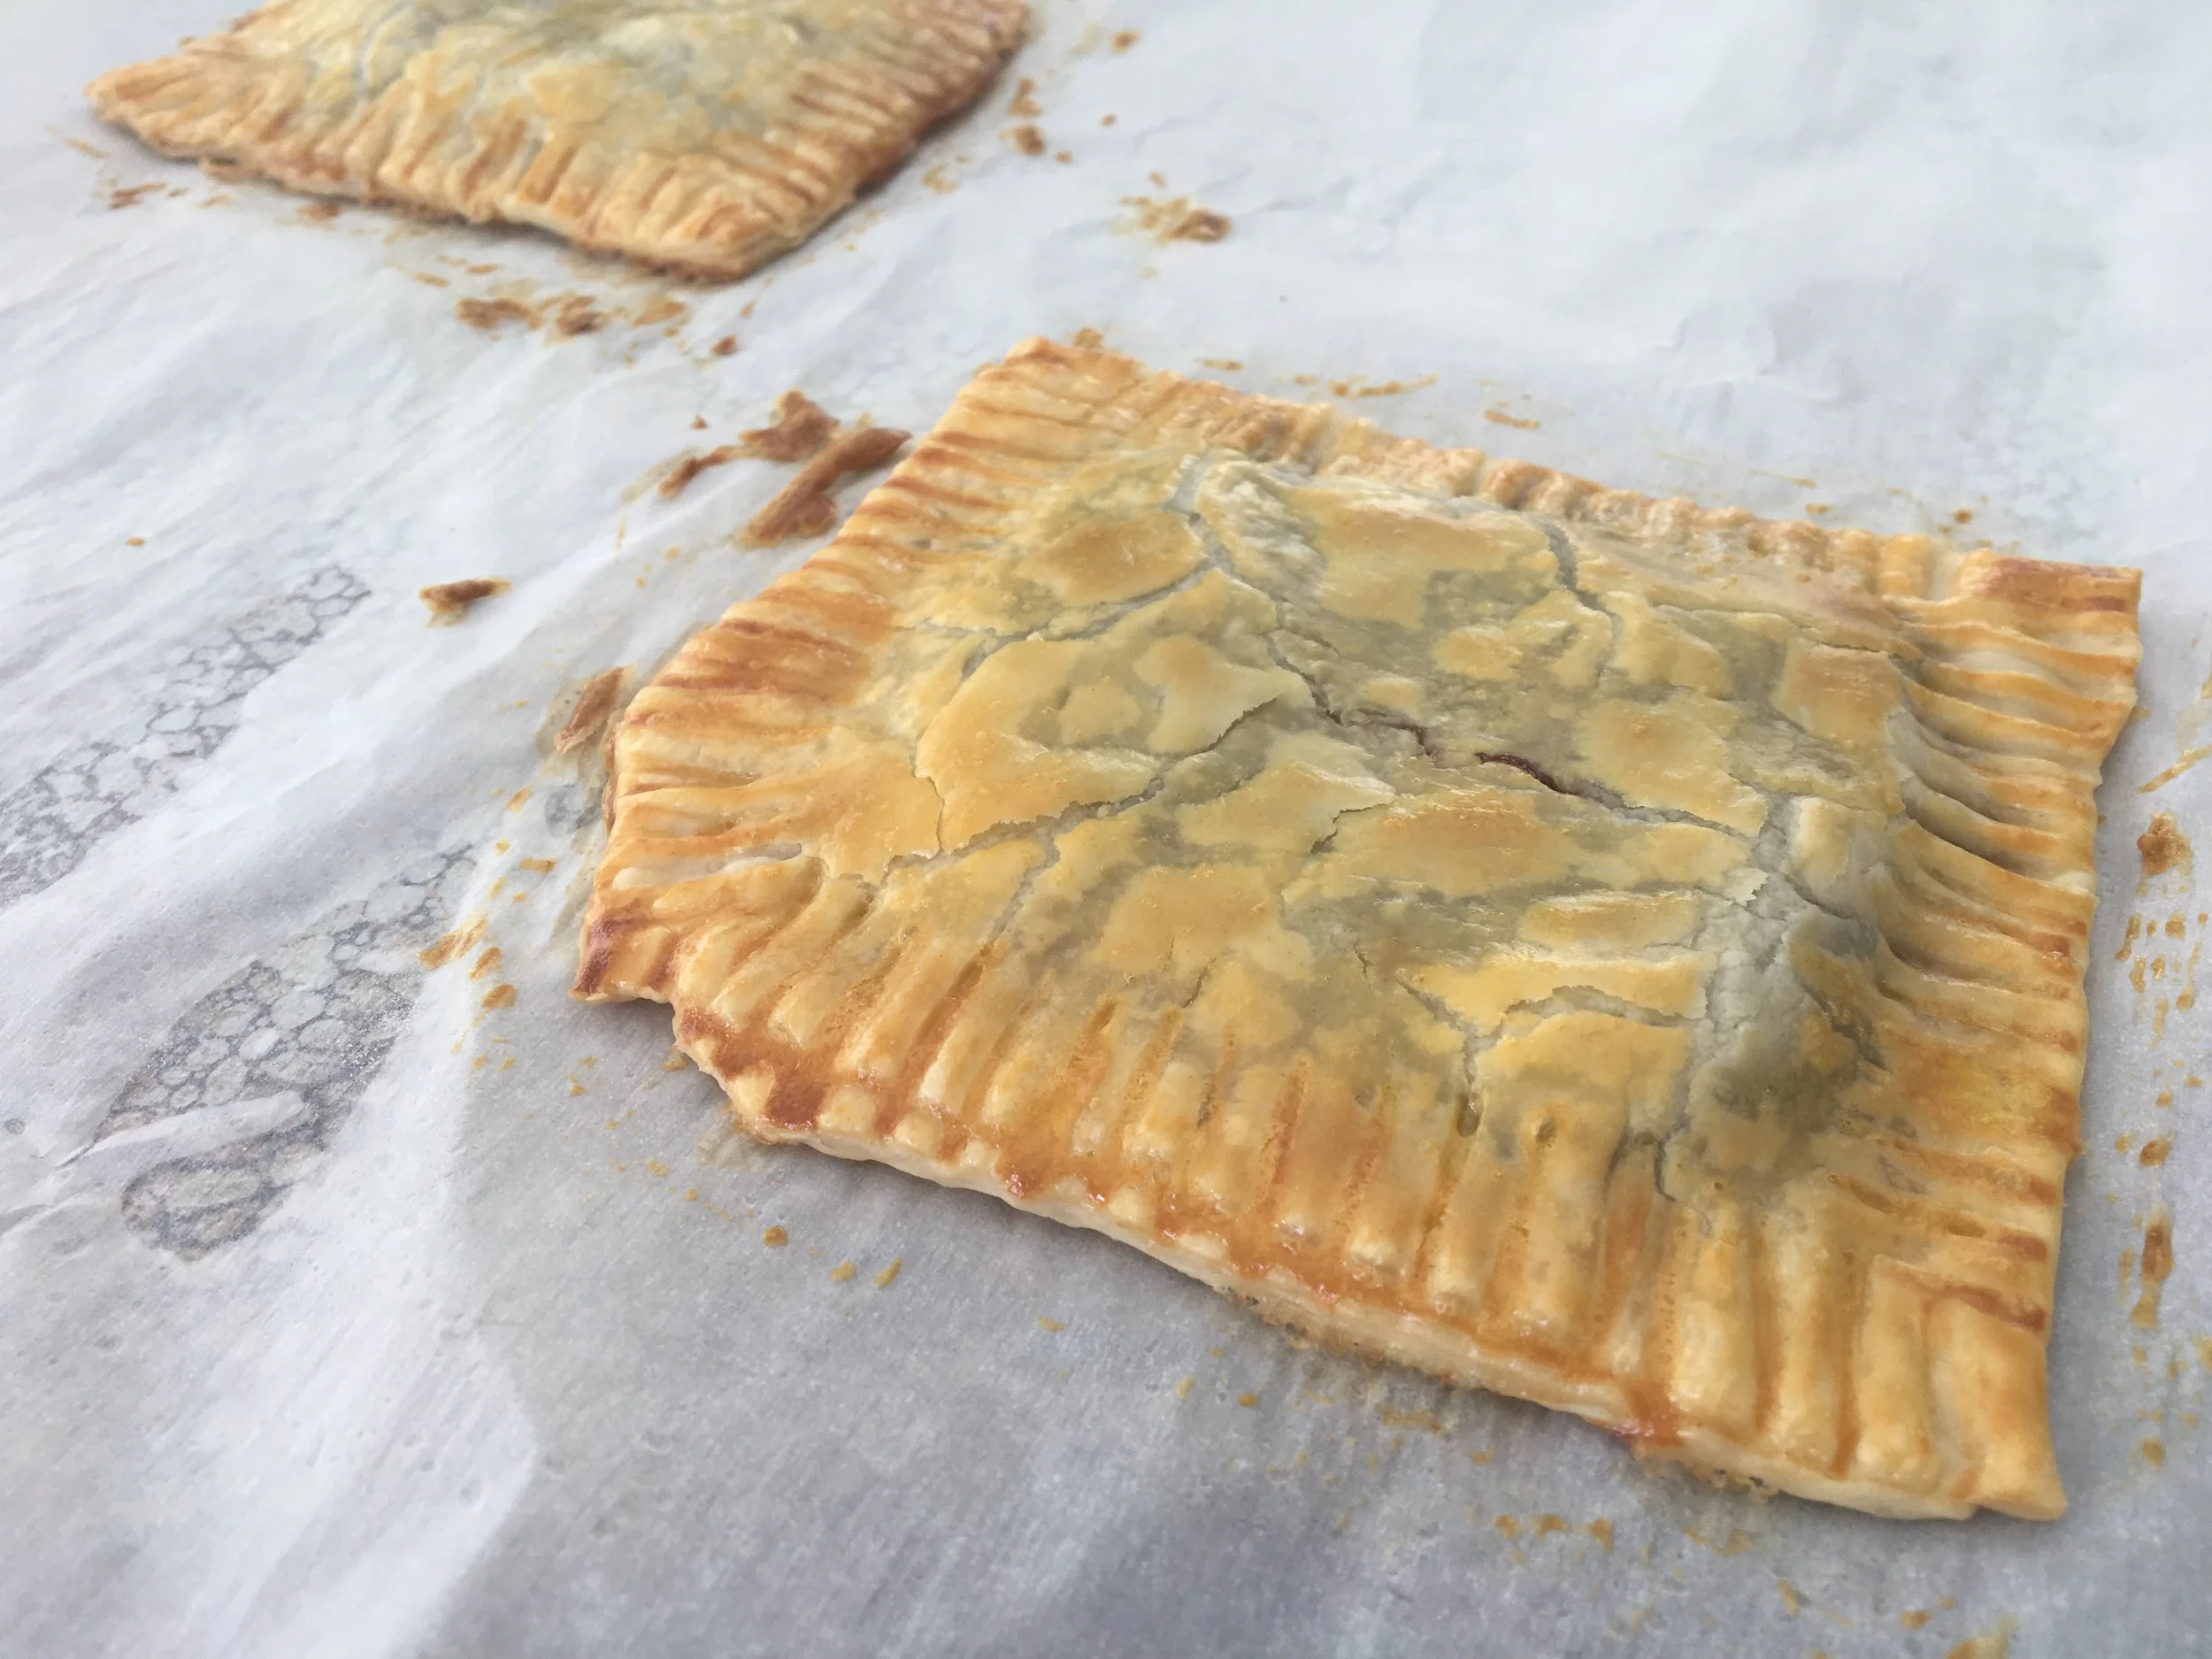
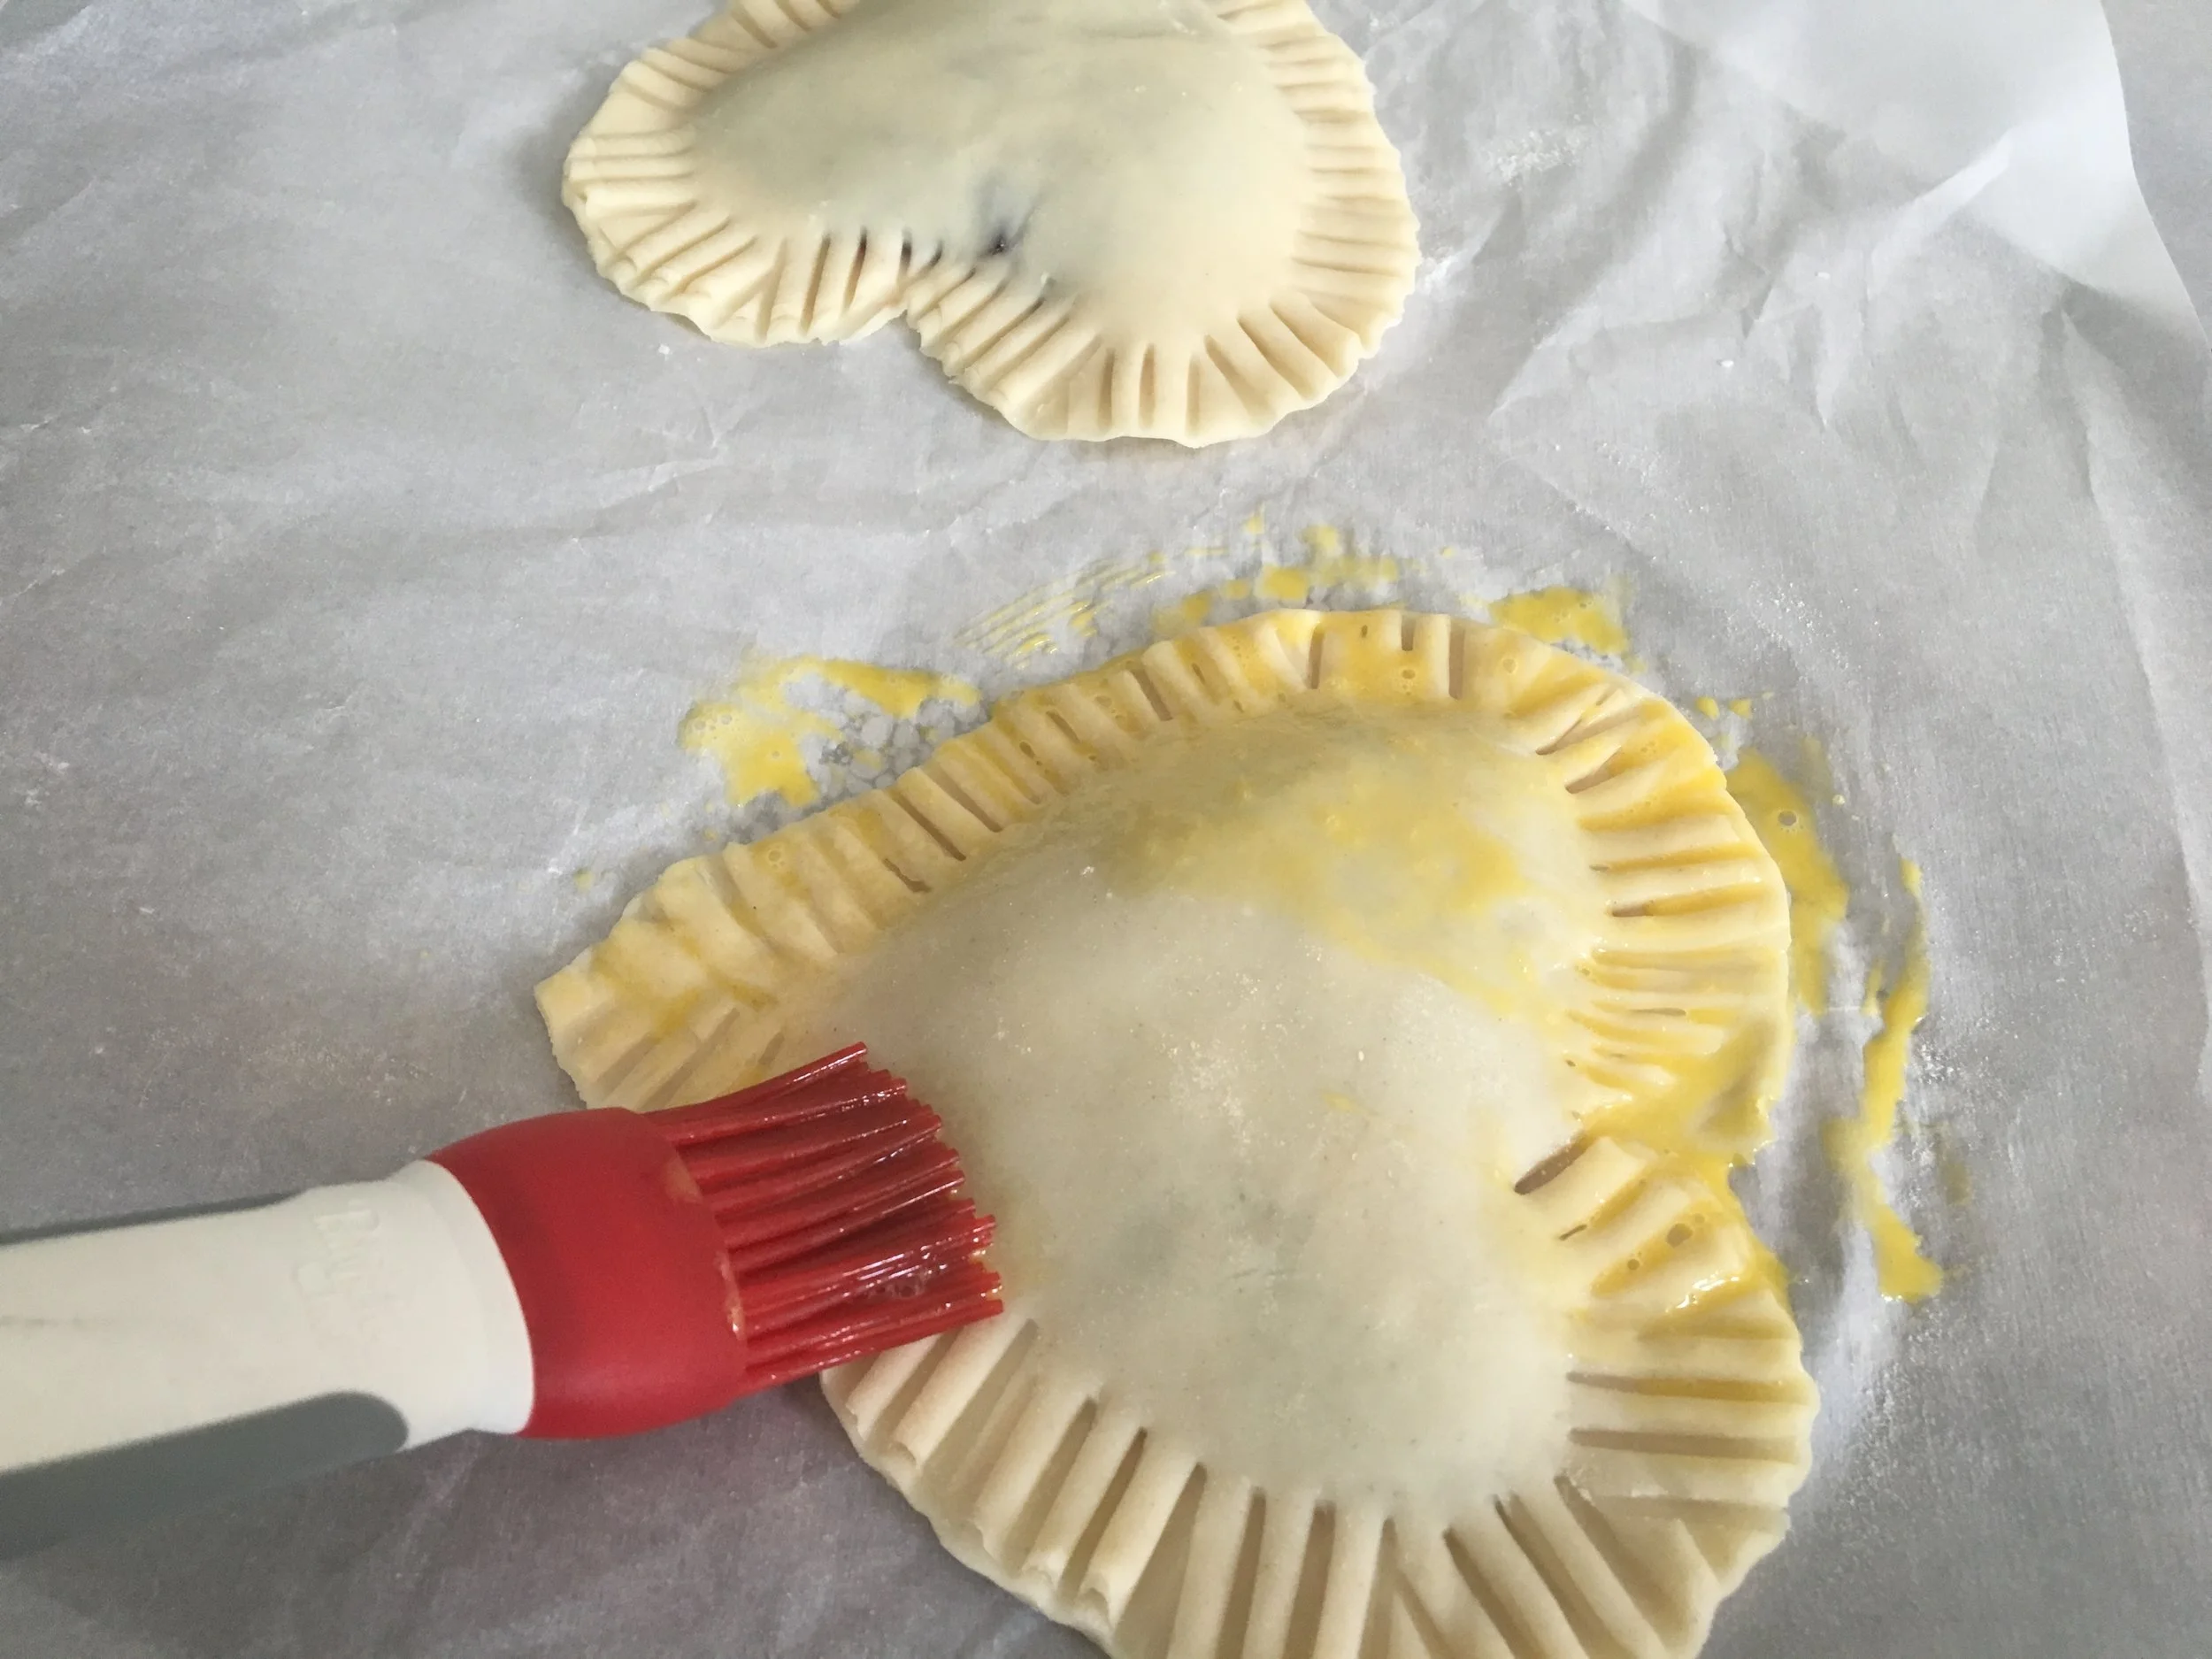
Brush the egg over the entire tart, and bake in the oven until the tarts are golden brown.  Allow to cool slightly before icing the tarts.  

While tarts are baking, mix the icing.  In a small bowl, combine the powdered sugar, heavy cream, and food coloring (in my case, I used the Cherry Butter to color the icing).  If icing is too thick, add a couple drops of heavy cream at a time to thin the icing.  Icing should slightly ooze off the spoon.  While tarts are still warm, scoop a large spoonful of icing and drizzle it over the pop tarts.  If desired, add sprinkles and watch them disappear!  

Enjoy!

Homemade Pop Tarts Recipe


Yum