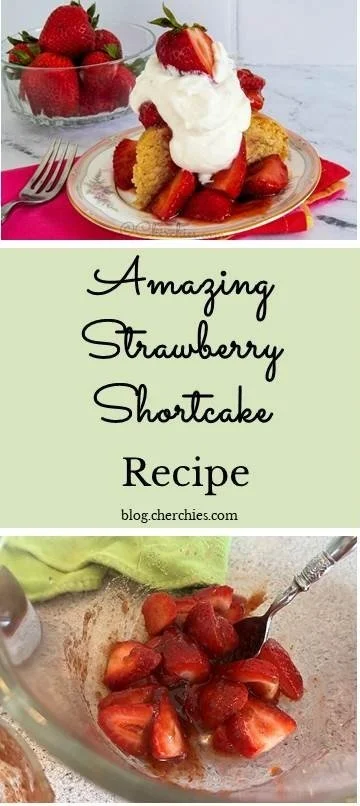
Amazing Strawberry Shortcake Recipe
Prep Time: 20 minutes
Cook Time: 30 minutes
Difficulty: Easy
Serves: 6
Summer is almost upon us, and do you know what that means? Fresh vegetables and fruits will soon be abundant, especially strawberries. Even though strawberries are found year-round at grocery stores, their peak juiciness season here in the United States is between April and June. Summer strawberries are special. Since nothing screams summer more than juicy ripe strawberries, making a classic dessert such as strawberry shortcake is the perfect confection to welcome Summer's arrival.
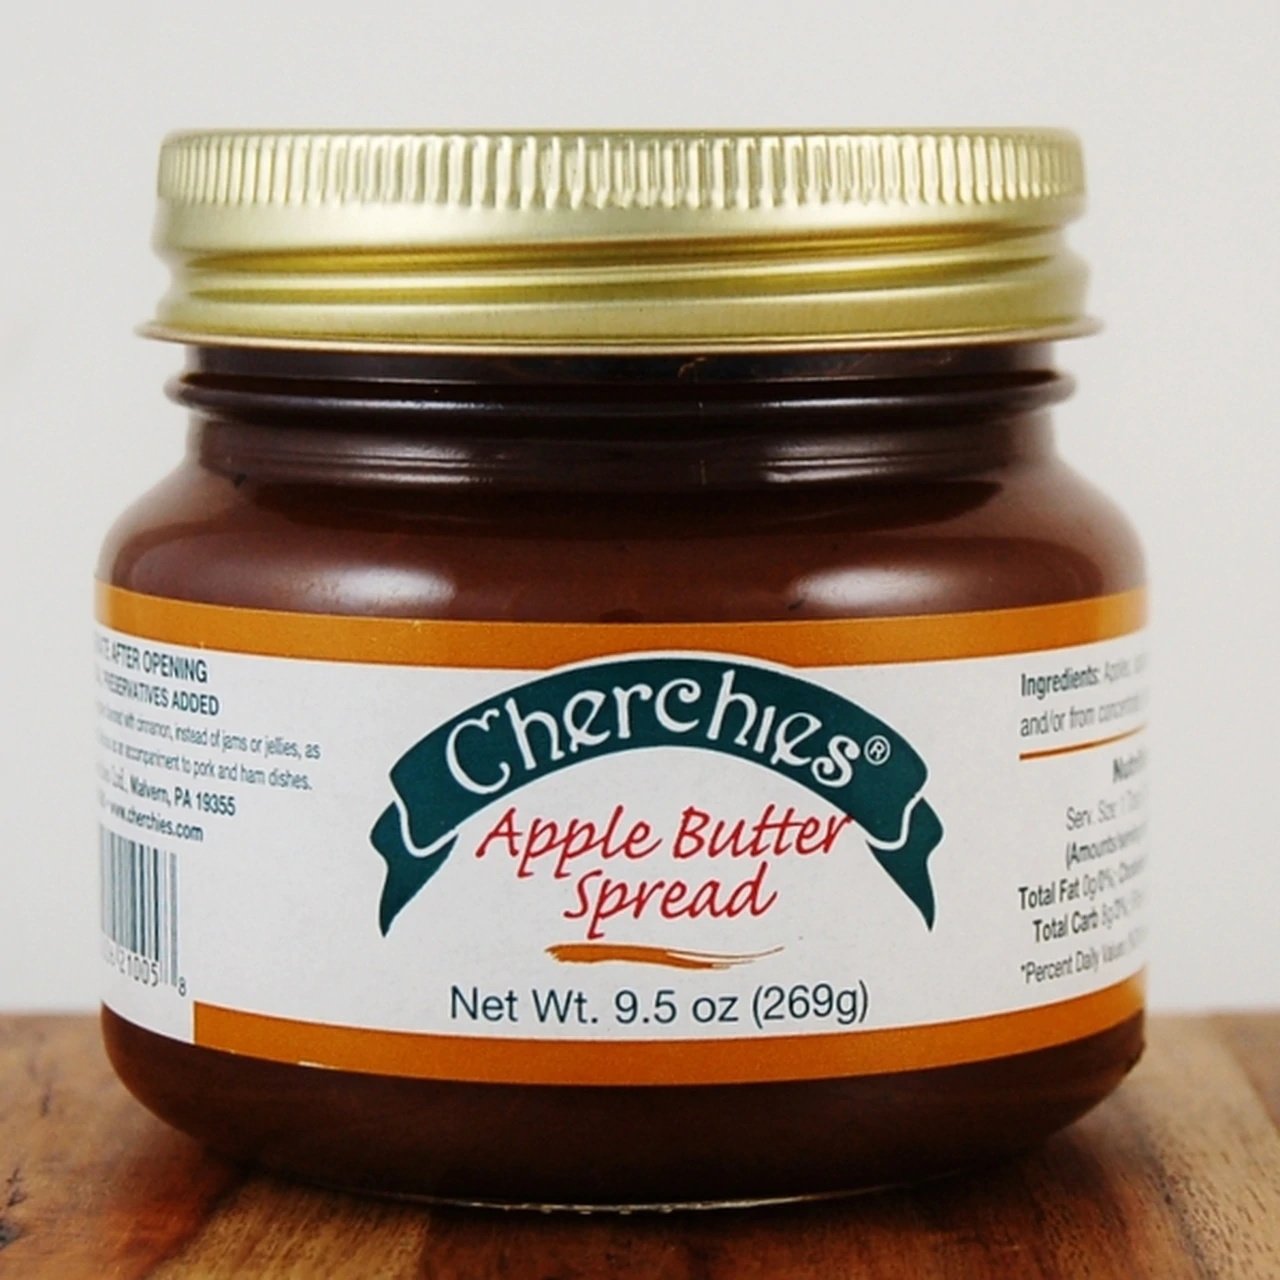
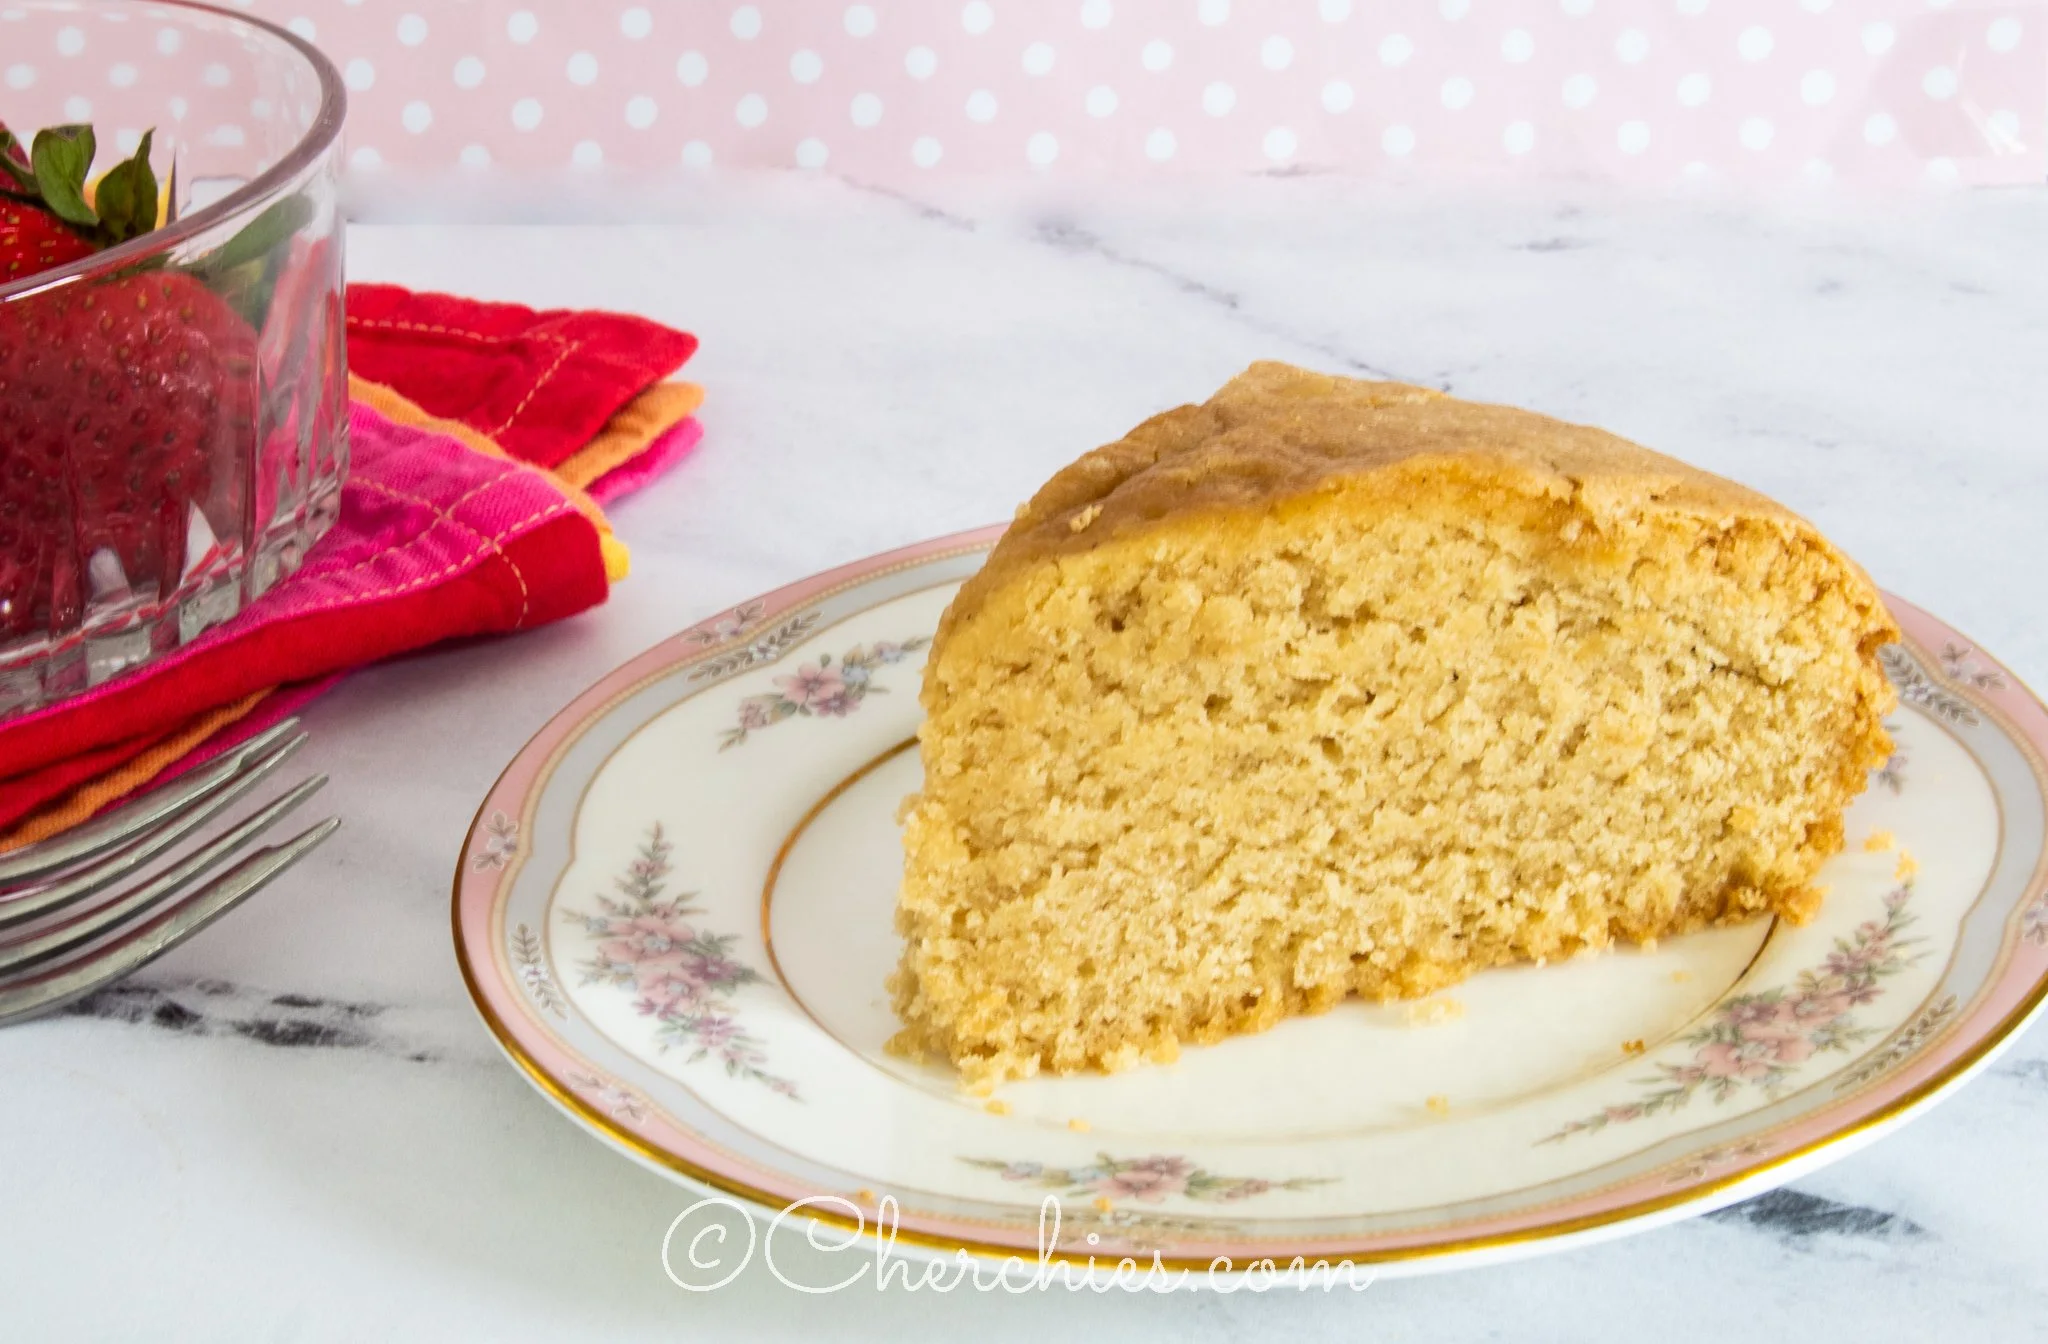
This delicious recipe features a moist, flavorful almond cake and sweet strawberries tinged with Cherchies® Strawberry Butter Spread.
I remember growing up and having strawberry shortcakes often, but instead of homemade cakes or sweetened biscuits, my mom used the pre-made sponge cakes found at the grocery store and whipped cream from a can. Boy, have things changed. Although I fondly remember those little cakes, making things from scratch is much better. This almond cake is naturally gluten-free and can also be dairy free, with some tweaks in the whipped cream (*see note), so it is ideal for those with specific food allergies. And, what shortcake would not be complete without a cloud of homemade sweet whipped cream (so much better than store-bought cans of “whipped cream”)?
So, celebrate Summer's arrival and make this decadently refreshing dessert. This quick and easy recipe will become one of your family's favorites and is perfect for Mother's Day, brunch, July 4th, summer BBQs, or anytime you crave sweet strawberries and creamy, dreamy whipped cream.
Thanks for stopping by:) Comment below if you have made this delicious recipe. Come back again for more family-tested recipes, entertaining ideas, and cooking tips using all our favorite Cherchies® gourmet products.
Follow us on social media: Facebook, Instagram, and Pinterest.
*Note: This recipe is gluten-free. Some dairy-free whipped topping products are available at your local grocery store. There are recipes on the internet for homemade whipped cream (dairy-free) using coconut milk, but I have yet to try them.
Cake Ingredients
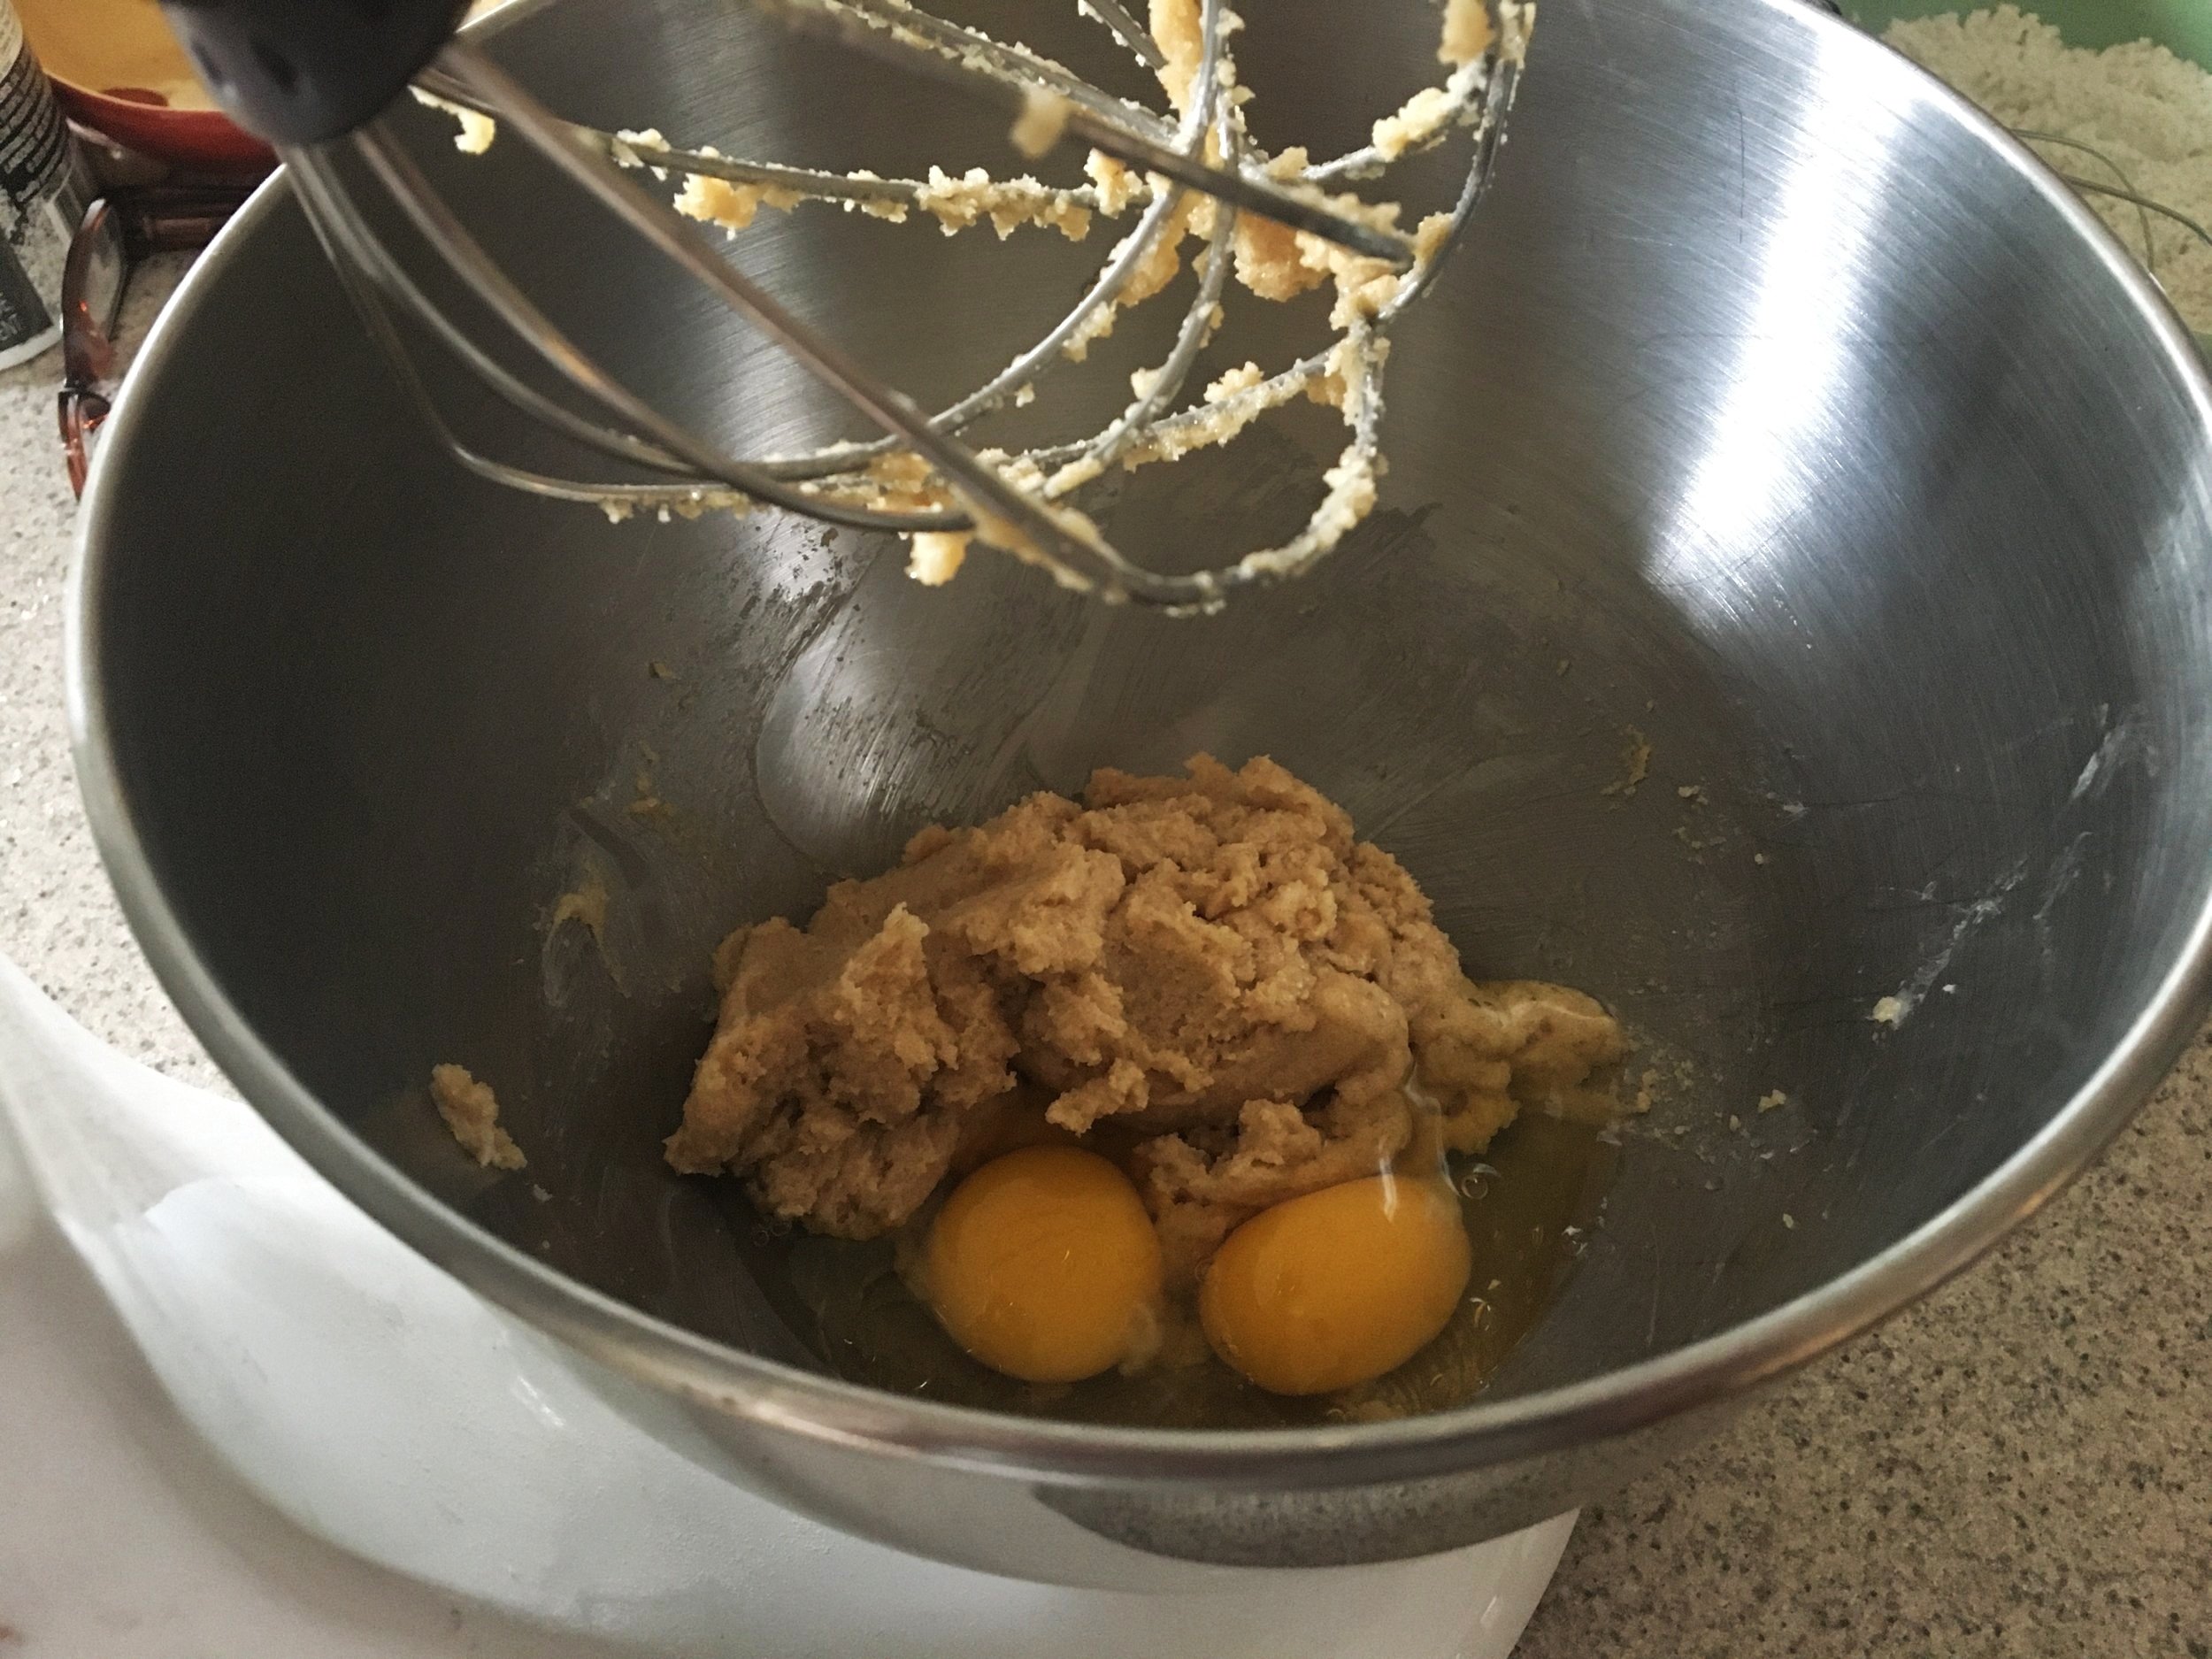
4 eggs (room temperature)- separate yolks and egg whites into two different bowls
1 teaspoon (tsp) orange zest
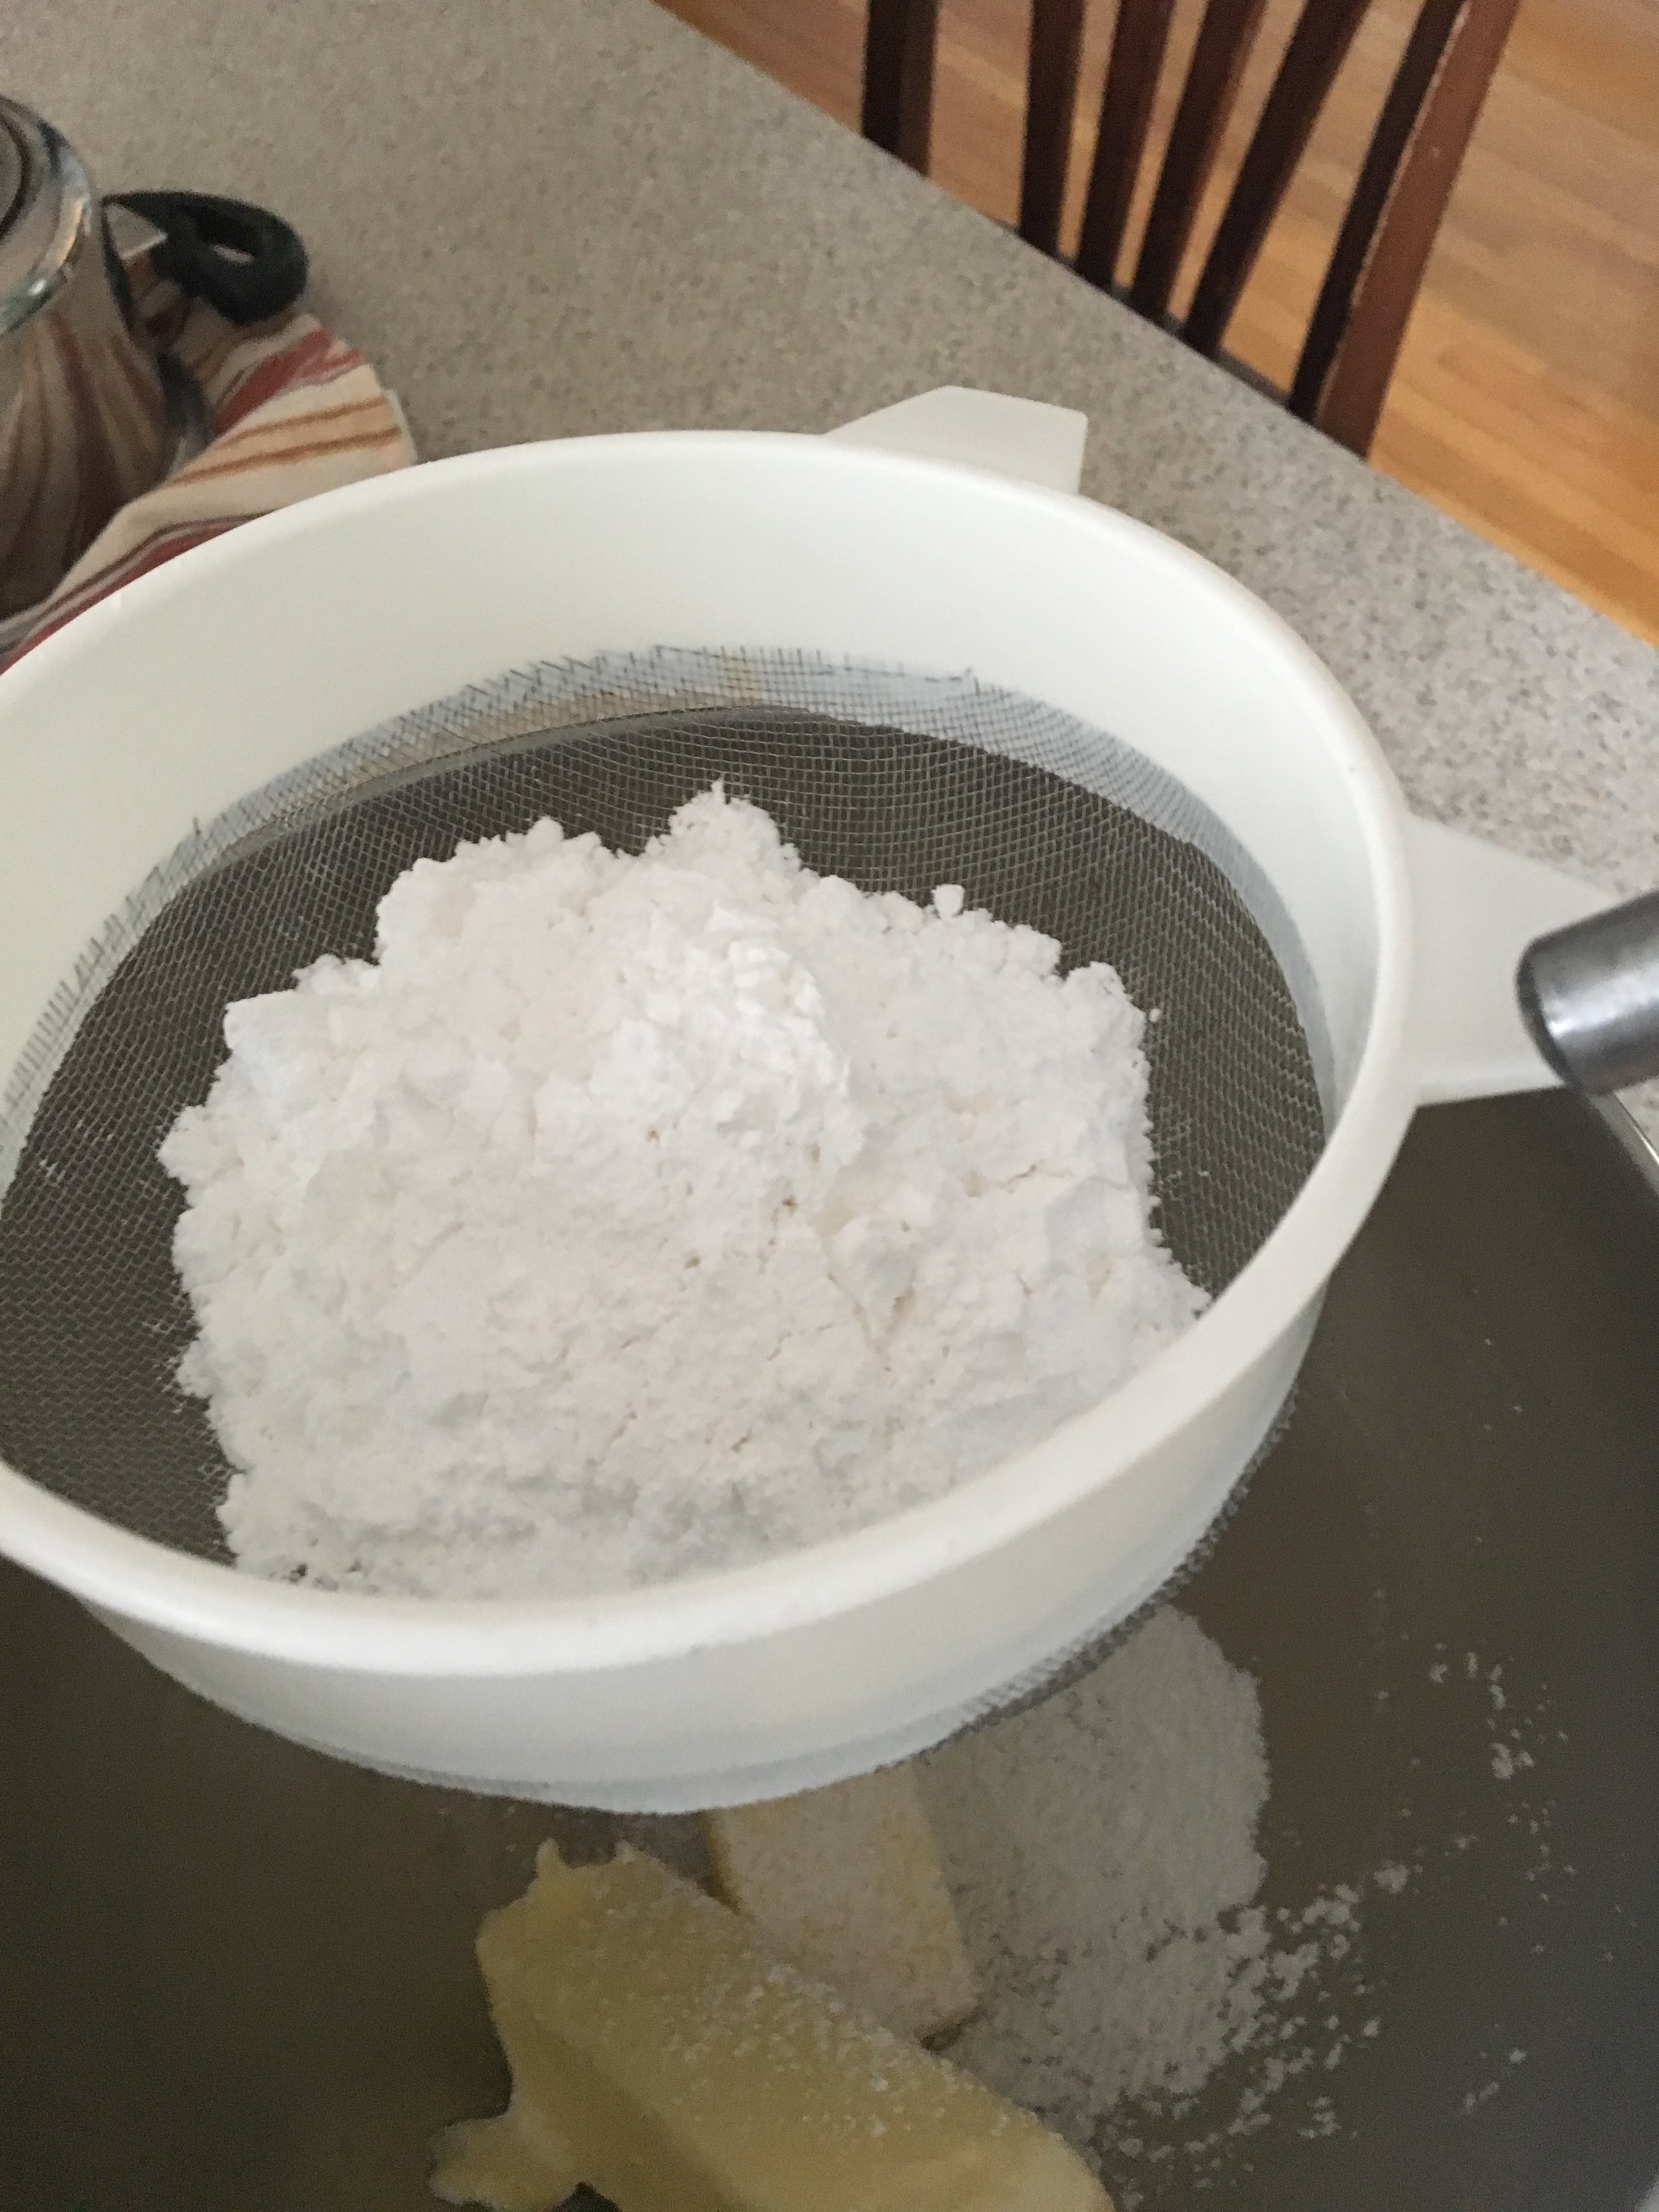
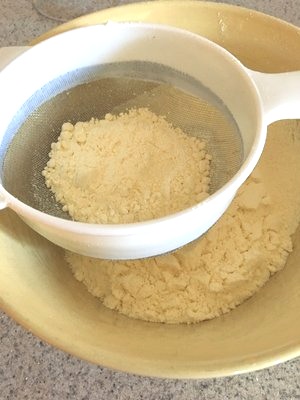
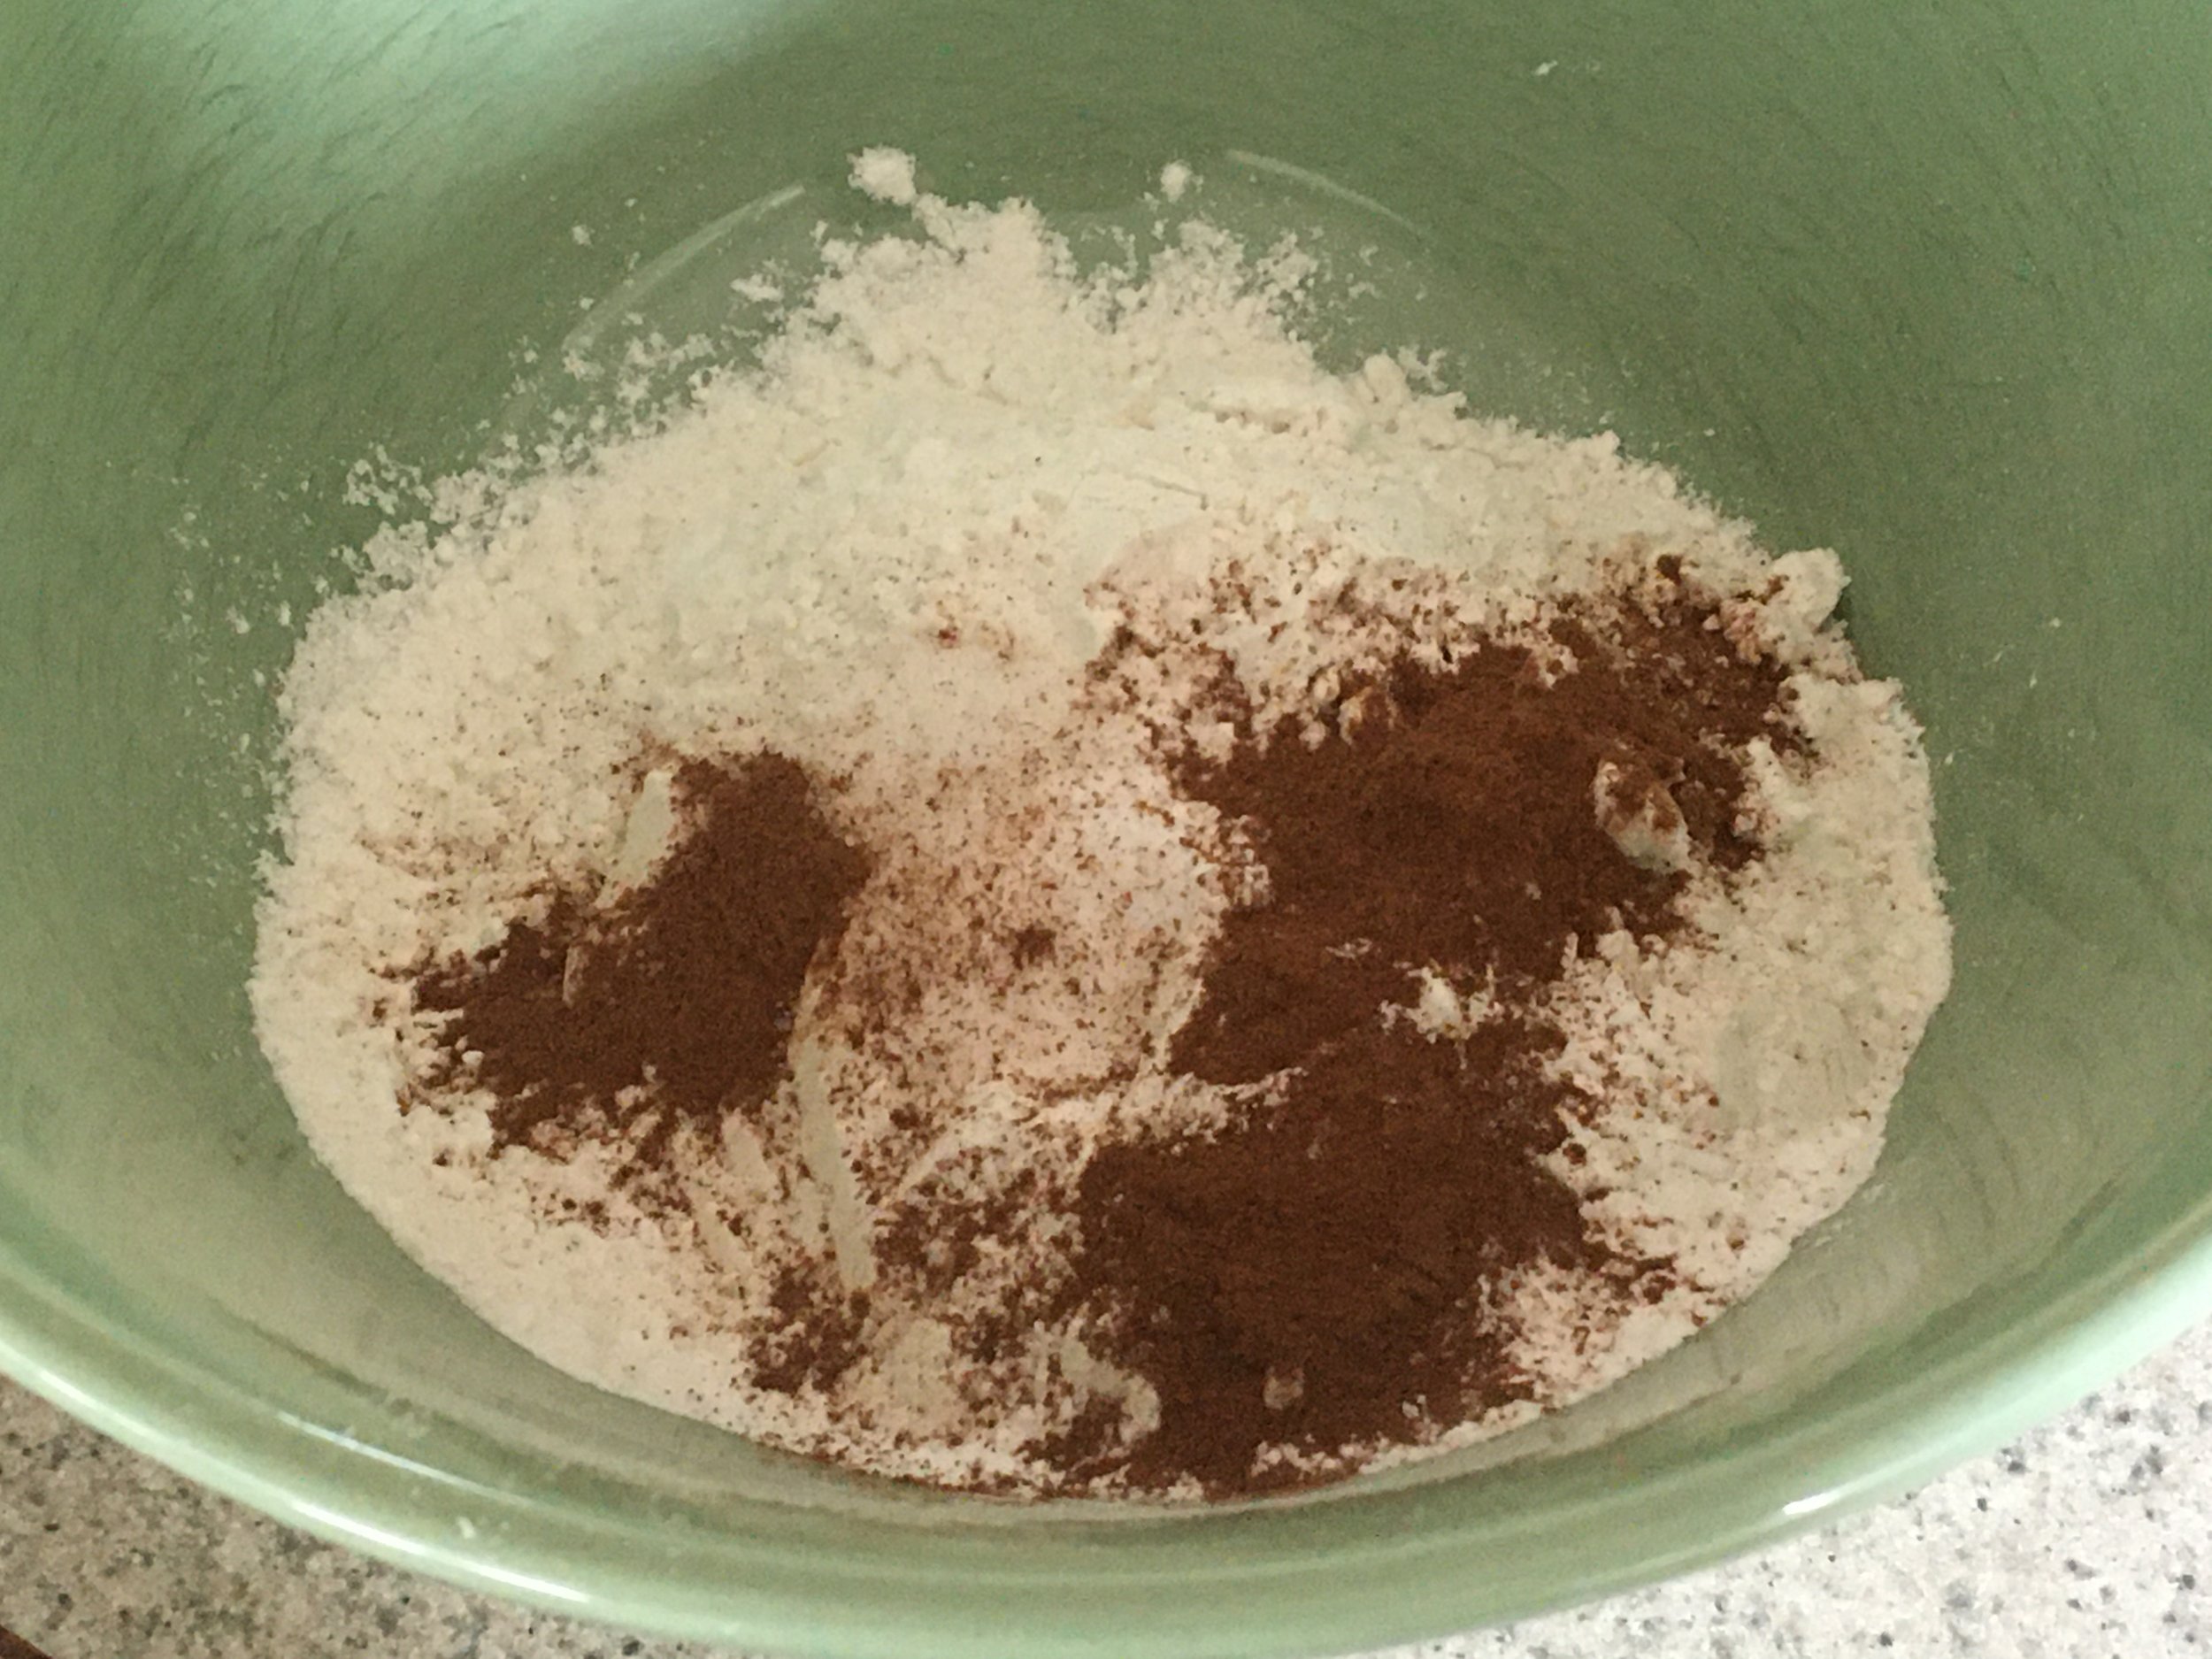
1 1/2 cups almond flour
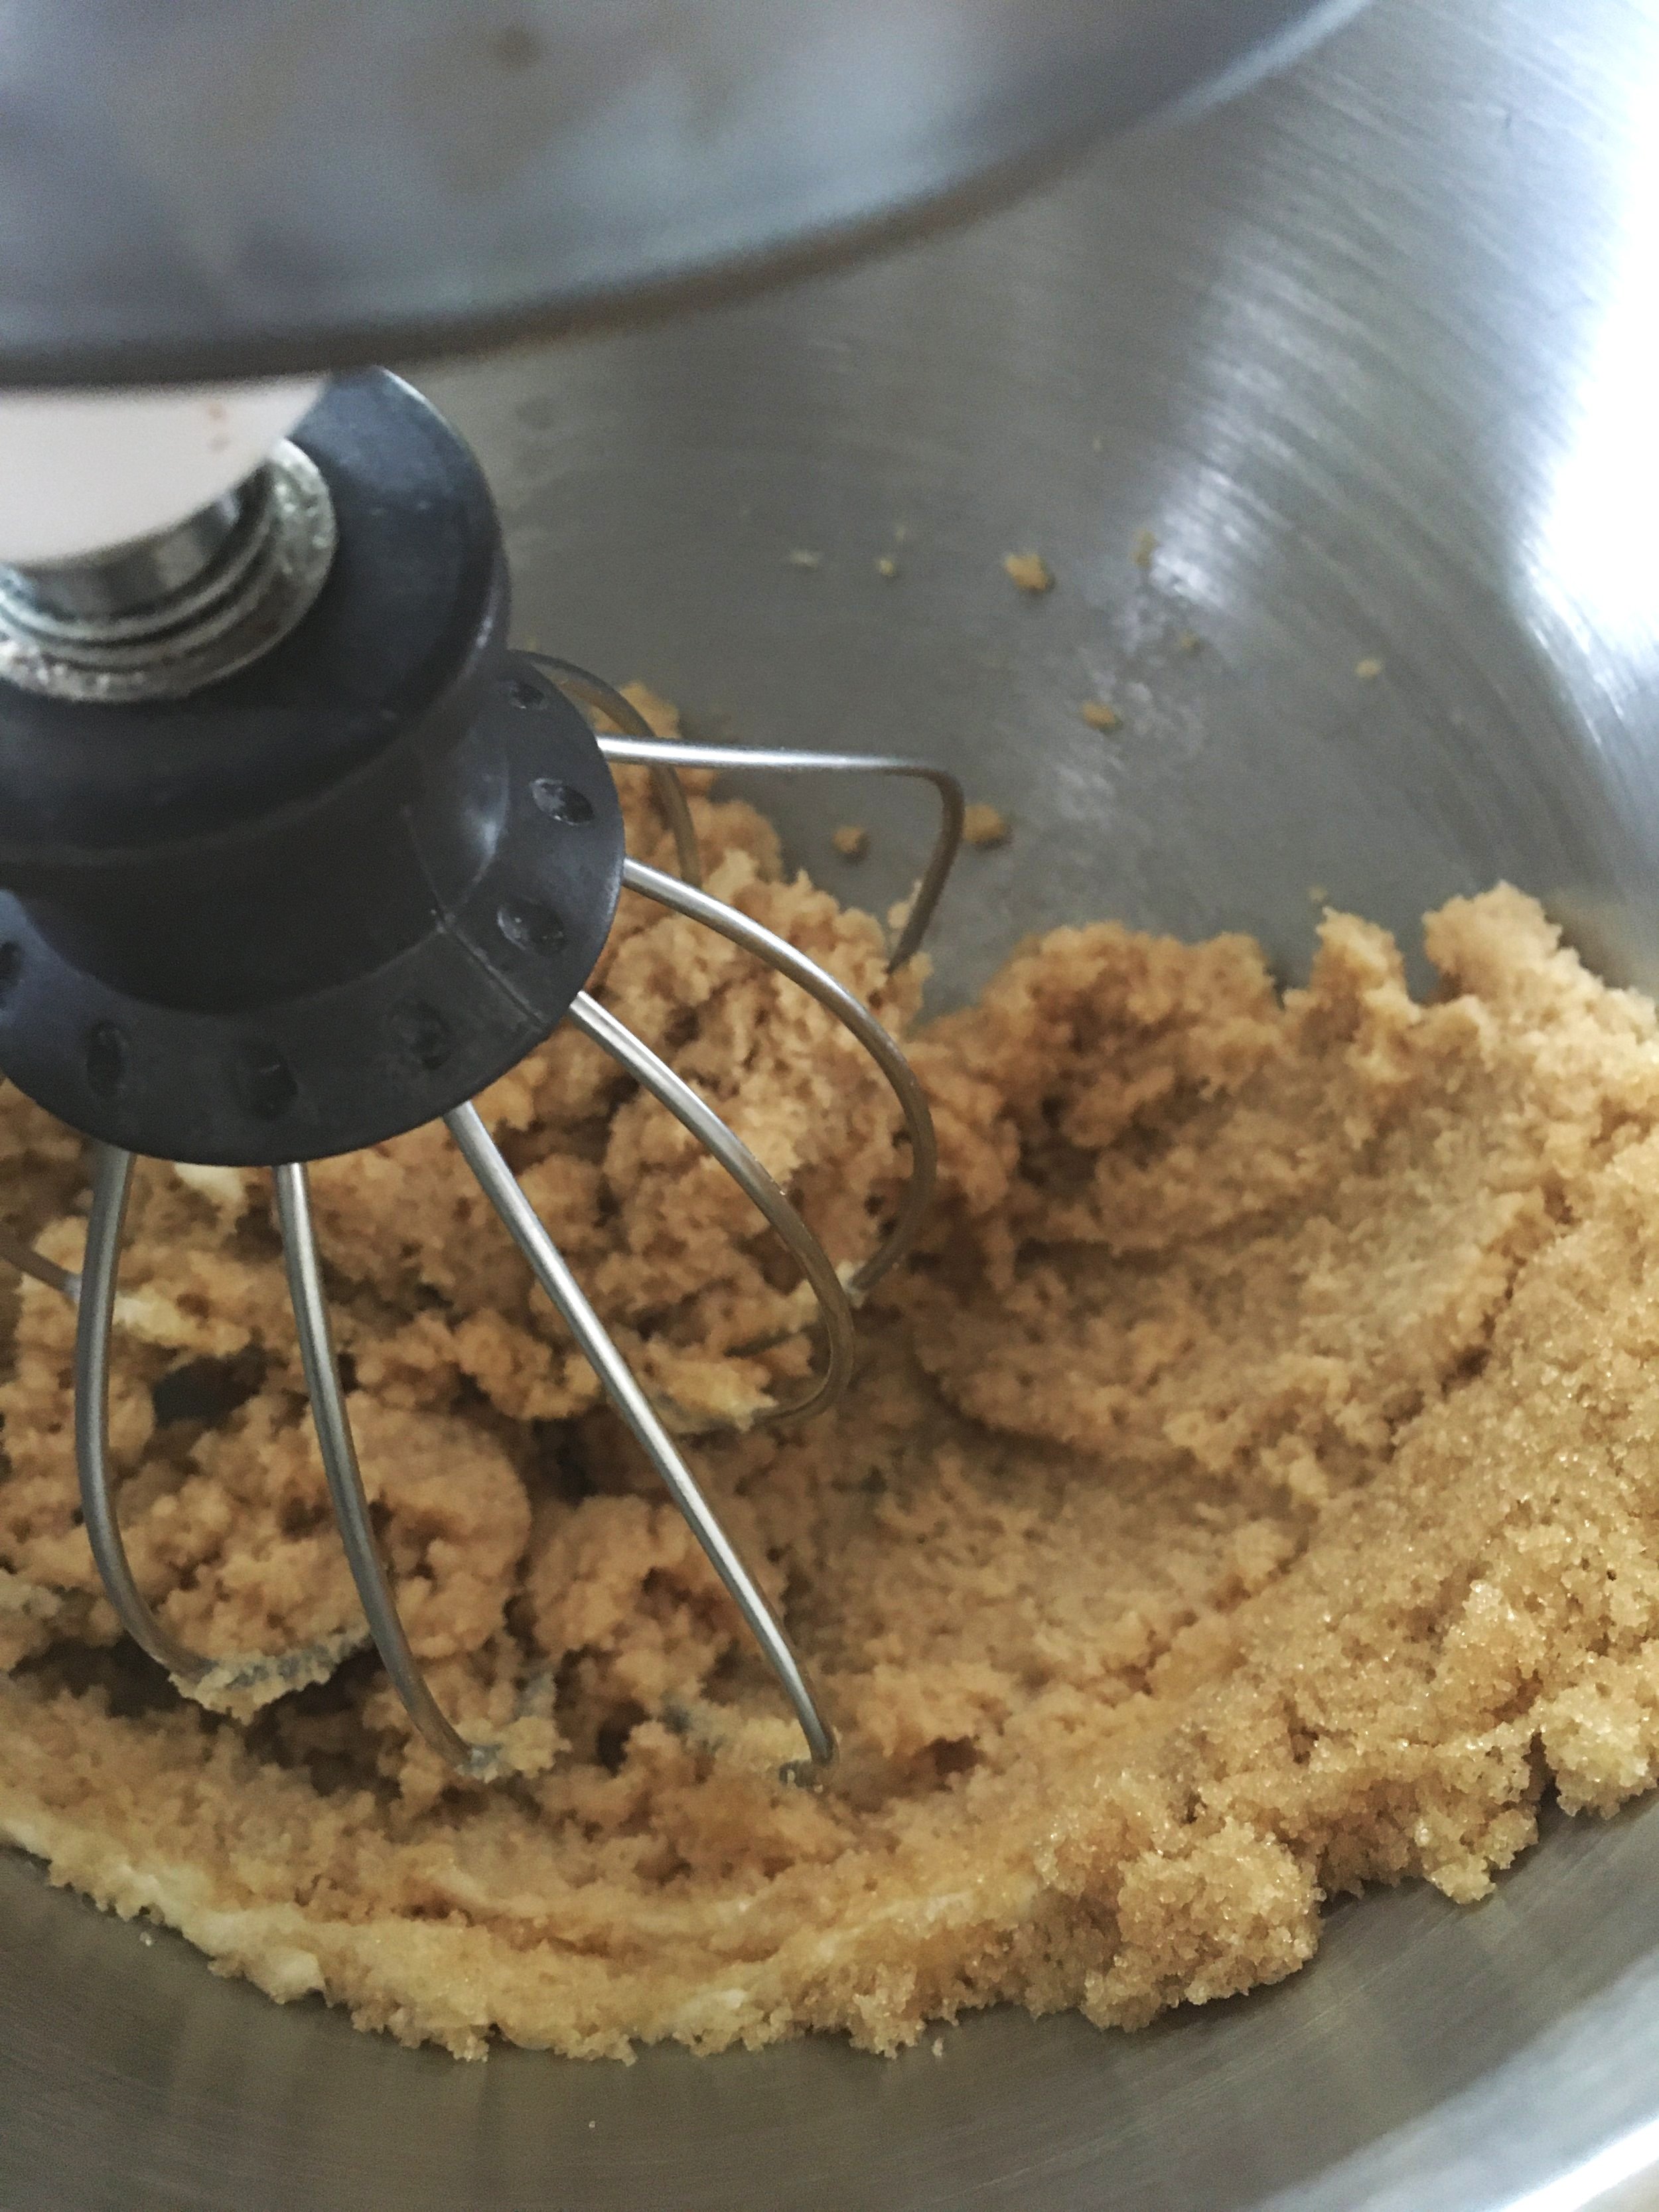
1/2 cup sugar
Strawberry Filling Ingredients (adjust portions according to guests)
1 pint of strawberries, washed and sliced (reserve 3 strawberries, cut in half with stem for garnish (optional)).
Homemade Whipped Cream Ingredients
1 cup cold heavy cream or cold heavy whipping cream
2 Tablespoons (Tbsp) confectioner’s sugar (powdered sugar)
1 teaspoon (tsp) good vanilla extract
Cake Preparation
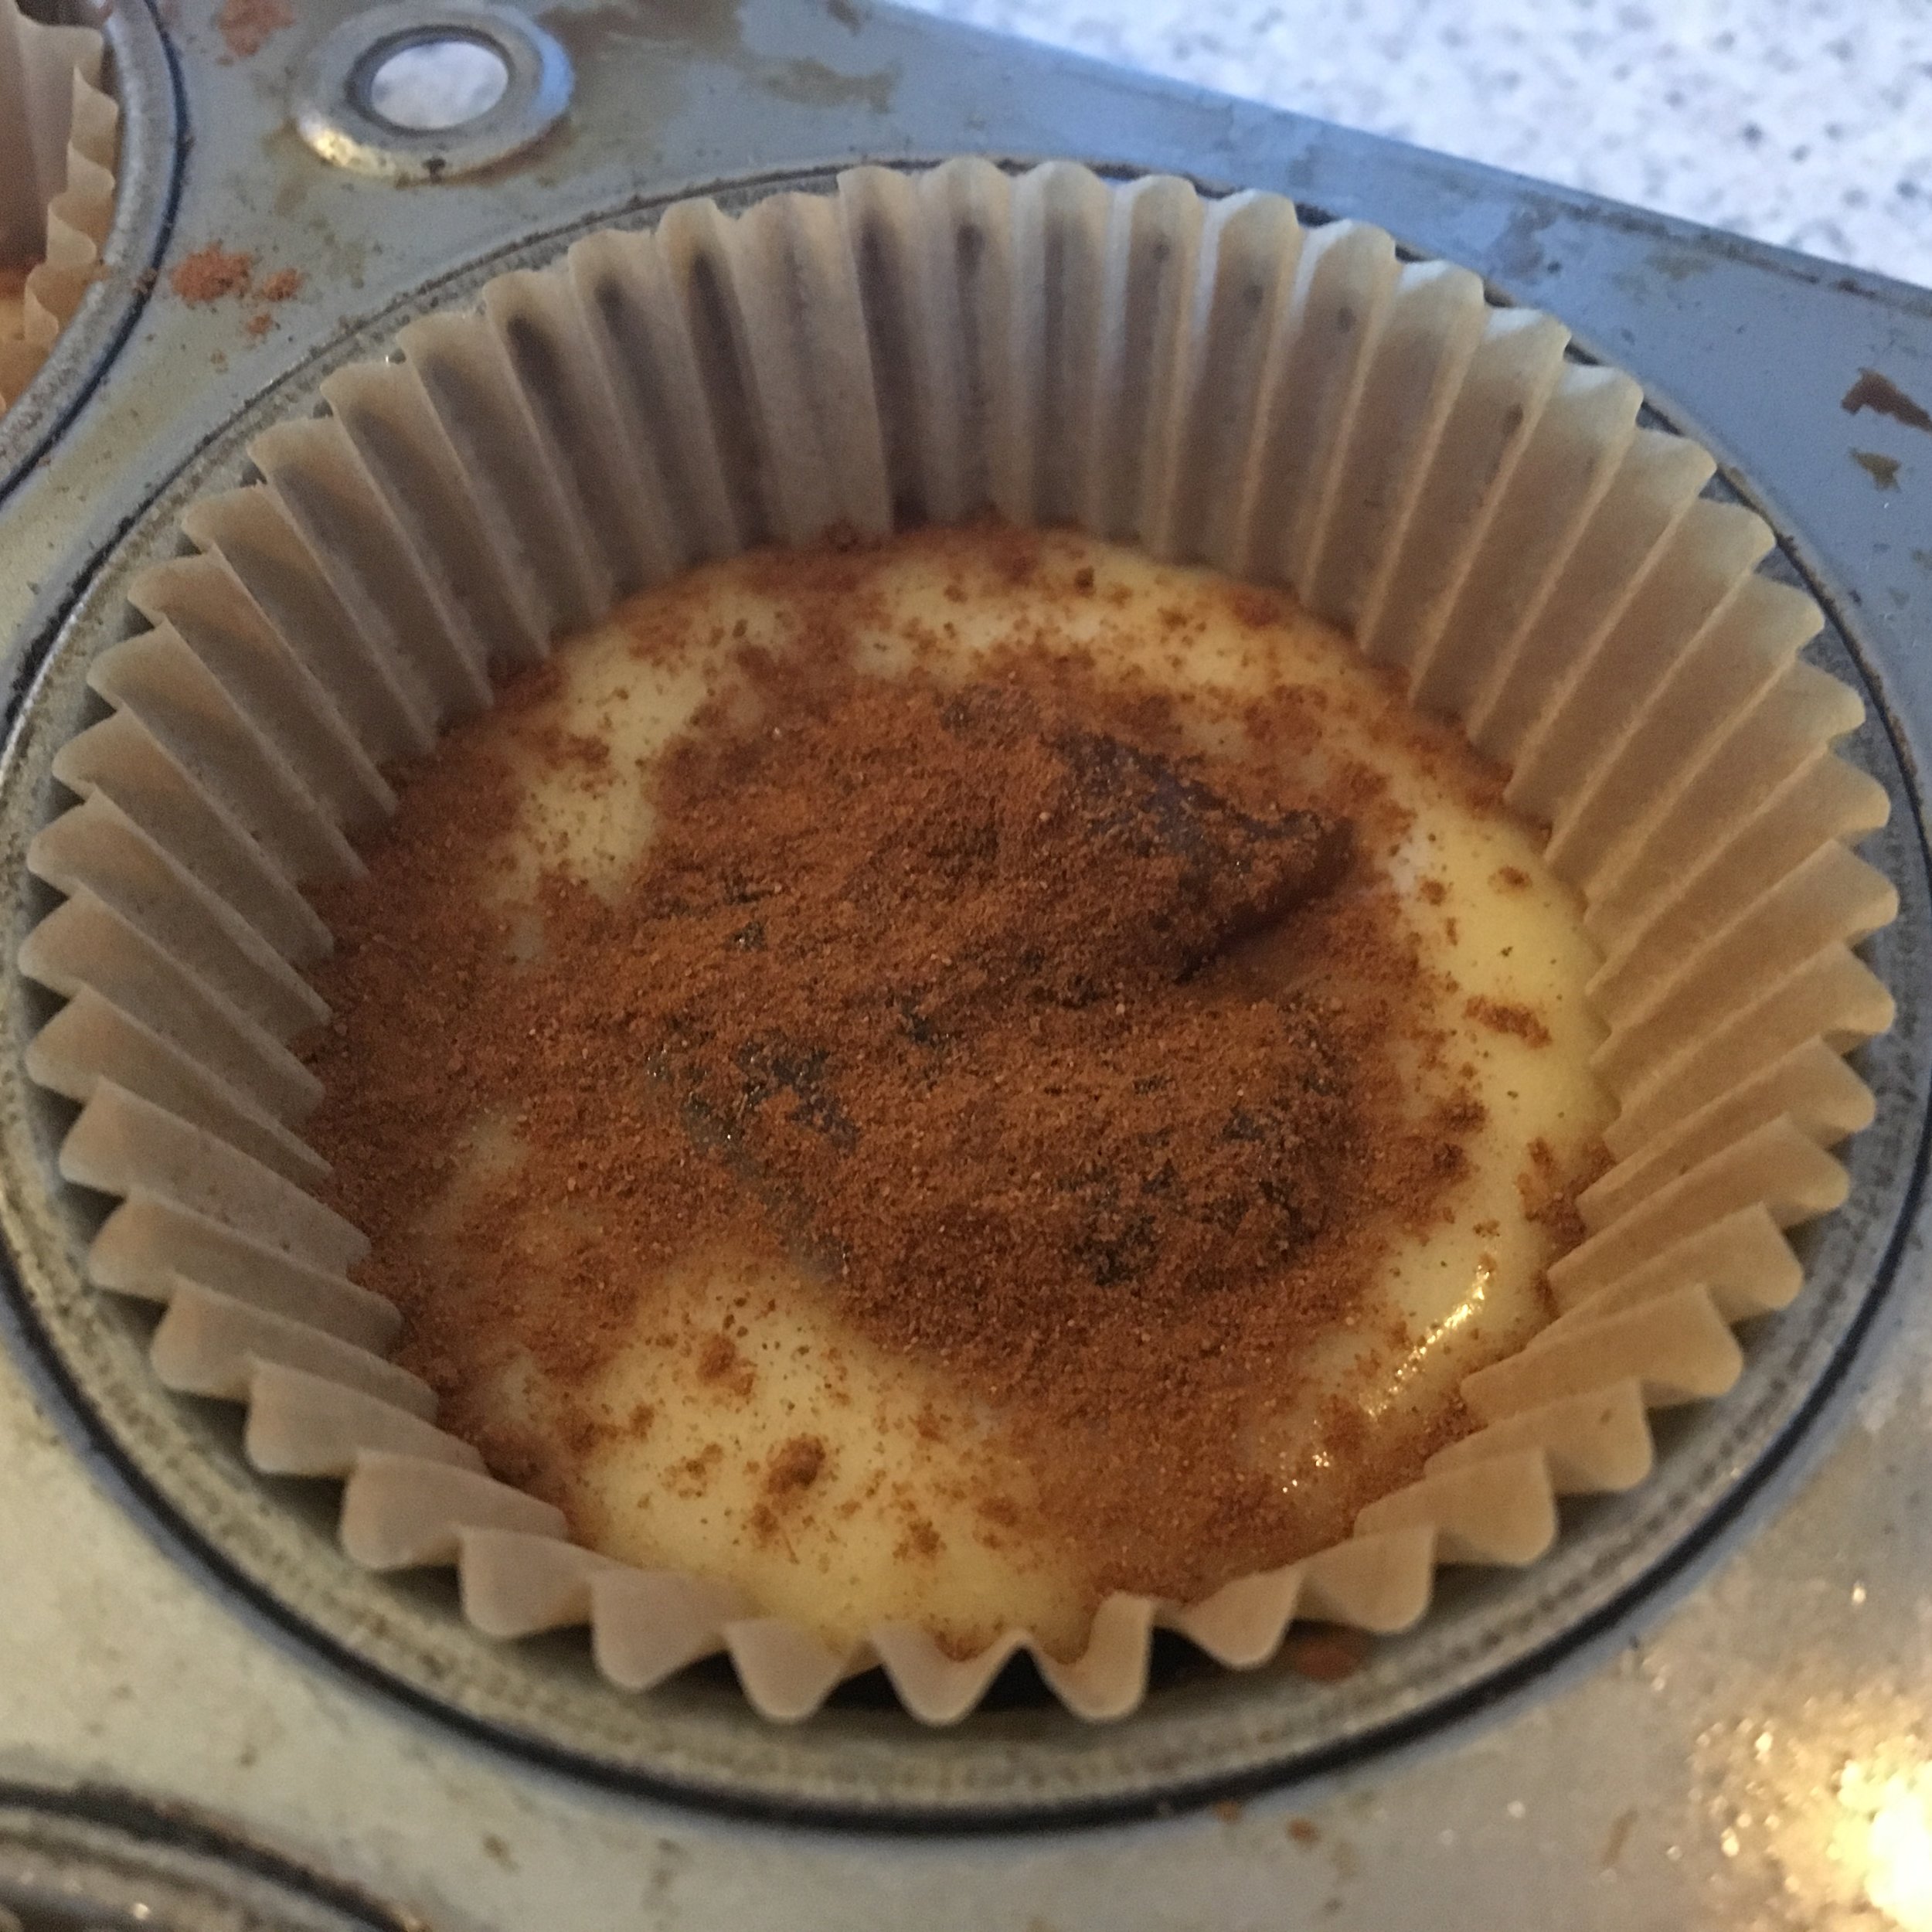
Preheat oven to 350 degrees. Line a 9” cake pan with parchment paper, cut to the size of the pan, and spray with cooking spray.
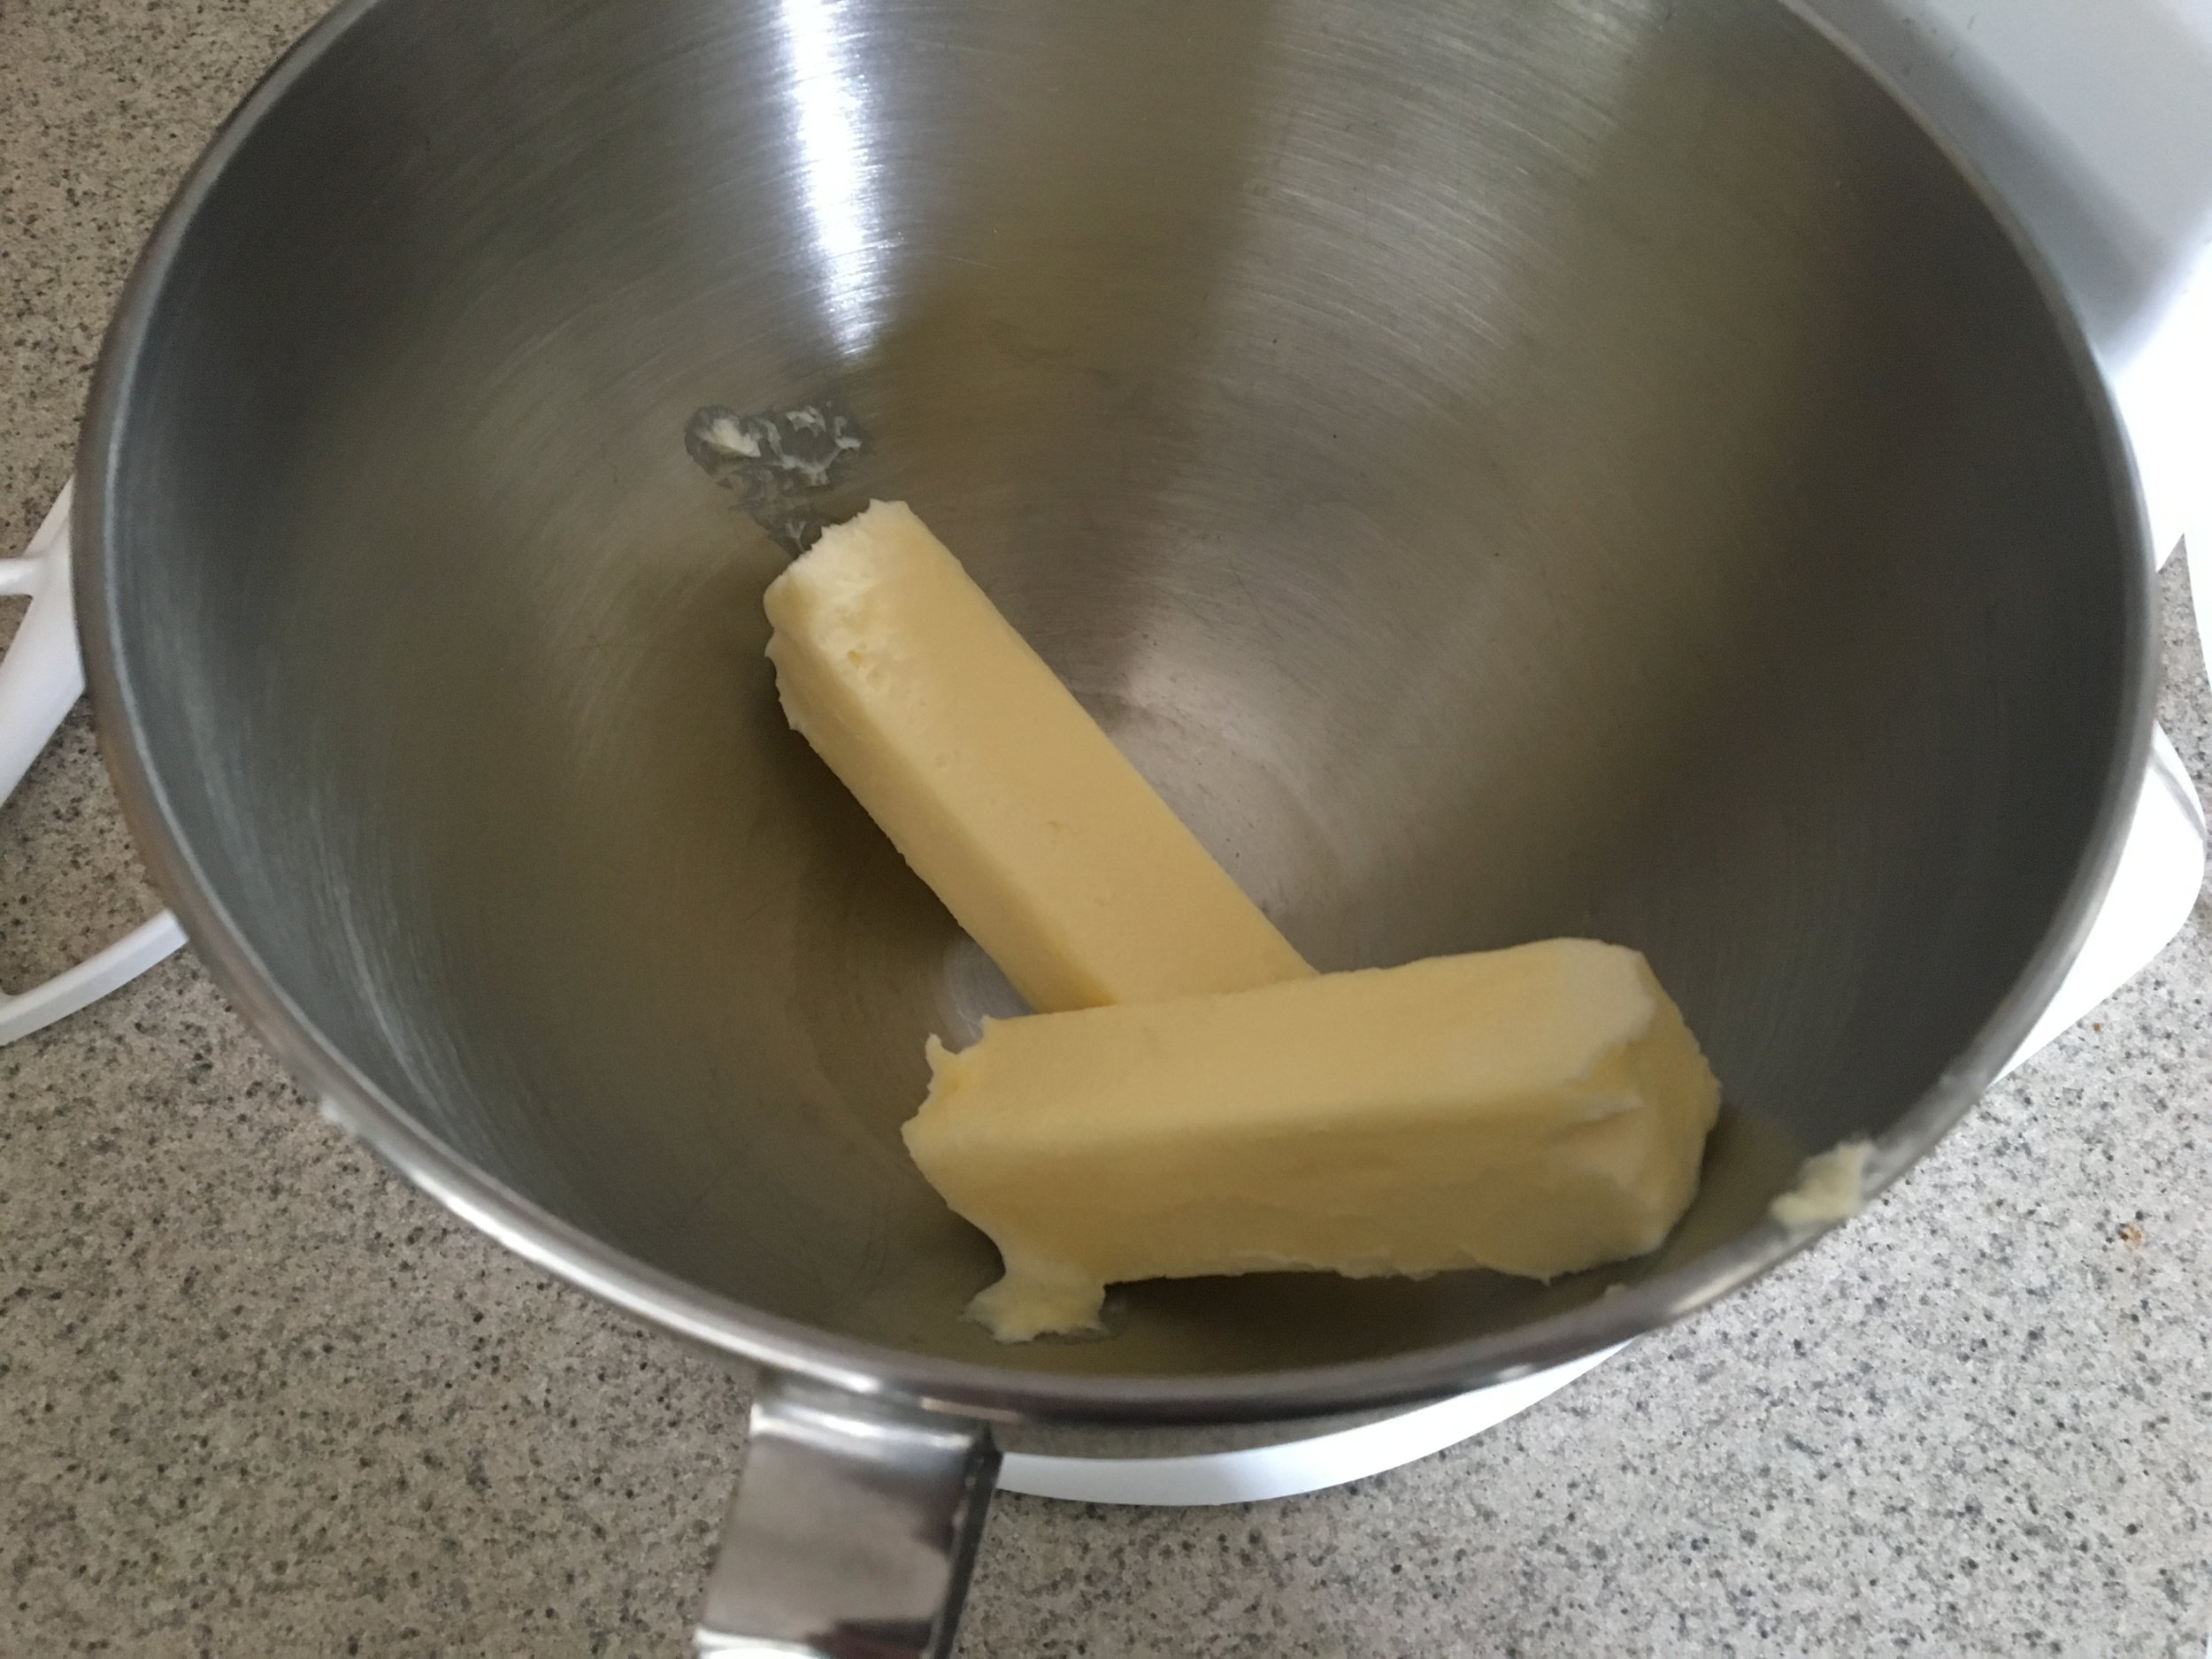
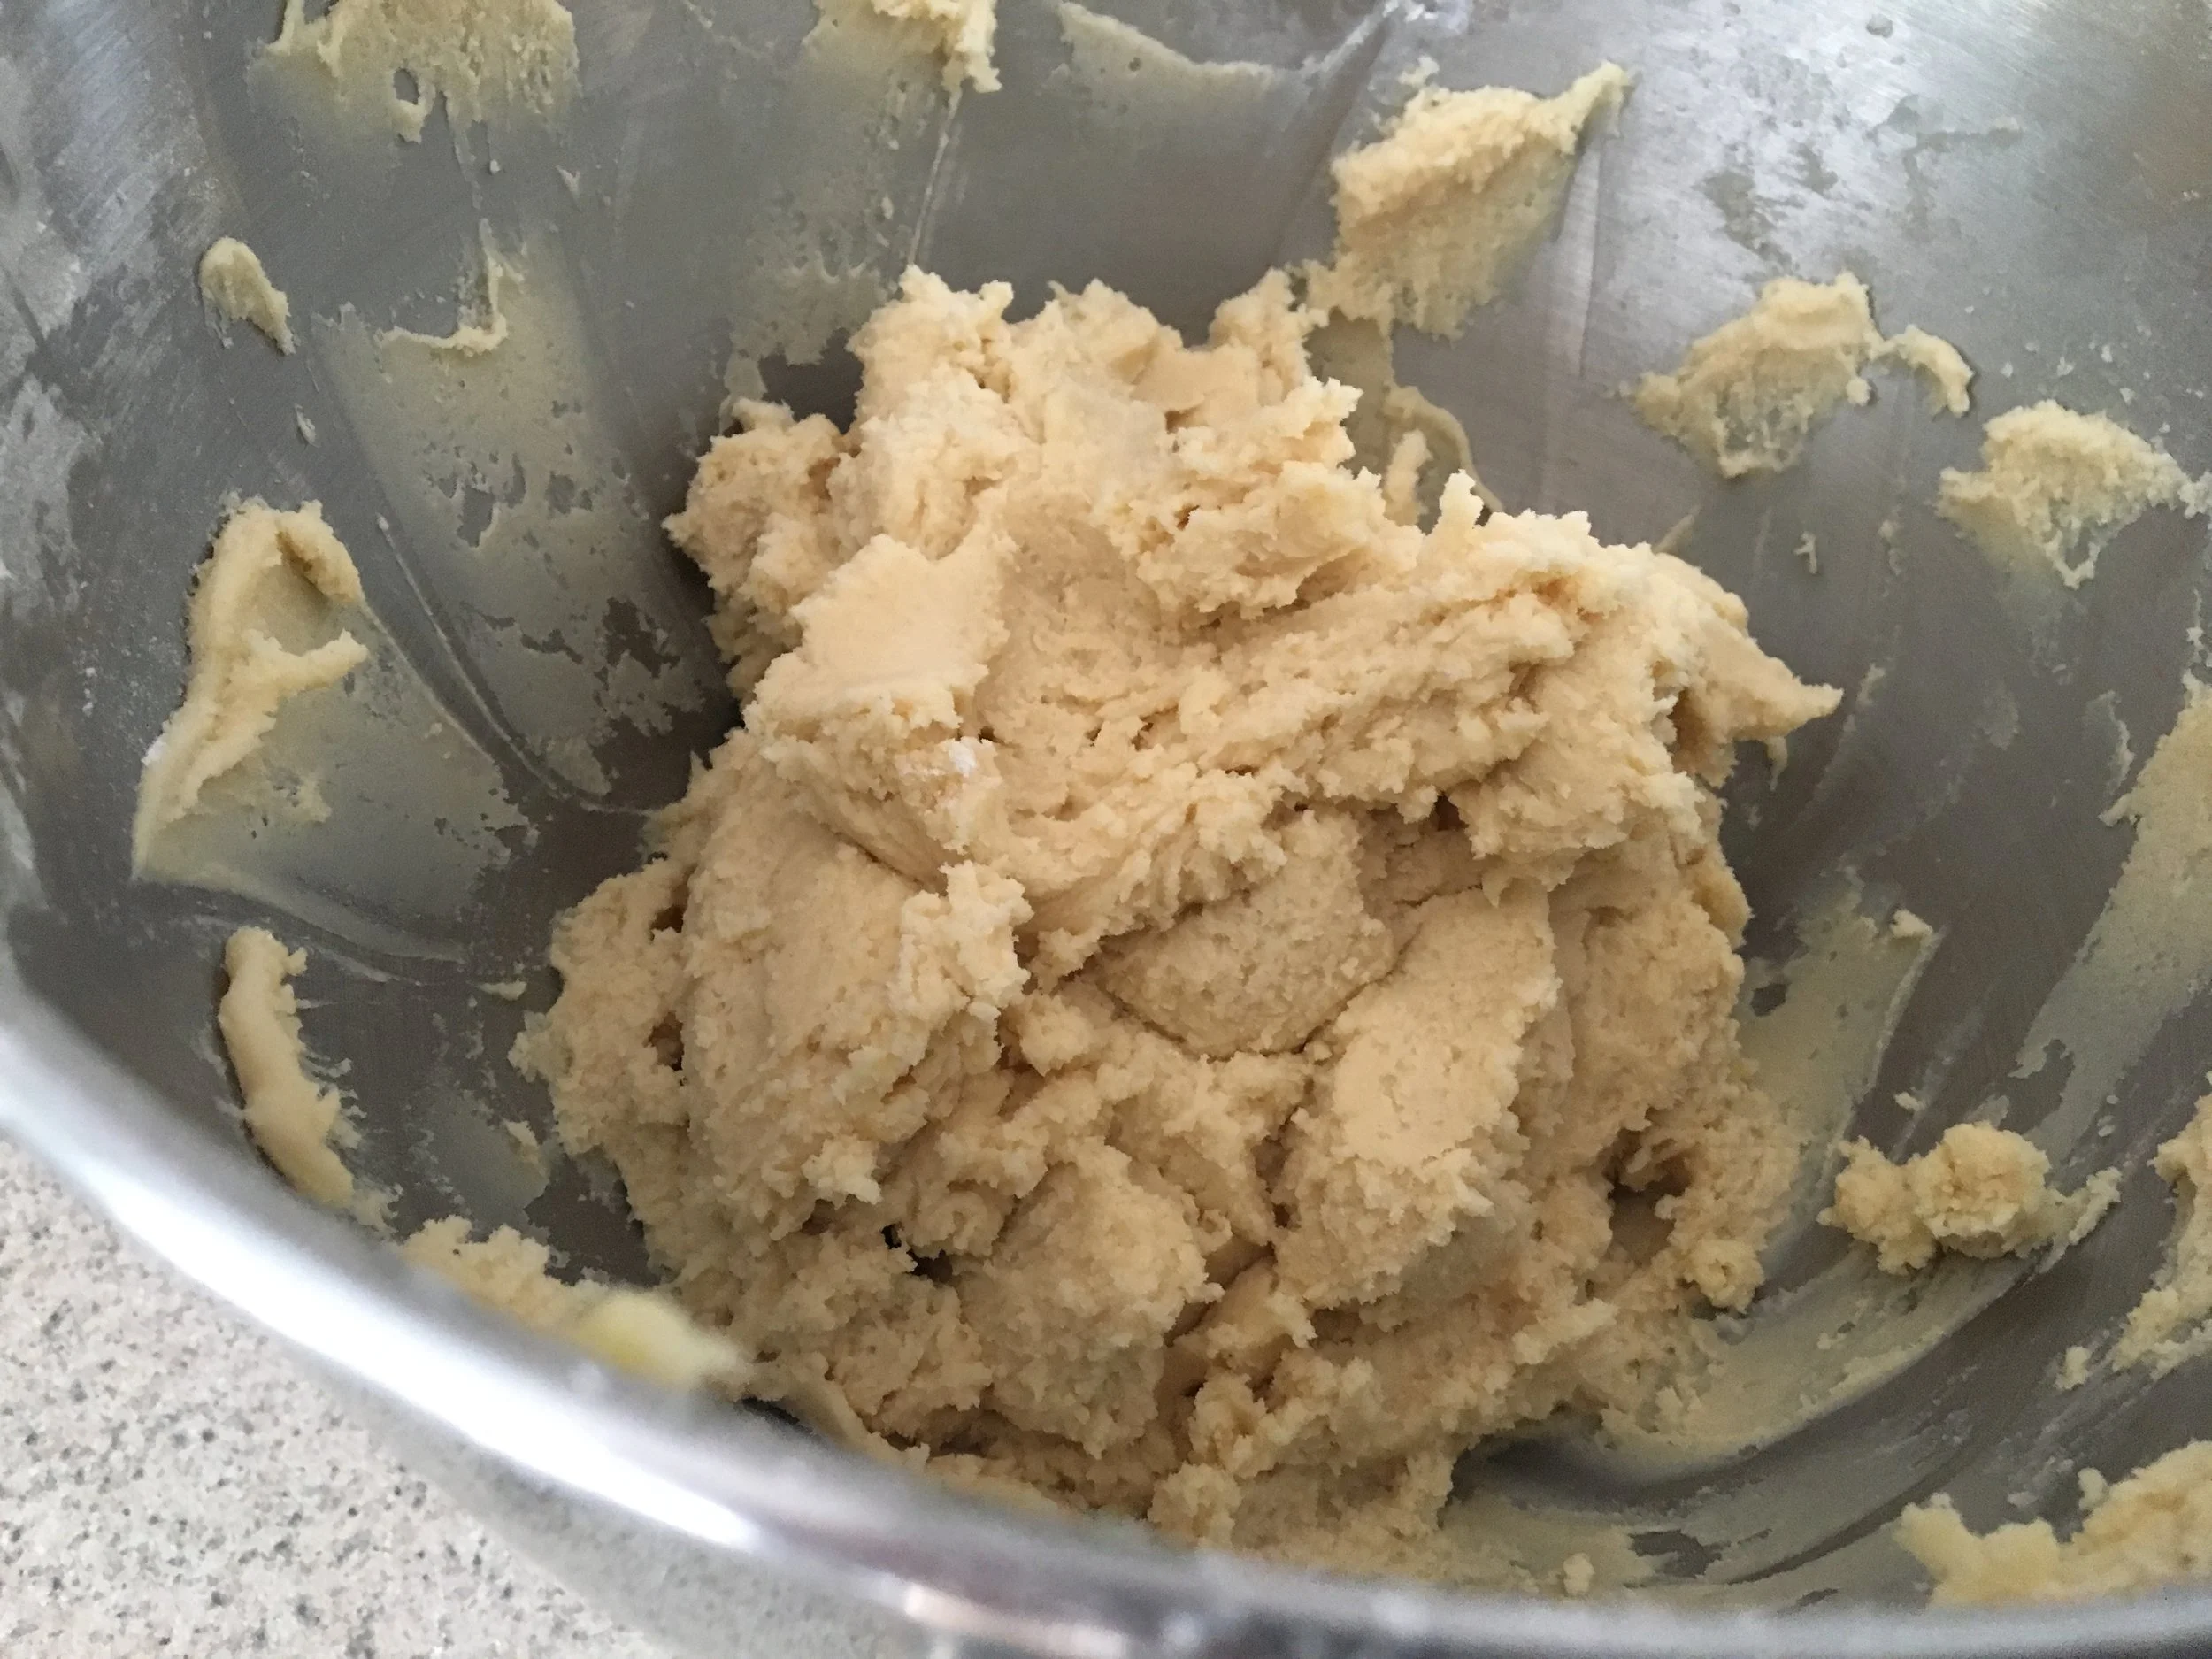
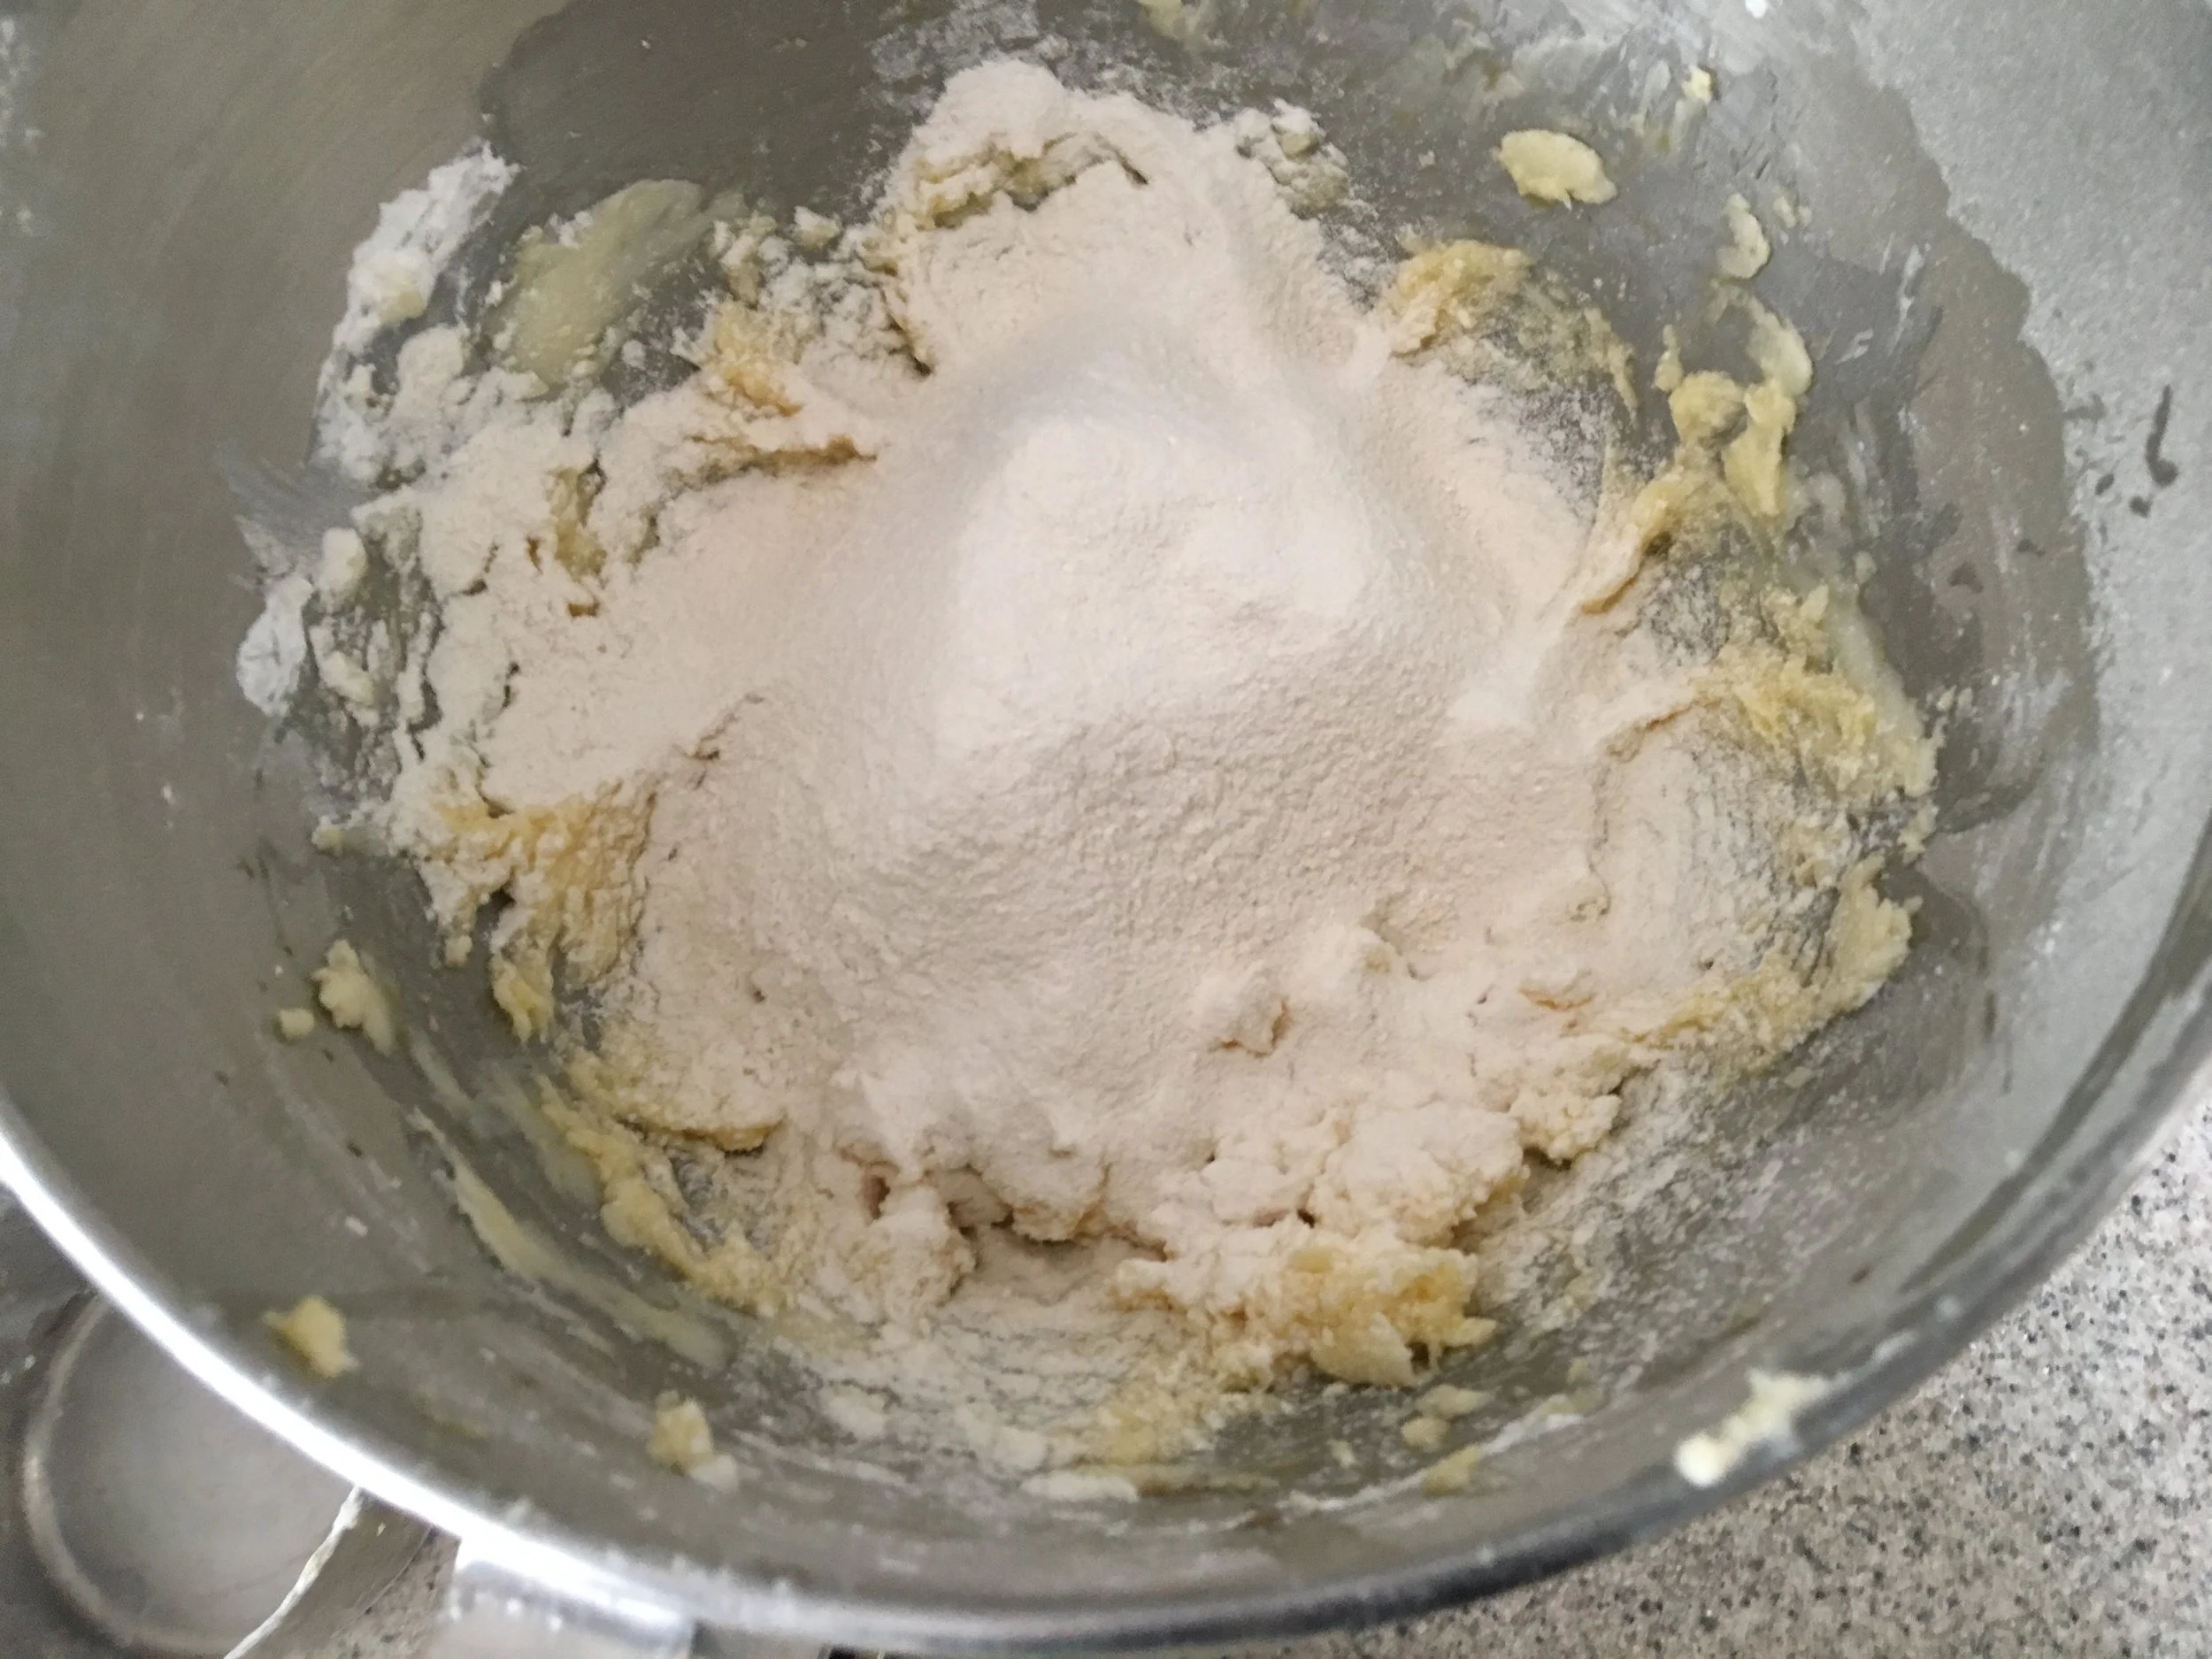
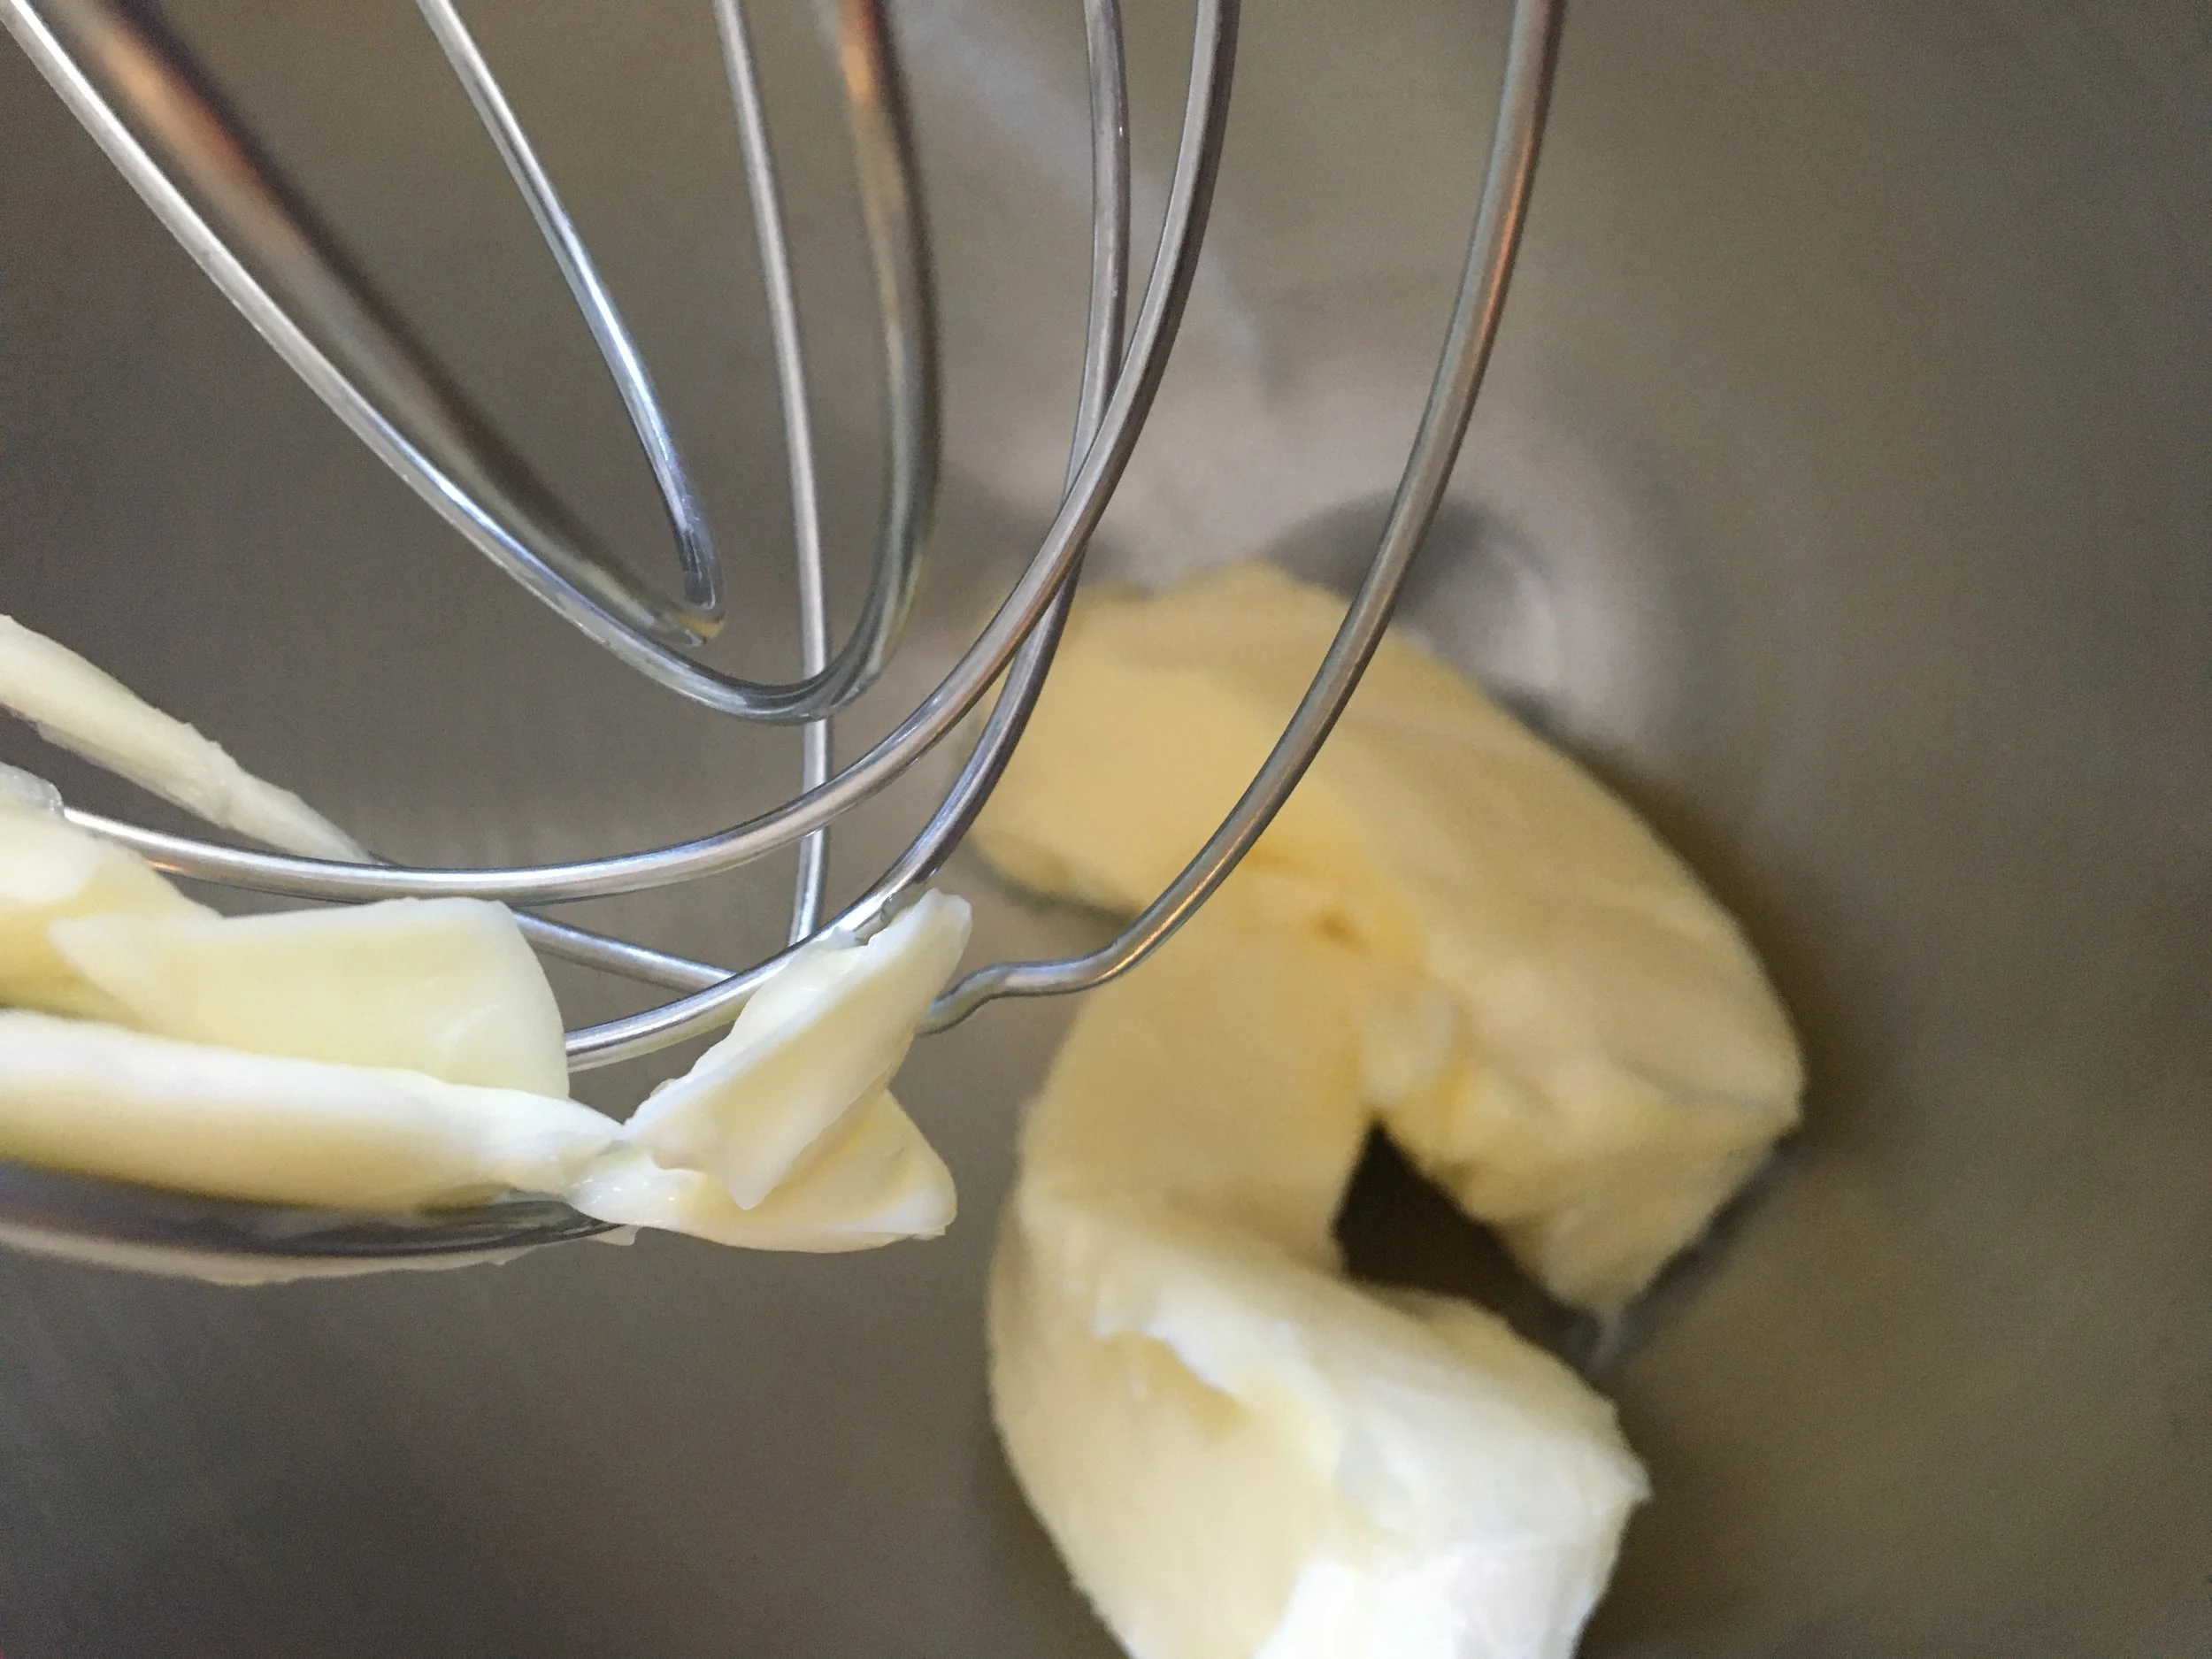
Separate egg yolks from egg whites into two separate medium bowls. Add the sugar to the yolk bowl, and beat on high with a hand mixer for 3-4 minutes. Add the almond flour and orange zest. Mix to combine. Set aside.
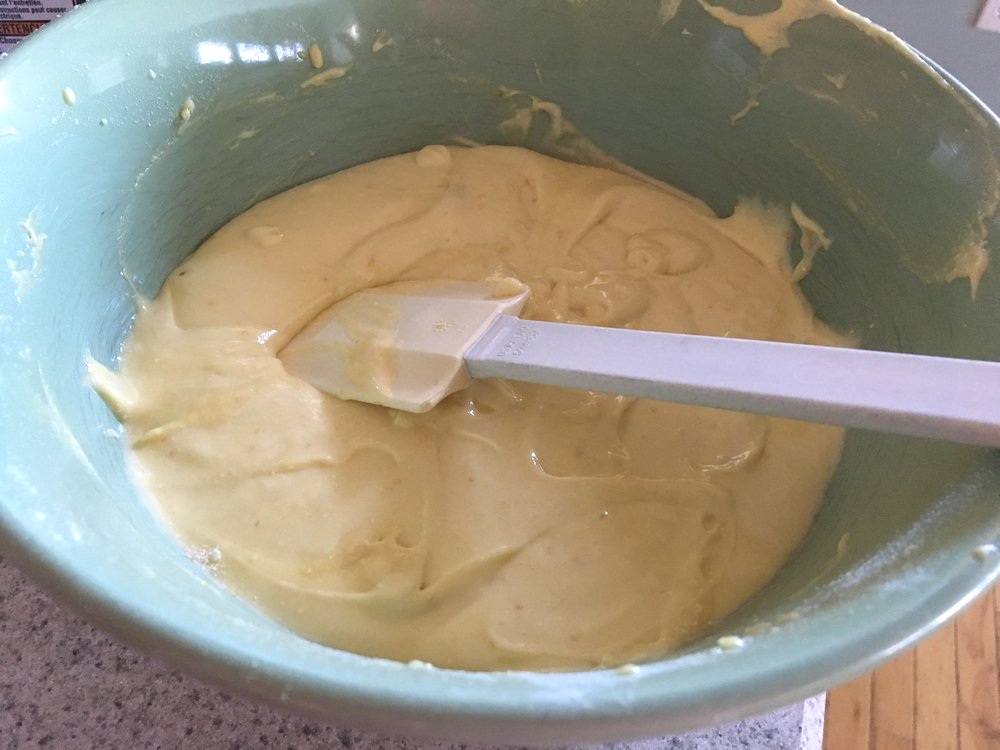
Beat the egg whites for about 2 minutes on high until soft peaks (or little white mountains when beaters are lifted up) form. “Room-temperature egg whites whip faster than cold egg whites, and room-temperature egg whites whip into a greater volume than cold egg whites. So make sure your egg whites are at room temperature before starting”.- Sally’s Baking Addiction.
Carefully fold the egg whites into the batter and mix until just combined. Add batter to a lined and greased baking pan. Bake for 30 minutes at 350 degrees or until the toothpick comes out clean when inserted. Cool the cake completely. Prepare the strawberries as directed below.
While the cake is cooling, place the bowl and beaters you plan on using for the whipped cream in the freezer for 15 minutes or in the refrigerator for 30 minutes. The colder the cream, bowl, and utensils, the more successful your homemade whipped cream will be.
Strawberry Filling Preparation
Mix the strawberries and Cherchies® Strawberry Butter Spread in a medium bowl and set aside.
Whipped Cream Preparation
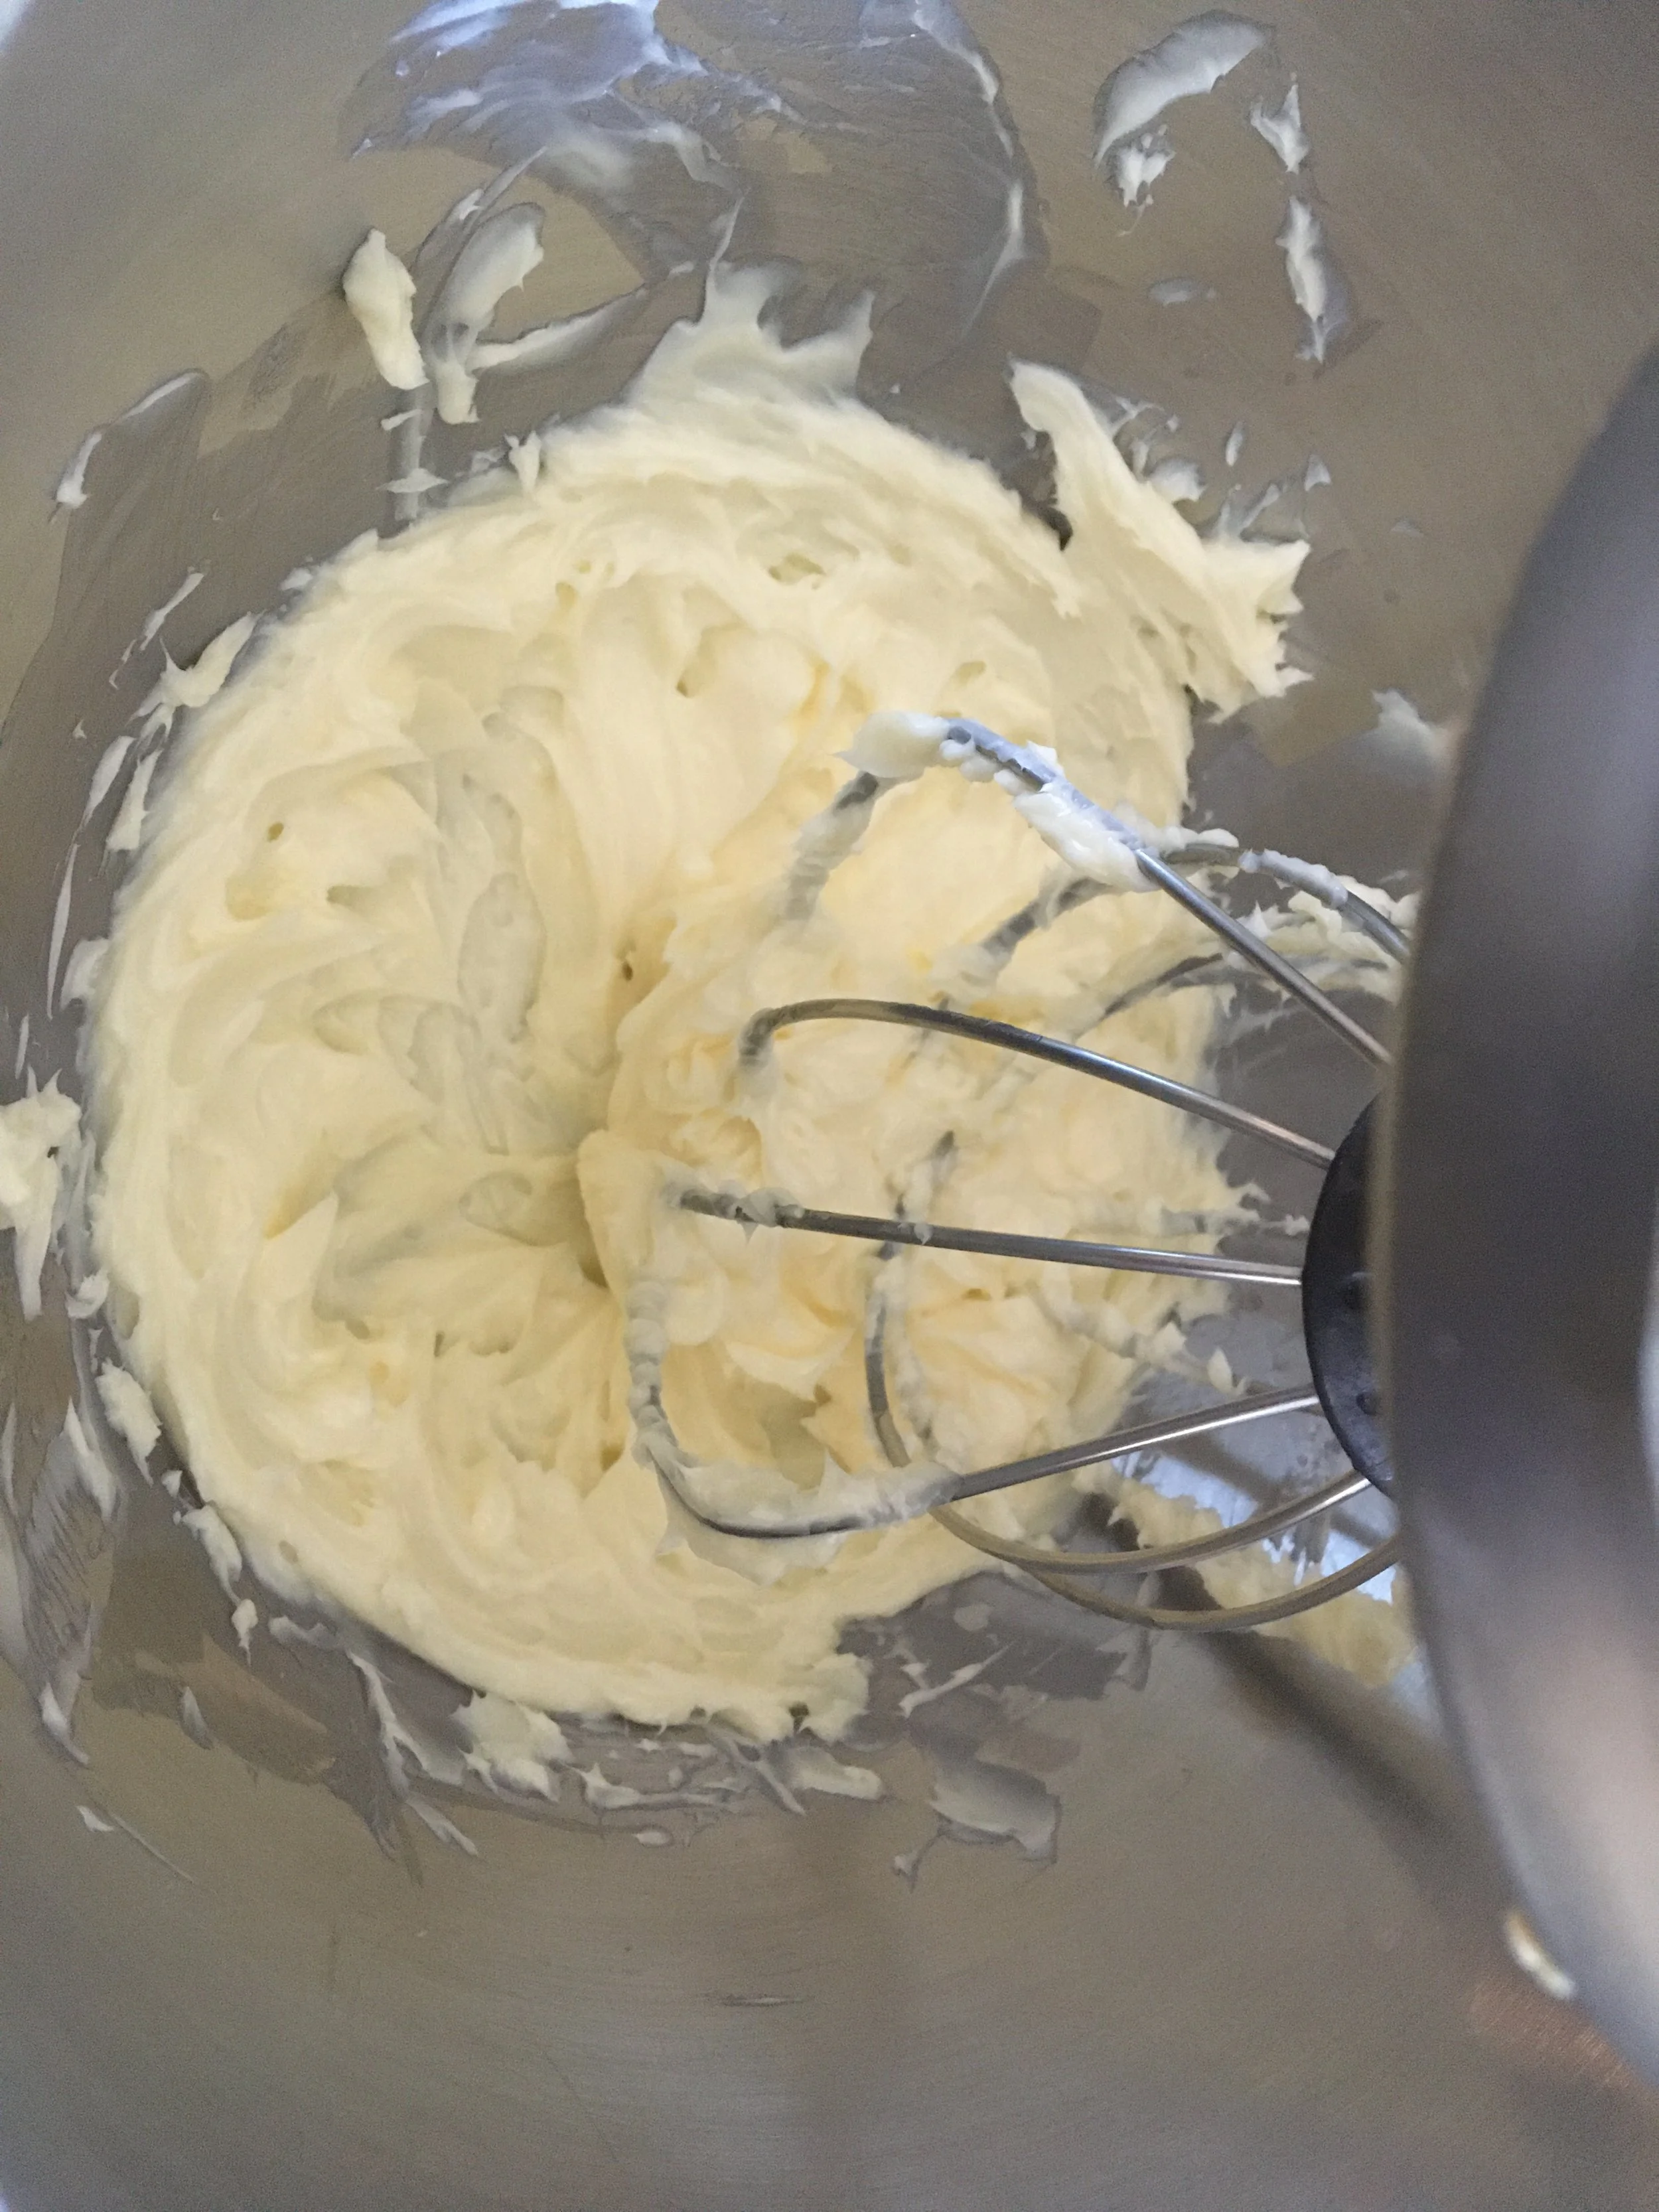
As mentioned, begin with cold everything, cream, bowl, and utensils (beaters). The bowl and the beaters are an added step, but I find that doing so makes the lightest, airiest whipped cream.
This recipe comes together in minutes, so if you are using your stand mixer, do not be tempted to walk away. The result could be an overwhipped cream. Whip the heavy cream, sugar, and vanilla in your cold bowl on medium-high speed until it is soft and billowy rather than curdled and grainy. If you are nervous about over-whipping, don’t be. Feel free to check on it often. You are looking for medium cream peaks, which means when you lift the beaters out of the bowl, they should look like little white mountains that hold their shape.
Assembling the strawberry shortcake
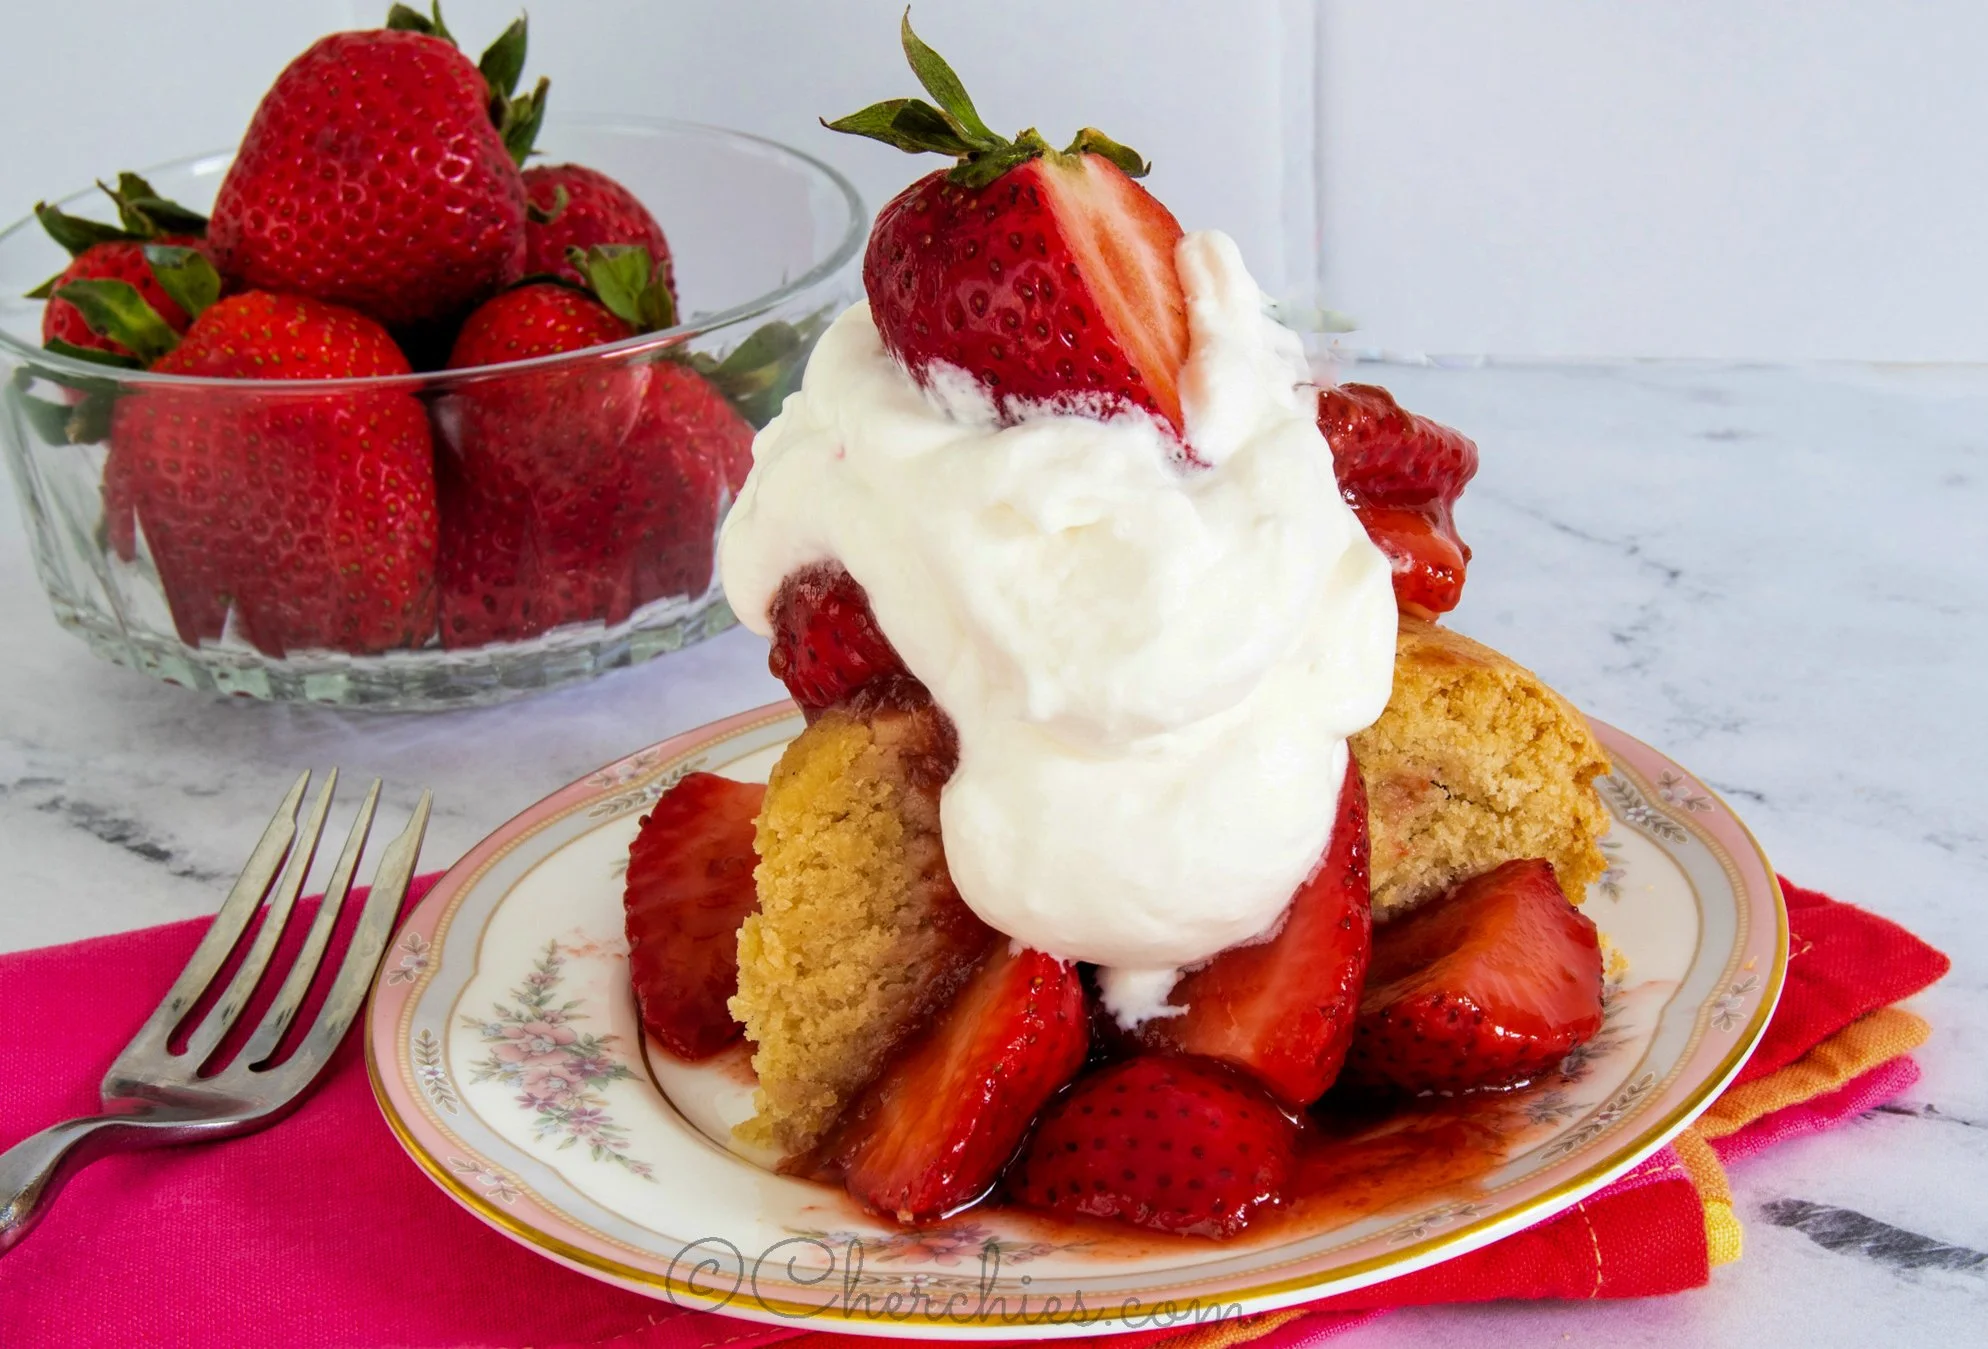
Now comes the fun part, eating! Cut the cake into individual portions. Add the strawberry mixture to each portion, and dollop with a generous amount of the whipped cream. Garnish each with the reserved strawberry slices for a pretty presentation. From this…
To this! Enjoy!